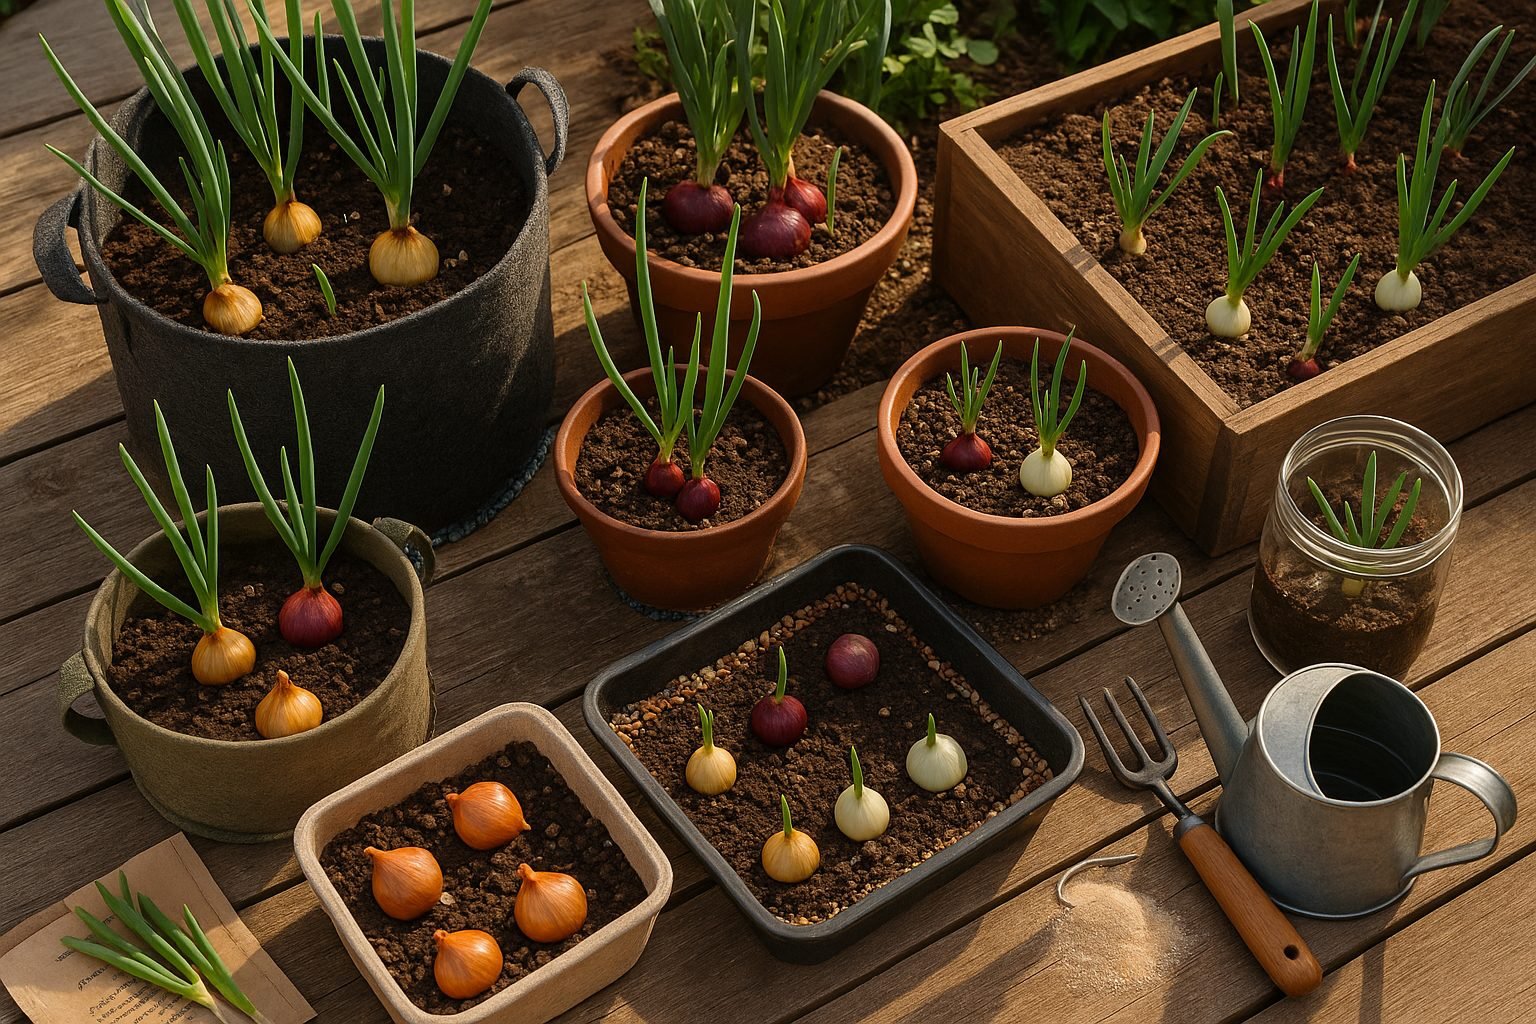
Choosing the Right Container and Onion Variety
Starting your journey with onions in containers can be a game changer for gardeners with limited space or less-than-ideal soil. Choosing the right container is your first big step: onions need enough room for their roots and bulbs to thrive, so opt for pots at least 10–12 inches deep and wide enough to space bulbs about 4 inches apart.
Materials matter too; breathable options like fabric grow bags, clay pots, or raised beds allow for better airflow and help prevent waterlogging, which is crucial since onions hate soggy roots. Good drainage is a must, so pick containers with multiple holes in the bottom, and consider adding a layer of gravel or broken pottery to speed up the process. Plastic pots are a budget-friendly choice, but ensure they’re sturdy and won’t overheat in the sun, which can stress your plants.
The container isn’t just about space—it also helps control soil quality, a major bonus for balcony or patio growers who want rich, loose, well-draining mix around their onions.
Choosing the Right Onion Variety
onion variety is the next key ingredient. Not every type loves a small space, so look for compact or bunching cultivars like ‘White Lisbon’ or ‘Tokyo Long White’. Short-day onions (like ‘Texas Supersweet’ or ‘Yellow Granex’) are ideal if you live in the South and get less daylight, while long-day types (such as ‘Walla Walla’ or ‘Yellow Globe’) suit folks farther north.
These varieties tend to form good bulbs in containers when provided with the right conditions. By matching your container and onion type thoughtfully, you’re well on your way to crisp, homegrown onions—even without a backyard garden.
Preparing the Perfect Soil Mix
The key to growing healthy onions in containers is creating a soil mix that’s loose, fertile, and well-draining. Ideally, your soil should feel crumbly to the touch—not sandy, but also not sticky like clay—to allow onion bulbs to expand without resistance.
Start with a high-quality potting mix as your base, since garden soil alone can be too dense. To boost fertility, blend in a few handfuls of well-rotted compost or aged manure, which provides essential nutrients and helps retain just the right amount of moisture.
For even more drainage, consider mixing in perlite or coarse sand (about 10-20% of your total mix) to ensure extra air pockets and prevent water from pooling around onion roots.
Since container soil is prone to compaction—especially after repeated watering—try not to press it down hard when filling your pots. Gently loosen the top inch every couple of weeks with your fingers or a hand fork.
Always use containers with drainage holes to avoid waterlogging, and place a layer of gravel or broken pottery at the bottom to further improve runoff.
Finally, avoid reusing old soils unless they’ve been refreshed with new amendments, as depleted or compacted mixes can stunt onion growth fast.
With these simple tweaks, you’ll give your onions the airy, nutrient-rich environment they need to thrive in any container garden.
Planting Onions in Containers: Step-by-Step
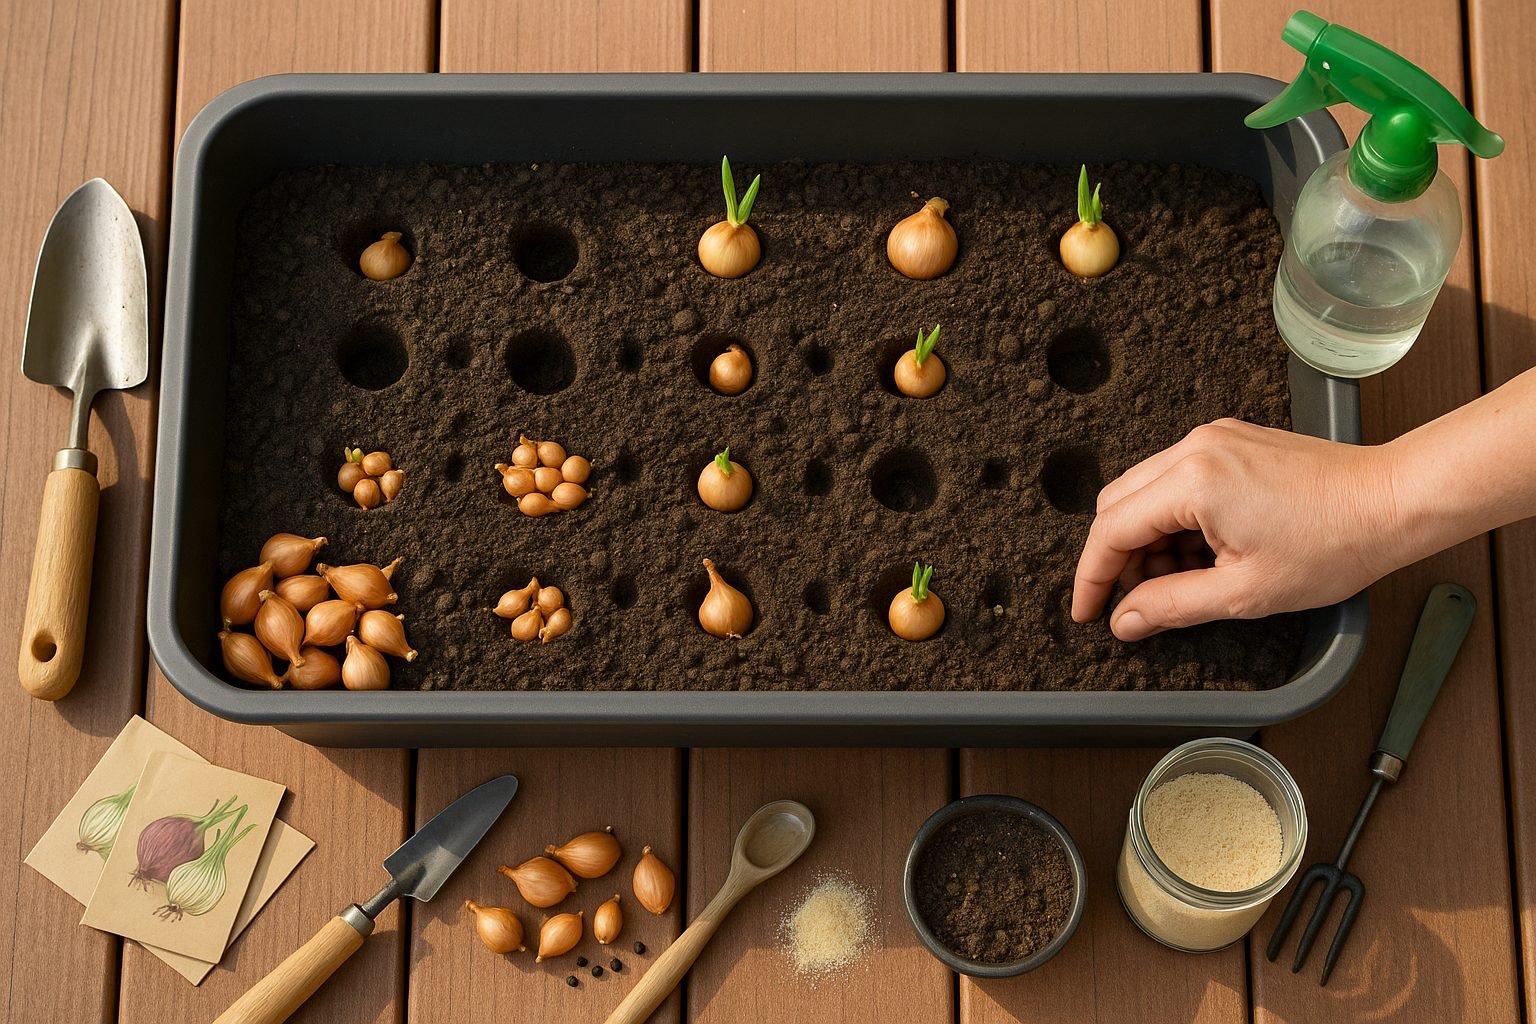
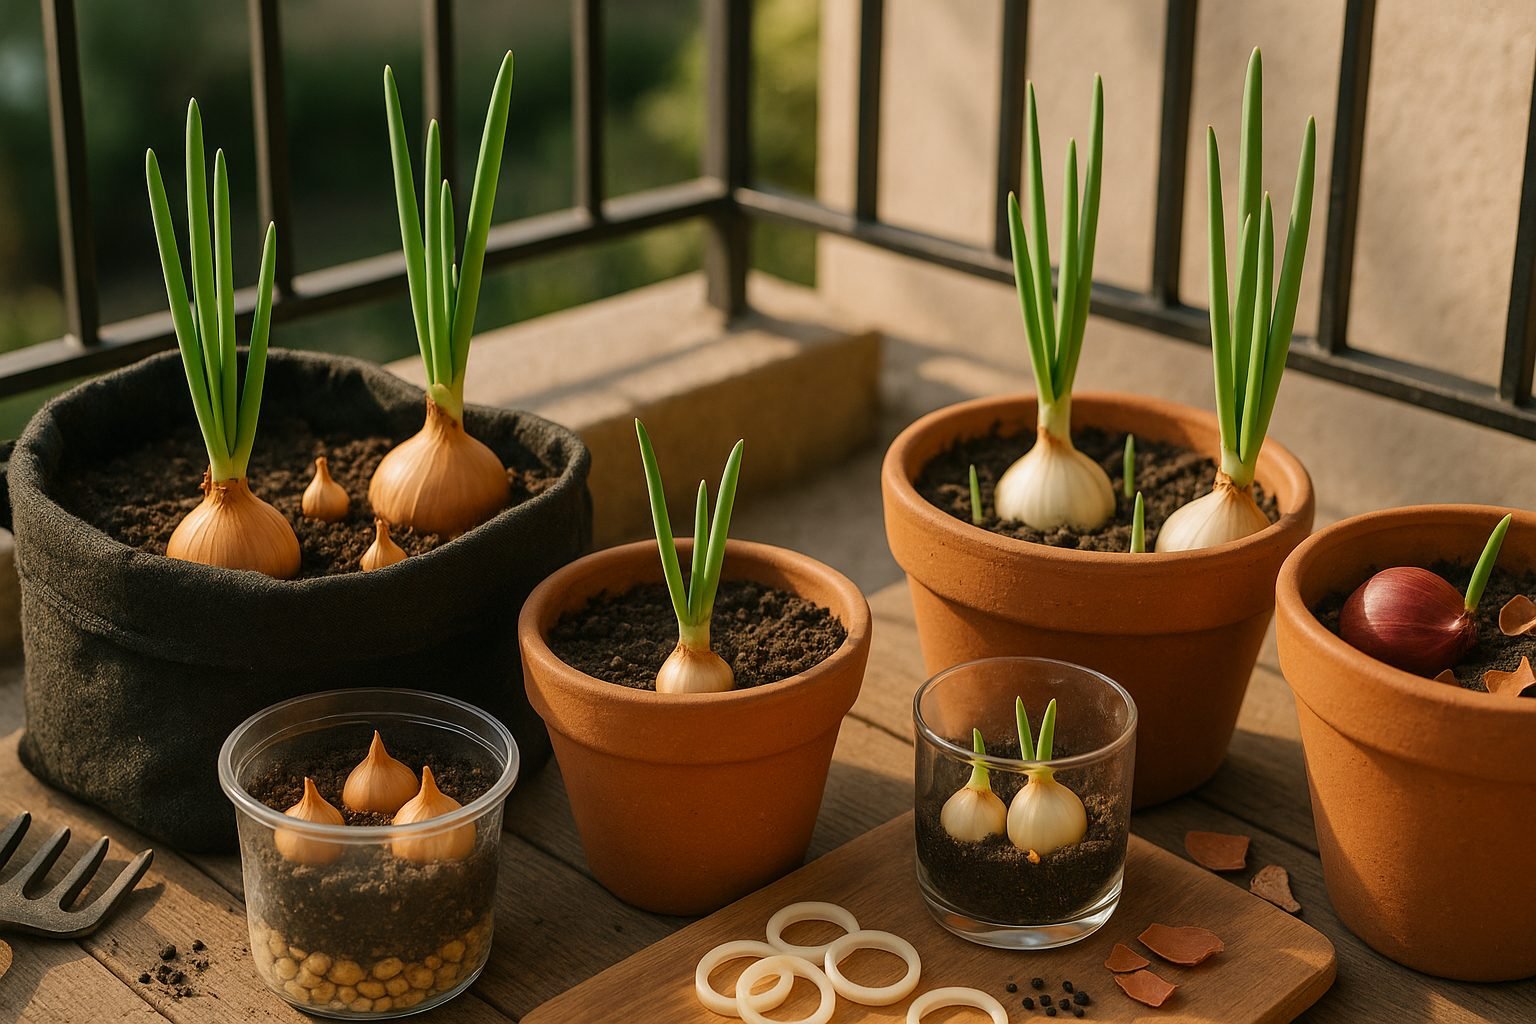
To grow onions in containers, start by choosing a pot that is at least 10-12 inches deep with good drainage holes—onions need plenty of space for their roots and bulbs. If you’re planting onion seeds, fill the container with a loose, well-draining potting mix. Sow the seeds about 1/4-inch deep and 1 inch apart, then gently cover them with soil. Mist the soil to keep it moist but not soggy.
If you’re using seedlings or onion sets, poke holes 1-2 inches deep (the tip of the set should just peek above the soil) and space each transplant about 3 inches apart. This prevents crowding and allows each onion to form a good-sized bulb. For maximum space efficiency, stagger the plantings in a grid pattern. In larger containers, you can arrange onions in concentric circles, keeping enough space between bulbs.
Start seeds indoors about 8-10 weeks before your last expected frost, then transplant seedlings or plant sets outside once nighttime temperatures stay above 45°F (7°C). In milder climates, fall planting is also possible for an earlier harvest. Make sure your containers are placed in a sunny spot—onions need at least 6 hours of sun daily.
Water consistently, as containers dry out quickly, but avoid waterlogging. As the onions grow, you’ll see green shoots—thin them if needed to allow the strongest plants to thrive. With these steps, even gardeners with limited space can enjoy a healthy onion harvest right from their balcony or patio.
Essential Care: Watering, Feeding, and Sunlight
Proper watering is crucial for healthy container-grown onions; aim to water them once or twice a week, ensuring the soil stays consistently moist but not soggy. A good rule of thumb is to water thoroughly when the top inch of soil feels dry—avoid letting the container dry out completely, as onions have shallow roots that dry quickly.
Fertilizing onions in containers is straightforward: start by mixing a balanced slow-release fertilizer into the potting mix at planting time, then supplement with a liquid all-purpose fertilizer every two to three weeks during the growing season. For an extra boost, look for fertilizers with higher phosphorus content to promote strong bulb development.
Sunlight is equally vital—onions need at least 6 to 8 hours of direct sunlight each day to thrive. Place your containers in the brightest spot available, such as a south-facing patio, balcony, or windowsill. If sunlight is limited, consider moving containers throughout the day or investing in a grow light setup to ensure your onions get enough light.
By staying on top of these basics—consistently moist soil, regular feeding, and plenty of sunlight—you’ll set your container onions up for a robust and flavorful harvest.
Managing Pests, Diseases, and Common Problems
Container-grown onions can fall prey to several pests and diseases, including aphids, thrips, and fungal issues like downy mildew and botrytis. Aphids often cluster on new growth and can be managed by spraying a mix of water and a few drops of mild dish soap directly onto the leaves.
Thrips are tiny and hard to see but leave silvery streaks; try shaking plants gently over white paper to spot them, then rinse with water or apply neem oil.
To prevent fungal problems in confined soil, avoid overcrowding and water early in the day so leaves dry quickly. Ensure your containers have good drainage holes—soggy soil is fungus’s best friend. Rotate your container’s location if possible, as stagnant air and repeated planting can worsen disease risks.
Onion maggots are another threat that can be minimized by placing fine mesh or row covers over young plants.
Beyond pests and diseases, container onions are sensitive to sudden temperature swings, which can cause bolting (premature flowering) or stunted growth. Move containers to a sheltered area during heat waves or frosty nights, and use light-colored pots to reflect heat.
By staying vigilant and tweaking your care routine to container-specific challenges, you can ward off most common issues before they get out of hand.
Harvesting, Curing, and Storing Your Onions
Harvesting onions grown in containers is straightforward, but timing is key. Watch for the tops to fall over and start yellowing—usually around 100 to 120 days after planting. Once several leaves have toppled, gently loosen the soil and pull up your onions, being careful not to bruise them.
Spread your onions out in a single layer in a dry, shaded spot with good airflow; a garage or covered patio works well. Leave them to cure for two to three weeks, turning them occasionally. Curing allows the outer skins to dry and the necks to tighten, which helps prevent rot during storage.
Once the skins feel papery and the necks are fully dry, trim off the roots and tops, and brush off any loose dirt. Store cured onions in mesh bags, baskets, or any container that allows air circulation—avoid plastic bags, as they trap moisture and promote spoilage.
Keep stored onions in a cool, dry, dark location, ideally between 40-50°F. Check them every couple of weeks for soft spots or sprouts, and remove any problem bulbs promptly. Following these simple steps will help your homegrown onions stay fresh for months, giving you a tastier, longer-lasting supply.
Troubleshooting and Pro Tips for Success
Common garlic-growing issues like bolting (when a flower stalk forms) can be avoided by planting at the right time and choosing softneck varieties in mild climates. Small bulbs often result from overcrowding or insufficient sun—space cloves 6 inches apart and ensure at least 6 hours of daily sunlight.
Stunted growth can indicate poor soil; add compost and use well-draining beds. For bigger yields, mulch to retain moisture and remove scapes (flower shoots) to direct energy to the bulbs. To extend your harvest, stagger planting dates or try different varieties.
Don’t be afraid to experiment—university extensions and local gardening forums offer great advice.