Choosing the Right Pepper Varieties and Containers
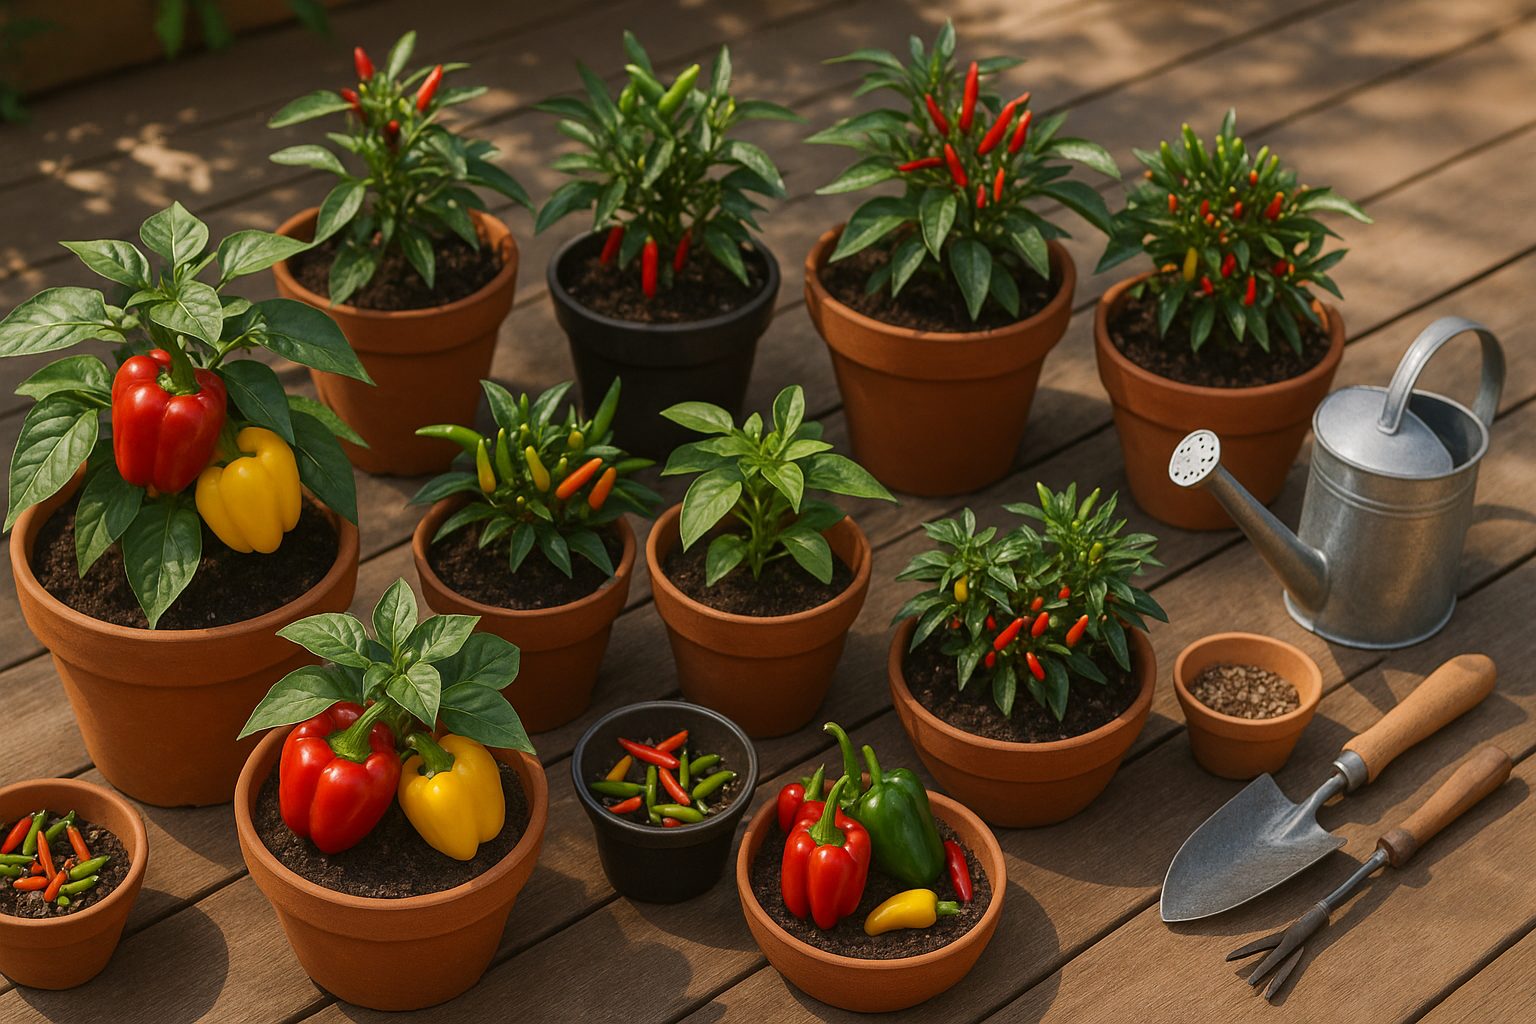
Growing bell peppers in pots is a rewarding way for beginners to enjoy fresh, vibrant peppers right on a patio or balcony. Whether you’re dreaming of sweet bell varieties like ‘California Wonder’ or prefer a little kick with compact hot peppers such as ‘Jalapeño’ or ‘Cayenne,’ there are many types perfect for container gardening.
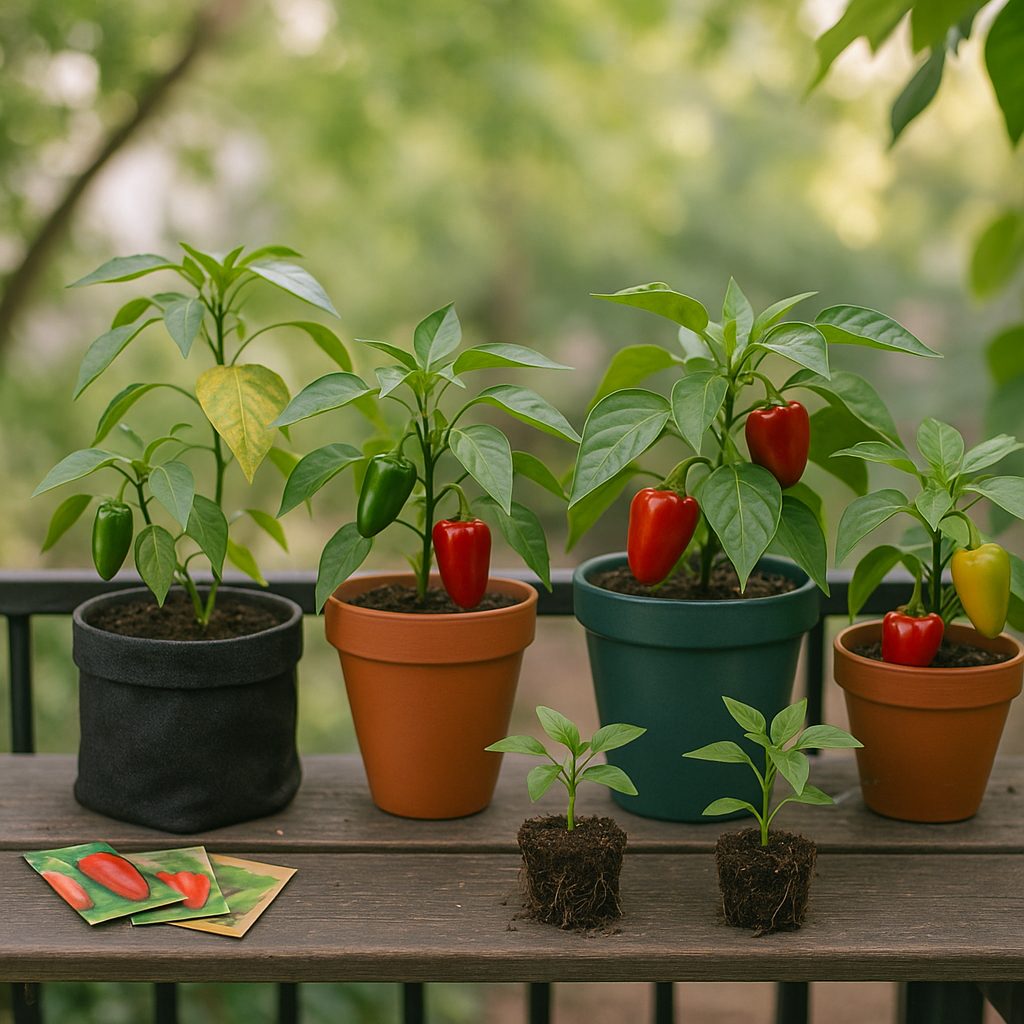
For those new to growing peppers, starting with healthy nursery plants can make things much easier. These young plants have a head start, increasing your chances of success compared to starting from seeds, which require more patience and controlled conditions. However, adventurous gardeners may enjoy watching seeds sprout and choosing from a wider array of unique pepper varieties.
No matter the route, choosing the right container is crucial—bell peppers need space for their roots to expand. Opt for pots that are at least 3 to 5 gallons in size, with good drainage holes. This helps prevent root crowding and leads to healthier, more productive plants.
Remember, well-chosen containers and robust varieties set the foundation for a thriving mini pepper harvest you’ll be proud to show off and share.
Planting and Light Requirements
When it comes to planting peppers, timing and temperature make all the difference. Start seeds indoors 8-10 weeks before the last expected frost if you’re in a cooler climate. Peppers thrive when nighttime temperatures consistently stay above 55°F (13°C) and daytime temps range between 70-85°F (21-29°C), so transplant outdoors only when your soil has warmed up and frost is no longer a risk.
Peppers love the sun: aim for at least 6-8 hours of direct sunlight daily. If you’re growing them indoors, position plants in a south-facing window or supplement with grow lights to mimic sunlight—LED grow lights placed just a few inches above seedlings work wonders.
For planting depth, sow seeds about 1/4 inch deep; when transplanting, bury seedlings up to their first true leaves to encourage a strong root system. Space plants 18-24 inches apart in rows set at least 24 inches apart to allow airflow, which helps prevent disease.
Use well-draining, fertile soil rich in organic matter; mixing in compost improves both drainage and nutrients. If soil quality is questionable, consider raised beds or large containers. Keep the soil consistently moist but not soggy, and mulch around the base to lock in moisture and regulate soil temperatures.
With the right planting strategy and attention to light, your peppers will be poised for a bountiful harvest.
Watering, Fertilizing, and Ongoing Care
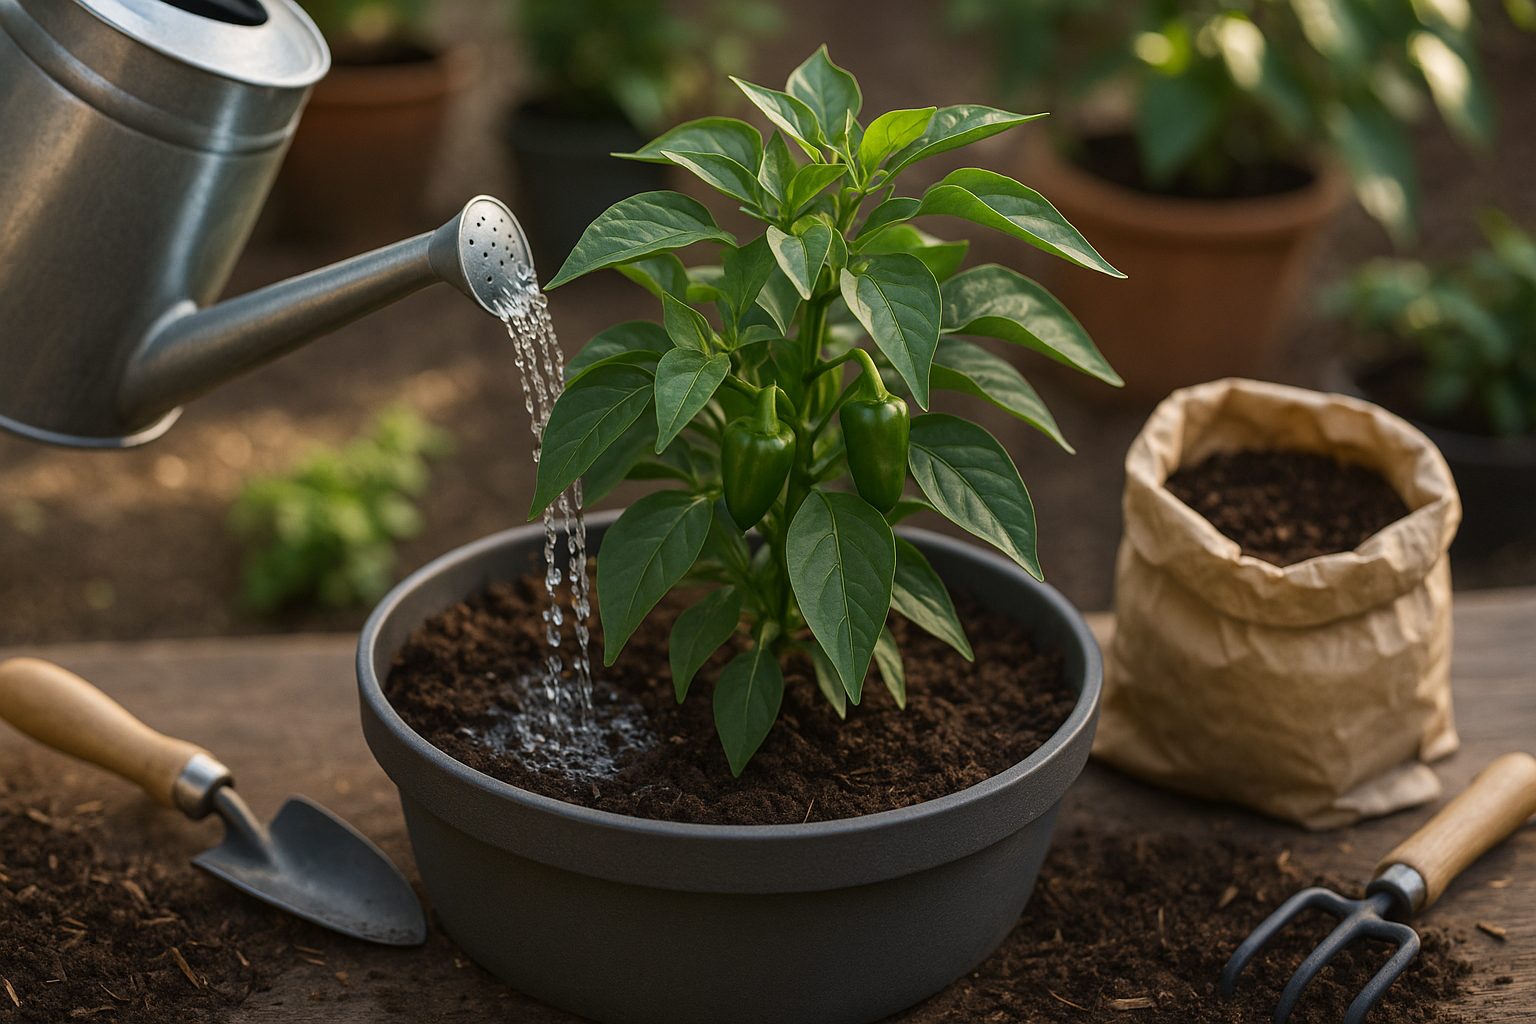
Consistent watering is the backbone of healthy plant growth, but it’s easy to overdo or neglect. A good rule of thumb is to water deeply but less frequently—this encourages roots to grow deeper, making plants more resilient to drought. Check soil moisture by sticking your finger about an inch into the soil; if it feels dry, it’s time to water. Aim for the morning hours so leaves have time to dry, reducing disease risk.
Overwatering suffocates roots, while underwatering leaves plants stressed and wilted, so pay attention to weather and adjust as needed.
For fertilizing, feed your plants at the start of the growing season and use a slow-release fertilizer or well-balanced organic compost. Too much fertilizer can burn roots or cause excessive leaf growth at the expense of flowers or fruit, so follow package instructions or opt for lighter, more frequent applications.
Ongoing care also includes supporting tall or vining plants with stakes or cages to keep them upright and healthy—tomatoes, beans, and some flowers especially benefit from this.
Adding a layer of mulch, such as straw, bark, or shredded leaves, helps the soil retain moisture, suppresses weeds, and keeps roots cooler on hot days. Mulch also slowly breaks down and adds nutrients back into the soil.
With these practices, your garden will thrive, requiring less effort as your plants become stronger and more self-sufficient.
Pruning, Training, and Supporting Peppers
Pruning your pepper plants is a simple but powerful way to boost both their health and harvest. Start by pinching off the growing tips when seedlings reach about six inches tall; this encourages the plant to branch out, leading to a bushier shape and more potential flowering sites.
As your plant matures, snip away any lower leaves or small suckers near the base to improve air circulation and reduce the risk of disease. Regularly remove any yellow, damaged, or overcrowded leaves to keep light reaching all parts of the plant.
For larger pepper varieties that can get heavy with fruit, like bell peppers or poblanos, supporting the stems is crucial—use cages, sturdy stakes, or even simple bamboo poles to keep branches upright and prevent them from snapping under the weight. Install supports early so you don’t disturb roots later.
To avoid leggy growth, make sure your peppers get plenty of direct sunlight (at least six hours a day), and avoid high-nitrogen fertilizers that push leafy growth over fruit development.
By combining smart pruning, proper support, and plenty of light, you’ll enjoy stronger plants and a more abundant, high-quality pepper harvest.
Preventing Pests, Diseases, and Troubleshooting
Keeping your pepper plants healthy starts with knowing the most common threats. Aphids, spider mites, and pepper weevils can quickly cause damage—look for curled leaves or tiny moving dots. For organic pest control, try spraying leaves with a mild soap solution or introducing beneficial insects like ladybugs. Cover seedlings with mesh to block flying pests.
Diseases such as bacterial leaf spot and fungal blights thrive in wet, crowded conditions; space plants properly, water only at the roots, and remove any infected leaves promptly.
Regularly inspect young plants for yellowing leaves, which may signal overwatering, nutrient deficiency, or pests—adjust watering and feed with a balanced fertilizer.
Blossom end rot, when fruit develops dark, sunken spots, is often caused by inconsistent watering and calcium shortage; keep soil moisture steady and consider adding crushed eggshells to enrich calcium.
Staying vigilant with frequent checks and early intervention keeps your pepper patch thriving all season.
Harvesting, Storing, and Using Your Peppers
Knowing when to harvest your peppers is key to maximizing both their flavor and nutritional value. For most varieties, peppers are ripe when they reach their full color—red, yellow, orange, or even purple depending on the type—and feel firm to the touch. Avoid picking them when they are soft, wrinkled, or have green patches (unless you’re after green peppers specifically).
When it’s time to harvest, always use garden scissors or pruning shears to snip the stem about half an inch above the fruit; pulling by hand can damage both the pepper and the plant. If you’re handling hot peppers, wear gloves to protect your skin and be mindful not to touch your face—capsaicin can cause irritation.
Once harvested, store fresh peppers in a paper bag or a ventilated container in the refrigerator, where they’ll stay crisp for about a week. For longer preservation, consider freezing or drying them; simply slice and freeze hot peppers to add a kick to soups and stir-fries, or air-dry mild varieties for use in sauces.
Fresh peppers can jazz up salads and salsas, while roasted or pickled peppers make a quick and tasty addition to sandwiches or pasta dishes.