Why Grow Chamomile in Raised Beds?
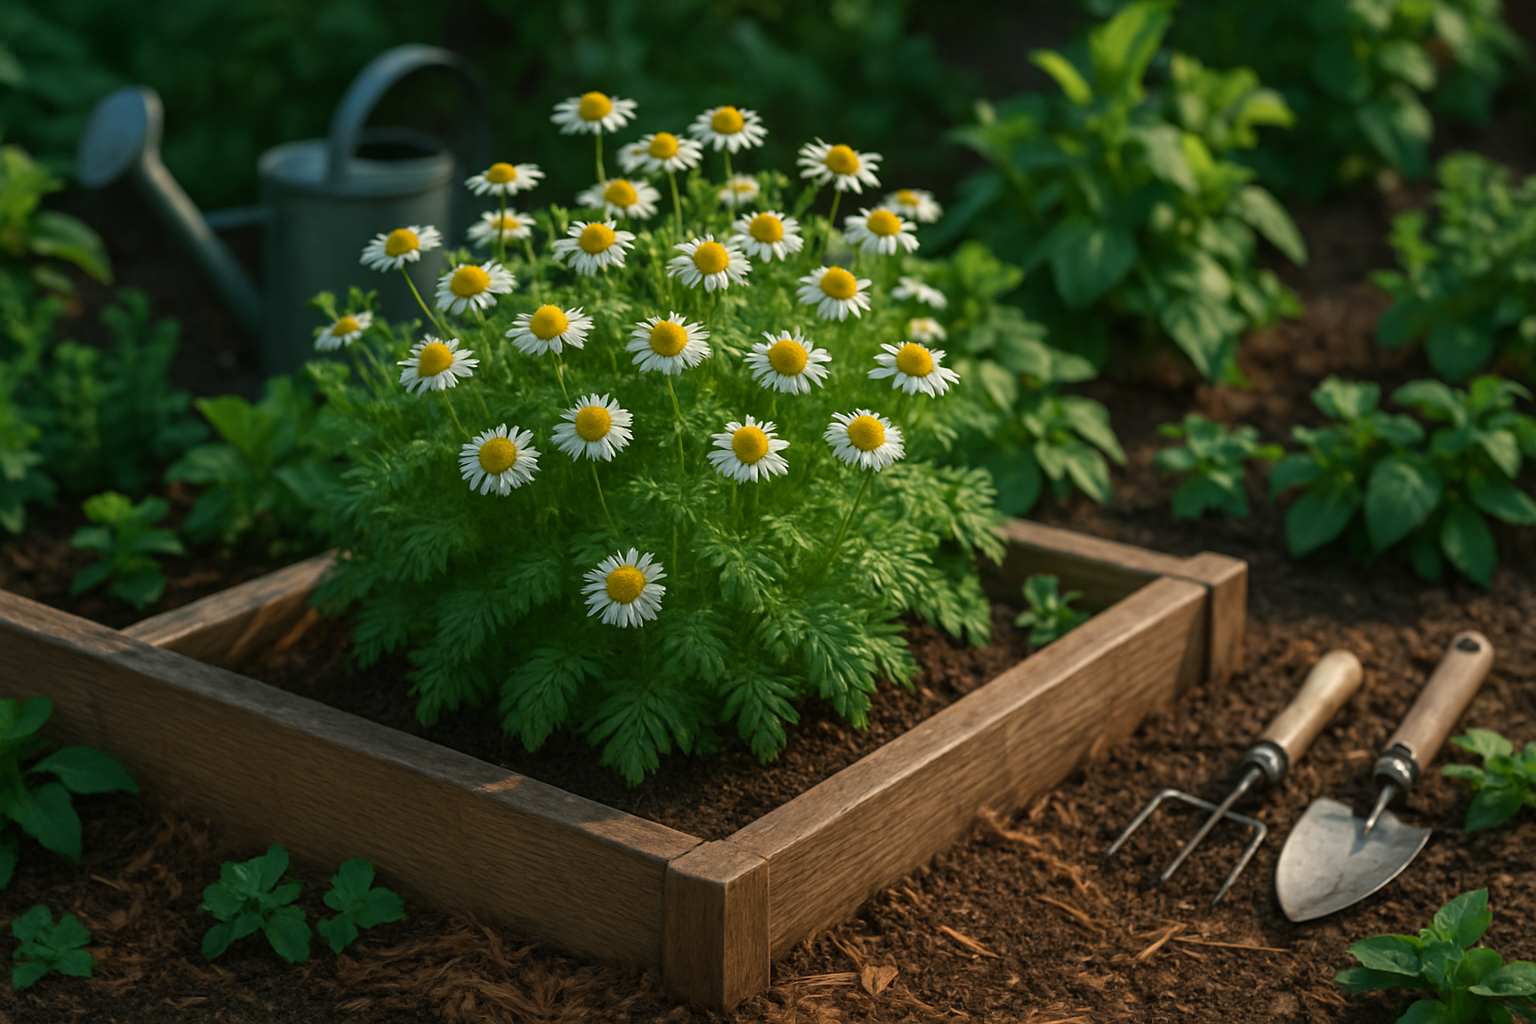
Growing chamomile in raised beds offers several distinct advantages that can make a significant difference, whether you’re an experienced gardener or just starting out.
Raised beds provide excellent drainage, which is crucial for chamomile since its roots are sensitive to waterlogged soil—a common issue when planting directly in the ground, especially if your yard has heavy clay or poor drainage after rain. In raised beds, you control the soil quality and texture, allowing you to create the sandy, well-drained conditions chamomile loves. You can also easily add compost or organic matter for nutrients.
Raised beds warm up faster in spring, so you can get a jump-start on planting compared to traditional ground beds. Accessibility is another plus; their higher profile means less bending and kneeling, which is especially helpful for those with mobility challenges or small spaces like patios.
They also help deter common ground pests such as slugs and snails and can be fitted with protective mesh or fabric to keep out rabbits and birds. For urban gardeners or beginners, raised beds simplify the process since you can start with store-bought soil mixes rather than battling poor native soils or compacted lawns.
Overall, while in-ground planting is possible, growing chamomile in raised beds maximizes your chances for healthy, abundant blooms and minimizes headaches—making it a smart choice for almost any garden setup.
Ideal Soil and Planting Conditions for Chamomile
Chamomile thrives in well-drained, sandy or loamy soils with a neutral to slightly acidic pH, ideally between 5.6 and 7.5. Raised beds make it easy to create this perfect environment because you control the soil blend and drainage. Start by filling your raised bed with a mix of garden soil, compost, and coarse sand to improve both nutrients and drainage—aim for about two-thirds topsoil to one-third compost and sand combined.
If your soil tends to be heavy or clay-like, add perlite or coconut coir to boost aeration. Good drainage is critical, as chamomile dislikes soggy roots. For best growth, place your raised bed in a location that gets at least six hours of full sun daily.
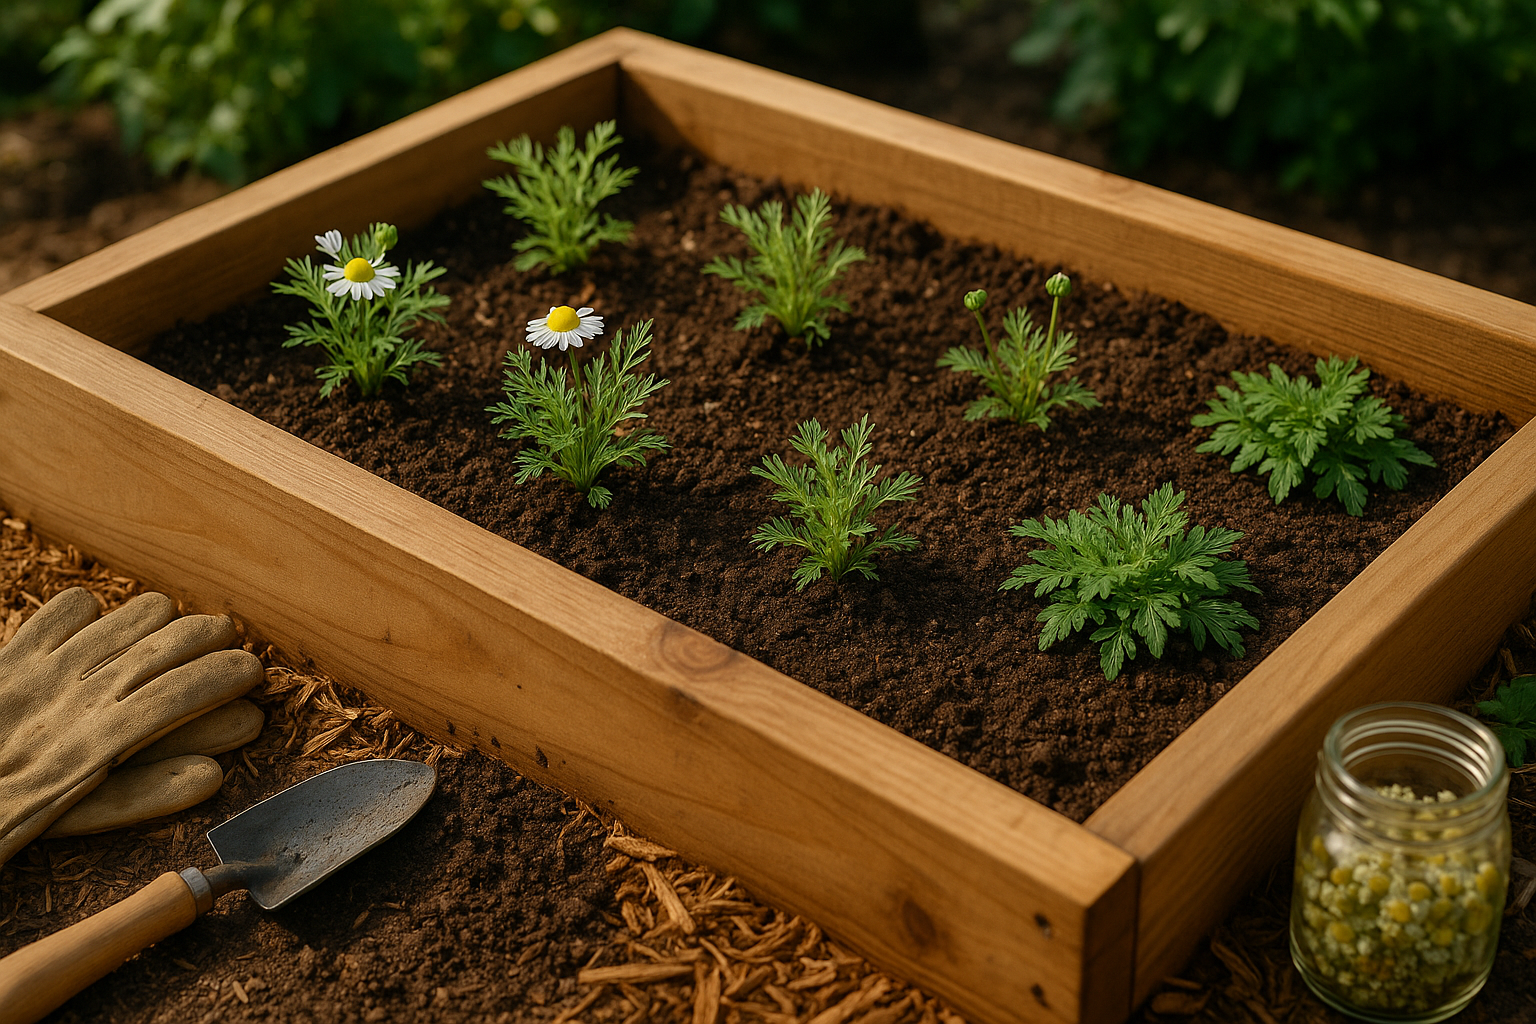
When planting, space chamomile about 8–12 inches apart to allow for good airflow and healthy development. The optimal planting time is in the spring after the last frost, but raised beds warm up faster than ground soil, so you can often plant a week or two earlier.
When it comes to starting chamomile, you have two good options:
- Direct sowing: Sow seeds directly in the bed, which works well because seeds require light to germinate — just scatter them on the surface and press them in gently. This method minimizes transplant shock but may require thinning later.
- Starting indoors: Start seeds indoors and transplant sturdy seedlings into your raised bed once nighttime temperatures stay above 45°F. This gives you a head start on the season and helps space your plants precisely, but handle seedlings carefully to avoid disturbing delicate roots.
Both approaches work well in raised beds, so choose the method that fits your schedule and comfort level for a flourishing chamomile patch.
Caring for Chamomile in Raised Beds
Caring for chamomile in raised beds is straightforward when you focus on consistency and prevention. Start by keeping the soil lightly moist; chamomile prefers not to dry out completely between waterings, especially in the heat of summer. Aim for deep watering once or twice a week, depending on local weather and your soil’s drainage.
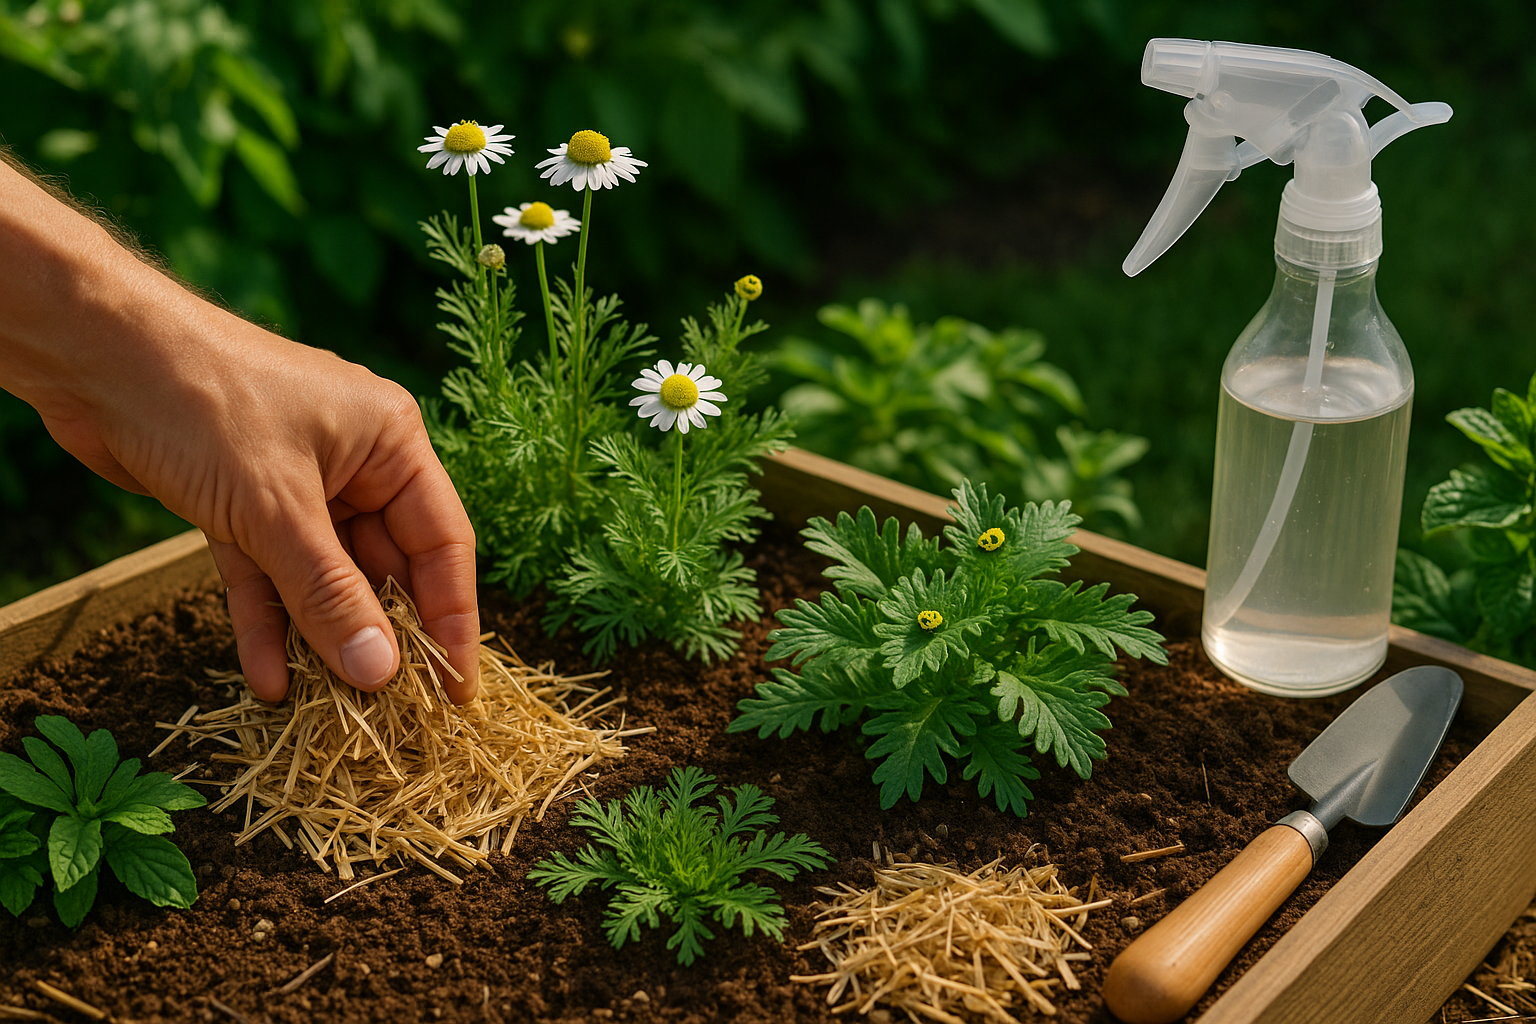
Using a layer of organic mulch, such as shredded straw or leaf mold, helps retain moisture and suppresses weeds. When it comes to fertilizing, chamomile isn’t demanding—a light feeding with compost or a balanced organic fertilizer in early spring is usually enough. Too much nitrogen can reduce flowering.
Raised beds can dry out quickly and experience fluctuating temperatures, so check soil moisture more frequently than you would with in-ground beds. Watch for common pests like aphids, thrips, and leaf miners; a strong spray of water or insecticidal soap can control light infestations, while encouraging beneficial insects like ladybugs helps maintain balance.
Powdery mildew can also be an issue, particularly in humid areas. Improve airflow by giving your chamomile adequate spacing and water at the base, not the leaves, to prevent fungal diseases.
Pruning and Maintenance
Pruning is essential: after the first flush of blooms, pinch back stems to encourage side shoots and create a fuller, bushier plant with more flowers. Deadheading spent blooms keeps plants tidy and boosts ongoing production.
Container and Tiered Raised Beds
For containers or tiered raised beds, use a well-draining potting mix and ensure plenty of drainage holes. These setups dry out even faster than standard raised beds, so be vigilant with watering routines and consider grouping pots together to create a more humid microclimate.
With these simple practices, your chamomile will thrive, offering both beautiful blooms and a steady supply for tea or homemade skincare remedies.
Companion Planting With Chamomile
Chamomile is a small but mighty addition to any raised bed, working wonders as a companion plant for a wide variety of herbs, vegetables, and pollinator-friendly flowers. It pairs especially well with basil, mint, parsley, and cilantro—herbs that not only appreciate chamomile’s gentle shade but also benefit from its ability to improve growth and flavor.
Vegetables like cabbage, broccoli, and onions also make great neighbors, as chamomile helps deter pests like aphids and cabbage moths while attracting beneficial insects such as hoverflies and ladybugs that keep harmful bugs under control.
If you enjoy a splash of color and want to encourage more pollinators, nestle chamomile among calendula and cosmos; these blooms will create a lively, buzzing patch that supports both plant health and pollinator activity.
For an easy kitchen garden combo, try grouping chamomile, tomatoes, and basil—this trio helps repel unwanted pests and creates a fragrant, productive corner.
When planting chamomile in a raised bed, tuck it along the edges or between other plants, since its low-growing habit won’t overshadow its neighbors. Water regularly, but avoid waterlogging, and enjoy how chamomile’s gentle floral aroma brings calm to your garden ecosystem.
With these simple groupings, even gardeners with limited space can harness the power of companion planting to promote healthier, more productive beds, naturally reducing the need for harsh chemicals and creating a more biodiverse, resilient micro-garden right outside the kitchen door.
Harvesting and Using Your Chamomile
Harvesting chamomile at the right time ensures you get the most flavor and benefits from your flowers. The best moment to pick chamomile is when the small, daisy-like flowers are in full bloom, with fresh and perky white petals—not drooping or falling away. Early morning, after the dew has dried but before the midday sun, is ideal for preserving essential oils and potency.
Use gentle snips or your fingertips to pluck the flower heads, aiming to harvest every couple of days as new blooms develop. This encourages more flowers and extends your harvest.
After gathering, lay the flower heads in a single layer on a clean, dry surface such as a mesh screen, paper towel, or baking rack. Place them in a cool, shaded, and well-ventilated spot for about a week, turning occasionally until they’re crisp and dry.
For storage, use airtight containers like glass jars or metal tins, and keep them away from direct sunlight to preserve their flavor and medicinal qualities.
With even a small raised bed, you’ll have enough dried chamomile for homemade herbal teas—simply steep a teaspoon of dried flowers per cup of hot water for a soothing bedtime brew. You can also sew the dried blooms into sachets to tuck into drawers, where their gentle scent helps promote relaxation, or infuse them into carrier oils for calming, homemade skin care.
From tea to self-care, homegrown chamomile is a true garden multitasker.
Troubleshooting Common Chamomile Problems in Raised Beds
Growing chamomile in raised beds is rewarding, but even experienced gardeners can face issues like yellowing leaves, leggy growth, or disappointing blooms.
If you notice yellow leaves, the culprit is often overwatering—a frequent issue in raised beds, where watering can be less predictable than in-ground gardens. To fix this, check if your bed drains well; adding coarse sand or perlite to the soil can help improve drainage. Let the top inch of soil dry before watering again, and consider watering early in the day to let moisture balance out.
Leggy, spindly chamomile usually means your plants aren’t getting enough sunlight. Raised beds may be shaded by fences or nearby plants, so be mindful of the bed’s placement. Move pots if needed, or trim overshadowing growth.
For poor flowering, ensure you’re not over-fertilizing. Raised beds are often well-fertilized, but chamomile thrives in leaner soils. Cut back on high-nitrogen fertilizers and deadhead spent flowers to encourage more blooms.
Watch closely for water pooling at the base of plants—root rot is a real threat in poorly drained raised beds. If you spot mushy roots or a foul smell, it might be time to lift the plant, prune damaged roots, and replant in fresh, airy soil. Sometimes, if most plants are wilting or stunted, it’s best to remove everything, amend the bed with organic matter and proper drainage material, and start anew.
Paying close attention to your raised bed’s water retention and sunlight exposure makes all the difference in keeping your chamomile healthy and blooming all season.