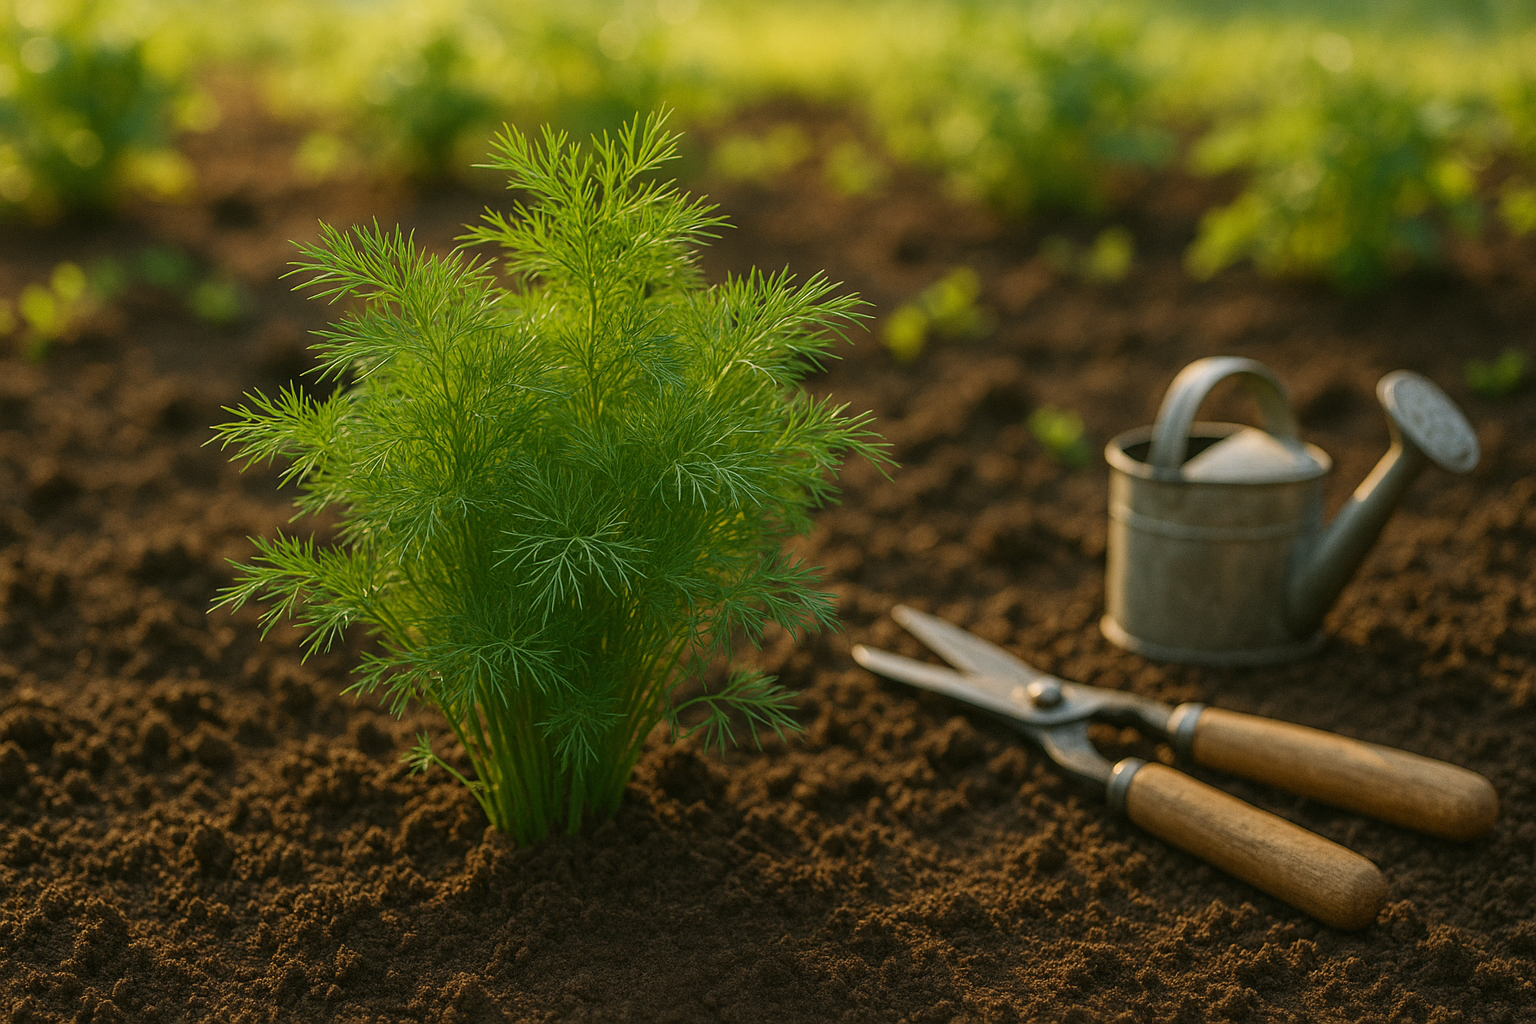
How Long Does Dill Take to Grow?
Dill is a fast-growing herb, typically ready for its first harvest about 6 to 8 weeks after planting seeds directly in the garden. If you’re eager to use fresh dill for pickling or flavoring salads, you’ll notice the feathery leaves usually appear within 10 to 14 days, with full, lush growth following soon after.
For a continuous supply, try sowing seeds every couple of weeks in well-drained soil and a sunny spot—the more you cut, the more it grows back!
Keep in mind, dill bolts quickly in hot weather, so consider planting in early spring or fall for the best results.
Dill Growth Timeline
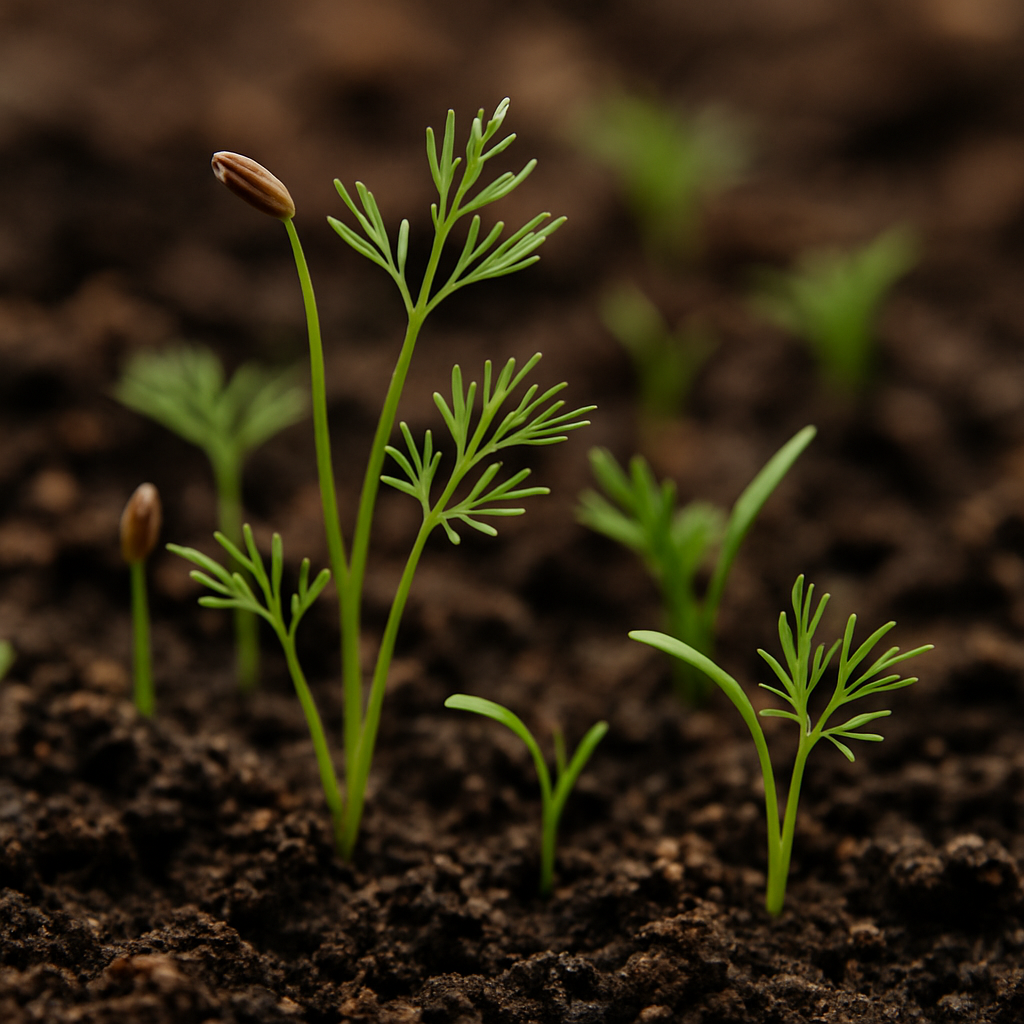
Dill is a rewarding herb to grow, and understanding its growth timeline will help you enjoy fresh leaves and seeds at just the right moments. Typically, dill seeds germinate within 7 to 14 days after sowing, as long as the soil is kept moist and temperatures stay between 60°F and 70°F (15°C to 21°C).
For most gardeners, the best approach is to sow seeds directly outdoors after the last frost, since dill doesn’t like to be transplanted. Once seedlings emerge, they quickly develop their feathery leaves, and you can start harvesting tender foliage in about 40 to 60 days—perfect for adding fresh dill flavor to salads or pickles.
If you want to collect dill seeds, allow the plants to continue growing and flowering. Seeds typically mature around 85 to 90 days after sowing.
However, several factors can affect this timeline:
- Cooler climates may slow down germination and growth.
- Hot, dry weather can cause dill to bolt, sending up flower stalks sooner than expected.
- Growing dill indoors can speed up sprouting due to consistent warmth, but indoor plants may become leggy without enough sunlight.
To improve growth no matter where you plant your dill, make sure it receives at least 6 to 8 hours of full sun daily and is planted in well-drained soil. Succession planting—sowing a few seeds every couple of weeks—can also ensure a steady supply of fresh leaves throughout the season.
Regularly check your plants for pests like aphids, because healthy growth is key to a bountiful harvest. Whether you’re harvesting leaves in early summer or saving seeds for seasoning and next season’s planting, following this timeline will help you get the most from your dill garden.
Best Time and Conditions to Plant Dill
The best time to plant dill is in early spring, after the last frost, when soil temperatures consistently reach at least 60°F (15°C). Dill thrives in cool, mild weather, making late spring or early summer ideal for sowing seeds outdoors. For gardeners in warmer climates, fall planting also works well since dill can tolerate light frost but struggles in intense heat.
Aim for soil that is loose, well-draining, and slightly acidic to neutral, with a pH between 5.5 and 7.5. Amending your garden bed with compost before planting improves soil structure and provides a nutrient boost. Dill loves full sun, so choose a location that receives at least six hours of direct sunlight daily. Too much shade can lead to leggy plants with fewer flavorful leaves.
When sowing, space seeds 12–18 inches apart because dill can grow tall and bushy. Good airflow helps prevent disease. Growing dill in containers is a great option for small spaces or patios, but use a pot that’s at least 12 inches deep to accommodate its taproot. Container soil dries out faster, so check moisture regularly and water as needed.
Both in-ground and container dill grow at similar rates if cared for properly. However, container plants may bolt—or go to seed—sooner in hot weather due to increased temperature fluctuations. Whichever method you choose, providing the right conditions ensures your dill grows vigorously and develops that signature fresh, aromatic flavor.
Key Stages of Dill Growth
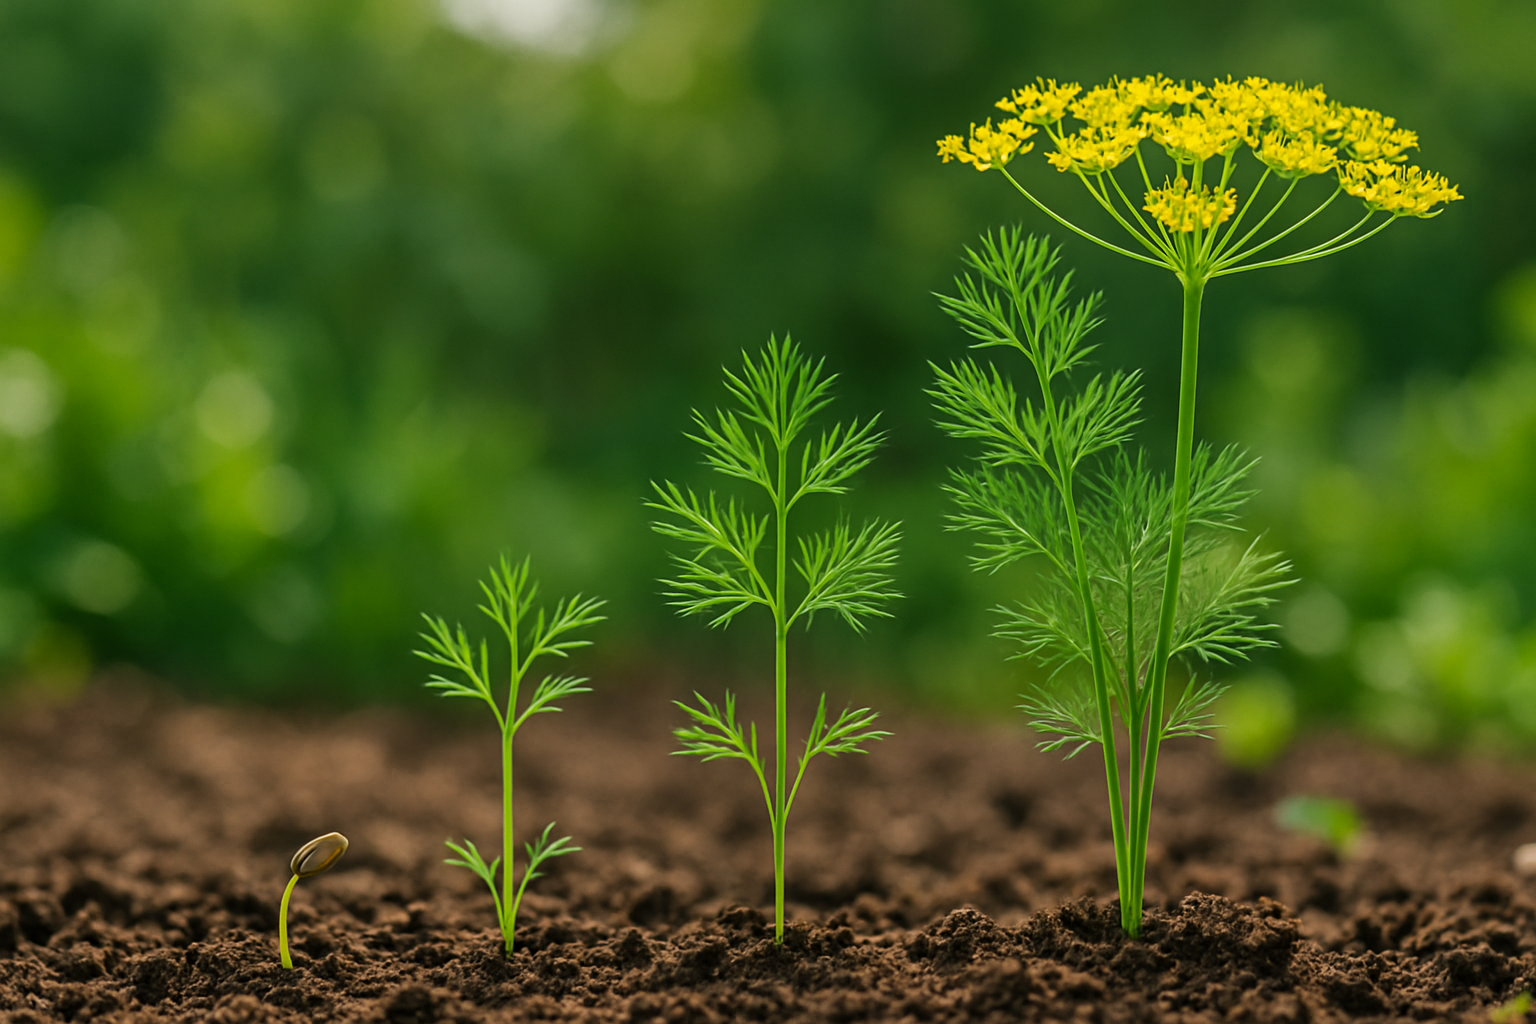
Understanding the key stages of dill growth can help gardeners nurture healthy, productive plants from seed to harvest. Dill begins its journey with seed germination, where tiny seeds swell and sprout within 7–14 days if kept in moist, well-drained soil at a temperature around 60–70°F. At this early stage, ensure the soil stays damp but not soggy—gentle misting works best.
Once the seeds break ground, seedling emergence follows. You’ll see slender, grass-like shoots that gradually develop into delicate, feathery leaves. Seedlings need plenty of sunlight and proper spacing to prevent crowding—thin them so each plant has about 12 inches of space.
As dill enters its vegetative leaf growth stage, the plant grows taller and fuller, producing lush, aromatic fronds. This is the best time to harvest fresh leaves; they’re most flavorful just before the plant starts flowering, usually when the main stem reaches 12–18 inches tall. During this period, keep the soil consistently moist and watch for pests like aphids.
When dill reaches the flowering stage, umbrella-shaped yellow flower heads bloom atop long stalks. This signals the plant is shifting energy from leaf growth to seed production. To collect seeds, wait for the flower heads to turn brown and dry out—a clear sign that seed pods are mature. Simply cut the heads and shake them into a paper bag to release the seeds.
By recognizing these stages and meeting the plant’s changing needs, you’ll enjoy a steady supply of fresh dill leaves and seeds for your kitchen.
Harvesting Dill
Knowing the right time to harvest dill makes all the difference in both flavor and plant health. For leafy dill, look for full, feathery leaves that are vibrant green and at least 6 inches tall—this is typically about 6-8 weeks after planting.
Snip sprigs in the morning when essential oils are most concentrated; cut the outer leaves first, using clean scissors just above a leaf node to encourage bushier growth.
For seed harvesting, wait until the flower heads turn brown and the seeds turn tan or light brown, usually about two to three weeks after flowering ends. To collect seeds, snip the seed heads into a paper bag and allow them to dry in a warm, airy spot—shaking the bag occasionally helps release any stubborn seeds.
Regular harvesting encourages continuous leaf growth and keeps the plant producing for a longer period, preventing it from bolting or going to seed too early. Don’t take more than one-third of the plant at any one time to avoid stressing it—regular, mindful cutting ensures a steady supply for your kitchen and a healthier, longer-lasting dill plant.
Common Problems and Solutions for Dill Growth
Dill is a fairly hardy herb, but it’s not without its challenges. Common issues include pests like aphids and caterpillars, fungal diseases such as powdery mildew, and environmental stresses from poor soil, overcrowding, or inconsistent watering.
If you spot tiny green bugs clustered on stems or tender leaves, you’re likely dealing with aphids. A quick blast of water or a gentle spray of soapy water can help remove them without harming your plant. Caterpillars, especially those from swallowtail butterflies, can be picked off by hand.
For fungal issues like powdery mildew, prevent problems by ensuring good air circulation. Thin out overcrowded plants and water at the base rather than overhead to avoid soggy foliage. Dill prefers well-drained soil and plenty of sunlight, so choose a location that gets at least six hours of sun each day and make sure pots or garden beds drain freely.
If your dill looks leggy, pale, or slow-growing, it may be suffering from nutrient deficiencies or insufficient light. Try amending the soil with compost or a balanced organic fertilizer, and trim back overgrown stems to encourage bushier, healthier growth.
For severely stressed plants, cut back damaged portions and monitor for new growth—dill often rebounds quickly if the root system is still healthy. Mulching around the base can help retain moisture in hot weather, while regular, moderate watering supports robust roots without creating waterlogged conditions.
With these simple interventions, you can help your dill thrive throughout the growing season.
Storing and Using Fresh Dill
Fresh dill is best enjoyed soon after harvest, but with proper storage, you can extend its vibrant flavor. To refrigerate, trim the stems and place them in a glass of water. Loosely cover the top with a plastic bag and change the water every couple of days—this will keep the leaves crisp for about a week.
Alternatively, wrap the dill in a damp paper towel and seal it in a plastic bag before refrigerating. For long-term storage, freezing is a great option: chop the dill and pack it into ice cube trays, topping them with water or olive oil. Freeze the cubes for easy use in soups, stews, and other dishes.
Drying dill is another method. Tie small bunches and hang them in a warm, airy spot. Once the leaves are brittle, crumble them into a jar. Keep in mind that drying slightly weakens dill’s fresh, citrusy flavor, so use more dried dill in recipes to make up for the difference.
Culinary Uses
- Fresh dill leaves are classic in tzatziki, potato salads, seafood dishes, and as a sprinkle over roasted vegetables.
- Dill seeds add a warm, slightly bitter note to pickling brines, rye breads, and spice blends.
Always handle dill gently and avoid cutting it too far in advance. Fresher dill provides a brighter, more aromatic lift to your dishes.