How to Grow Sage at Home (Beginner Guide)

Start growing sage at home by choosing a sunny spot—this herb thrives with at least six hours of direct sunlight daily. Use well-draining soil, whether in your garden or a pot, to prevent root rot. Since sage seeds can be slow to sprout, many beginners prefer to start with ready-grown seedlings from a nursery.
Water sparingly, allowing the soil to dry out between waterings, as sage prefers to stay on the dry side. Prune the leaves regularly to encourage bushy growth, and harvest just a few leaves at a time to keep your plant healthy. With these simple steps, you’ll have fresh, aromatic sage for your kitchen in no time.
Why Grow Sage?
Sage is an incredibly versatile herb that has been treasured for centuries, holding a place in both ancient medicine cabinets and modern kitchens. Known for its earthy, slightly peppery flavor, sage is a staple in countless savory dishes—from holiday stuffing to roasted chicken and homemade sausages. Just a few leaves can elevate your cooking.
Its aromatic qualities also make it a favorite for crafting fragrant teas or freshening up the kitchen air. Beyond its culinary appeal, sage offers meaningful health benefits, including anti-inflammatory and antioxidant properties that support immune health and digestive wellness.
The best part? Sage is perfect for beginner gardeners because it’s easy to grow, drought-tolerant, and rarely troubled by pests. It thrives in pots on sunny balconies as well as in backyard herb beds, filling your space with silvery-green leaves that are both beautiful and practical.
Adding sage to your herb garden boosts variety and ensures you always have fresh, aromatic sprigs on hand for cooking, wellness remedies, or natural home fresheners. Whether you’re a culinary enthusiast or a first-time gardener, sage is a rewarding addition that brings flavor, fragrance, and simple joy right to your doorstep.
Choosing the Right Sage Variety & Starting Methods
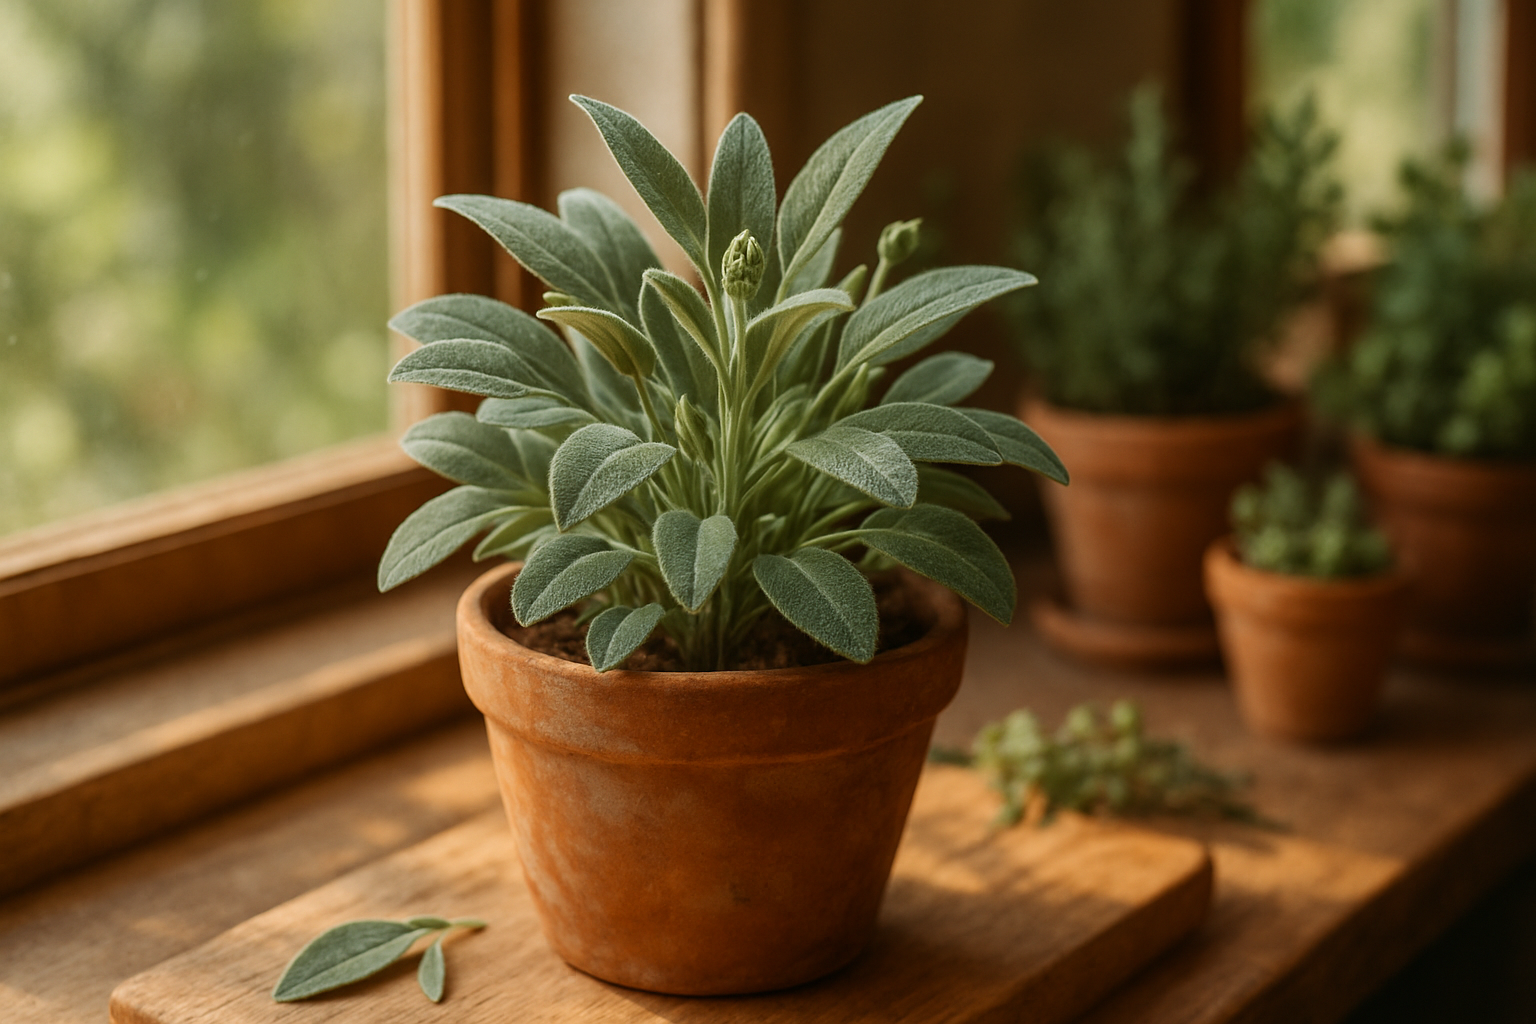
When starting your sage garden, choosing the right variety makes all the difference—especially if you’re a beginner. Three popular and beginner-friendly types are common garden sage (Salvia officinalis), with its classic silvery leaves and robust flavor; purple sage, which adds a splash of color and mild taste; and golden sage, known for its attractive variegated leaves and softer notes.
Starting sage from seeds is budget-friendly and offers many options, but patience is key—germination can be slow, and seedlings delicate. Using cuttings is faster: simply snip a healthy sprig from an existing plant, root it in water or soil, and you’ll likely see growth within weeks. However, you’ll need access to a mature plant.
Opting for young plants from a nursery saves the most time and effort—the plant is already established and just needs to acclimate to your garden. Whichever method you choose, make sure to buy seeds or plants from reputable nurseries or garden centers. Look for seeds with a recent packing date and healthy, disease-free leaves on young plants. Avoid any that appear wilted, spotted, or have pests.
Local sources, like community plant sales or farmers’ markets, are excellent places to find robust starter plants grown in your climate. Ultimately, start small with one or two varieties, focus on healthy starts, and you’ll find sage surprisingly resilient and rewarding to grow.
Planting Sage
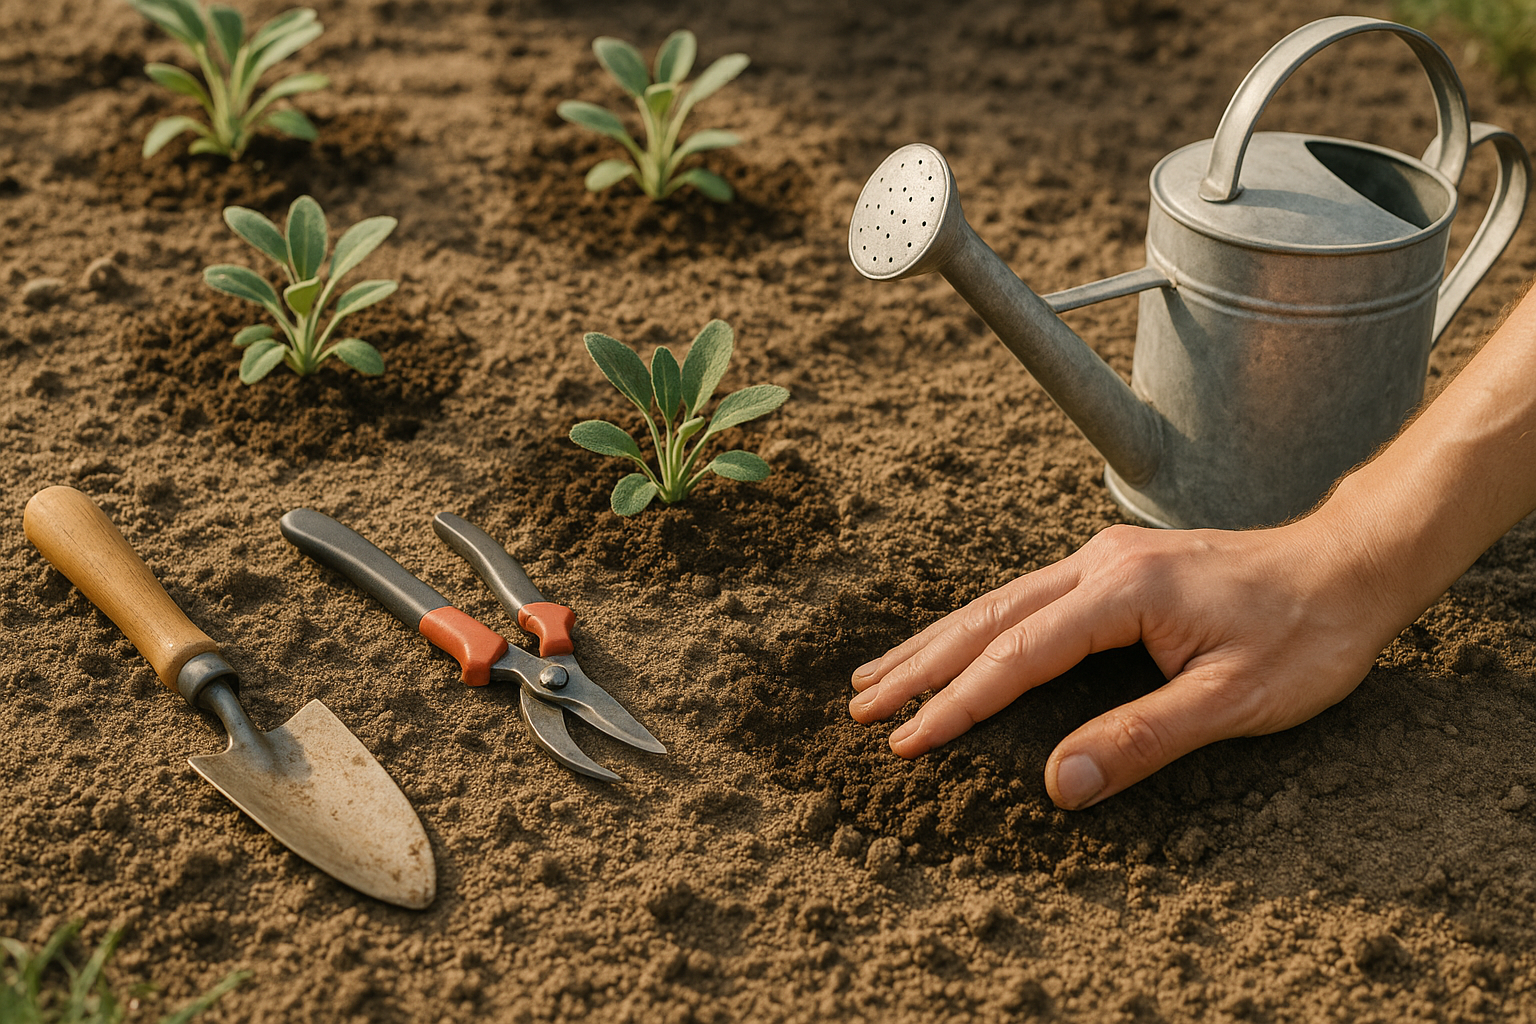
Planting sage is simple, whether you’re growing it indoors or outdoors, as long as you follow a few essential steps. For indoor pots or containers, start by choosing one with drainage holes to prevent soggy roots—sage hates wet feet. Use a well-draining potting mix, ideally made for Mediterranean herbs, and place your seeds or transplants just below the surface.
Position your container on a sunny windowsill where your sage will get at least 6-8 hours of bright, direct light each day. Outdoors, select a garden bed with full sun exposure and loose, sandy soil that won’t hold too much moisture. Work compost or sand into clay-heavy soil to boost drainage, and avoid common beginner mistakes like planting sage in shade or rich, water-retentive soil.
Whether indoors or out, sow seeds about a quarter inch deep and 12-18 inches apart if planting more than one, since sage needs airflow to fend off fungal problems. Water sparingly; let the top inch of soil dry out between waterings—overwatering is a classic error that can kill young plants.
Be mindful of temperature: sage likes it warm, ideally between 60-70°F, and should be protected from frost. Move pots outside only after the danger of frost has passed, or use a cold frame for early starts. Remember, don’t crowd your sage with other plants and resist the urge to fertilize heavily—too much feed makes leaves less flavorful and plants leggy.
With these tips, you’ll have vibrant, aromatic sage for cooking and garden beauty.
Caring for Your Sage Plant
Keeping your sage plant healthy and thriving isn’t complicated, but it does require a bit of attention to its unique preferences. Start with sunlight: sage loves at least 6 to 8 hours of direct sun daily, so choose a bright spot whether you’re growing it in a garden bed or a pot on your balcony.
If your sage seems leggy, pale, or slow-growing, it may not be getting enough light—move containers to sunnier spots or trim back neighboring plants that cast shade.
Watering is another key factor; sage prefers its soil a little on the dry side, so allow the top inch to dry out before watering again. Overwatering can cause root rot, especially in containers where drainage is limited, so use a pot with holes and well-draining potting soil.
Fertilizer should be used sparingly: feed established plants once in early spring with a balanced, all-purpose fertilizer or a bit of compost.
Regular pruning not only keeps sage compact but also encourages bushier growth—pinch off the top couple of inches from stems or harvest leaves frequently, especially before the plant flowers. To promote fuller growth, avoid letting it flower during the first year.
In hot summers, garden-planted sage might not need extra water unless the soil is very dry, but container plants often dry out faster and may need checking daily.
During winter, sage is generally hardy outdoors, but you can mulch around garden plants’ roots for added insulation. In containers, move sage to a sheltered spot or indoors to protect it from deep freezes.
Signs of stress to watch out for include wilting (usually from underwatering or root-bound pots), yellowing leaves (potential overwatering), or leaves that drop quickly (which could signal heat or water issues).
By tailoring your approach to each season and adjusting for container versus garden planting, your sage plant will reward you with lush, aromatic foliage all year round.
Harvesting and Using Sage
The best time to harvest sage is in the morning, just after the dew has dried but before the sun gets too strong. This is when the essential oils in the leaves are most concentrated. Wait until your sage plant is well-established—typically in its second year—then snip leaves or small stems using sharp scissors or garden shears.
Be sure to cut above a leaf node, and never take more than one-third of the plant at once so it continues producing vigorously. To preserve your harvest, tie sage stems into small bundles and hang them upside down in a dry, well-ventilated spot out of direct sunlight. The leaves will dry in about 1–2 weeks.
Once fully dried, crumble the leaves and store them in a tightly sealed jar in a cool, dark pantry, where they’ll keep their flavor for months. You can also freeze sage: lay whole leaves flat on a baking sheet, freeze them, then transfer to a freezer-safe bag or container.
Culinary uses for sage abound—it’s delicious chopped into roasted vegetables, tucked under the skin of chicken before roasting, or stirred into butter for a flavorful pan sauce. Don’t overlook its household benefits either: sage’s earthy aroma makes it perfect for homemade sachets to freshen drawers, or even in natural cleaning sprays thanks to its antimicrobial properties.
With a little simple care, homegrown sage can elevate both your cooking and your home.
Troubleshooting Common Problems
When growing sage, it’s important to watch out for common pests and diseases to keep your herb garden thriving. Aphids, tiny green or black insects, often cluster on new growth and suck the plant’s juices, leaving leaves curled or sticky. Another common issue is powdery mildew, which appears as a white, powdery film on the leaves, usually when there’s poor air circulation or excess moisture.
Healthy sage has firm stems and silvery-green, aromatic leaves. Trouble signs include yellowing, wilting, or spots on the leaves—symptoms that may indicate pests, fungal infections, or root problems caused by overwatering.
Organic solutions are best for home gardeners:
- Blast aphids off with a strong spray of water or gently wipe leaves with a diluted mixture of mild soap and water.
- To prevent powdery mildew, water the soil instead of the leaves, space your sage plants for good airflow, and remove any infected foliage promptly.
- Companion planting with onions or garlic can naturally deter pests.
- Mulching helps reduce splashback that promotes fungal spread.
Regularly inspect your sage and prune it back to encourage healthy new growth. Early attention and organic care are your best defenses for a lush, productive plant.