Understanding Yellowing in Chive Leaves
Yellowing in chive leaves is a common sign that can indicate a variety of plant health issues, and understanding the cause is essential for proper care. Chives naturally shed their oldest leaves, so some yellowing at the base of the plant is normal as these leaves age and make way for new growth.
However, when yellowing appears suddenly, spreads rapidly, or affects younger leaves, it’s usually a red flag that something is wrong. Environmental stressors like overwatering or poor drainage can deprive roots of oxygen, triggering widespread yellowing. Conversely, underwatering leaves roots parched and unable to support healthy leaf tissue.
Nutrient deficiencies—especially a lack of nitrogen—can also cause chive leaves to turn pale or yellow, signaling that the plant isn’t getting what it needs to produce chlorophyll. Insect pests such as aphids and fungal diseases like downy mildew might be culprits, causing patchy yellow spots or streaks.
What Backyard Gardeners Should Do
- Check for soggy soil and monitor watering habits carefully.
- Inspect leaves regularly for pests or unusual markings.
- Mulch around the base of chive plants to retain moisture without causing waterlogging.
- Fertilize lightly but regularly to keep plants nourished.
If yellowing occurs mainly at the tips of older leaves, it may simply be the normal aging process. But yellowing across the entire plant calls for closer inspection. Promptly removing severely yellowed leaves can prevent disease spread and help the plant redirect its energy.
Ultimately, yellowing is the plant’s way of signaling distress. Ignoring it can lead to stunted growth or even plant loss. By staying observant and addressing issues early, you can keep your chive patch lush and productive throughout the growing season.
Diagnosing the Cause
When your plant’s leaves start turning yellow, it can feel overwhelming to pinpoint the exact reason, but taking a systematic approach can make diagnosis easier.
Start by checking the soil moisture. Overwatering is a common culprit since wet roots can’t absorb oxygen, leading to yellow, wilting leaves. Let the soil dry slightly before watering again, and always use pots with drainage holes. On the other hand, underwatering also causes yellowing, typically starting with dry, crispy leaf edges, so monitor how quickly the soil dries between waterings.
Next, inspect the leaves up close. If you see specks, webbing, or sticky residue, pests like spider mites, aphids, or scale insects may have moved in. Tiny holes or distorted growth often indicate an insect problem.
Afterward, evaluate for nutrient deficiencies. Yellowing that starts at the leaf tips or between veins—especially on older leaves—may indicate a nitrogen shortage, while slow new growth can signal a lack of iron or magnesium. Using a balanced fertilizer can help correct these issues.
Don’t forget to consider environmental factors: plants kept in low light or exposed to sudden drafts, extreme heat, or cold may protest by yellowing.
Finally, watch for signs of disease like brown spots, mold, or a musty smell. Removing affected leaves and improving air circulation helps prevent the spread.
By checking each factor in turn—moisture, pests, nutrition, and environment—you’ll be able to narrow down the root cause, take targeted action, and help your plant regain its health. Remember, yellow leaves can be a plant’s way of communicating distress, and a patient, observant approach often leads to a quick recovery.
Watering Habits
Chives thrive in soil that is consistently moist but never waterlogged—think of a wrung-out sponge, not a soggy puddle. If the soil dries out completely, you’ll notice the chives’ leaves starting to wilt, yellow, or develop a papery texture. On the other hand, overwatering can cause limp, yellowed leaves and a mushy base, both warning signs of root rot.
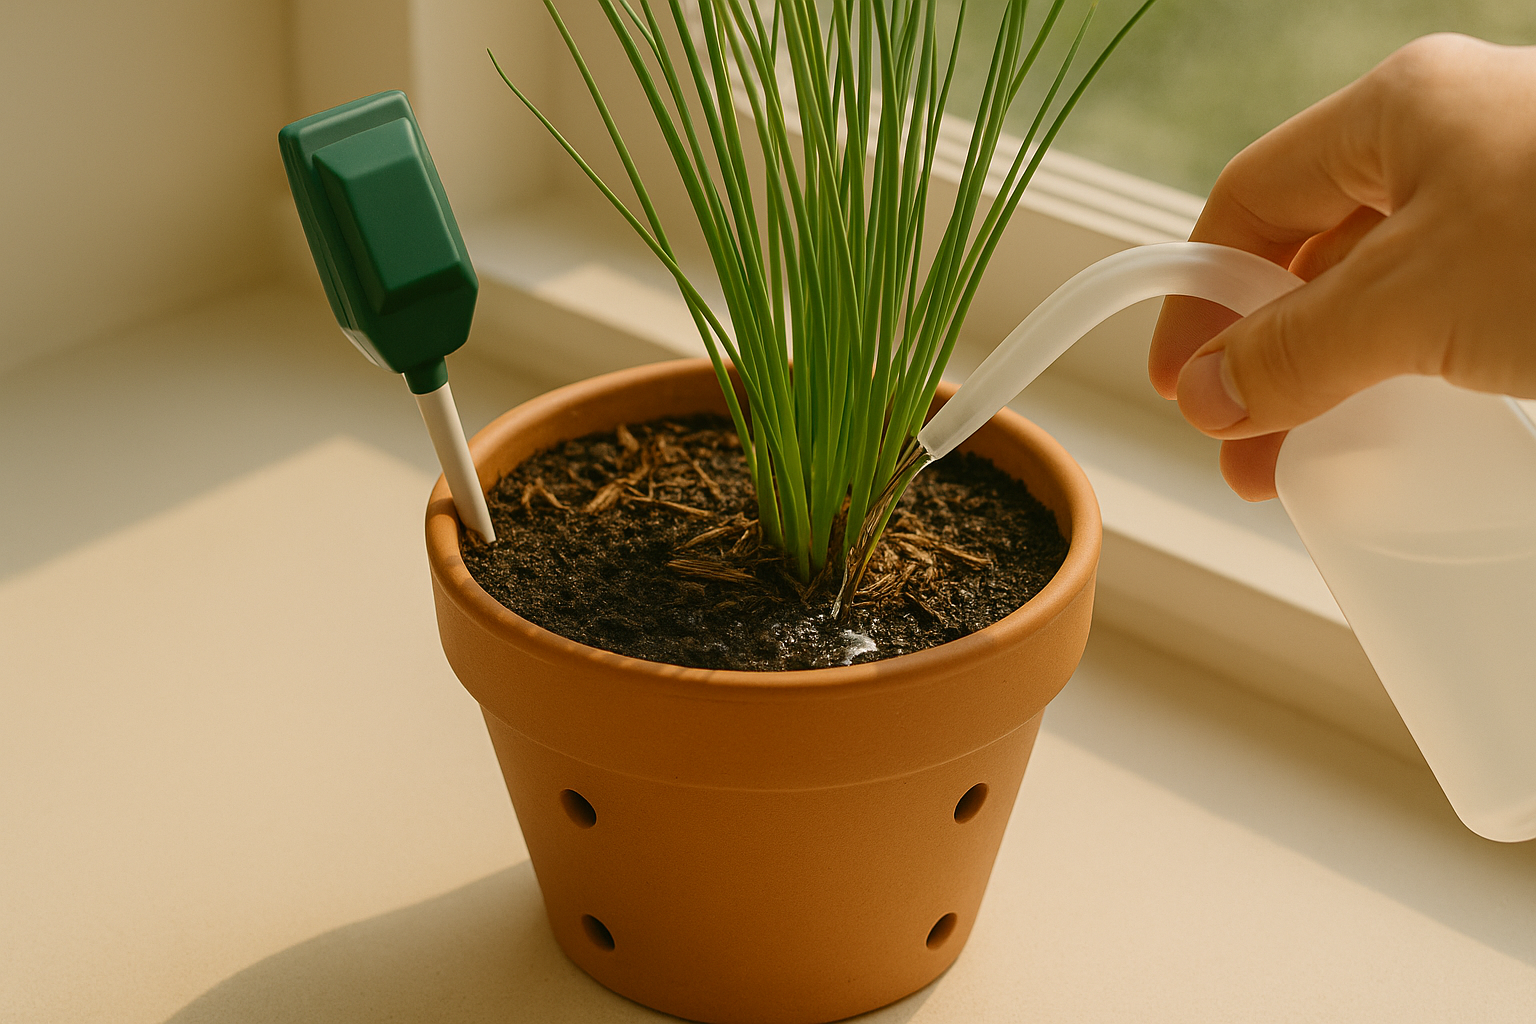
To hit the moisture sweet spot, try the simple finger test: stick your finger an inch into the soil. If it feels dry, it’s time to water; if it’s still damp, hold off. Moisture meters can also be helpful, especially if you tend to over- or underestimate soil dryness.
For potted chives, always use containers with drainage holes and empty saucers regularly so water doesn’t pool at the roots. Outdoors, amend heavy soil with compost or sand to improve drainage and prevent soggy patches.
A good rule of thumb is to water deeply but less frequently—about once or twice a week, more often in hot conditions and less during rainy spells—allowing the top inch of soil to dry out between waterings. Mulching around the base helps retain steady moisture and protects roots from temperature swings.
With these easy checks and adjustments, you can keep your chives healthy, flavorful, and free of common pitfalls caused by watering mistakes.
Nutrient Deficiencies
Yellowing chive leaves are a clear sign your plant isn’t getting the nutrients it needs—especially nitrogen, which is essential for lush, green growth. If you notice the lower, older leaves turning pale or yellow while the rest of the plant appears weak, nitrogen deficiency is likely the culprit.
However, yellowing can also result from overwatering, poor drainage, or fungal diseases, so always check the soil moisture and root health before reaching for fertilizer.
When you’re confident a nutrient deficiency is the issue, choose a balanced fertilizer with slightly higher nitrogen content, like a 10-5-5 formulation. Apply it in early spring when growth starts, and again in midsummer if needed.
For organically grown chives, try top-dressing with well-rotted compost, worm castings, or a sprinkle of blood meal. These options nourish the soil without synthetic chemicals.
Always water after fertilizing to help nutrients reach the roots and avoid leaf burn. Never exceed the recommended amount, as over-fertilizing can harm your plants. Sprinkling compost or organic mulch around the base every few weeks also feeds chives slowly and improves soil structure.
With the right feeding routine, your chives will reward you with vigorous, tasty, dark green leaves—perfect for snipping fresh whenever you want a burst of oniony flavor.
Pests and Disease
Yellowing leaves are often the first sign that your plants may be under attack from pests or fungal diseases. Common culprits include aphids, which cluster along stems and the undersides of leaves, and thrips, tiny insects that leave silvery trails or speckles as they feed.
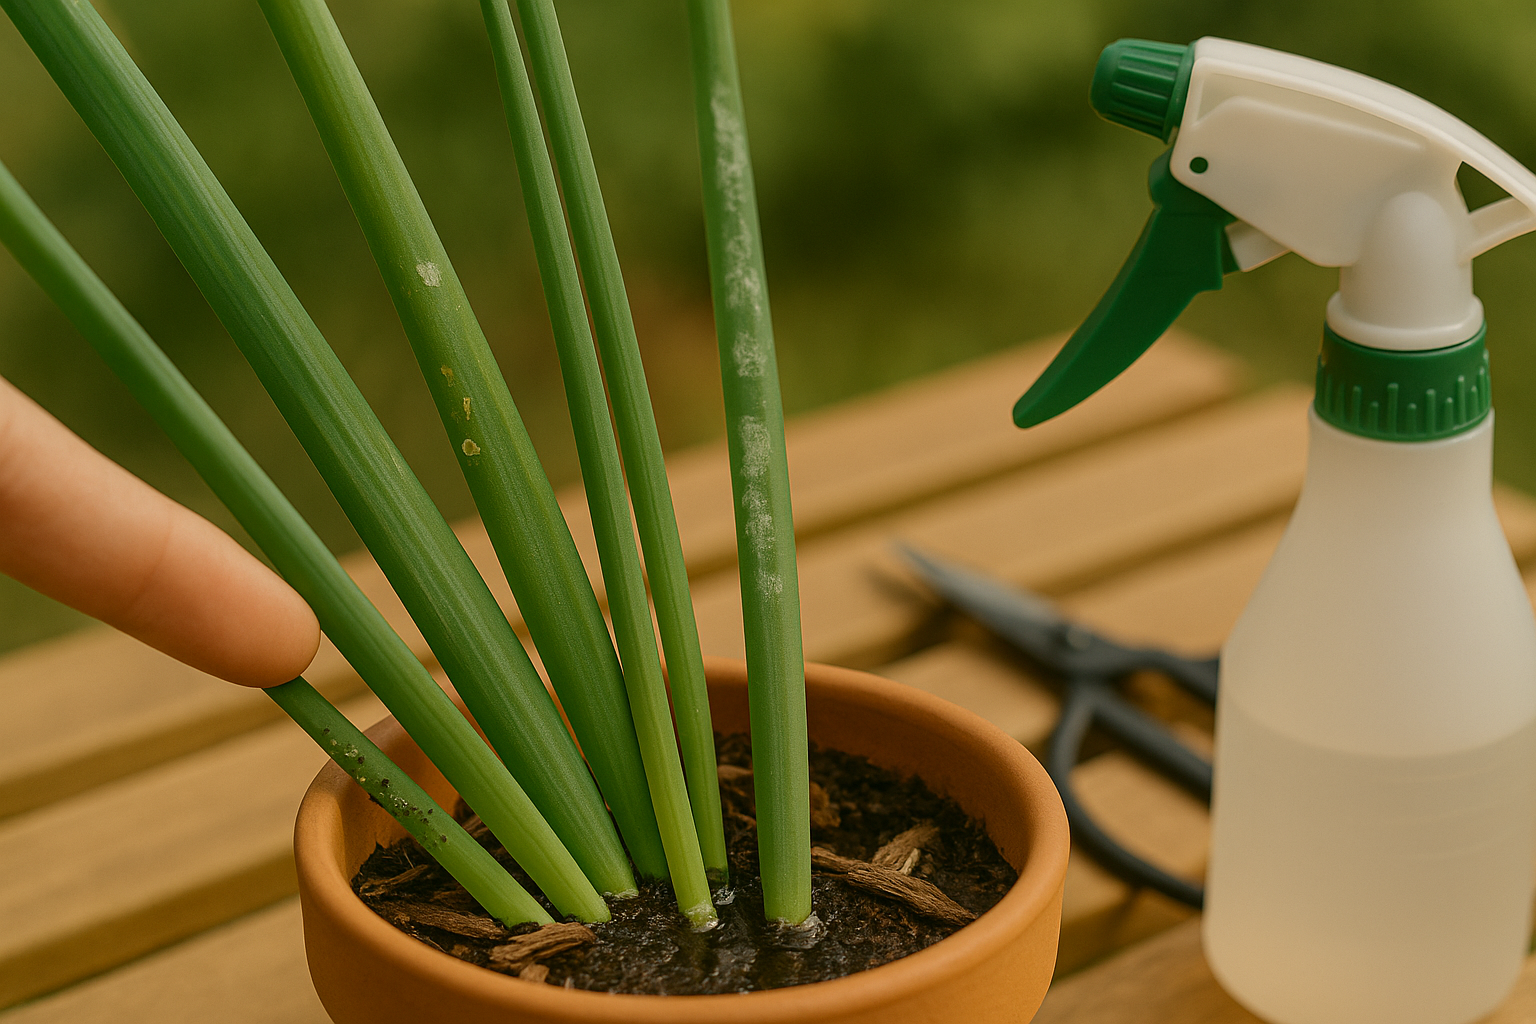
Fungal diseases like powdery mildew or root rot also cause yellowing; look for white powdery spots, fuzzy patches, or a musty smell coming from the soil.
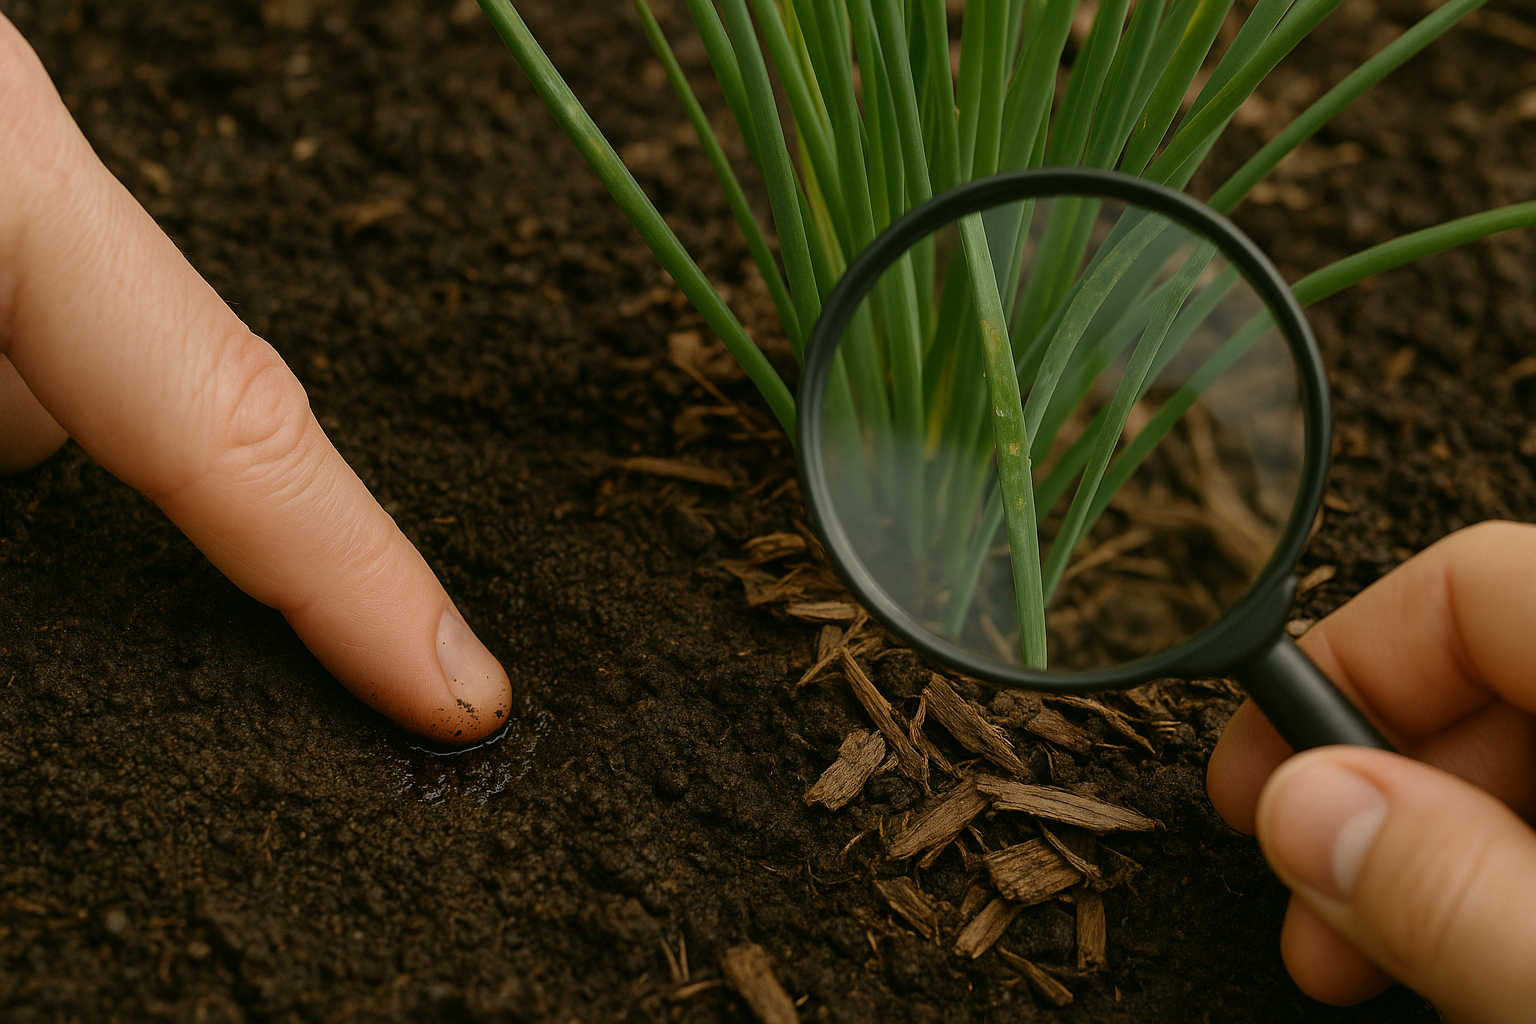
To check for pests, turn leaves over and inspect with a magnifying glass for tiny bugs or eggs. You can also gently tap foliage over a white sheet to dislodge hidden insects. For fungal issues, examine stems and soil for abnormal spots or molds.
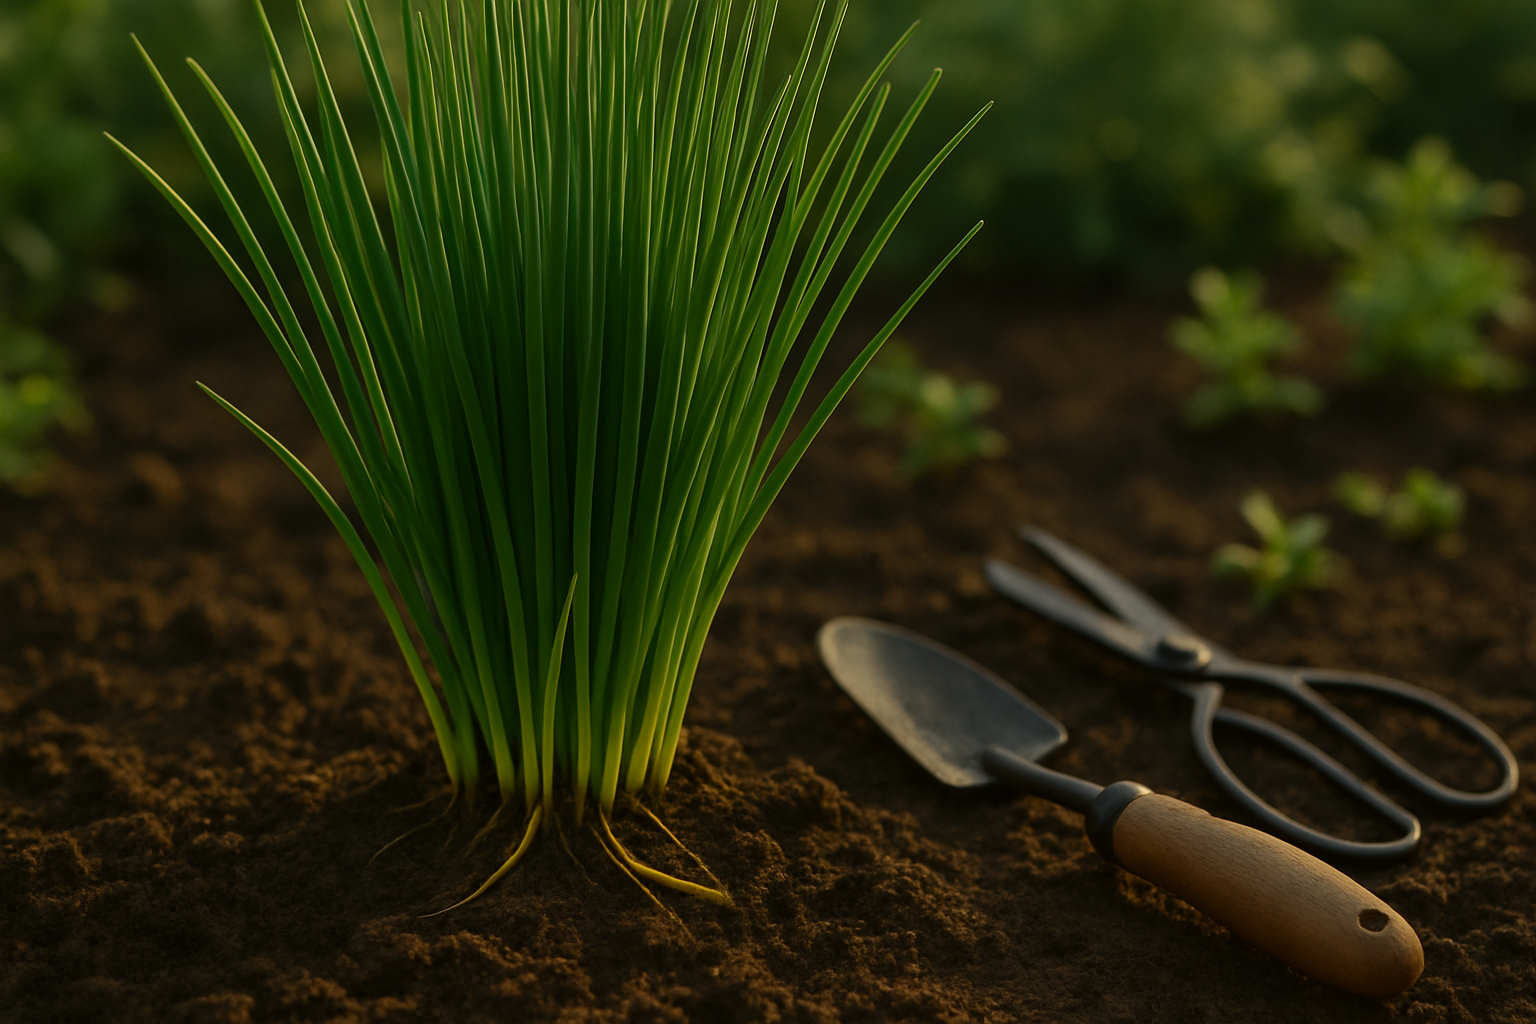
When you spot a problem, act quickly. Non-toxic treatments work wonders: spray plants with a solution of diluted dish soap or neem oil to suffocate pests. Carefully remove and discard yellowed or infected leaves using sterilized scissors, then increase airflow around plants by spacing them out.
Prevent future infestations by regularly washing your tools, keeping your garden tidy, and watering at the base of plants to avoid creating a humid environment that fungi love. Companion planting with marigolds or basil can naturally repel pests, while mulching helps keep soil fungus-free.
Take a proactive approach—inspecting plants weekly makes it easier to catch threats early and save your greenery from permanent damage.
Optimizing Growing Conditions to Prevent Yellowing
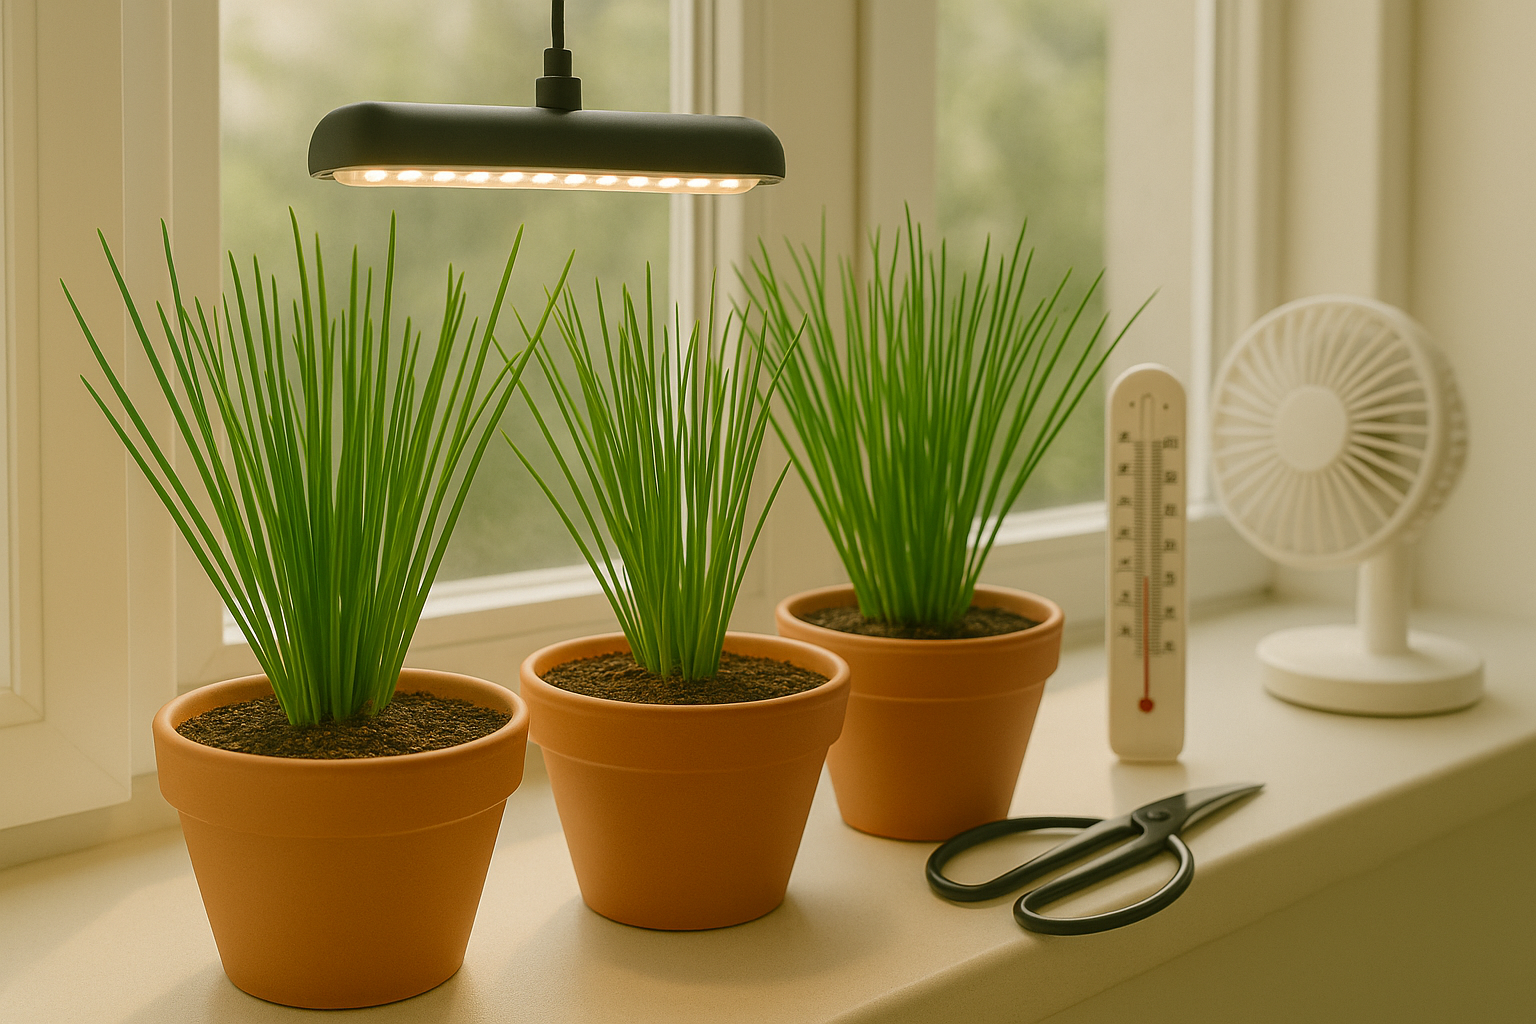
Keeping your chives vibrant and green starts with providing the right environment. Chives love sunlight, so aim for at least six hours of direct light daily—place potted chives on a sunny windowsill, and plant garden chives in a south-facing spot if possible. If you’re growing indoors and natural light is limited, a simple LED grow light can make a big difference.
Chives thrive in moderate temperatures, ideally between 60 and 75°F (15–24°C), so protect outdoor plants from scorching midday heat or frost. Good airflow is crucial to keep leaves dry and prevent fungal issues: for potted chives, avoid crowding on your windowsill, and for garden chives, leave space between plants and avoid overwatering.
Refresh the potting mix yearly for potted chives, and dig in compost around garden-grown plants each spring for a nutrient boost.
Regular preventive care is the secret to vigorous growth:
- Divide overgrown clumps every two or three years to prevent competition for resources.
- Trim leaves often, even if you’re not cooking with them—this encourages new shoots.
- Check for signs of soil exhaustion or compaction.
These simple routines, combined with attentive care, help prevent yellowing and keep your chives lush, healthy, and flavorful all season long.
Reviving Yellowing Chives
If your chives are turning yellow, act quickly to help them recover. Start by gently trimming away any yellow or dead leaves with clean scissors—this prevents the plant from wasting energy on unhealthy growth.
Next, check your care routine: chives thrive with 6-8 hours of sunlight daily, so move them to a sunnier spot if needed. Make sure the soil stays consistently moist but not soggy; overwatering is a common cause of yellowing, so let the top inch of soil dry out between waterings.
Avoid heavy fertilizer, as chives do best with light feeding every 4-6 weeks using a balanced, diluted liquid fertilizer. Improvement usually starts within two weeks, but if yellowing continues or worsens after a month, reassess factors like light, water, soil, and crowding—or consult a local garden center for expert advice.
Keep a close eye on your chives, looking out for pests or disease, and maintain a routine of gentle watering and occasional feeding. Regular observation helps you catch issues early, so your chive patch can stay robust and productive all season long.