
Introduction
Do chives regrow? If you love having fresh herbs at your fingertips, you’ve probably wondered about this while tending your kitchen garden. Chives, with their mild onion flavor and bright green stalks, are a favorite among home gardeners and chefs alike. Their hardy nature makes them an ideal choice for both beginners and experts who want to snip a few stems whenever a recipe needs an aromatic boost.
But what happens after you harvest those flavorful leaves? Can your chive plant bounce back, or do you have to sow seeds all over again to enjoy more harvests?
In this blog post, we’ll answer the core question: Do chives regrow after cutting? We’ll explore how the unique growth habits of chives make them an incredibly sustainable herb to grow, offering tips on the best way to cut chives for maximum regrowth and flavor. You’ll also learn about the timing and frequency of harvests to ensure your plant keeps producing throughout the season. Plus, we’ll share practical examples from seasoned gardeners and common mistakes to avoid, so you can enjoy a thriving pot or garden bed of chives for months on end.
Understanding Chives
Chives are a perennial herb known for their resilience, subtle onion-like flavor, and delicate, grass-like leaves. Unlike annual herbs that need to be replanted each year, chives reliably return every spring, making them a low-maintenance favorite for both beginner gardeners and seasoned cooks.
Their lifecycle begins with small, underground bulbs that survive winter by storing nutrients and sending up fresh green shoots as soon as the soil warms in early spring. These slender, hollow leaves can be harvested throughout the growing season, and as you snip, more will regrow—a testament to their robust, clump-forming root system.
In late spring or early summer, charming purple pom-pom flowers emerge, attracting pollinators and adding ornamental value. The flowers themselves are edible, offering a mild zing to salads or garnishes.
Chives thrive in garden beds, herb spirals, or containers, requiring little more than well-drained soil and sun, though they’ll tolerate partial shade. For gardeners, their reliable regrowth means you can count on fresh herbs without replanting—just cut what you need, and the plant keeps producing.
To keep chives healthy year after year, split dense clumps every few seasons and mulch lightly to conserve moisture. Whether edging a vegetable plot or tucked into a kitchen windowsill pot, chives bring hardy growth, subtle flavor, and cheerful bursts of color to any garden, embodying the enduring appeal of perennials.
How Chives Regrow After Cutting
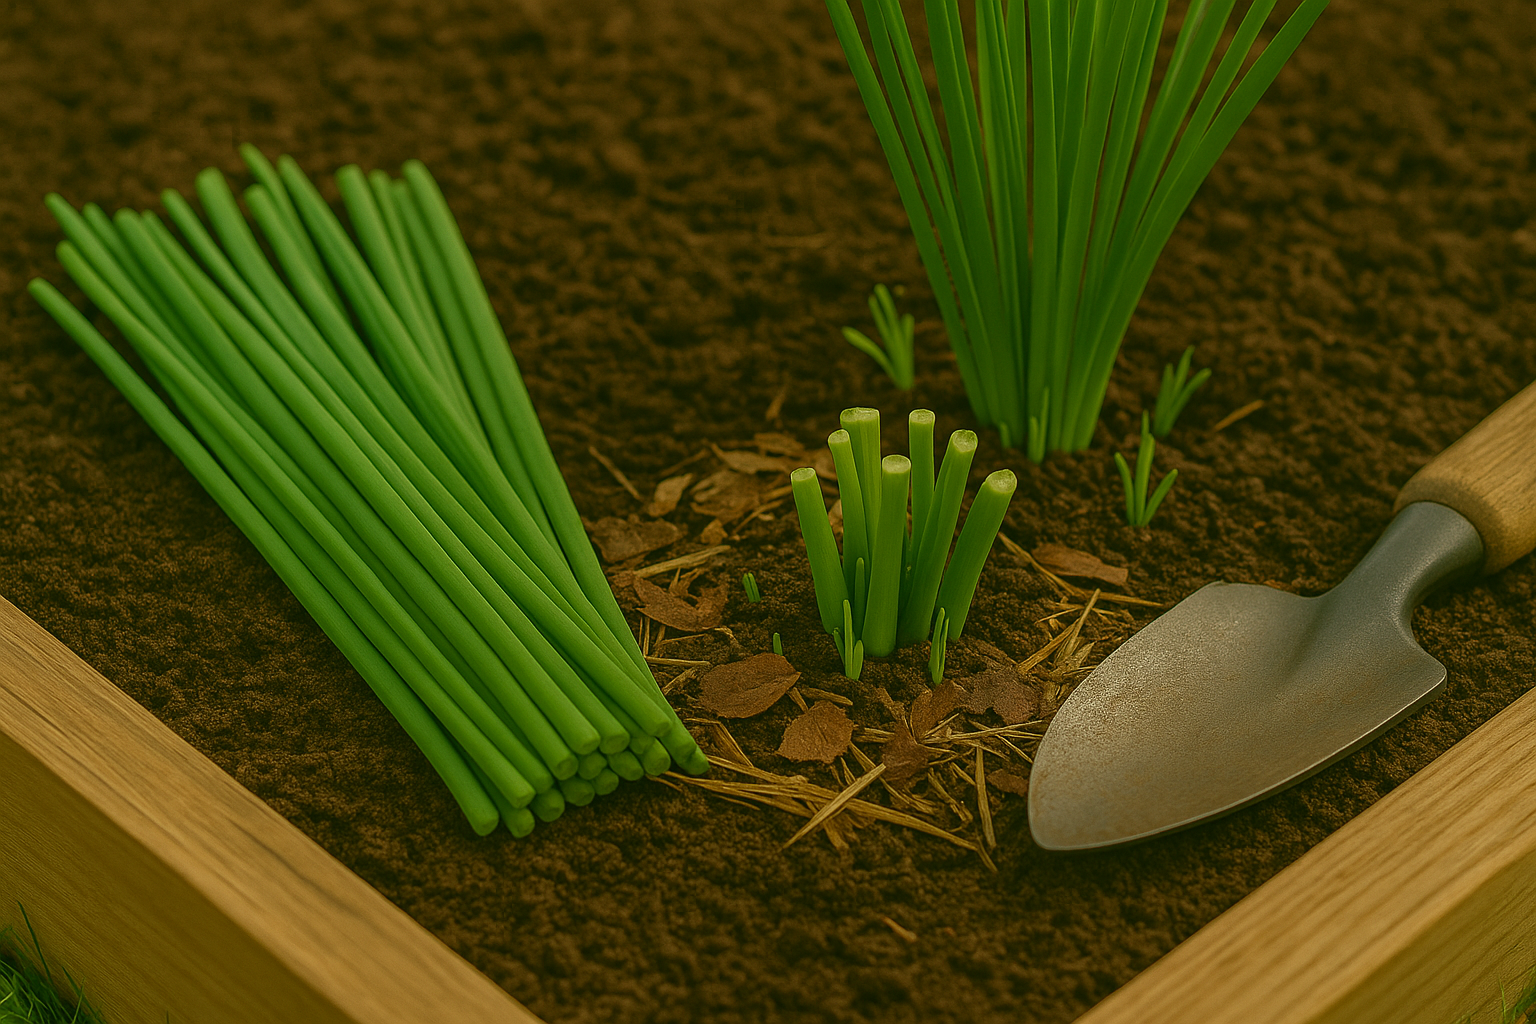
Chives are incredibly resilient herbs that regrow quickly and reliably after each harvest, thanks to their unique biology. When you cut chives, you’re simply removing the hollow leaves above the soil, while the plant’s energy reserves remain safely stored in its underground bulbs and roots.
This means that as long as you don’t uproot the plant or cut too closely to the base (leave at least an inch above the soil), new shoots can sprout in as little as a week. These bulbs act like little energy banks, sending up fresh green shoots whenever the tops are trimmed.
However, the vigor of regrowth can be affected if you repeatedly harvest too aggressively, especially if you take more than a third of the plant at once. Overharvesting can weaken the bulbs, leading to thinner, slower-growing chive leaves over time.
To ensure healthy, robust regrowth, follow these tips:
- Use clean, sharp scissors to reduce stress on the plant.
- Only take what you need—ideally cutting leaves about one to two inches above the ground.
- Rotate where you snip so all sides of the plant get a chance to recover.
Regular but moderate harvesting actually encourages chives to produce more leaves and prevents them from flowering prematurely, which can sap their energy. After each cut, water the plant and occasionally add a diluted liquid fertilizer to help restore nutrients and promote consistent, lush new growth.
By following these simple practices, you’ll enjoy a steady supply of vibrant chives throughout the growing season.
Best Practices for Harvesting Chives
When harvesting chives, use sharp scissors or garden shears to snip the leaves about one to two inches above the base of the plant. Always cut from the outside in, leaving the central growth untouched so the plant continues producing new shoots.
To encourage healthy regrowth, avoid pulling or tearing the leaves, as this can damage the roots and slow future growth. Chives can be picked several times throughout the growing season, but for best results, don’t remove more than a third of the plant at once. This allows the chives to recover and stay robust.
Flowering can impact your harvest because the plant’s energy shifts to seed production rather than growing new leaves. If you want a steady supply of tender, flavorful chives, it’s a good idea to snip off any flower buds as soon as they appear—unless you’re keen to collect seeds or add edible blooms to your dishes.
The ideal time for harvesting is in the morning after the dew has dried, when the leaves are at their crispest and most flavorful. During peak season, you can harvest chives every two to three weeks, always allowing the plant enough time to regenerate.
With these simple practices, you’ll keep your chive patch healthy and abundant all season long.
Caring for Chives After Cutting
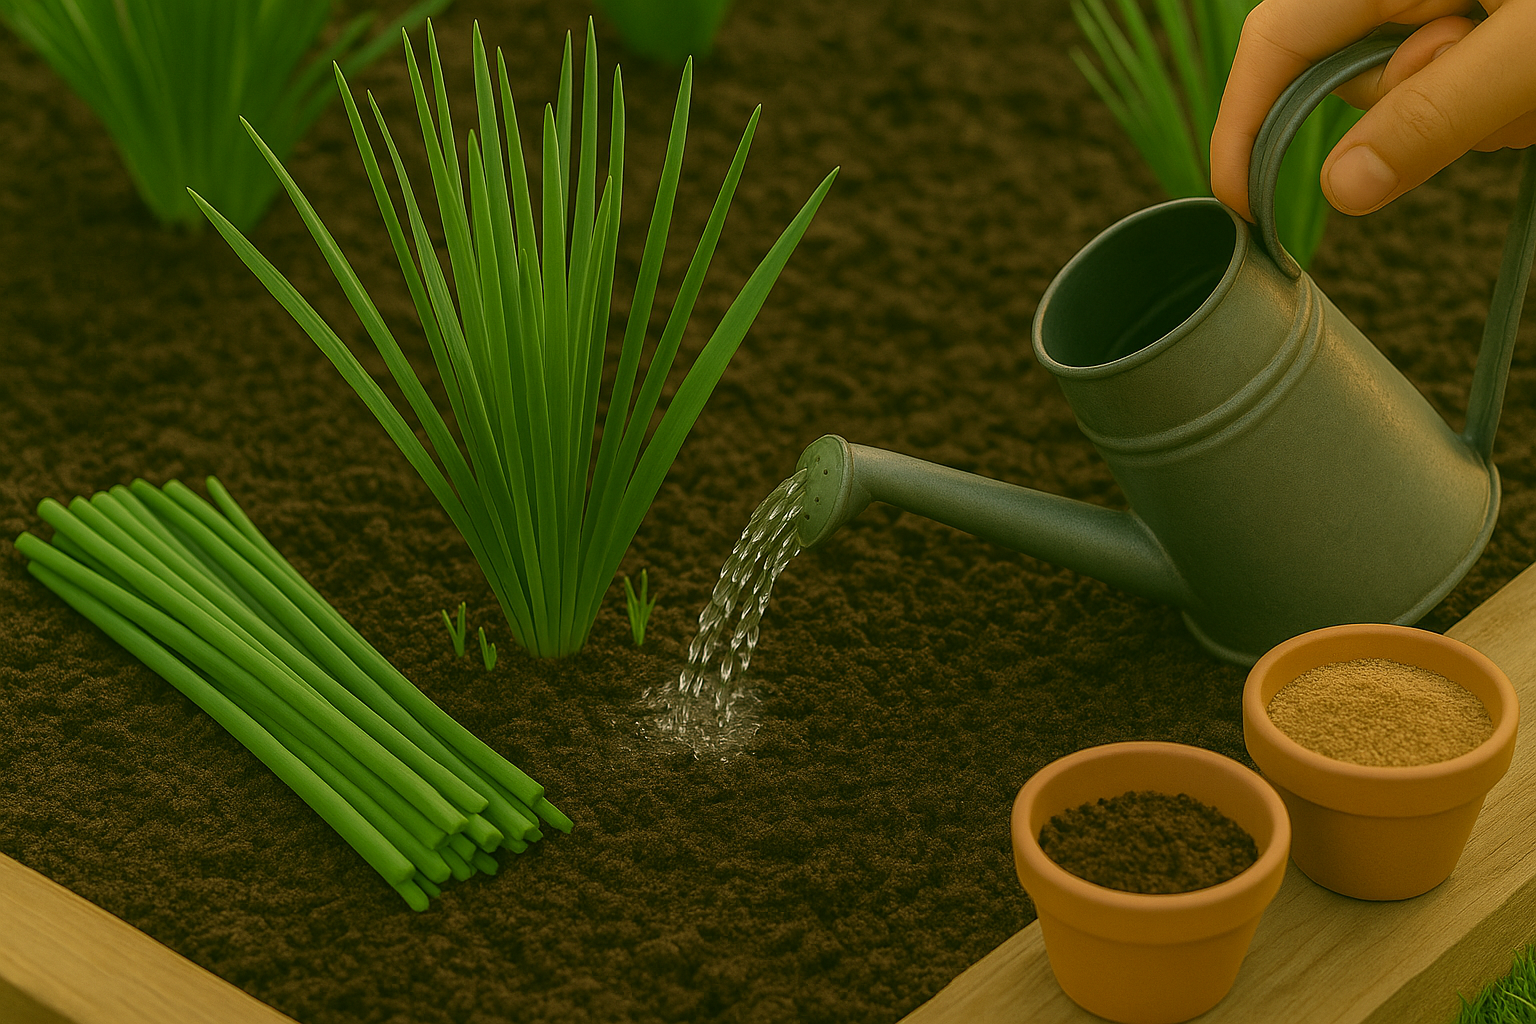
After cutting chives, proper aftercare is key to keeping your plants healthy and productive. Always water the chive patch right after harvesting, ensuring the soil stays evenly moist but not soggy. Chives prefer well-drained conditions, and too much water can rot their roots.
To keep the new growth lush and green, apply a balanced, all-purpose fertilizer or a handful of compost around the base every 4–6 weeks. Whether you grow chives in a container or garden bed, mulch around the plants to help maintain consistent moisture and prevent weeds from hogging nutrients.
Check the leaves regularly for discoloration, limpness, or slow regrowth—these may signal the plant is stressed from under-watering, depleted soil, or overcrowding. If chives start producing thin, weak shoots or become clumpy and less vigorous after a few seasons, it’s time to divide the clumps.
Gently dig up the plant in spring or fall, separate the roots into small bunches, and replant them about six inches apart. This gives each new clump space to thrive and quickly rejuvenates tired plants. Additionally, protect young regrowth by watching for pests like aphids or snails and using organic controls if needed.
With these simple tips, your chives will bounce back after every cut, giving you a steady supply of fresh, flavorful leaves for your kitchen.
Common Problems & How to Avoid Them
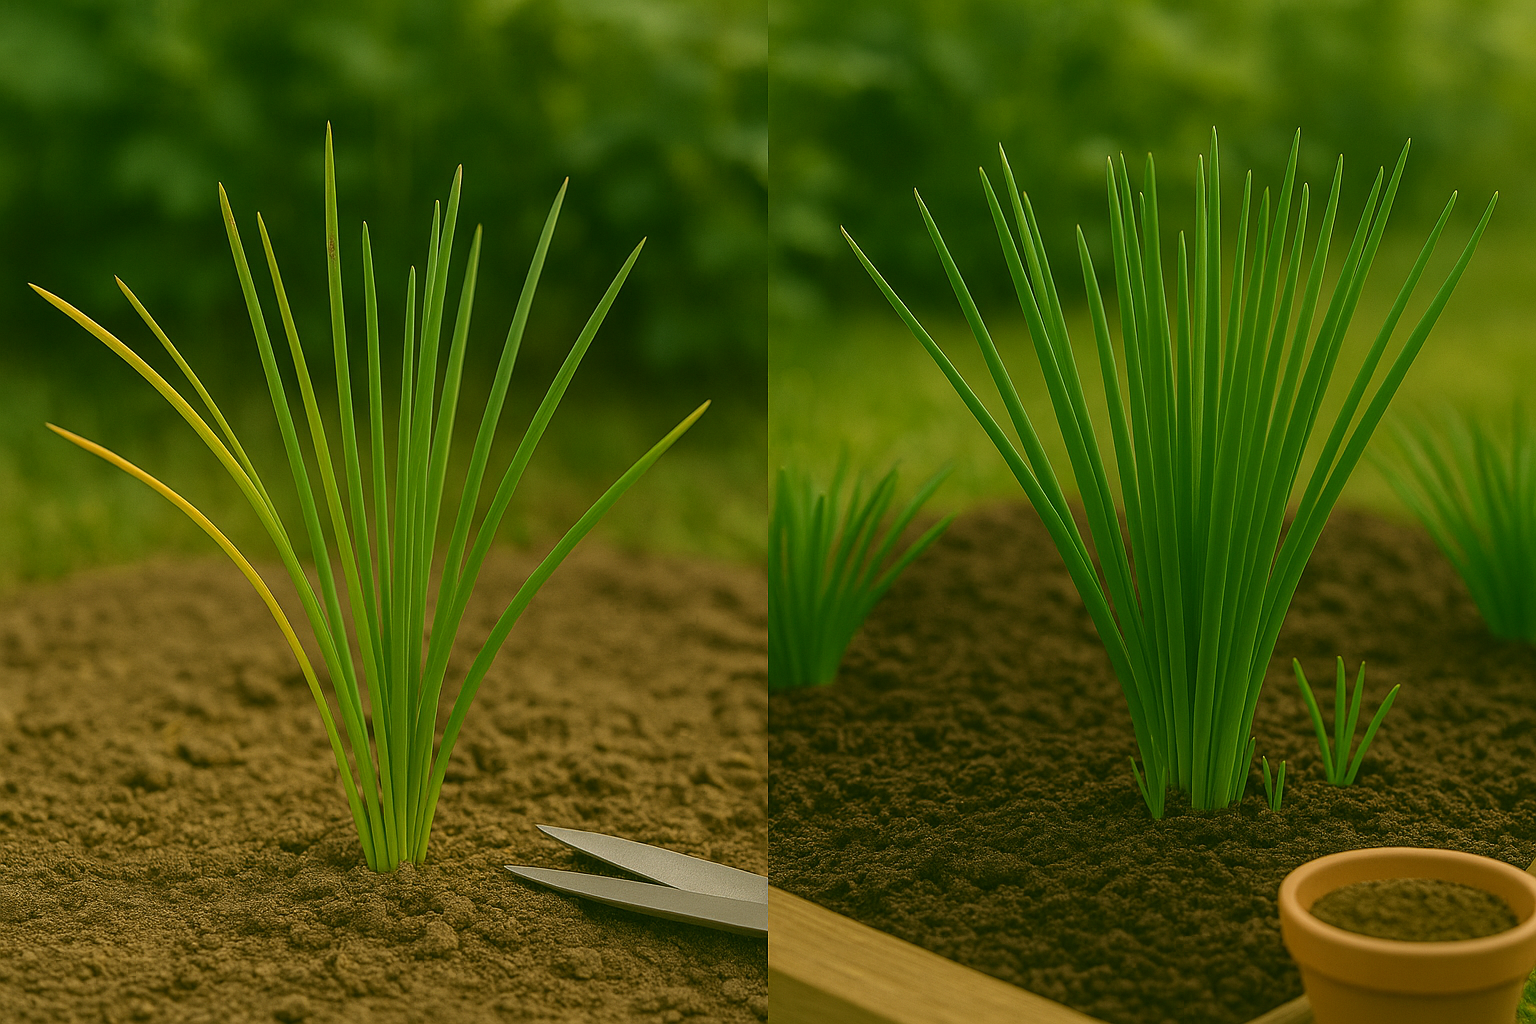
After cutting chives, gardeners often face issues like yellowing leaves, stunted regrowth, or thinning patches. Yellowing usually indicates overharvesting or cutting too close to the base—always leave at least two inches above the soil so the plant can recover quickly.
Stunted growth can also happen if you cut too frequently, not giving the chives enough time to rebuild energy. Try harvesting once every three weeks to keep them healthy.
Another common problem is sparse patches, which may signal soil exhaustion. Adding compost or an all-purpose fertilizer can help maintain plant vigor.
Pests such as aphids or thrips may be attracted to fresh cuts, while damp conditions after heavy harvesting can encourage fungal diseases like rust or mildew. Inspect plants regularly for pests and treat with insecticidal soap if needed.
To avoid disease, water at the base rather than overhead, and ensure good air circulation by spacing plants properly. Rotating your chive patch every couple of years also helps reduce pest and disease buildup.
With mindful harvesting and care, your chives can produce lush green shoots season after season, making homegrown herbs a joy rather than a struggle.
Creative Ways to Use Your Regrown Chives
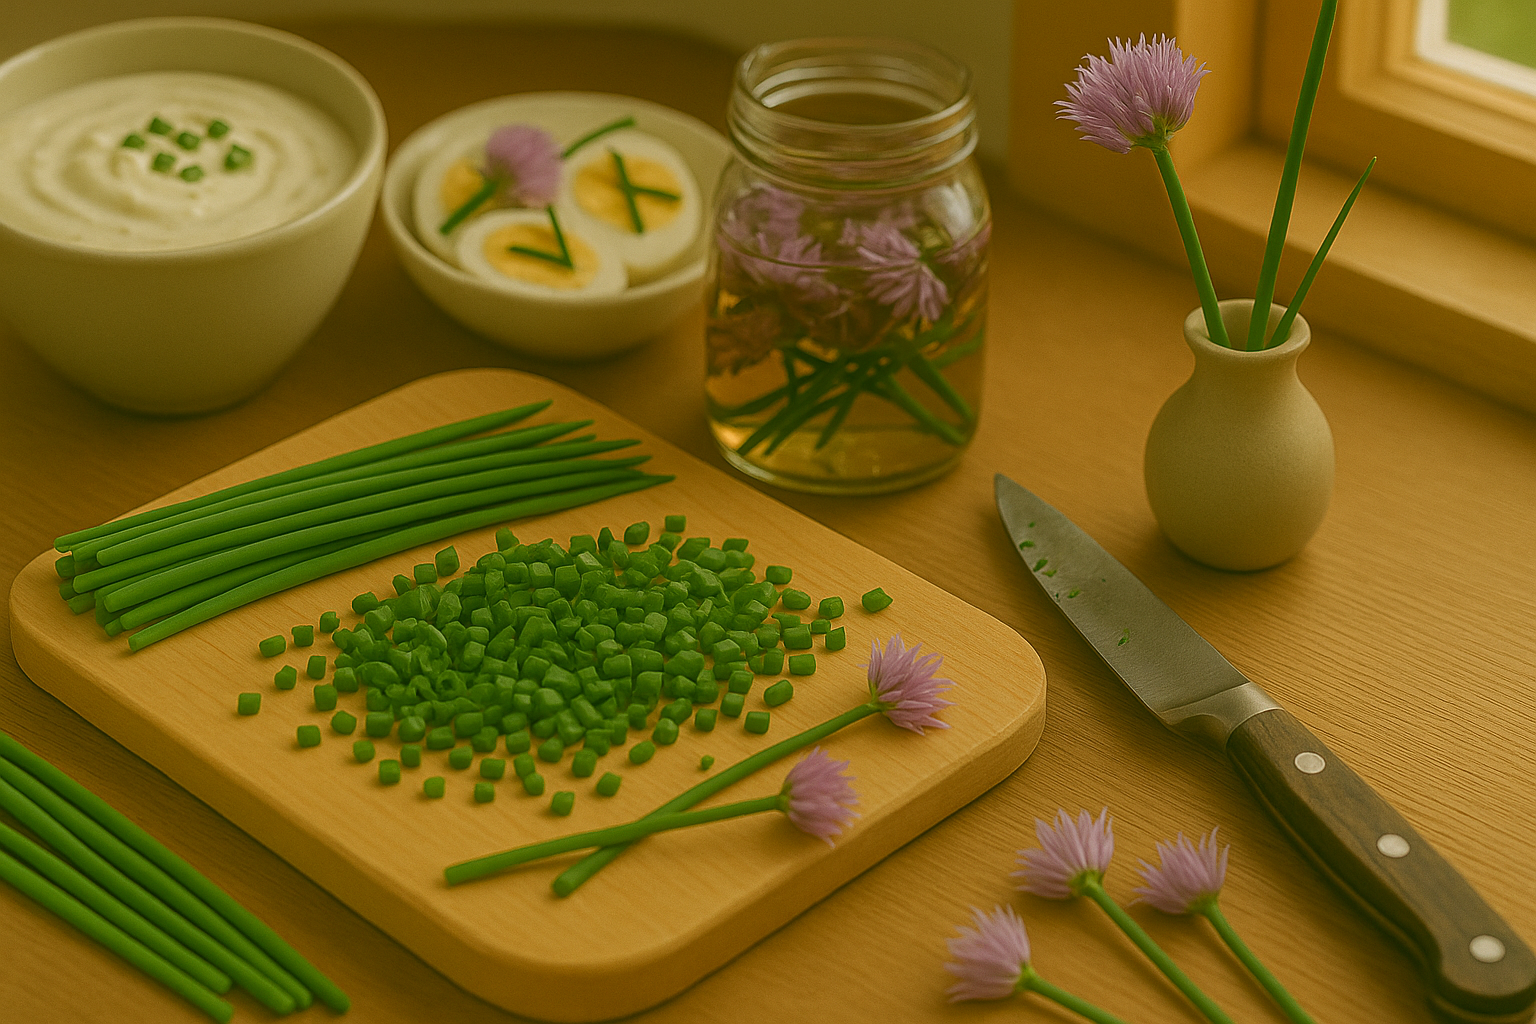
Regrown chives are a kitchen powerhouse with so many uses beyond just a simple garnish. Their slender, onion-scented leaves add an instant pop of flavor to scrambled eggs, potato salads, and homemade dips—just snip with kitchen scissors right before serving for the best freshness.
You can blend chive leaves into compound butters, swirl them into cream cheese for savory bagels, or fold them into biscuit dough for a subtle herby lift. Don’t overlook their beautiful, purple blossoms either; the edible flowers make gorgeous, peppery toppings for salads, soups, and even deviled eggs, giving your dishes a chef-worthy finish.
Steep the blossoms in vinegar for a mild, oniony infusion perfect for salad dressings. As a finishing touch, sprinkle chopped chives or whole flower heads over grilled meats, roasted veggies, or even pizza to brighten the plate and add a burst of color.
Outside the kitchen, tuck stems and blossoms into small vases for quick, fragrant table décor, or nestle them on cheese boards as an edible accent. Regrowing chives at home means you have fresh, flavorful greens on hand year-round—so don’t let any part go to waste, and experiment with new ways to let your harvest shine.
Conclusion
Chives are a wonderfully resilient herb that will regrow again and again after you cut them, as long as you give them a bit of thoughtful care. With regular harvesting, you’re not just getting fresh flavor for your meals—you’re actually encouraging your chive plants to grow back bushier and healthier.
So don’t hesitate to snip what you need right from your garden or windowsill pot. Even if you’re new to gardening, you’ll find that chives are an easy and rewarding herb to start with. Just remember to keep them well-watered and snip leaves about two inches above the base to ensure healthy regrowth.
Embrace the process, experiment, and enjoy the satisfaction of using homegrown herbs in your cooking. No matter your experience level, gardening is about learning and enjoying the journey—so get snipping and watch those chives thrive!