Introduction to Growing Cucumbers in Straw Bales
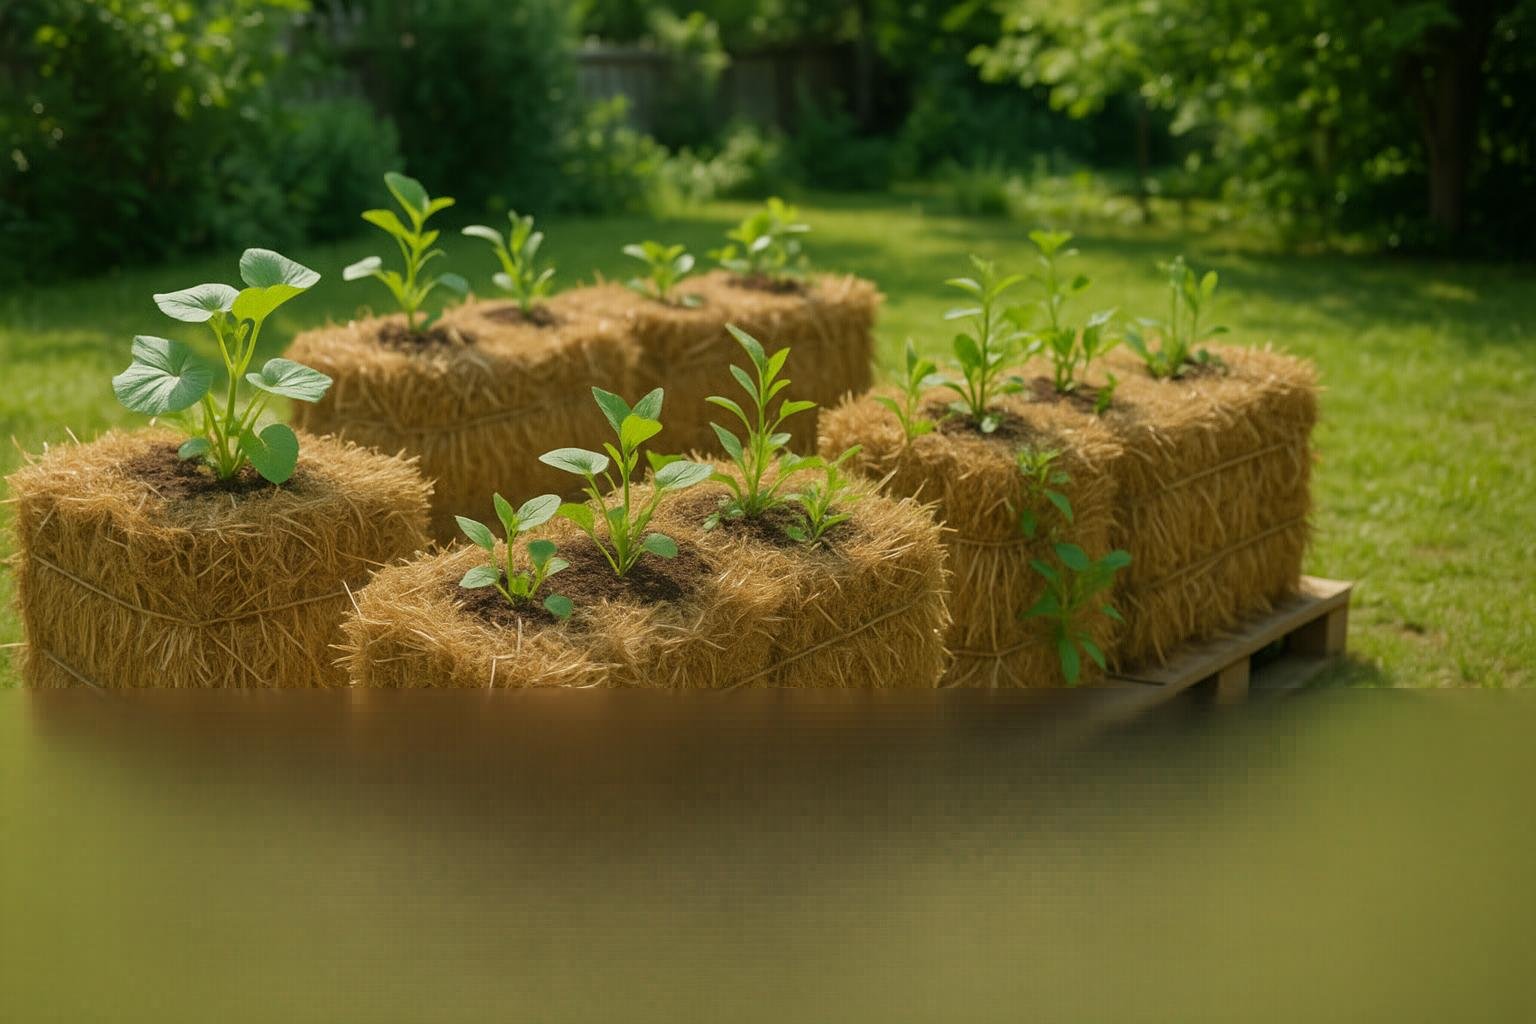
Straw bale cucumbers are quickly gaining popularity among gardeners, especially those with limited space. This method allows even small-space gardeners to enjoy homegrown veggies without the hassle of digging or weeding. Instead of soil, straw bale gardening uses bales of straw as the planting medium, creating a raised, nutrient-rich bed that serves as both container and compost.
This technique is perfect for anyone, whether you have poor soil, a tiny yard, or just a balcony. Growing cucumbers in straw bales is particularly appealing for busy home gardeners because it saves ground space and lets you place bales anywhere with sunlight—from driveways to balconies. Plus, since you’re not planting in regular soil, you reduce the risk of soil-borne pests and diseases, and weeding becomes minimal.
A straw bale acts like a sponge, holding moisture while gradually breaking down to provide cucumbers with steady nutrients. Many gardeners report that their cucumber vines thrive, producing crisp, delicious cukes with less bending and fuss. If you’ve wanted fresh cucumbers but thought you lacked the right space or soil, straw bale cucumbers could be your game changer—an easy, fun, and rewarding way to grow food almost anywhere.
Choosing and Preparing Straw Bales

When it comes to growing healthy straw bale cucumbers, starting with the right type of bale is essential. Always choose straw bales—typically made from wheat, oats, barley, or rye—instead of hay bales. While hay might look similar, it usually contains a mix of grasses and seeds that can sprout into weeds and compete with your cucumbers. Straw, on the other hand, consists mostly of hollow stalks left after grain harvest and is much less likely to cause weed problems. For the best results, select organic, pesticide-free straw bales—especially if you plan to grow edible crops. Non-organic bales may contain chemical residues that could harm young cucumber plants. Reliable sources for clean straw bales include local organic farms, feed stores, farmers’ markets, or online gardening suppliers. Be sure to ask growers about how the straw was produced, and avoid bales that may have been treated with persistent herbicides.
Once you have your bales, place them in a sunny spot that receives at least 6–8 hours of sunlight daily. Position the bales narrow-side up to create a stable planting surface and promote better water infiltration. Before planting, the bales need to be “conditioned” for about 10–14 days. During this time, water each bale thoroughly every day to start the decomposition process, and add a nitrogen source like organic blood meal or a balanced fertilizer to speed up internal breakdown. After about a week, you’ll notice the bales warming up—this signals that decomposition is underway and the bales are becoming a nutrient-rich home for your cucumber plants. Conditioning also helps eliminate potential weed seeds and ensures moisture is evenly distributed. By carefully selecting, sourcing, and preparing your straw bales, you’ll set the stage for a bountiful cucumber harvest with fewer pest and weed issues.
Conditioning the Straw Bales for Planting
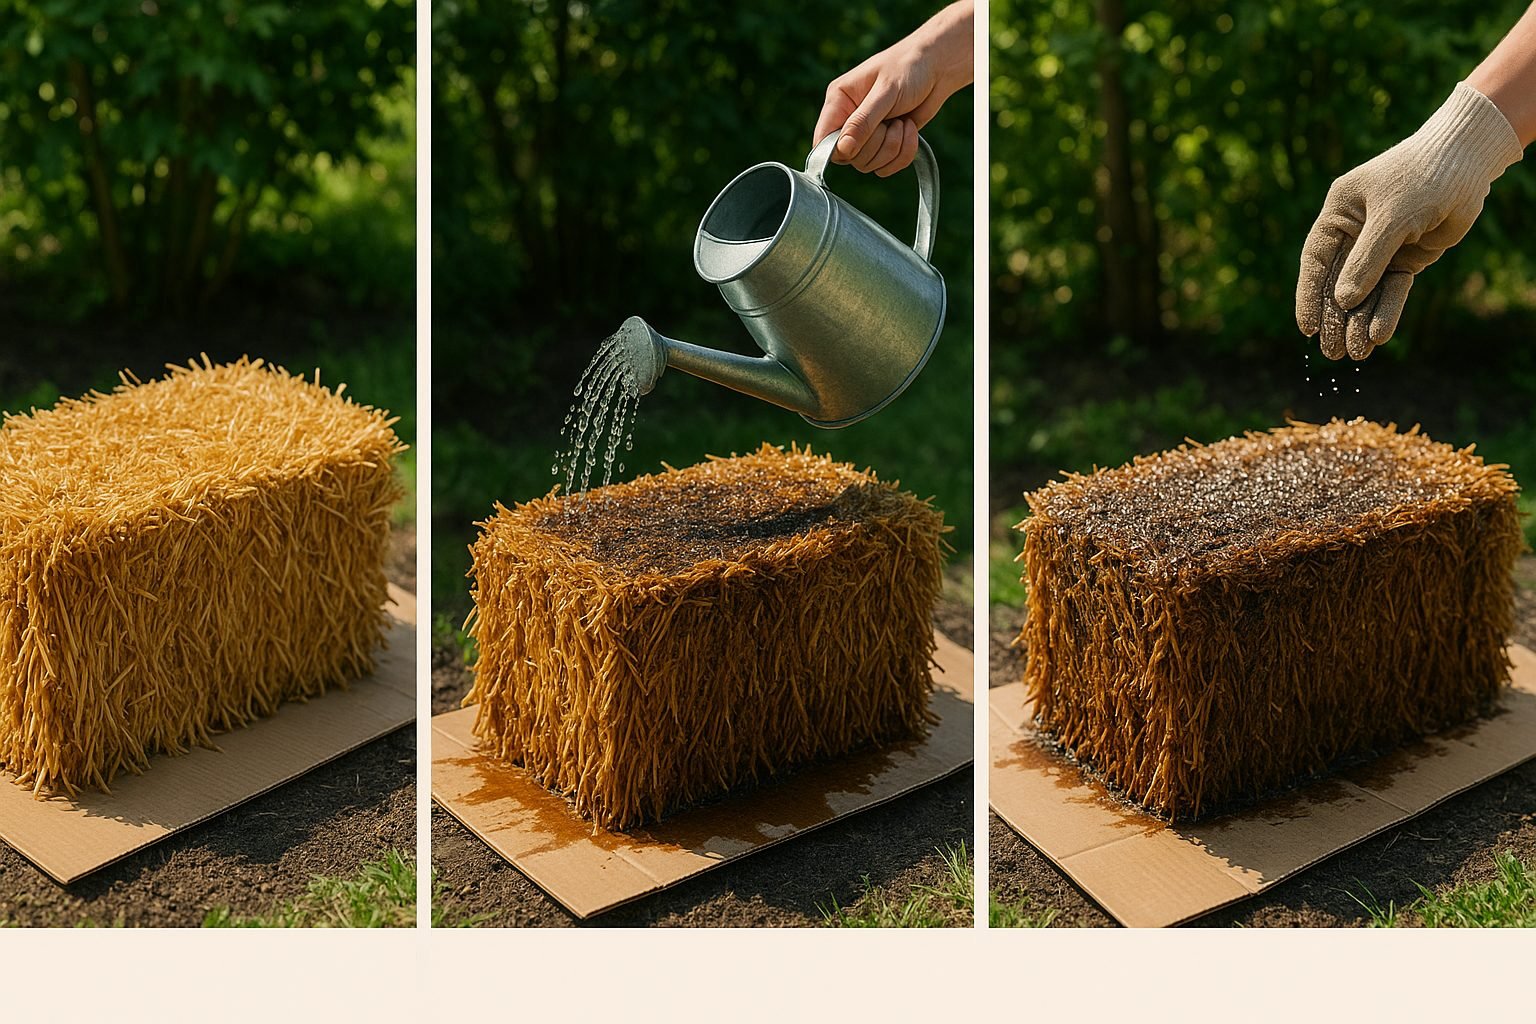
Before planting straw bale cucumbers, it’s important to “condition” your bales. This process jumpstarts decomposition, allowing the bales to provide essential nutrients to your young cucumber plants. Unconditioned straw lacks sufficient nutrients for seedlings, and the tightly packed stalks can make it difficult for tender roots to penetrate. Conditioning gradually breaks down the straw, softens its structure, and enriches it with plant-available nitrogen.
Start by choosing a sunny spot and placing your bales with the cut ends facing up to improve water absorption. For the first six days, water each bale thoroughly every day and sprinkle about half a cup of high-nitrogen fertilizer—like blood meal, ammonium sulfate, or lawn fertilizer without weed killer—every other day. From days seven to nine, reduce the fertilizer to half that amount while continuing to water deeply.
By day ten, you can stop the high-dose nitrogen but keep the bales moist. A handy tip is to stick your hand into the center of the bale; if it feels warm or even slightly hot, microbial activity is breaking down the straw as intended. When the internal temperature cools to near ambient air temperature and the interior feels moist but not soggy, your bales are ready to support healthy cucumber seedlings.
Properly conditioned bales are key to avoiding nutrient lockout, encouraging strong root development, and setting your straw bale cucumbers up for a productive growing season.
Planting Cucumber Seeds or Seedlings
When it comes to starting your straw bale cucumbers, you can either sow seeds directly into the bales or transplant seedlings. Direct seeding is the simpler and more affordable option. After conditioning your straw bales for about two weeks, poke holes about an inch deep into the straw and drop in 2-3 cucumber seeds per hole. Lightly cover them with a bit of compost or potting mix. The warmth and moisture inside the bale will encourage quick germination.
Using seedlings—whether homegrown or purchased—gives you a head start on the season, especially in regions with cooler springs. To plant seedlings, gently create a pocket in the bale, nestle the root ball at least 1-2 inches deep into the softened straw, then firm the surrounding straw around the base. Whether starting with seeds or seedlings, space cucumber plants about 12-18 inches apart to allow each vine plenty of room to grow vigorously. If planting in rows, leave at least 2 feet between rows.
Cucumbers thrive when they can climb, so consider installing a sturdy trellis or vertical support system at planting time. Simple options like garden netting or a cattle panel set upright against the bale work well. Training your straw bale cucumbers vertically keeps the fruits clean, improves air circulation, and saves valuable garden space. As the vines stretch out, gently tie them to the supports using soft ties or garden twine.
Early care is key to success. Straw bales can dry out quickly, so keep moisture consistent by watering deeply whenever the surface starts to feel dry. Mulching the bale with compost or straw helps retain moisture and suppress weeds. Keep an eye out for pests like cucumber beetles and act promptly if you spot any. With these planting tips, your straw bale cucumbers will get the healthy, supported start they need for a bountiful harvest.
Caring for Cucumber Plants in Straw Bales
Caring for straw bale cucumbers requires some specialized attention, especially when it comes to watering and feeding. Because straw bales dry out much faster than traditional soil, it’s important to water your cucumber plants consistently—plan on watering daily, especially during hot weather. Always check that the inside of the bale stays moist but not soggy. Early in the season, watering every other day might be enough, but as the plants grow and temperatures rise, switch to deep, daily watering.
Drip irrigation or soaker hoses can simplify this process by delivering moisture directly to the roots. Fertilizing naturally is easy and effective; before planting, condition your straw bales with a mix of compost tea or diluted fish emulsion. Then, feed your cucumbers every two to three weeks. Top-dress around each plant with well-rotted compost or organic granular fertilizer to maintain steady nutrient levels throughout the growing season.
Be vigilant for common pests like aphids, cucumber beetles, and spider mites. Regularly check both sides of the leaves and hand-pick pests when you spot them. Neem oil or insecticidal soap sprays are safe, natural remedies for infestations, while floating row covers can protect your plants from birds and insects early on. Fungal diseases such as powdery mildew may also occur, especially with poor airflow—water the base of the plants rather than the leaves, and space the bales to promote good circulation.
As your cucumber plants grow, they’ll need support for their climbing vines. Install a trellis, cattle panel, or sturdy netting at planting time, and gently tie the vines as they climb using soft garden ties or strips of cloth. Training your cucumbers to grow vertically helps keep fruits cleaner, prevents disease, and makes harvesting easier. With regular attention to watering, feeding, pest control, and support, your straw bale cucumbers should thrive all season long.
Harvesting and Maintaining Production of Straw Bale Cucumbers
Knowing when to pick your straw bale cucumbers is key to enjoying them at peak flavor and encouraging continuous yields. Look for cucumbers that have reached their mature size for the variety you planted—usually 4 to 8 inches for slicing types and 2 to 4 inches for pickling kinds. The skin should be firm and glossy green, without any yellowing, which indicates over-ripeness and bitterness.
Gently twist or snip the fruit from the vine using scissors, being careful not to damage the plant. For ongoing production, harvest at least every other day; consistent picking prevents cucumbers from becoming oversized and keeps the plants focused on setting new fruit.
To maintain healthy vines, check daily for wilting or signs of pests, trim yellowed leaves to improve airflow, and continue watering deeply, as straw bales dry out quickly—especially in hot weather. Every two to three weeks, feed your plants with a balanced liquid fertilizer since nutrients leach from straw bales faster than in-ground beds.
By staying on top of harvesting and caring for your cucumber plants, your straw bale garden will reward you with a steady supply of crisp, delicious cucumbers all season long.
Troubleshooting and End-of-Season Tips for Straw Bale Cucumbers
Growing straw bale cucumbers is rewarding, but a few common issues can arise during the season. Soggy bales often result from poor drainage or overwatering—be sure to elevate the bales and water only when the top feels dry to the touch. If you notice poor fruit set, try hand-pollinating the flowers with a small paintbrush or planting pollinator-friendly flowers nearby to attract more bees.
Pests like cucumber beetles and aphids can be managed by regularly inspecting your plants, using insecticidal soap, or introducing beneficial insects such as ladybugs. As the season comes to an end, don’t let your used bales go to waste. If they’re still in good condition, refresh them by adding compost and fertilizer for another round of planting next year. Just remember to rotate crops to reduce disease risk—tomatoes or peppers are great options after cucumbers.
If the bales are breaking down, you can add the remains to your compost pile or use them as mulch in garden paths to enrich the soil. This not only helps reduce waste but also provides a steady supply of organic matter for future straw bale cucumber plantings and other gardening projects.