Growing Garlic in Pots
Growing garlic in containers is a fantastic way for both beginner and seasoned gardeners to enjoy fresh cloves right at home, even without a backyard. Whether you’re working with a small balcony, an urban patio, or simply want to keep your crops close to the kitchen, raising garlic in pots is surprisingly simple and rewarding.
Container gardening offers big advantages: you’ll save space, have greater control over soil quality and pests, and it’s easy to move your plants to follow the sun or avoid harsh weather. Plus, harvesting your own garlic means no more bland grocery store bulbs.
In this ultimate guide, we’ll walk you through everything you need to know about planting garlic in containers, caring for your crop as it grows, and harvesting your bounty when the time is right. Ready to give your kitchen garden a flavorful boost? Let’s dig in!
Choosing the Right Garlic and Pot
When growing garlic in pots, start by choosing the right garlic type: hardneck or softneck. Hardneck garlic thrives in colder climates and often produces larger cloves with rich flavors, making it a favorite for northern gardeners. Softneck garlic, on the other hand, does well in mild climates and usually stores longer, perfect for those in warmer regions or anyone wanting garlic that will keep.
For container planting, both types can work, but softneck varieties tend to be more forgiving in pots. Always select healthy seed garlic from a local nursery or a reputable supplier, rather than using bulbs from the grocery store, which are often treated to prevent sprouting and may carry diseases.
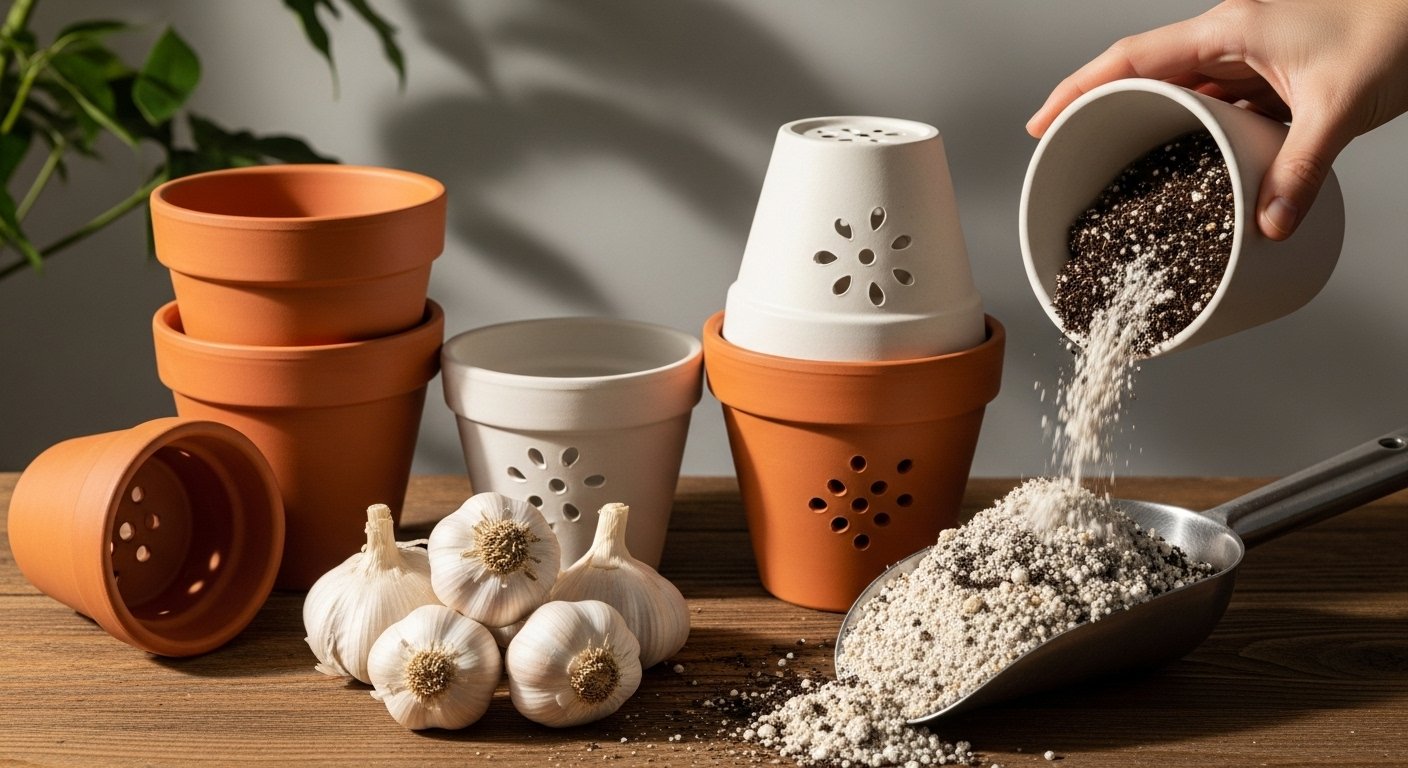
Container size matters—a pot at least 12 inches deep and wide gives the roots space to grow and allows for air circulation around the bulbs. Make sure your container has several good drainage holes; garlic hates soggy soil and can quickly rot if water collects at the bottom.
For soil, use a high-quality potting mix enriched with compost, making sure it’s light, fluffy, and drains well. Mixing in a handful of perlite or sand can help boost drainage. Following these tips helps ensure your garlic grows strong, healthy bulbs—even if you’re tight on space or gardening on a patio.
Planning and Timing: When to Plant Garlic in Pots
Choosing the right time to plant garlic in pots can make all the difference in your harvest. For most regions, the best season is fall—typically from late September to early November. Planting at this time allows garlic to establish strong roots before winter dormancy, leading to larger bulbs come summer.
However, if you live in a mild climate, you can also sow in early spring. Keep in mind, though, that you may get smaller cloves since the plants have less cold exposure, also known as vernalization, which triggers healthy bulb development.
In colder climates, it’s important to plant in fall and overwinter outdoors. Just be sure to insulate your pots with straw or move them near a sheltered wall for added protection.
For those gardening indoors or on balconies, take advantage of the stable environment. You can plant garlic anytime from early fall to late winter, but make sure your cloves receive lots of sunlight (at least 6 hours a day) and cool nighttime temperatures. You can mimic these conditions by placing pots near a cold window or even in a garage.
Remember, adjusting your timing and setup based on your local weather will set you up for a thriving garlic harvest, even in small or unconventional spaces.
Step-by-Step Planting Process
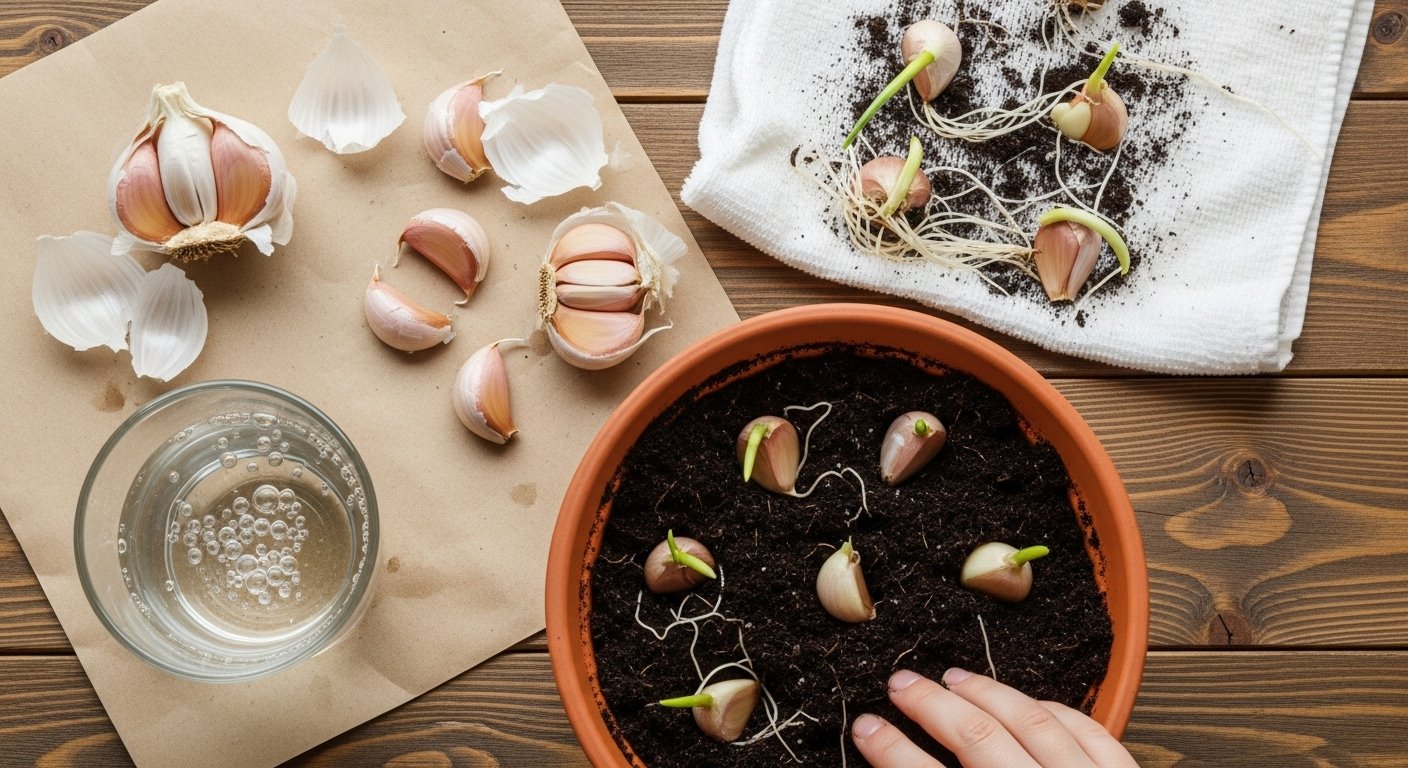
Before planting garlic cloves, start by gently breaking the bulb apart so each individual clove stays intact with its papery skin—this helps protect against rot. For an extra boost, you can soak the cloves in tepid water mixed with a pinch of baking soda or diluted seaweed solution for a couple of hours; some gardeners say this encourages healthy sprouting, but it’s optional.
If you want to try pre-sprouting, let the soaked cloves sit in a damp paper towel for one to two days until little roots just peek out, then plant them right away.
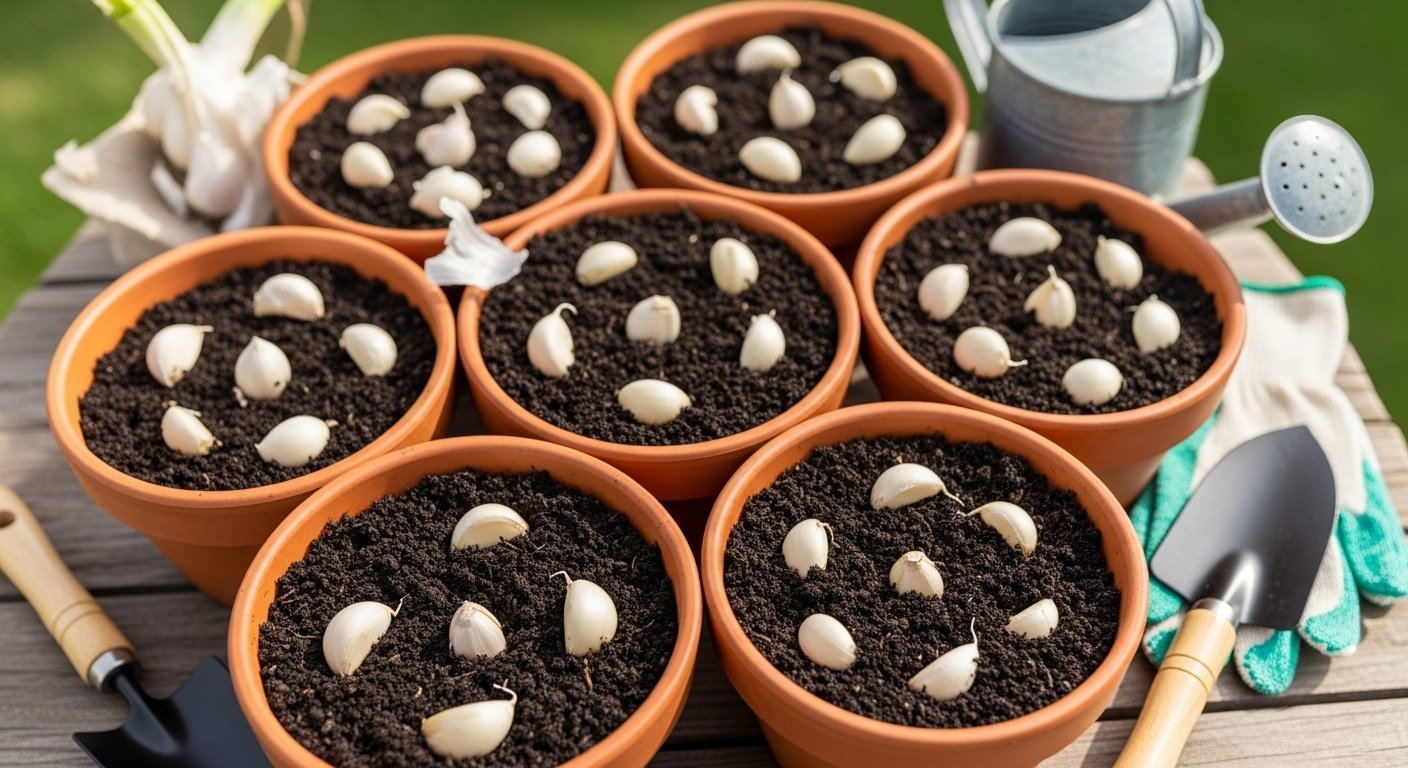
When placing cloves in pots, set them pointed end up (the flat end is where roots grow), about two inches deep, and leave three to four inches between each for healthy bulb development and airflow.
After planting, give the pot a gentle but thorough watering—aim for soil that is moist but never soggy, since overwatering is a fast track to rot. If you notice the soil stays swampy, cut back on watering and make sure the pot drains well.
On the other hand, if sprouts are slow to appear after two to three weeks, check that you’re not letting things get too dry; garlic needs consistent moisture to kickstart growth.
Watch for mushy or collapsing cloves—these usually mean rot from overwatering or planting damaged cloves. Always start with healthy, firm cloves and well-aerated soil to sidestep this common issue.
A little extra attention in these early steps sets you up for strong sprouting and a satisfying garlic harvest.
Caring for Garlic in Pots: Tips for Healthy Growth
Garlic thrives in full sunlight, so place your pots where they will receive at least six hours of direct sun each day—think a sunny patio, balcony, or south-facing windowsill. Optimal container placement is key; keep pots elevated on bricks or pot feet to ensure good drainage and better airflow, reducing the risk of fungal diseases.
When it comes to watering, check the top inch of soil regularly—water thoroughly when dry, but always let excess moisture drain away to avoid waterlogged roots, which can quickly lead to rot. Overwatering is a common mistake, so use pots with drainage holes and avoid letting pots sit in trays of standing water.
Fertilize newly planted garlic with a balanced, slow-release organic fertilizer, and switch to a high-nitrogen liquid feed every couple of weeks once shoots appear—this keeps growth robust and bulbs developing well in the nutrient-limited space of pots.
Always remove any weeds that pop up, as they compete for water and nutrients, and regularly inspect leaves and stems for signs of pests like aphids or fungal spots. Catching these issues early helps you act quickly, whether by hand-picking insects or applying natural remedies.
Staying vigilant and adjusting care as needed ensures your container garlic grows strong and healthy all season.
Harvesting Garlic Scapes and Bulbs
Garlic scapes are the curly, green flower stalks that grow from hardneck garlic varieties in late spring or early summer. Harvesting scapes is simple: once they form one or two loops, but before they straighten out or start to flower, snip them off with clean garden scissors about an inch above the top leaf. Removing scapes encourages the plant to put more energy into growing bigger bulbs.
For the bulbs themselves, patience is key—wait until the lower third of the leaves turn yellow-brown while the upper leaves remain green. This usually happens in mid-to-late summer.
To avoid damaging bulbs, use a garden fork or shovel to gently loosen the soil about six inches away from the stem, then lift the bulbs by the stem, shaking off excess dirt. Never pull garlic out by hand, as this can bruise or break the stalks and bulbs.
Let the bulbs dry with roots and stalks attached in a warm, shady, well-ventilated area for at least two weeks before trimming and storing. Proper timing and gentle handling make all the difference for flavorful garlic that stores well.
Storing and Using Your Homegrown Garlic
After harvesting your garlic, proper curing is key to making your bulbs last. Start by trimming off any dirt without washing. Then, bundle several plants together and hang them in a dry, well-ventilated spot out of direct sunlight for two to four weeks.
Once the outer skins are papery and the necks are dry, trim the roots and stems, and you’re ready to store.
For whole bulbs, keep them in mesh bags or baskets at room temperature in a cool, dark place—think pantry or basement—for up to eight months. Refrigeration shortens storage life and encourages sprouting, so only refrigerate peeled cloves you plan to use soon.
Garlic scapes—the tender green shoots—don’t store as long, but they last about a week in the fridge or can be chopped and frozen for longer use.
Want to preserve flavor for months? Try freezing peeled cloves, pureeing them with oil, or even roasting and freezing in small batches.
Using your homegrown garlic is simple: mince raw cloves for fresh zing in salads and dressings, slice into stir-fries, or roast whole bulbs for mellow sweetness you can spread straight on bread. Scapes make excellent pesto or a flavorful addition to omelets, stir-fries, and pasta.
Conclusion & Quick Troubleshooting Tips
Growing garlic in pots lets you enjoy fresh, flavorful bulbs even if you have limited space, making it a rewarding project for any home gardener.
If you notice yellowing leaves, check your watering—garlic prefers moist but not soggy soil, so let the top inch dry out between waterings.
For pests like aphids, wipe leaves with soapy water or use insecticidal soap spray.
If the bulbs seem small, make sure your container is at least 6 inches deep and placed in a sunny spot.
With these simple fixes, you’ll find pot-grown garlic easy and fun, so give it a try today!