Introduction
Getting the right lettuce soil pH is critical if you want a healthy harvest full of flavor and crispness. Soil pH directly affects how lettuce plants absorb nutrients, which impacts everything from their growth rate and leaf texture to their subtle sweetness or bitterness. If the soil is too acidic or too alkaline, your lettuce might struggle to thrive, resulting in small yields or tough, bland leaves.
That’s why understanding the optimal pH levels is so important for gardeners aiming for the best results. In this post, we’ll break down the ideal pH range for lettuce, show you simple and reliable ways to test your soil at home, and offer practical tips to adjust those levels if you’re outside the target zone.
Whether you’re working in raised beds, containers, or a backyard garden, mastering soil pH will set you up for a lush, productive lettuce patch.
Understanding the Ideal Soil pH for Lettuce
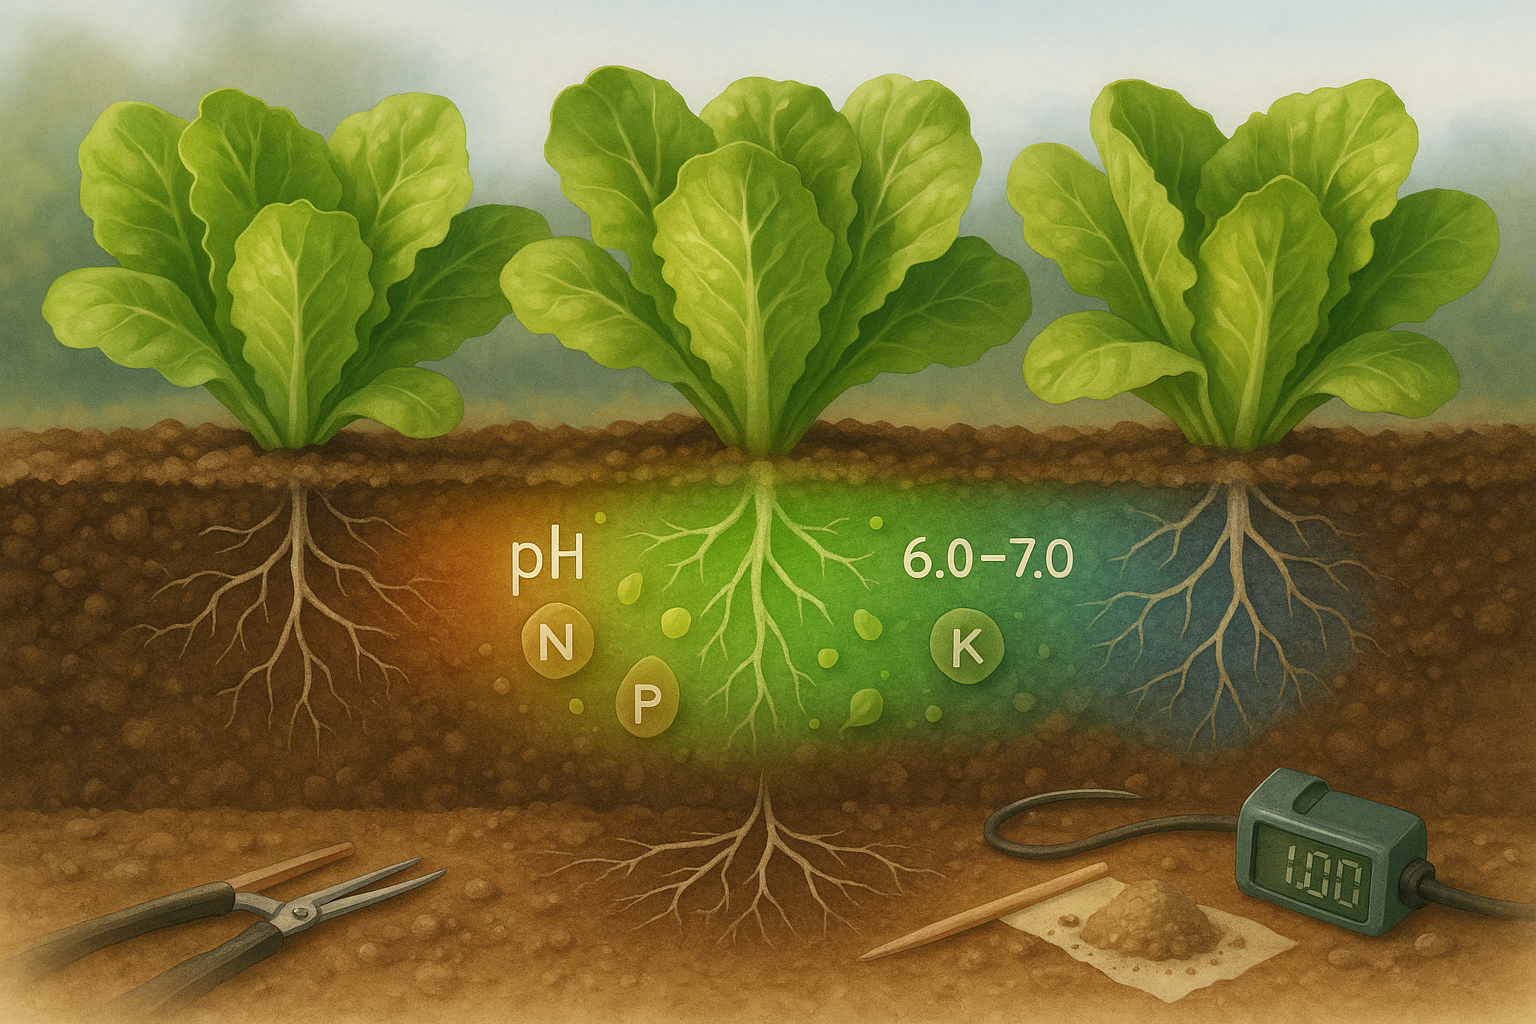
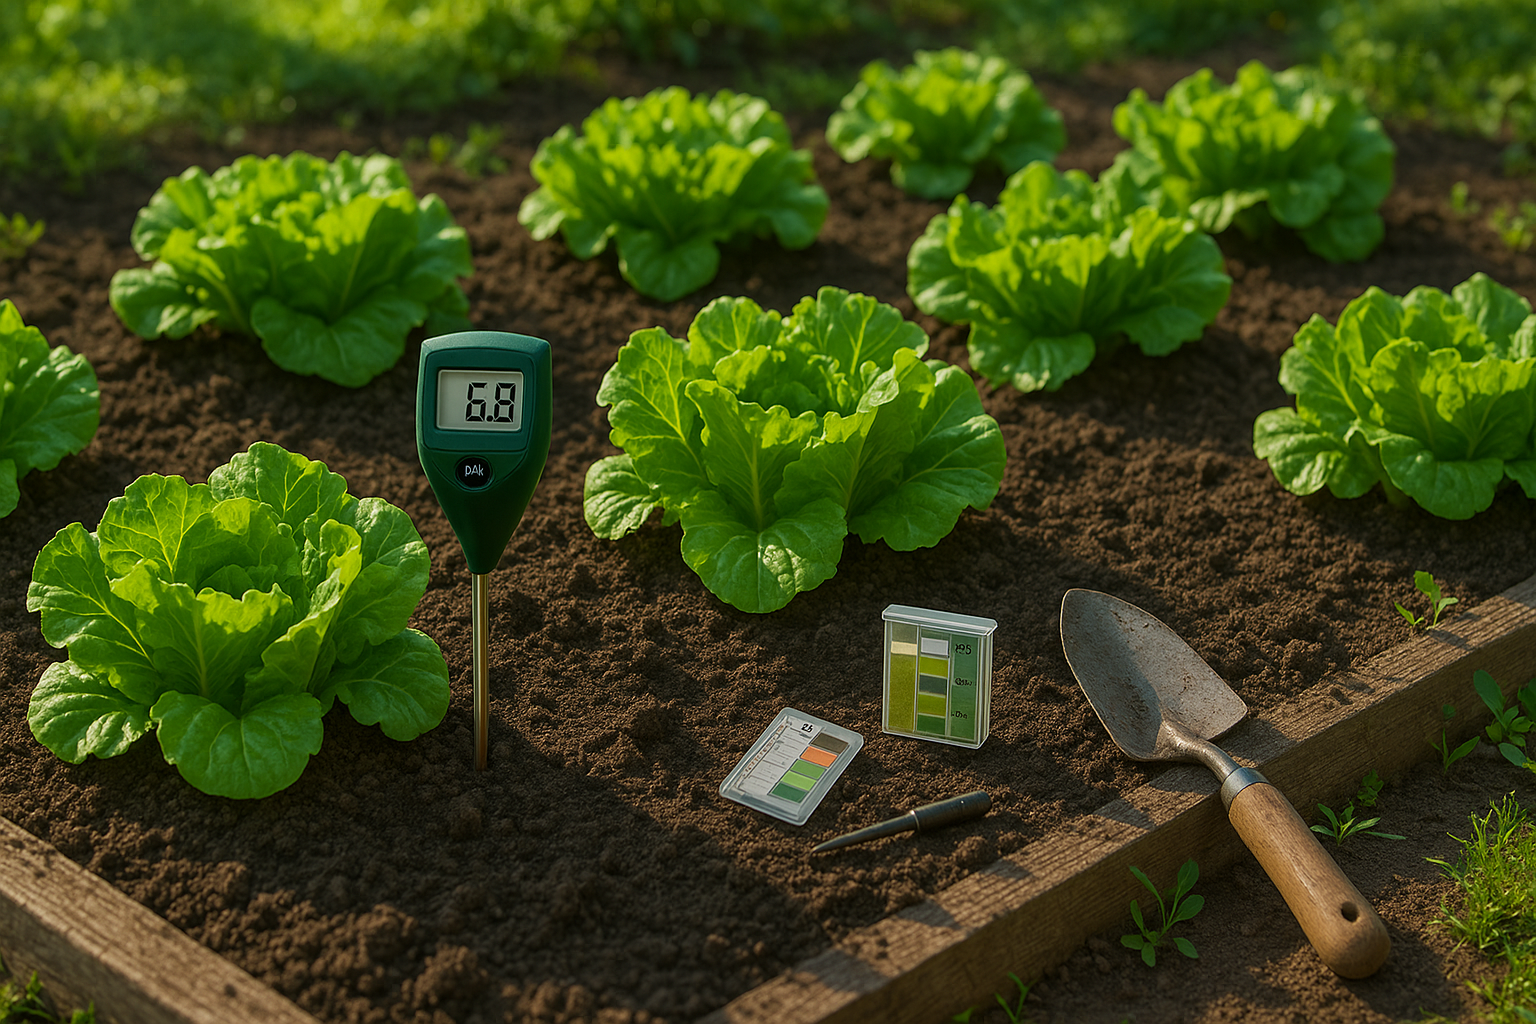
Soil pH measures how acidic or alkaline your garden soil is, and it plays a crucial role in how well your plants, including lettuce, can access essential nutrients. Lettuce thrives best in a pH range between 6.0 and 7.0, which is considered slightly acidic to neutral.
Within this range, the soil allows lettuce roots to absorb important minerals like nitrogen, phosphorus, and potassium effectively, contributing to healthy leaf growth and vibrant color.
If your soil is too acidic (below 6.0), lettuce may struggle to absorb nutrients, resulting in stunted growth, yellowing leaves, and weak plants. On the other hand, soil that is too alkaline (above 7.0) can cause lettuce to develop nutrient deficiencies, such as magnesium or iron, which show as interveinal chlorosis—yellowing between the veins of the leaves.
To avoid these problems, it’s a good idea to test your soil with an at-home kit or send a sample to a local extension office. If you need to adjust your soil’s pH, adding lime can help raise it, while sulfur products can lower it.
Properly balanced pH not only supports better lettuce yields but also makes it easier to grow healthy, tasty greens in your garden.
How to Measure and Test Your Soil pH
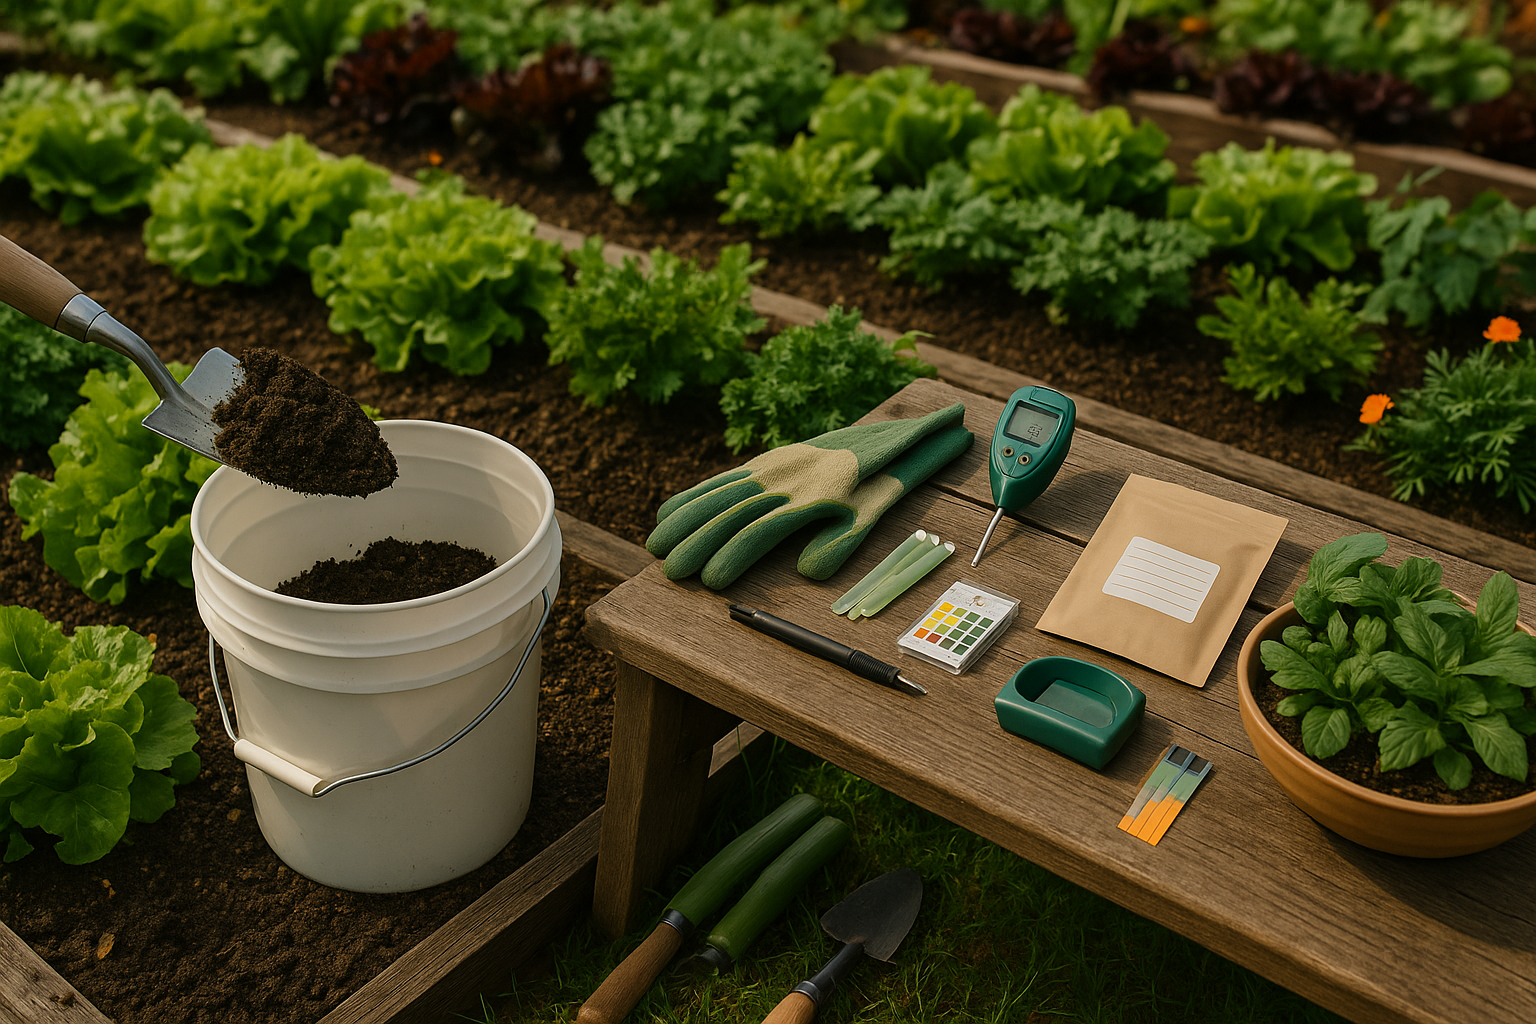
Testing your soil’s pH is easier than you might think, thanks to a variety of home-testing tools. You can find digital pH meters, easy-to-read test strips, and mail-in lab analysis kits at most garden centers.
To collect an accurate soil sample, start by using a clean trowel to remove any mulch or debris from the soil’s surface. Then, dig down 4-6 inches in several spots around your garden bed, combining scoops of soil from each location into a clean bucket. This helps average your results and avoid misleading readings.
Mix the soil thoroughly and remove any rocks or roots. For pH meters, follow the manufacturer’s instructions regarding sample moisture and placement. If you’re using test strips, mix your soil with distilled water, let it settle, and dip your strip into the liquid.
If you choose a professional lab test, be sure to follow the kit instructions carefully for packaging and sending your sample. The best time to test is a few weeks before planting—especially for crops like lettuce that prefer slightly acidic to neutral soil (pH 6.0-7.0).
Re-testing every 2-3 years, or after significant amendments or heavy rain, will help keep your soil healthy and ensure your plants thrive.
Adjusting Soil pH

Adjusting your soil pH is key for healthy plant growth, and both organic and conventional methods are available depending on your gardening style.
Lowering Soil pH
To lower soil pH—especially if your soil is too alkaline—organic options like peat moss can be mixed into beds to gently acidify the soil over time. This works great for acid-loving plants like blueberries or azaleas. For a more targeted approach, elemental sulfur is commonly used; it reacts with soil bacteria to create sulfuric acid, which lowers pH more efficiently. For every 100 square feet, adding 1 to 2 pounds of elemental sulfur is a typical starting rate, but always check label directions and avoid direct plant contact.
Raising Soil pH
On the flip side, raising soil pH is often needed in acidic soils. Garden lime (calcium carbonate) is the go-to amendment, with dolomitic lime offering the added benefit of magnesium. Another handy fix is wood ash, which provides a mild pH boost and adds potassium. Use wood ash sparingly—no more than 5 to 10 pounds per 100 square feet annually.
Important Tips
- All amendments take time; sulfur and lime can take a few months to show results as soil chemistry shifts gradually.
- Avoid rapid, large adjustments to prevent harming plants and soil microbes; adding too much can quickly tip the balance the wrong way.
- Retest your soil after a few months to gauge progress.
- Make gradual tweaks rather than all-at-once overhauls for safe, healthy results.
Common Mistakes to Avoid When Managing Soil pH for Lettuce
A common mistake many gardeners make when managing soil pH for lettuce is amending the soil without first performing a proper soil test. Skipping this step can lead to costly guesswork, as adding lime or sulfur at random may push your soil pH beyond the desired range. Remember, lettuce thrives best when soil pH stays between 6.0 and 7.0—applying amendments without data could actually worsen conditions.
It’s also easy to go overboard with soil additives like lime or sulfur, thinking that more is better. However, this often results in dramatic pH swings that harm plant growth. Always measure carefully and follow recommendations based on your soil test results.
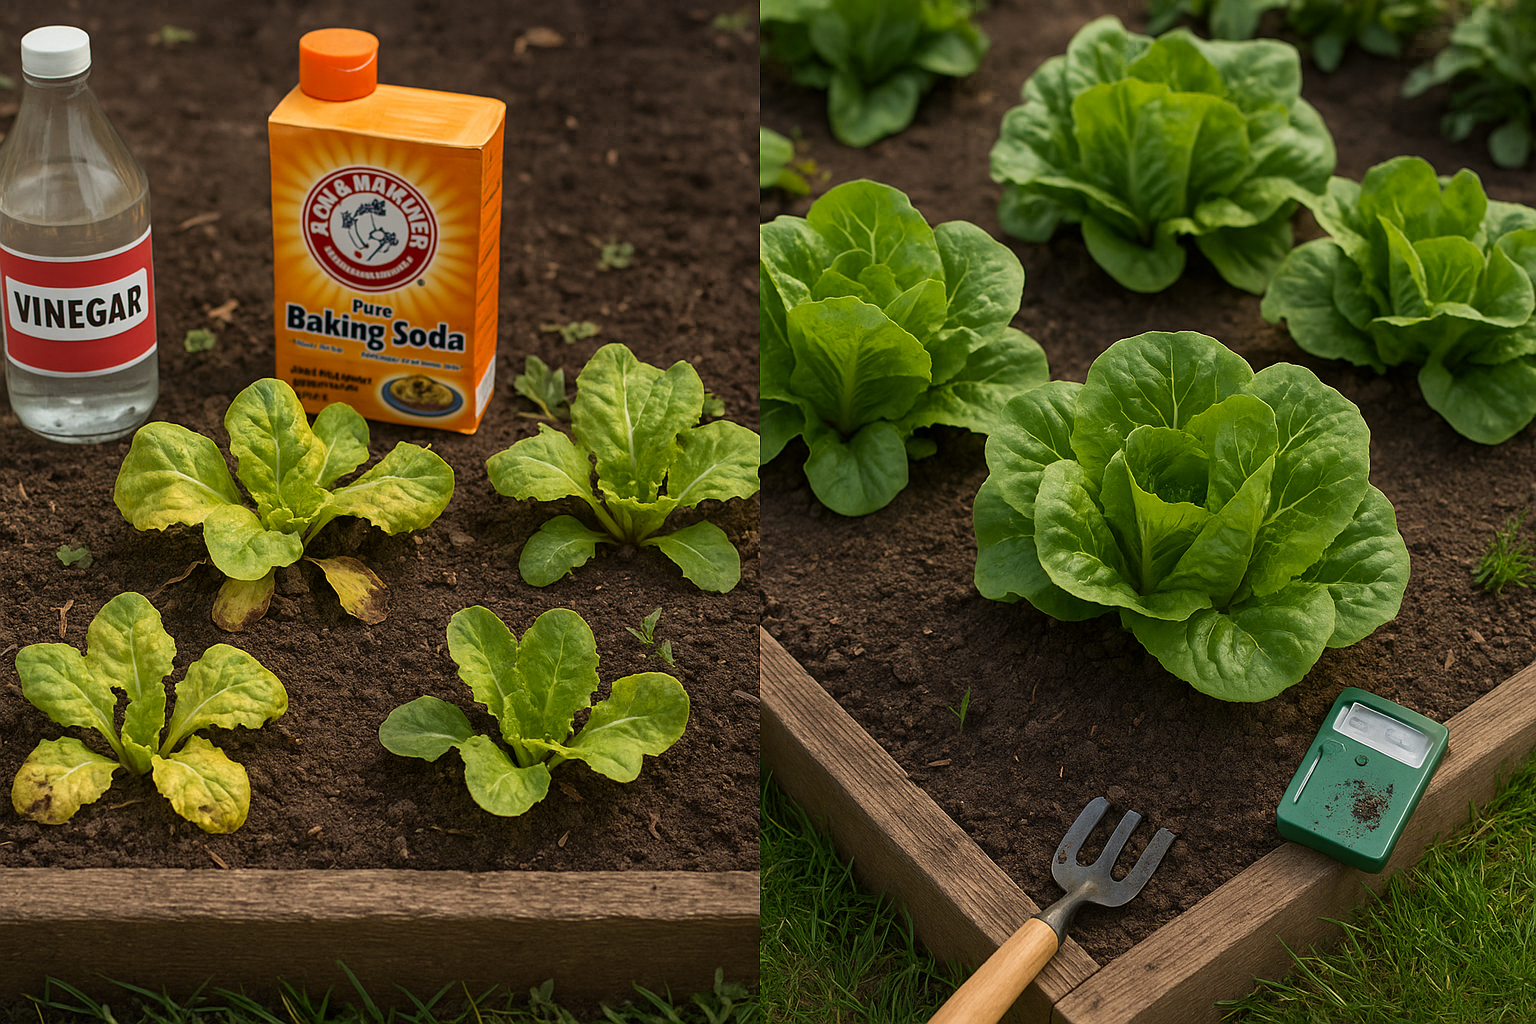
Another common pitfall is using household chemicals like vinegar or baking soda to alter pH quickly. While these might show short-term results, they can damage beneficial soil life and leave toxic residues harmful to plants. Instead, use only gardening products formulated specifically for soil.
When making corrections, apply amendments in small increments—big changes all at once can shock your lettuce, leading to poor yields and stressed plants. By focusing on gradual, well-informed adjustments and sticking to tested products, you’ll create a healthy environment for your lettuce crop to thrive.
Best Practices for Maintaining Optimal Soil Conditions
Maintaining optimal soil conditions starts with a balanced approach—don’t just focus on managing pH; incorporate it into your broader soil health practices. Adding compost boosts organic matter, which not only feeds plants but also enhances your soil’s ability to buffer against pH swings.
Practicing crop rotation helps prevent nutrient depletion and disrupts soilborne pests or diseases, giving your soil a chance to recover each season. Mulching is another simple yet effective habit: by spreading organic mulch like straw, wood chips, or shredded leaves, you retain soil moisture, suppress weeds, and increase organic content as the mulch breaks down.
Periodically test your soil’s pH, especially during the growing season when plant activity and weather can cause fluctuations. DIY soil pH kits are affordable and easy to use—aim to check at least once a month and after adding amendments. If you notice trends of rising or falling pH, respond promptly with targeted interventions like lime for acidic soils or sulfur for alkaline ones.
Consistently following these practices will keep your soil balanced, resilient, and ready to support healthy, productive crops all year round.
Conclusion & Quick Reference Table
Maintaining the right soil pH is crucial for healthy lettuce—aim for a pH between 6.0 and 7.0. Regularly test your soil with a simple pH kit to catch imbalances early. If your pH is too low (acidic), add garden lime; if it’s too high (alkaline), mix in sulfur. Watch for signs like yellowing leaves or stunted growth, which often signal pH problems. Take action promptly to keep your plants thriving. Proactive soil care ensures lush, productive lettuce crops season after season.
| Optimal pH | Imbalance Symptoms | Solutions |
|---|---|---|
| 6.0 – 7.0 | Yellow leaves, slow growth | Add lime or sulfur |