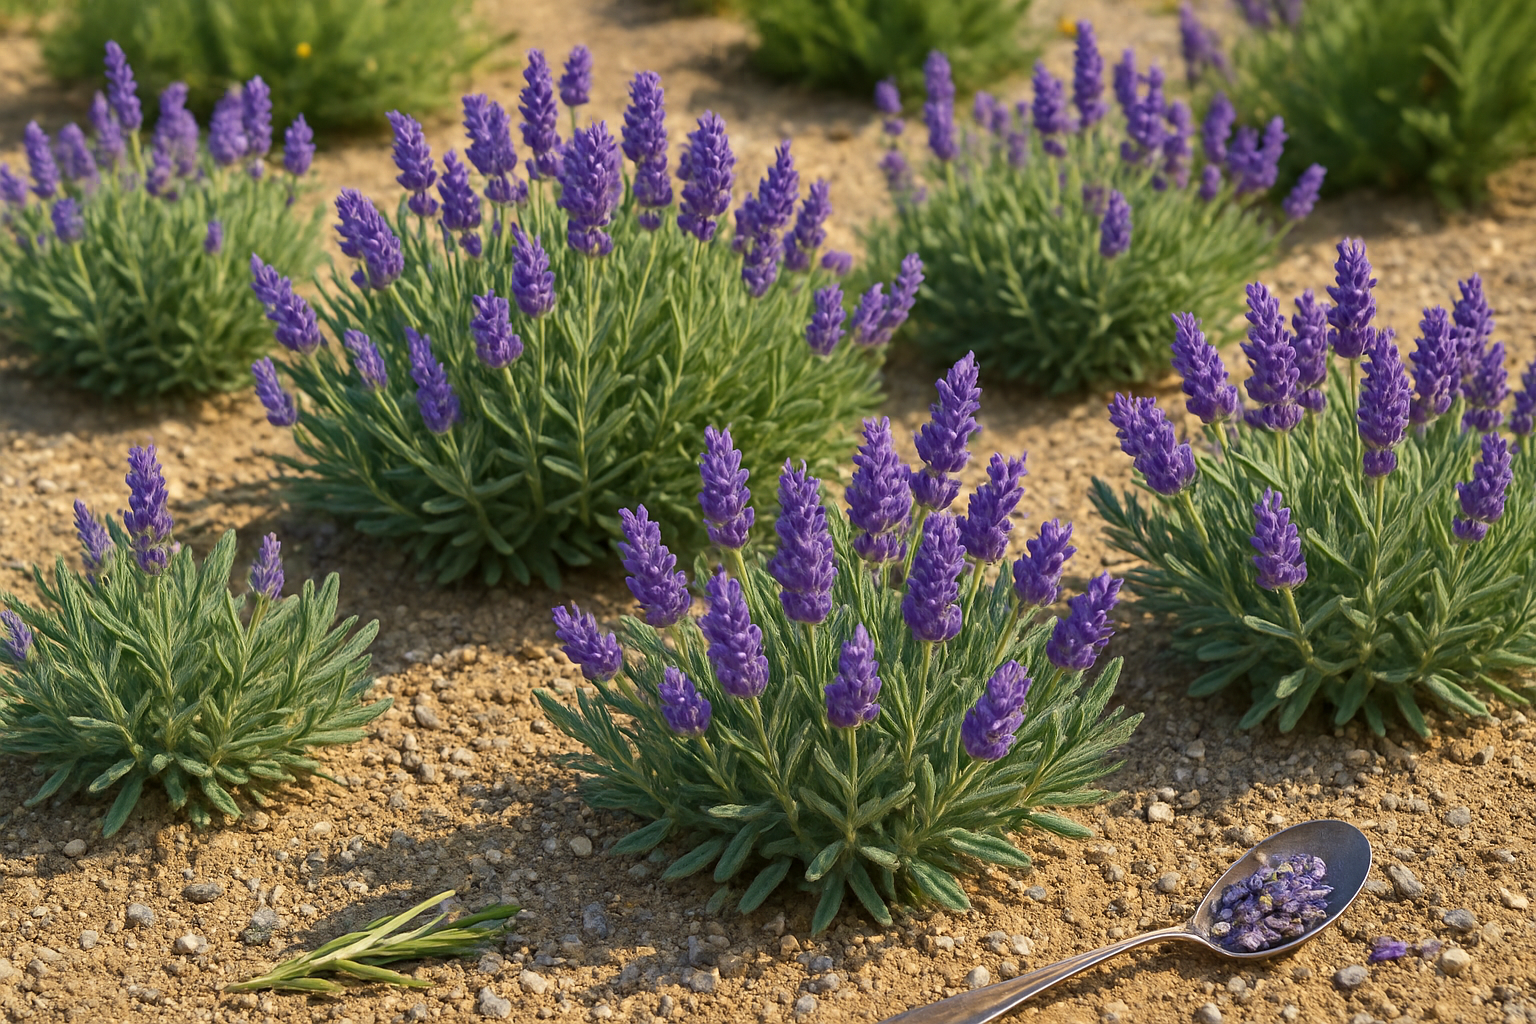
Why Lavender Leaves Turn Yellow
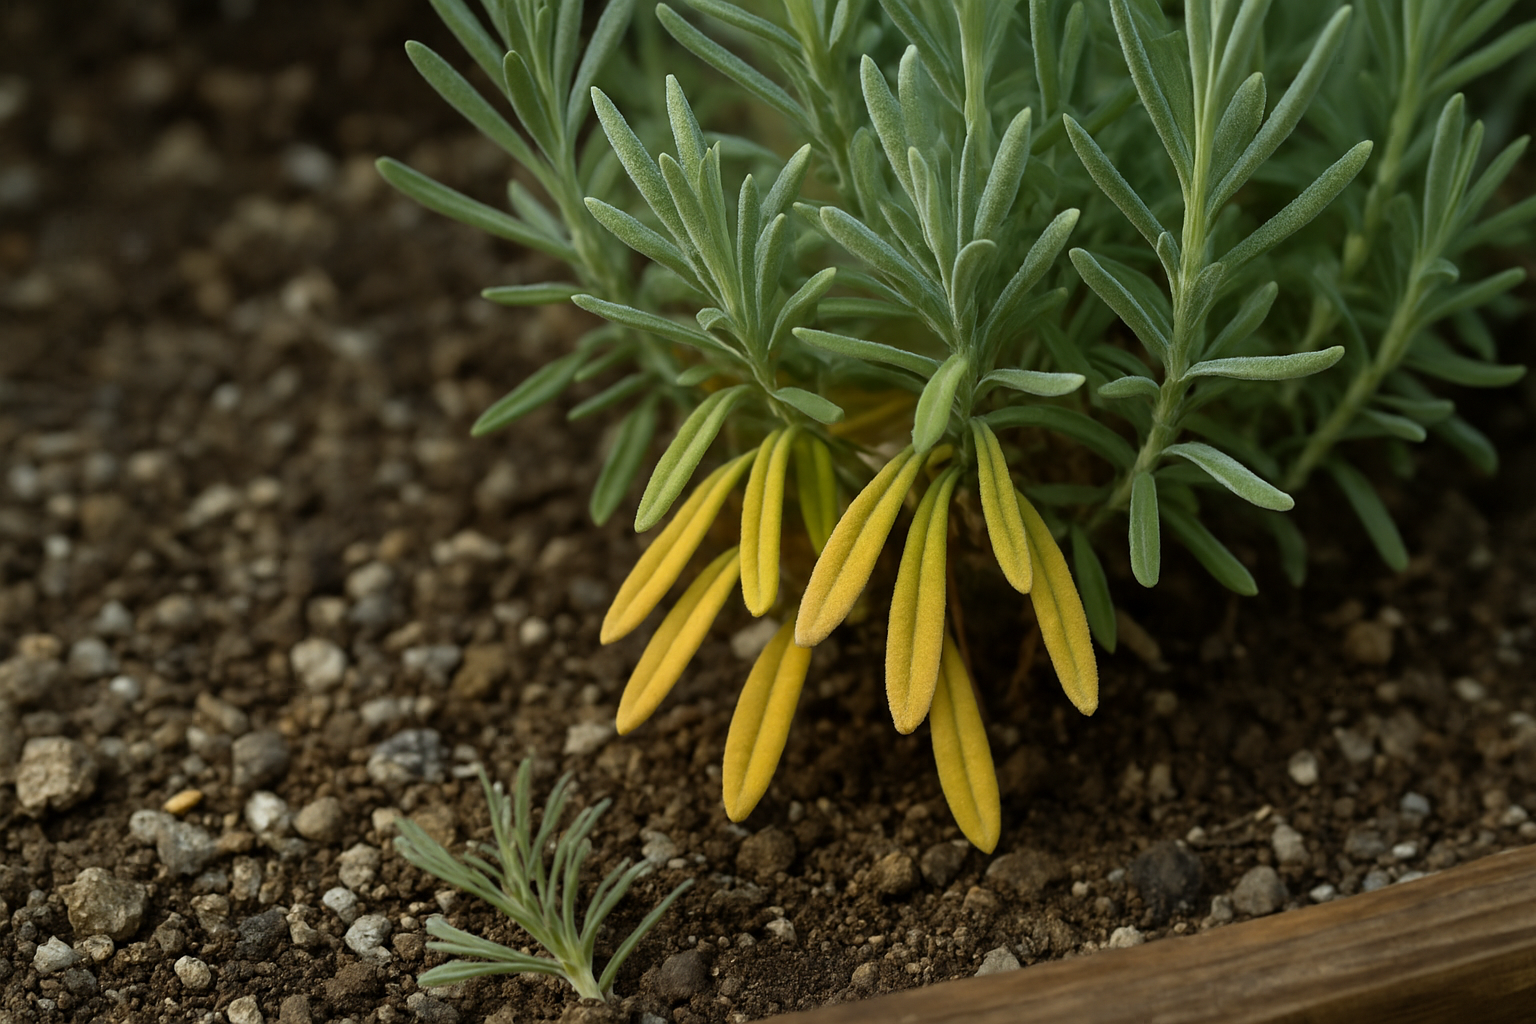
Yellowing leaves are often the first warning sign that your lavender plant is struggling, typically pointing to issues with watering, nutrients, or disease. Healthy lavender has silvery-green leaves that feel firm and stand upright on sturdy stems. In contrast, yellowing leaves may look pale, limp, or even slightly translucent, usually starting at the lower part of the plant before spreading upward.
Overwatering is the most common cause, leading to root rot and poor nutrient absorption—especially if the soil is dense or drains poorly. Underwatering can also cause discoloration, particularly if the plant is exposed to excessive heat or direct sunlight.
Nutrient deficiencies, most often nitrogen, magnesium, or iron, can cause leaves to turn yellow while the veins remain green. Early signs include yellowish patches along the veins or edges of the leaves, leaf curling, and a generally wilted appearance. Sometimes, diseases like fungal infections appear as yellow spots or splotches, which eventually lead to browning and leaf drop.
Because lavender is naturally resilient, these subtle changes can easily be overlooked. However, spotting symptoms early gives you the best chance to fix the problem by adjusting your watering schedule, improving drainage, or treating pests and disease. Regularly checking the undersides of leaves and the base of stems for discoloration or wilting helps you catch problems while they’re still manageable, ensuring your lavender stays healthy, fragrant, and beautiful.
Water Woes

Yellowing leaves on lavender are often a distress signal—your plant is telling you something is wrong with its water supply. Both overwatering and underwatering can cause yellowing, but the root causes and solutions are quite different.
When lavender gets too much water, its roots become waterlogged and oxygen-starved, leading to root rot and yellowing leaves starting at the base. Soggy soil suffocates the roots and encourages fungal diseases, making the whole plant look limp and unhealthy.
On the flip side, underwatering also results in yellow leaves, but these tend to dry up and curl, and stems may become brittle.
Ideal soil moisture for lavender is slightly dry—well-draining, gritty, and allowed to dry out somewhat between waterings. To test, stick your finger an inch into the soil; it should feel dry before you water again.
Watering Tips for Lavender
- Use pots with large drainage holes and a well-draining potting mix amended with sand or perlite for container plants.
- For in-ground lavender, choose a sunny spot and mound up the planting area, mixing plenty of gravel or coarse sand into the soil.
- Always water deeply but infrequently: about once every one to two weeks, or when the soil has thoroughly dried out.
- A good rule for potted lavender is to water when the top inch of soil is dry, and always empty saucers of excess water.
Improving Drainage
If soggy conditions persist, improve drainage by adding more grit to the soil, elevating pots, or planting in raised beds. Mulching with small rocks instead of organic mulch also encourages fast water evaporation and prevents roots from staying too wet.
By dialing in your watering and drainage, you’ll help ensure your lavender isn’t left suffering from water woes!
Sunlight, Temperature, and Environmental Stress
Lavender thrives in full sun and loves warmth, needing at least six to eight hours of direct sunlight daily to produce healthy growth and vibrant blooms. Without enough sunlight, you’ll notice leggy stems, sparse flowers, and a pale, yellowish tint spreading across the leaves.
On the other hand, consistently high temperatures—especially when combined with poor air circulation—can scorch lavender’s leaves, turning them crispy brown or purple at the edges, and causing the entire plant to wilt. Sudden cold snaps, particularly in spring or fall, might leave leaves grayish, droopy, or even blackened after a frost.
Unlike fungal diseases or nutrient deficiencies, which often appear as spots, powdery coatings, or patterned discoloration, environmental stress usually causes more generalized browning, wilting, or paling in color—sometimes affecting entire sections exposed to sun or cold.
To set lavender up for success, choose an open, sunny spot—a south-facing border or raised bed works well—where air moves freely and soil drains quickly. Avoid planting too close to walls that reflect intense midday heat unless some afternoon shade is available.
In climates with harsh winters or unpredictable late frosts, use row covers, mulch, or even a moveable container to shield your plants. For gardens where summer sun is relentless, a bit of light afternoon shade can prevent overheating. Mulching with pale gravel not only keeps roots cool but also mimics lavender’s native Mediterranean habitat.
By watching your plants closely and adjusting their care based on these environmental cues, you can quickly distinguish stress from more serious plant health issues, ensuring your lavender stays robust and beautiful year-round.
Soil Quality, Nutrient Deficiencies, and Fertilization Tips
Lavender thrives best in well-draining, slightly alkaline soils because it originates from the arid Mediterranean and doesn’t tolerate wet feet or highly acidic ground. Before planting, mix some lime into the soil if your ground is naturally acidic, aiming for a pH between 6.5 and 7.5. Simple test kits for this are widely available at garden centers.
Good drainage is vital; if you have clay-heavy soil, amend it with coarse sand or small gravel to keep roots healthy and avoid root rot. Lavender is fairly undemanding when it comes to nutrients, but watch for yellowing lower leaves, which often signal a nitrogen deficiency.
If the yellowing spreads upward or is accompanied by weak stems or purplish tints, the plant might need an extra boost of nitrogen or phosphorus. However, resist the urge to over-fertilize—lavender actually prefers lean conditions. Too much fertilizer, especially high-nitrogen mixes, leads to lush, floppy growth and fewer fragrant flowers.
For best results, apply a small handful of a balanced, slow-release organic fertilizer (like a 5-5-5 or similar) in early spring, and never directly before or during bloom. Compost can be worked into the soil yearly for a gentle nutrient boost.
Signs of fertilizer burn, such as brown leaf tips or sudden wilting after fertilization, are a clear warning to scale back, water deeply, and avoid fertilizing during hot weather. Always err on the side of under-fertilizing—lavender’s natural beauty shines when its needs are met with restraint, not excess.
By keeping the soil lean and well-drained, and monitoring for subtle nutrient clues, you’ll encourage hearty plants with vibrant blooms and rich fragrance all season long.
Pest, Disease, and Fungal Problems
Yellowing leaves on lavender are often the first sign of trouble, usually caused by sap-sucking pests like aphids, spittlebugs, or whiteflies, as well as fungal issues such as root rot and leaf spot.
Pests and Their Signs
Aphids cluster on new growth, leaving behind sticky residue and deformed leaves, while spittlebugs create foamy blobs on stems. Whiteflies also cause damage by feeding on the plant sap.
Common Diseases
Phytophthora root rot causes lower leaves to wilt, yellow, and drop, with roots appearing brown or mushy. Septoria leaf spot shows up as small yellow or brown spots that spread across the foliage.
Detection and Early Treatment
Detect infestations early by inspecting the undersides of leaves and along stems for insects, sticky residue, cottony webbing, or unusual spots. For home treatment, organic methods like spraying diluted neem oil, insecticidal soap, or a homemade garlic spray can help deter pests.
Remove affected leaves and avoid getting foliage wet to minimize fungal issues. Apply fungicides for severe cases if organic options don’t work. Chemical insecticides should be used only as a last resort and strictly according to label directions.
Prevention Tips
- Plant lavender with good air circulation by spacing plants at least two to three feet apart.
- Keep the area free of weeds and fallen debris.
- Avoid overhead watering, which encourages fungi growth.
- Regularly inspect your plants for early signs of trouble to act quickly.
Preventing these problems is often easier than curing them. With proper care, you can keep your lavender lush and vibrant all season long.
Pruning and Preventative Maintenance for Vibrant Leaves
Pruning lavender at the right time is essential for keeping its foliage healthy and vibrant. The best time to prune is either immediately after the main flowering in late summer or very early in spring, before new growth begins. When you trim away about a third of the green, soft stems—being careful not to cut into the older, woody sections—you encourage fresh shoots and help the plant maintain its rounded shape.
Removing old wood and faded flower stalks does more than boost appearances; it also reduces the risk of yellowing leaves, which often result from poor air circulation and a buildup of dead or diseased material. With better airflow between stems, excess moisture can evaporate quickly, lowering the likelihood of fungal diseases that cause leaf discoloration.
For ongoing care, regularly inspect your lavender for dead or damaged stems and snip them out as needed, especially during wetter months. Mulch lightly with gravel to prevent splash-back of soil, which can introduce harmful fungi to the leaves. Make sure your lavender isn’t crowded by nearby plants, as space encourages airflow and lets sunshine reach all parts of the bush.
In especially humid climates, consider pruning a little more often to keep the plant open and airy. By staying consistent with these routines throughout the growing season, you’ll prevent common issues and enjoy lush, green foliage that thrives year after year.
When to Worry
Yellowing leaves on your lavender aren’t always a death sentence, but knowing when they’ll bounce back or when it’s time to say goodbye can save a lot of frustration. Sometimes, yellow leaves are just a sign of stress—maybe too much water, poor drainage, or a sudden weather shift.
If the roots are still healthy and you act quickly, the plant can recover. Trim away any damaged or mushy leaves to stop rot from spreading and help the plant focus its energy on healthy growth. Review your watering routine and make sure the soil drains well, as soggy roots are a common culprit.
However, if the majority of leaves are yellow, stems feel soft or hollow, or there’s a persistent foul smell from the soil, it may be too late for that lavender to bounce back—root rot or disease could have taken hold. In these cases, replacing the plant is best.
When shopping for new lavender, choose plants with strong green stems, perky leaves, and no black spots or soggy patches. Ask the nursery about their watering schedule and look for plants grown in well-draining soil to lower the chances of future problems. A little proactive care at the start goes a long way to keeping your lavender healthy and vibrant.