Why Do Dill Leaves Turn Yellow?
Yellowing dill leaves are often an early warning sign that something isn’t quite right with your plant, rather than just a natural part of its lifecycle. While all dill grows from seed to mature, feathery green foliage before eventually flowering and turning brown at the end of its life, yellow leaves usually signal trouble much earlier on.
Whether you grow dill in garden beds or containers on a sunny windowsill, noticing pale or yellow leaves can be frustrating, especially when you’re hoping for vibrant herbs to use in your kitchen. Most often, yellowing is caused by factors like overwatering, poor soil drainage, lack of key nutrients, pests, or fungal diseases—each requiring a different solution.
For example, keeping the soil consistently moist but not soggy and ensuring good airflow around your plants can help fend off many common problems.
In this article, I’ll walk you through the primary reasons dill leaves turn yellow, how to identify the specific cause in your own plants, and offer practical steps you can take to restore your dill to its lush, green self. Whether you’re a newbie gardener or just encountering this issue for the first time, you’ll find straightforward advice and real-world tips geared toward saving your dill crop.
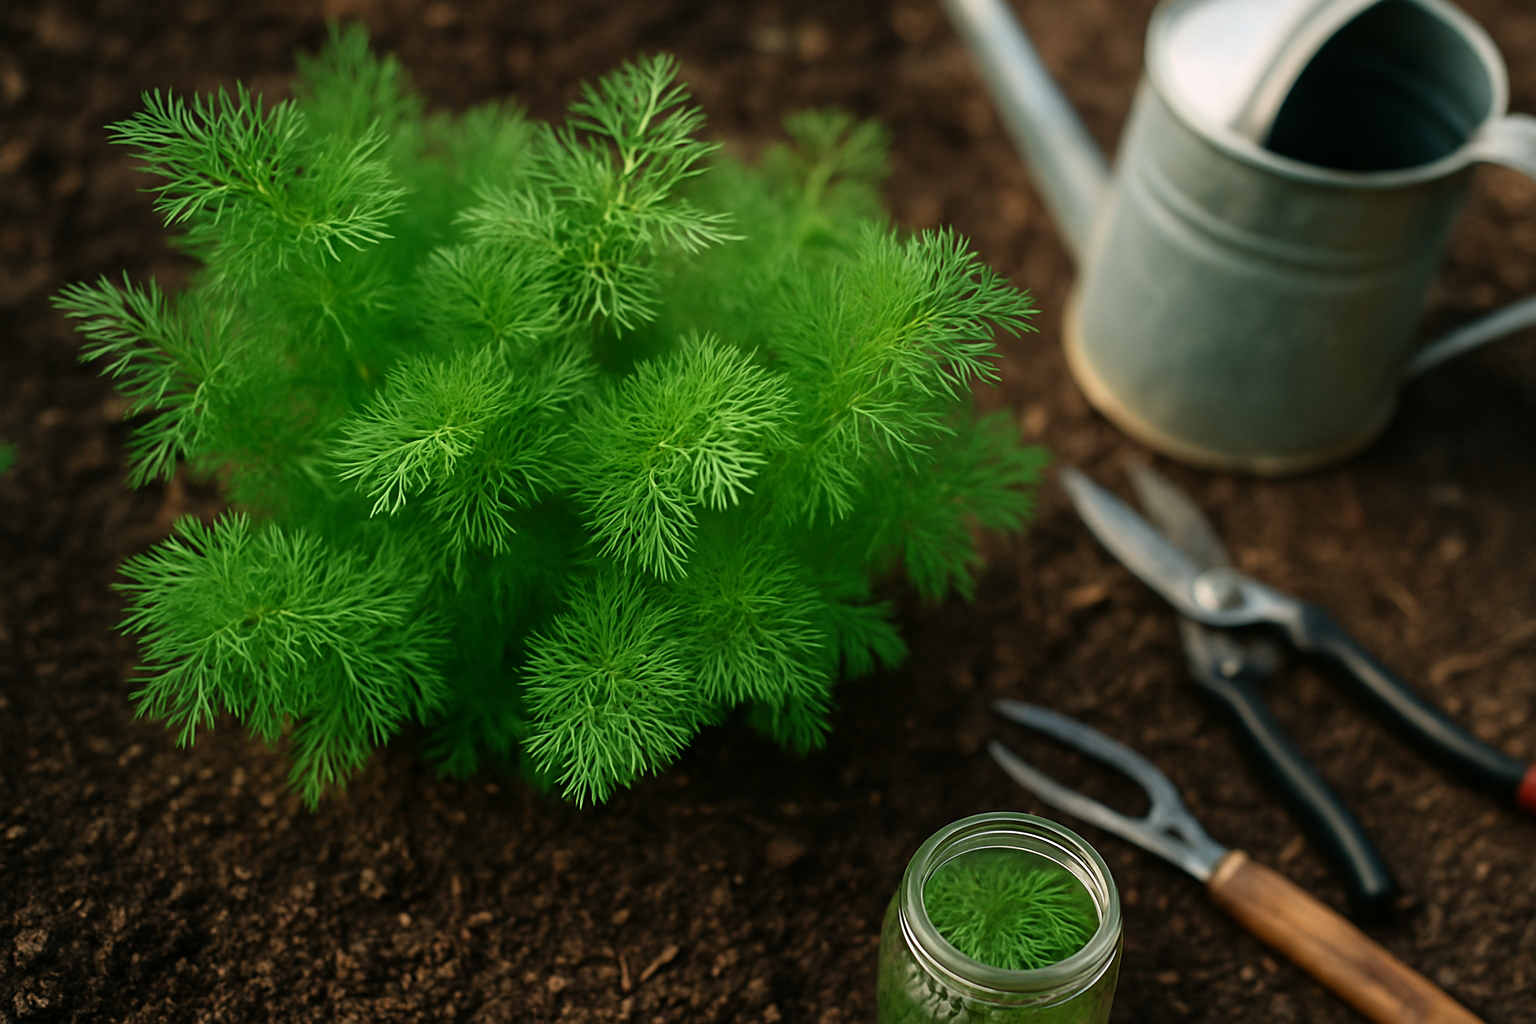
Watering Issues and Soil Conditions
Yellow leaves on your plants often signal trouble with watering—both too much and too little can cause problems. Overwatering suffocates roots and leads to rot because they can’t get the oxygen they need, resulting in limp, yellow leaves. Conversely, underwatering deprives roots of moisture, causing leaves to dry out and yellow around the edges.
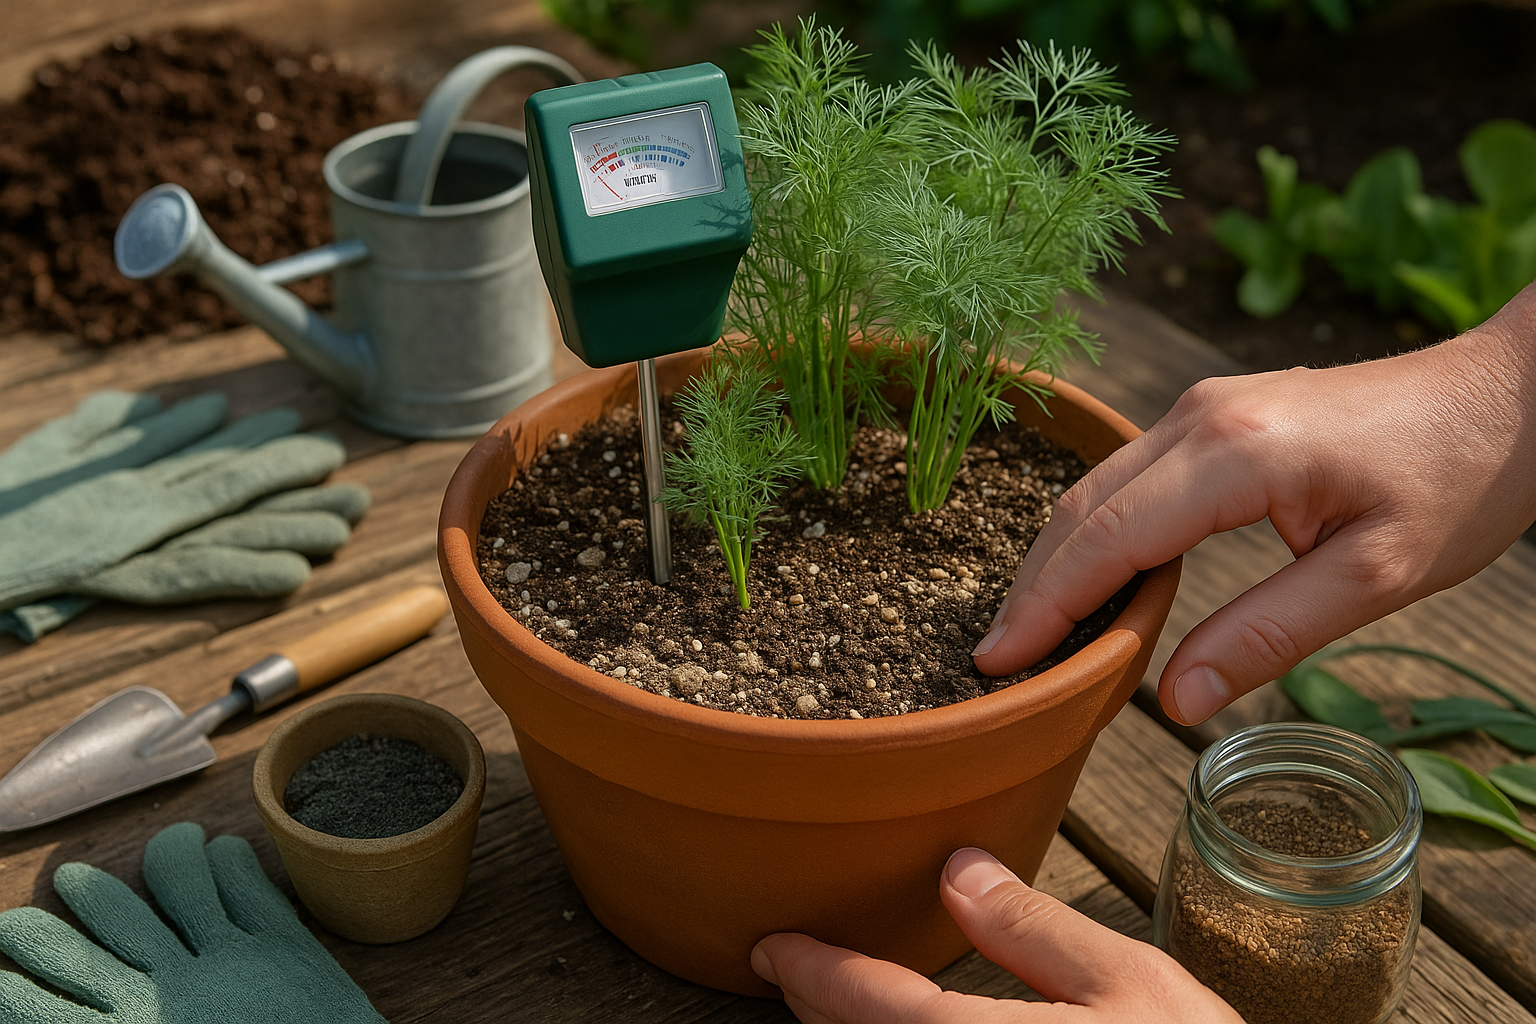
The type of soil in your pot or garden is just as important as your watering habits. Well-draining soil prevents excess water from pooling around the roots, helping to avoid rot and maintain consistent moisture levels. If you’re unsure about how often to water, check the soil by sticking your finger about an inch deep; if it feels dry, it’s time to water.
For potted plants, ensure containers have drainage holes and consider mixing in perlite or coarse sand to improve soil texture. In gardens, adding organic matter like compost can boost both drainage and moisture retention, creating a healthier environment for roots. A moisture meter is another handy tool to remove guesswork, especially for beginners.
Remember, most plants prefer to dry out a bit between waterings. Adjust your routine with the seasons—plants need less water in cooler temperatures and more when it’s hot. By paying attention to both your watering habits and the soil you use, you’ll help your plants avoid yellow leaves and stay vibrant and healthy.
Light, Temperature, and Environmental Stress
Dill thrives with plenty of sunlight and stable, moderate temperatures, so extreme conditions can quickly affect its growth and flavor. Without enough sunlight—ideally at least six hours of direct light daily—dill becomes leggy, pale, and far less fragrant, making it less appealing in the kitchen.
Outdoors, plant dill in a spot that receives full sun. When growing indoors, supplement natural light with a south-facing windowsill or a grow light to ensure healthy development.
Temperature swings pose another risk: dill grows best between 60°F and 75°F (15°C to 24°C). Prolonged exposure to heat above 80°F can cause dill to bolt, while chilly conditions below 50°F can stunt growth or kill young plants.
To protect outdoor dill from hot spells, use lightweight shade cloths during the hottest part of the day and mulch around the base to conserve moisture. When frost threatens, cover plants with garden fabric or move potted dill indoors overnight.
Indoors, avoid placing dill near drafty windows or heating vents, which can dry out or stress the plant. Instead, maintain a consistent room temperature and ensure good air circulation.
Regularly check the soil, as both under- and overwatering worsen environmental stress, quickly leading to wilting or disease.
Simple habits like rotating indoor pots weekly for even sun exposure and using a thermometer to monitor microclimates around your plants can make a big difference, helping dill stay healthy, lush, and ready for harvest no matter where you grow it.
Nutrient Deficiencies and Fertilization
Yellowing leaves are often a clear sign that your plants might be suffering from a nutrient deficiency, with nitrogen being one of the most common culprits. When plants lack nitrogen, the older leaves usually turn pale or yellow first because the plant starts moving what little nitrogen it has to the newer growth. Other nutrient shortages, like potassium or magnesium, can cause yellowing at leaf edges or between the veins, while iron deficiency typically affects young leaves, causing yellowing with green veins.
To pinpoint the cause, start by visually inspecting your plants for these patterns and consider using a simple at-home soil test kit, which is widely available at garden centers, to check for nutrient imbalances. Testing is important because it prevents over-fertilizing, which can be just as harmful as deficiencies.
Once you’ve identified the problem, choose a fertilizer that matches your plant’s needs. A balanced, water-soluble fertilizer works well for most garden plants, but for leafy greens or lawns where nitrogen is lacking, select a product labeled high in nitrogen (the first number in N-P-K ratios). Apply according to package instructions, typically every 2-4 weeks during active growth.
For container plants, fertilizers may need to be applied more often since nutrients can leach out with watering. Always water your plants after fertilizing to help nutrients reach the roots and avoid burning the foliage. Keeping a fertilization calendar helps you stay consistent and catch issues before they become major setbacks.
Pests and Diseases Affecting Dill
When dill plants start to yellow, pests and diseases are often the culprit. Common offenders include aphids—tiny green or black insects that cluster on young stems and the undersides of leaves, causing them to curl and yellow. Spider mites are another major pest; check for fine webbing and stippled, speckled damage on the leaves.
Fungal diseases like powdery mildew create a white, powdery coating on the foliage, while root rot causes limp, yellowing plants with mushy roots, usually triggered by overly wet soil.
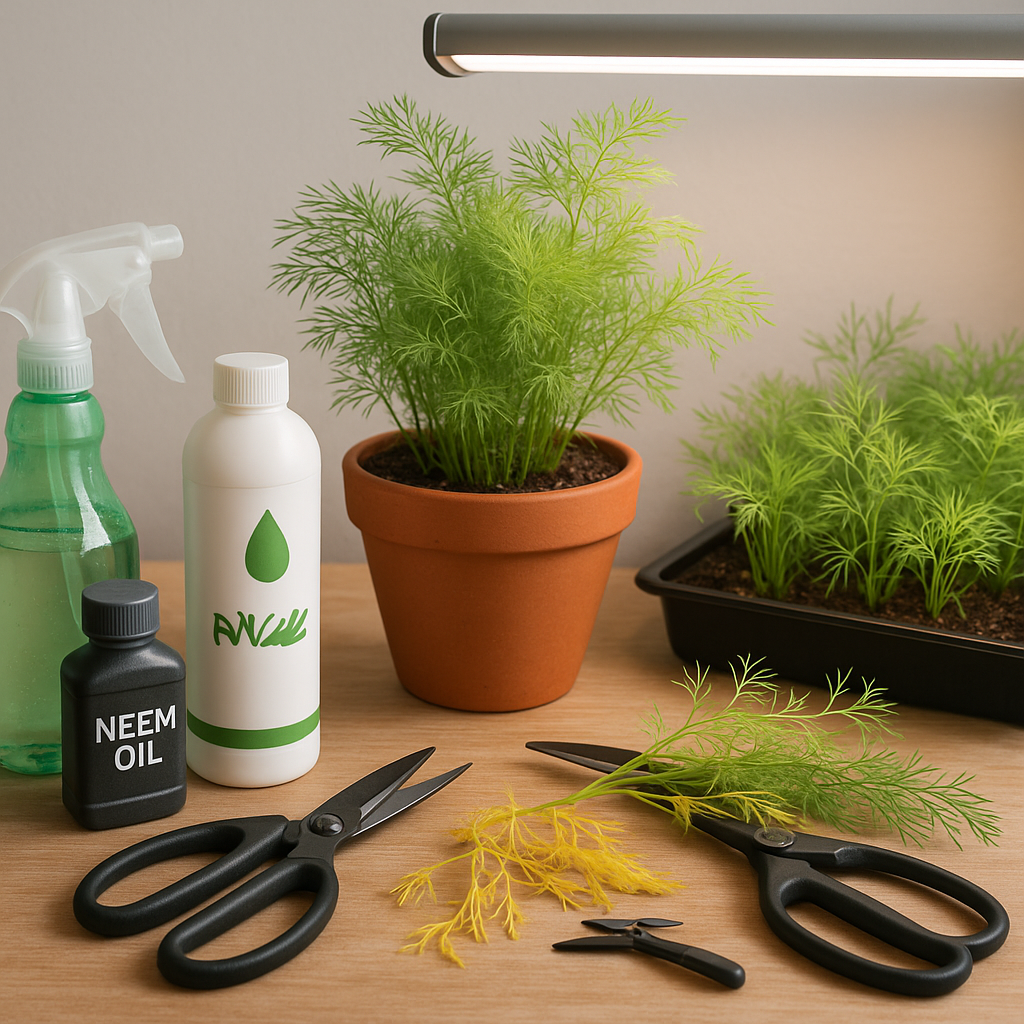
Natural Control Methods
- Rinse aphids and mites off with a strong spray of water.
- Introduce beneficial insects like ladybugs.
- Use neem oil or insecticidal soap for minor infestations.
- For powdery mildew, remove affected leaves and consider an organic fungicide such as sulfur or potassium bicarbonate.
- Prevent root rot by planting dill in well-draining soil and watering only when the top inch of soil feels dry.
Chemical Solutions
Chemical pesticides or fungicides are options but should be used only as a last resort. Always follow label directions carefully to protect pollinators.
Prevention Tips
- Space dill plants to ensure good air circulation.
- Avoid overhead watering.
- Rotate crops each season.
- Keep garden beds free of plant debris.
Regularly checking your plants helps spot early signs of trouble, making treatment more effective and keeping your dill healthy and vibrant.
Step-by-Step Troubleshooting and Revival Tips
Diagnosing and reviving yellowing dill starts with a close look at your plant and its environment. First, check the soil’s moisture; yellow leaves often indicate overwatering or poor drainage. Stick a finger into the soil—if it feels soggy or smells musty, hold off watering and improve drainage by adding perlite or repotting.
Next, consider lighting. Dill loves sunshine, so make sure your plant is getting at least six hours of direct sunlight daily, whether it’s on a sunny windowsill or outdoors. If light is lacking, move it to a brighter spot or supplement with a grow light.
If you notice that lower leaves are yellowing while upper ones look fine, it could signal a nutrient shortage. Feed your dill with a diluted liquid fertilizer every four to six weeks to replenish essential nutrients like nitrogen.
Pests can also cause yellowing, so inspect both sides of the leaves for aphids or spider mites. Rinse off pests with a gentle jet of water or treat with neem oil. Poor airflow encourages diseases, so thin out crowded stems and avoid getting leaves wet when watering.
Once you’ve addressed the root issue, trim away yellow or damaged foliage to encourage new growth.
Going forward, establish a care routine:
- Water when the top inch of soil is dry
- Fertilize occasionally
- Keep your dill in strong light
Consistency is key—by catching problems early and keeping up with regular maintenance, you’ll help your dill recover and thrive for seasons to come.
Consistent Care for Healthy Dill Plants
Keeping your dill plants lush and green isn’t just about planting them and hoping for the best—it’s all about consistent, attentive care. One of the biggest threats to dill’s health is leaf yellowing, often caused by stress, nutrient deficiencies, or overwatering.
To keep your dill thriving, make it a habit to monitor your plants every few days. Look for early signs of trouble, like wilting or yellowing leaves, so you can act fast. Pruning regularly helps too; simply snip away any dead or yellow leaves to boost airflow and prevent disease.
Regular harvesting does double duty—it encourages bushier growth and prevents the plant from going to seed too early. If you see yellow leaves, it could be a sign you’re watering too much or too little, or that the plant needs a bit more sun.
Adjust your watering routine so the soil stays moist but not soggy, and try to provide at least 6 hours of sunlight each day. Consider feeding your plants with a balanced, organic fertilizer every few weeks, especially in pots where nutrients wash away quickly.
Above all, remember that caring for dill is a process, not a one-time chore. By making small, regular changes—whether that’s snipping back extra growth or tweaking how often you water—you set your dill up for long-term success.
Even five extra minutes of attention can make all the difference, turning your patch of dill into a thriving, aromatic staple in your kitchen herb garden.