Introduction to Yellowing Chamomile Leaves
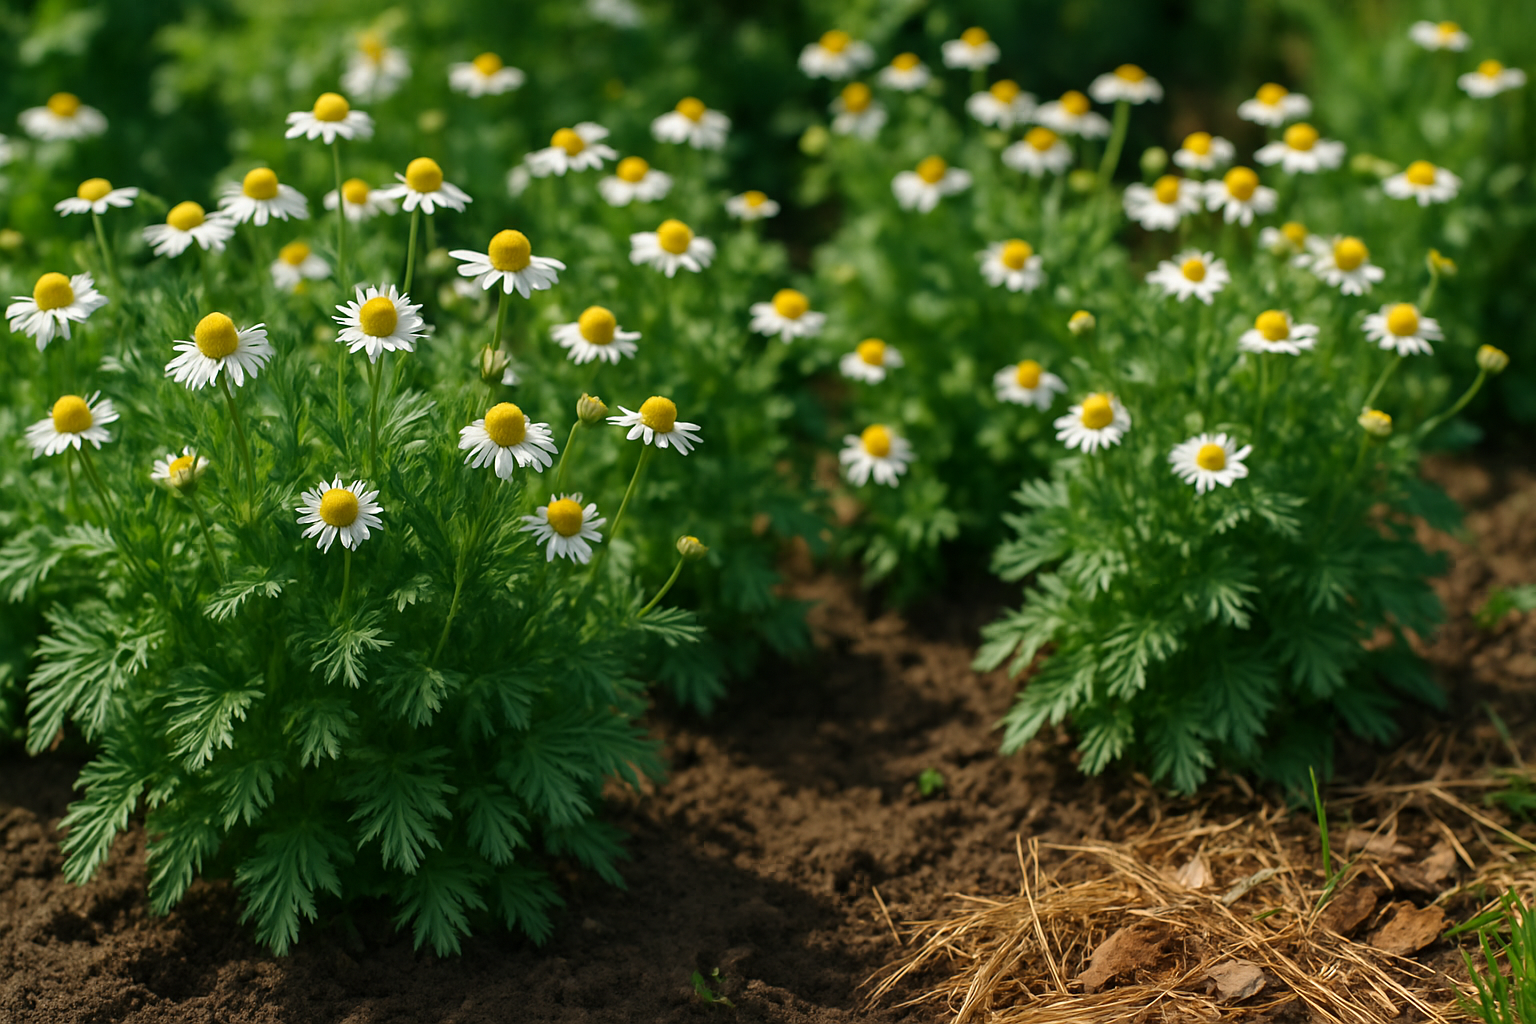
Noticing yellow chamomile leaves on your plants can quickly turn your excitement for a healthy garden into concern. For home gardeners and growers alike, yellowing leaves are often an early warning sign that something isn’t quite right. Whether you use chamomile for brewing soothing tea or as a beautiful addition to your garden, keeping the plants in top shape is a priority.
The appearance of yellow leaves can point to a range of issues, from overwatering and nutrient imbalances to pest infestations or diseases. Spotting and addressing these problems early is key to preventing further stress, loss of blooms, or even the death of your chamomile plants.
In this guide, we’ll break down the most common causes of yellow chamomile leaves and share easy, practical steps to get your plants thriving again—so you can enjoy their calming beauty and health benefits all season long.
Common Causes of Yellow Leaves in Chamomile
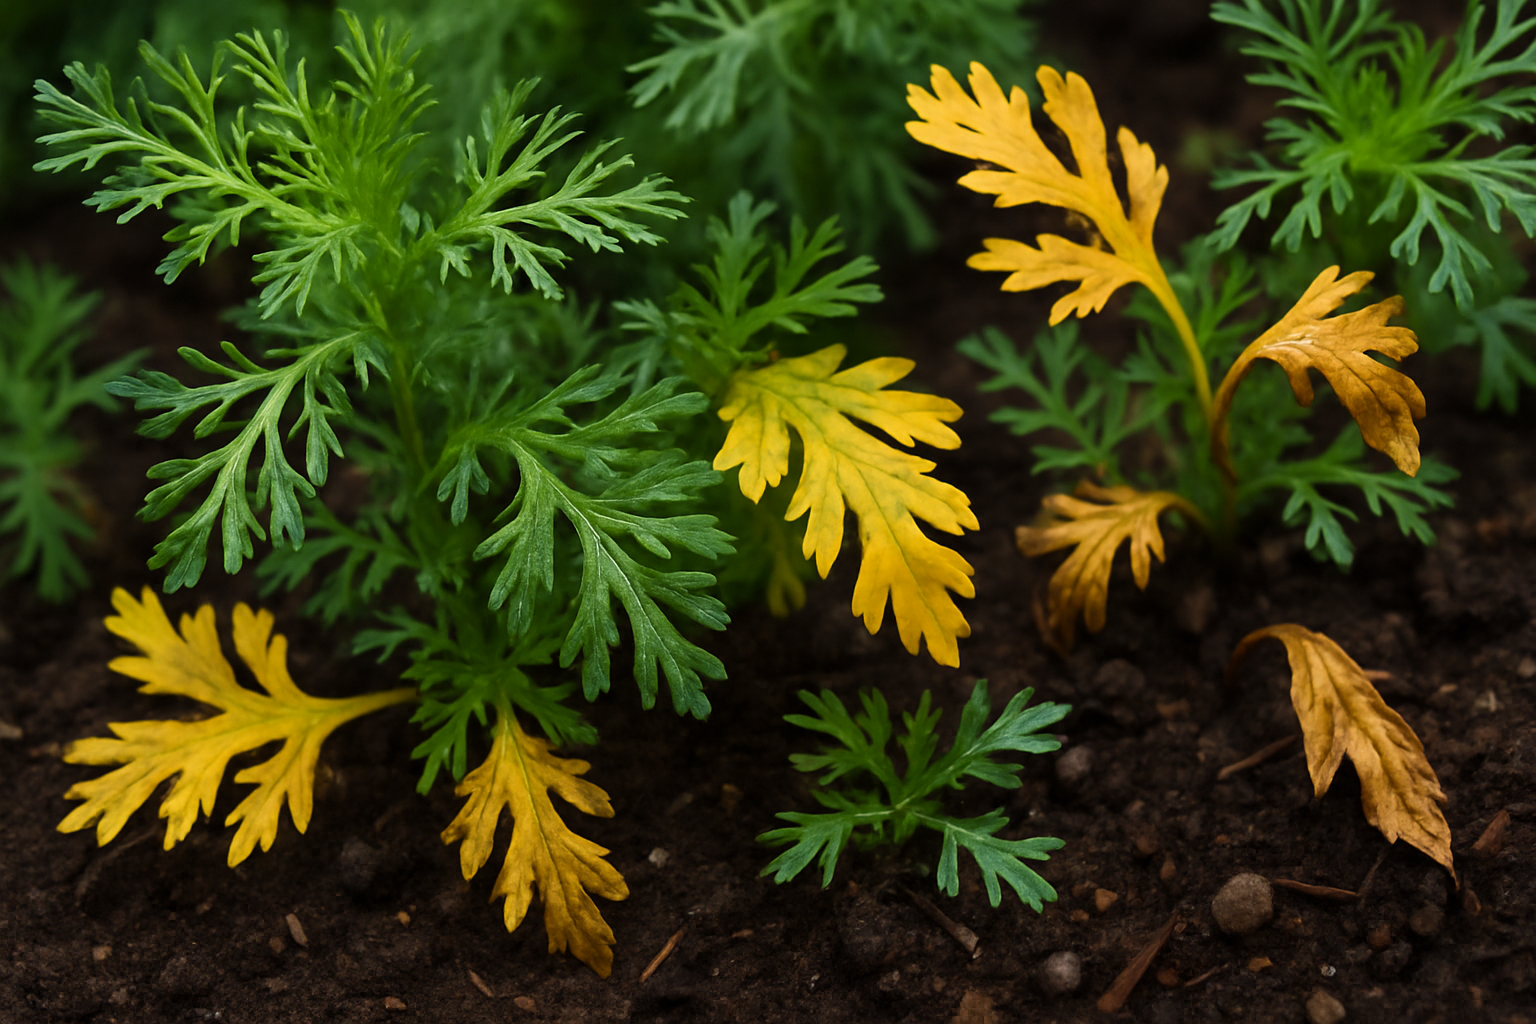
Yellowing leaves on chamomile plants can be concerning, but identifying the cause is key to reviving your herbs. Overwatering is a frequent culprit; it saturates the soil and leads to root rot, which appears as soft, yellowed leaves combined with a soggy soil feel.
On the flip side, underwatering causes leaves to crisp and curl at the edges as they turn yellow due to dehydration. Poor soil drainage often mimics overwatering symptoms since waterlogged roots can’t absorb nutrients properly, resulting in dull, limp yellow foliage.
Nutrient deficiencies, especially low nitrogen, cause older leaves to yellow first while new growth remains green—using an all-purpose fertilizer can help correct this. Inadequate sunlight can leave the entire plant looking pale and leggy, with leaves yellowing as the plant stretches for light.
Environmental stresses, like sudden temperature swings or strong winds, can also shock the plant, leading to patchy yellowing. For an accurate diagnosis, carefully observe not just the leaves but also soil conditions, recent watering habits, light exposure, and weather changes.
Keeping a gardening journal can help you identify patterns, making it easier to make targeted adjustments and restore your chamomile’s health.
Water and Soil Management for Healthy Chamomile
Proper water and soil management is key to growing healthy chamomile. Chamomile thrives when its soil stays consistently moist but not soggy; overwatering can lead to root rot, while underwatering causes wilted, drooping leaves. Check the soil about an inch below the surface—if it feels dry, it’s time to water.
Watch out for yellowing leaves, a common sign of too much water, and crispy brown edges, which often indicate not enough. Well-draining soil is essential; sandy or loamy mixes are ideal because they allow excess moisture to escape, reducing the risk of fungal diseases that can damage leaf health. If growing in heavy clay, amend with compost or sand to improve drainage.
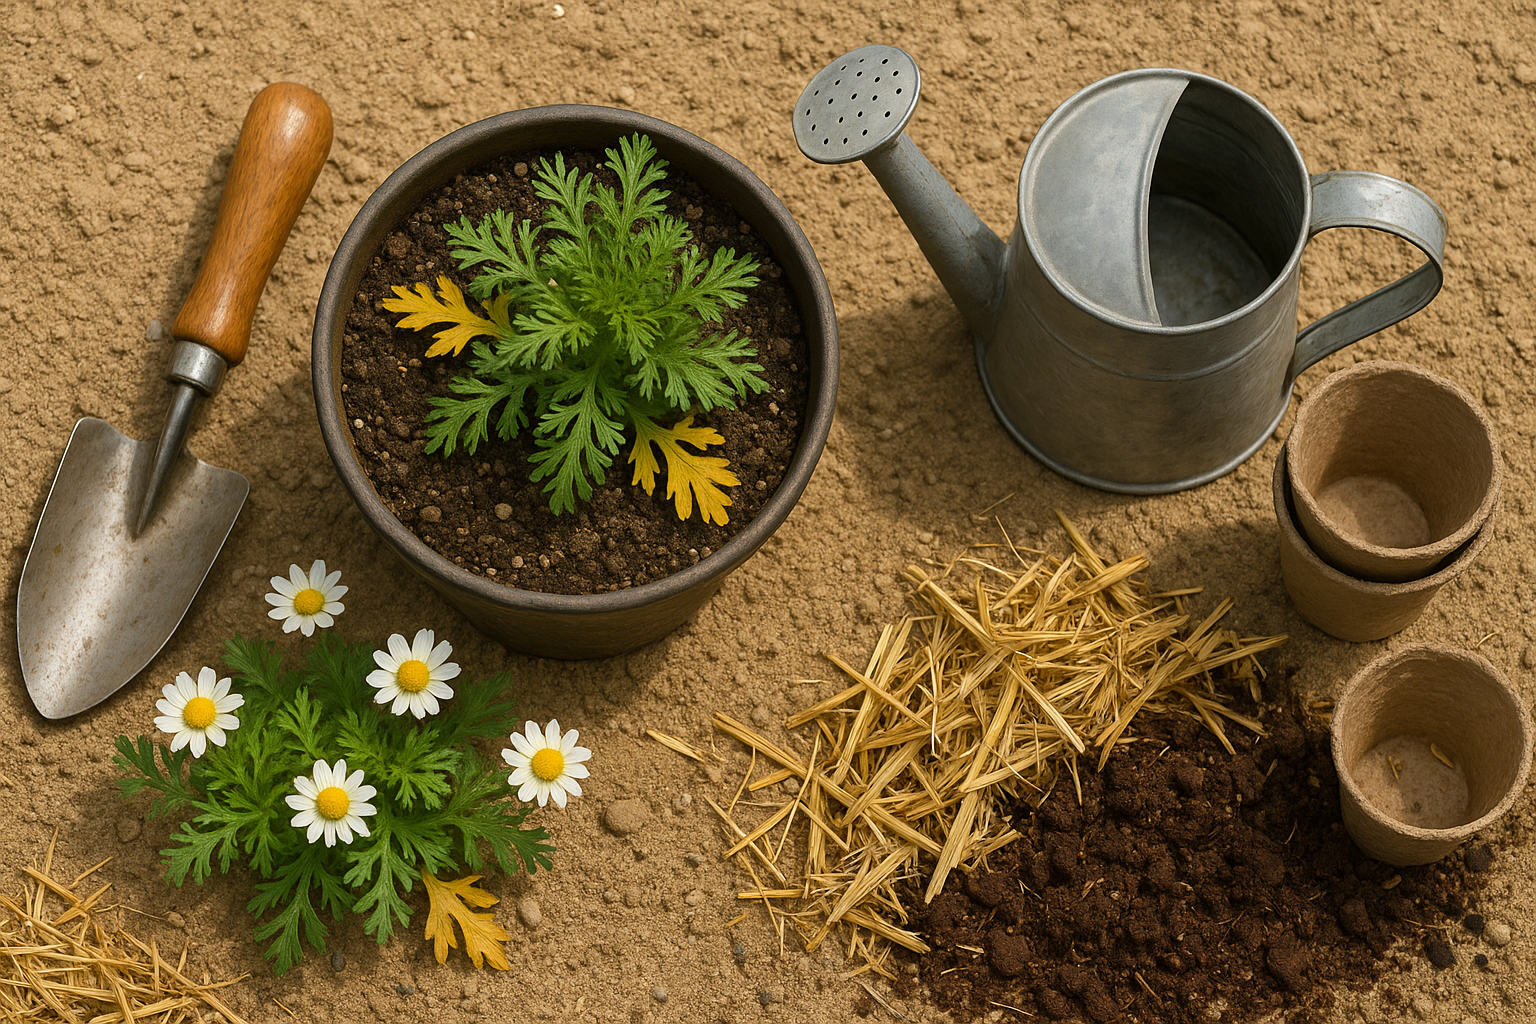
For seasonal care, reduce watering during cooler months as chamomile’s growth slows, but increase it during hot, dry spells. Adding a layer of mulch (such as straw or shredded leaves) helps keep roots cool in summer and holds in moisture.
When choosing pots for container chamomile, pick ones with ample drainage holes and avoid placing trays directly underneath, which can cause water to pool. By tuning into these simple cues and strategies, you can keep your chamomile lush, healthy, and ready for abundant blooms.
Nutrients and Feeding
Plants rely on key nutrients like nitrogen, potassium, and magnesium for healthy, vibrant growth. Nitrogen helps leaves stay deep green and lush; when it’s missing, you’ll notice yellowing starting from the bottom leaves. Potassium deficiency can cause yellow or brown leaf edges and weak stems, while a lack of magnesium usually shows up as yellow patches between leaf veins, especially on older leaves.
To correct these issues, you can use either natural fertilizers like compost, fish emulsion, or worm castings, which gently release nutrients over time, or synthetic fertilizers that offer precise nutrient ratios for faster results. For most indoor and outdoor plants, feeding once every 3–4 weeks during the growing season is safe—just follow label instructions, and always start with the lower recommended amount until you see how your plant responds.
Overfertilization can cause leaf burn, root damage, and salt buildup in the soil, which actually hampers growth. If you suspect this has happened (look for crisp, browning leaf tips or white crust on soil), flush the soil thoroughly with water to remove excess nutrients, and pause feeding until plants recover. A balanced approach keeps foliage rich and resilient, helping your plants thrive season after season.
Dealing with Pests and Diseases
When growing chamomile, it’s important to watch for common pests like aphids, spider mites, and thrips, which often cluster on tender new growth and the undersides of leaves. You might notice tiny dots, yellowing, or sticky residue as signs of their presence. Fungal diseases such as powdery mildew and botrytis blight can cause white powdery patches or grayish mold, while root rot usually results in wilting and browning at the base of the plant.
Early signs to look for include curled or discolored leaves, unusual spots, and overall stunted growth. To manage pests, start with gentle solutions like spraying soapy water or neem oil on affected areas. Remove any heavily infested leaves by hand and dispose of them away from your garden.
For fungal issues, ensure good airflow around your plants and avoid overhead watering; prune and destroy any affected leaves. If root rot is a problem, check for soggy soil and improve drainage by amending with sand or perlite.
Always monitor your chamomile regularly, especially after rain or during periods of high humidity, so you can catch problems early. Keeping your plants healthy through proper spacing, watering, and removing debris also helps minimize the risk of pests and diseases.
Prevention and Long-Term Chamomile Care
Keeping your chamomile healthy starts with regular inspections—spend a few minutes each week checking for yellowing leaves, pests, or drooping stems. This helps catch problems early before they spread. Seasonally, trim back dead or overcrowded growth in early spring and after flowering to encourage airflow and promote more blooms.
Rotate chamomile beds every year to reduce the risk of soil-borne diseases. Adding compost or well-rotted manure improves soil structure and boosts plant resilience. Consider using mulch to retain moisture and keep roots cool. Water deeply, but only when the soil feels dry a couple of inches below the surface, since overwatering can lead to root rot.
If your chamomile is in a sunny spot and summer heat gets intense, use shade cloth or provide partial afternoon shade to prevent wilting. When you notice minor issues, like a few aphids or light leaf damage, let beneficial insects such as ladybugs or lacewings handle the problem naturally. Step in with gentle, organic controls only if infestations worsen or plants struggle to recover.
By giving plants enough space, staying vigilant, and nurturing healthy soil, you’ll keep your chamomile robust and thriving for seasons to come.
Conclusion
Yellowing chamomile leaves often result from overwatering, poor drainage, or nutrient imbalances, but don’t worry—these issues are easy to fix. Check your watering habits, ensure pots drain freely, and feed the plant with a balanced fertilizer when needed.
Consistent, attentive care is the secret to preventing these problems before they start. Monitor your chamomile regularly for early signs of stress, and adjust your routine as necessary. With just a bit of extra attention, you’ll help your chamomile bounce back, rewarding you with lush green growth and plenty of calming, fragrant flowers. Your thriving plant is within reach!