Introduction
Growing thyme from seed sparks curiosity for both aspiring and seasoned gardeners. This aromatic herb is famous for adding flavor and fragrance to countless dishes, and it also makes a hardy, attractive addition to garden beds and window boxes. But can you successfully grow thyme from seed? The good news is yes — with a bit of patience and the right approach, you absolutely can.
In fact, growing thyme from seed can be a rewarding project, providing you with a steady supply of fresh leaves for cooking, garnishing, or crafting herbal teas. In this guide, we’ll walk you through every practical step—from choosing quality seeds and preparing your soil to caring for seedlings through germination and transplanting.
Additionally, we’ll share useful tips to improve your chances of success, such as managing light and warmth, and avoiding common pitfalls that can stunt your thyme seedlings. Whether you want a lush outdoor patch or a few pots on a sunny windowsill, this step-by-step guide will help you start strong and enjoy flavorful, homegrown thyme in no time.
Why Grow Thyme from Seed?
Growing thyme from seed offers several compelling benefits compared to purchasing mature plants, especially for gardeners looking to save money and explore new flavors. Starting with seeds is noticeably more cost-effective; a single packet costs little but can yield dozens of thyme plants, making it an economical choice for anyone wanting to fill a garden bed or indoor pots.
Seeds also open up a world of variety, allowing you to choose from classic English thyme, lemon thyme, caraway thyme, and many other cultivars rarely available in local nurseries. This variety not only enhances your cooking but also adds visual and aromatic diversity to your garden.
Beyond budget and choice, there’s genuine personal satisfaction in nurturing a plant from its tiniest beginnings—watching thyme slowly transform from delicate seedlings into robust, aromatic bushes is rewarding and educational at any gardening skill level.
However, there are challenges unique to seed starting. Thyme seeds are small and slow to germinate, sometimes taking up to a month to sprout, so patience is essential. They also require consistent warmth, moisture, and light, making it important to start seeds indoors several weeks before your last frost date and to keep the soil evenly moist but not soggy. Using a humidity dome or covering your seed tray with plastic wrap can help maintain the necessary conditions.
While these steps require extra time and care, both experienced and new gardeners often find the process well worth the effort for the abundance and satisfaction they reap.
Choosing Thyme Varieties
When choosing thyme varieties for your home garden, it helps to know that each type brings its own unique flavor and growth habit to the table. English thyme (Thymus vulgaris) is the classic culinary favorite, with small green leaves and a robust, earthy taste that complements soups, roasted meats, and vegetable dishes.
Lemon thyme, as its name suggests, offers a citrusy twist—great for chicken, seafood, or brightening up teas. Its foliage sometimes boasts a slight yellow or variegated pattern.
Creeping thyme (Thymus serpyllum) is more about ground cover than harvest: it spreads low and wide, making it ideal between stepping stones or at garden edges, and even produces tiny, bee-friendly pink or purple blooms.
When picking seeds, consider your climate:
- English and lemon thyme prefer full sun and well-drained soil.
- Creeping thyme is especially drought-tolerant and resilient in slightly poorer soils.
- If you’re in a cooler region, try ‘German winter’ thyme for better cold tolerance.
Also, think about your goals:
- For flavor and frequent harvesting, stick to upright varieties like English or lemon.
- For landscaping and erosion control, go with creeping types.
Starting thyme from seed can be slow, so if you’re impatient or new to herbs, buying young plants may give you a head start. Remember, thyme thrives on neglect, so don’t fuss too much—just give them sunshine, minimal water, and enjoy the aromatic reward.
Step-by-Step
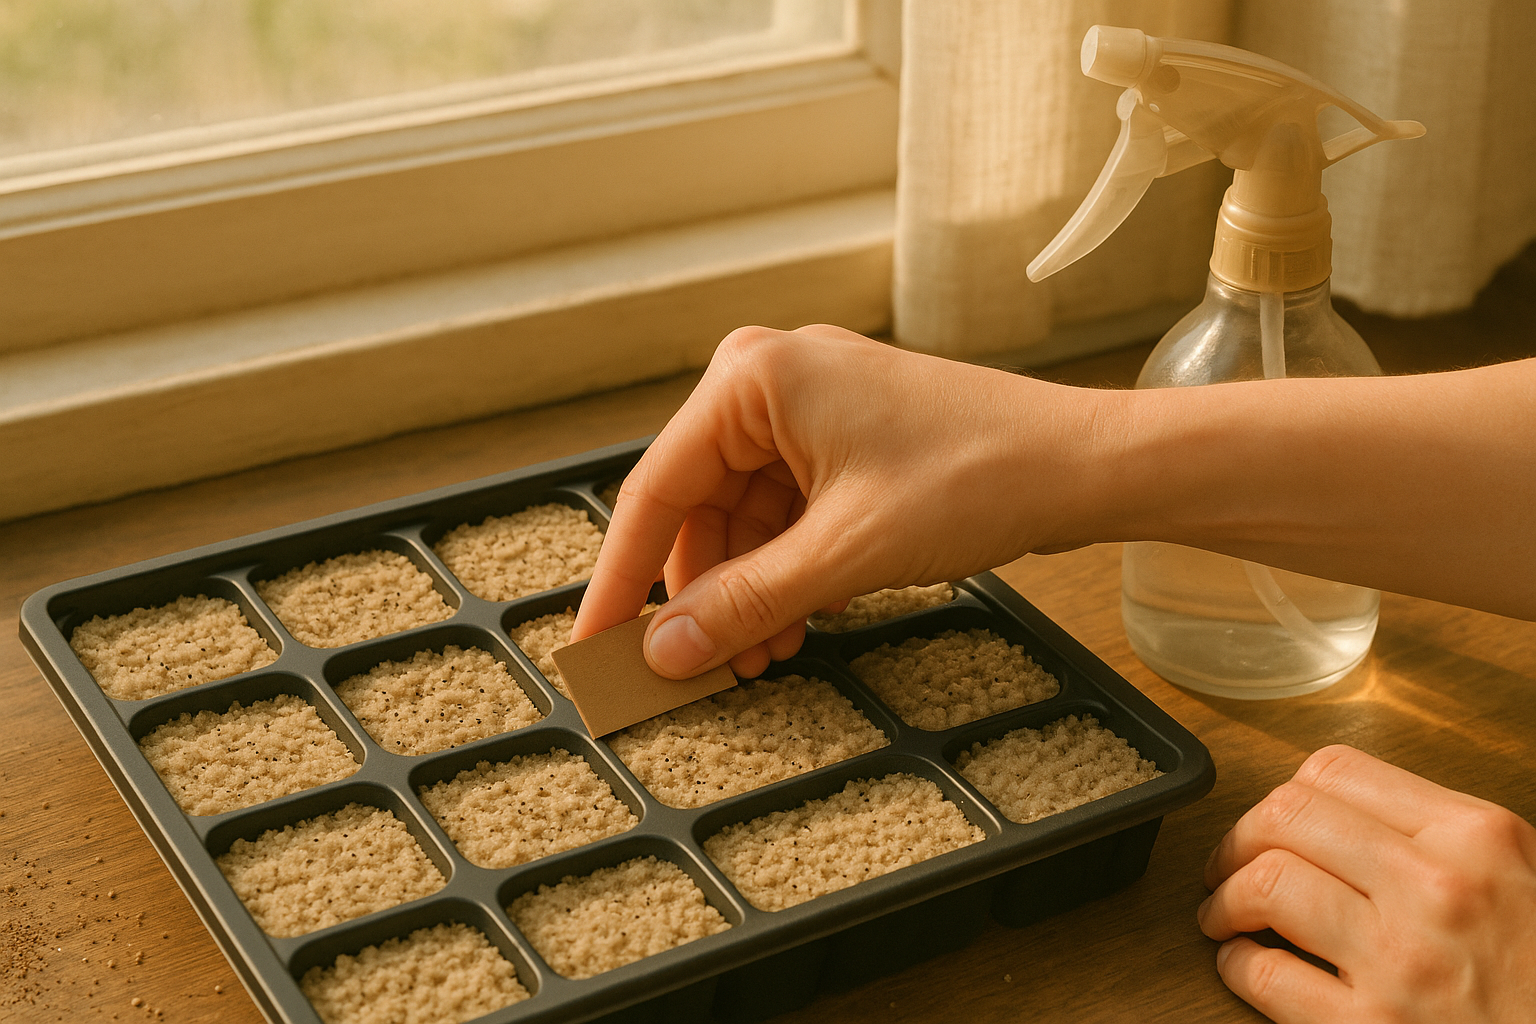
Starting thyme seeds indoors is a simple, rewarding project that sets you up for a lush herb harvest. Begin by choosing small containers with good drainage, such as seed trays or recycled yogurt cups with a few holes poked in the bottoms. Fill these with a light, sterile seed-starting mix—avoid regular garden soil, as it can smother delicate seedlings and harbor pests.
Scatter the tiny thyme seeds evenly on the surface; since they need light to germinate, don’t bury them, but gently press them into the mix using a piece of cardboard or your fingertip. Water gently with a spray bottle to prevent seed displacement and maintain even moisture—aim for damp, not wet. Cover containers loosely with plastic wrap or a clear lid to retain humidity until you see sprouts, which takes seven to twenty-one days.
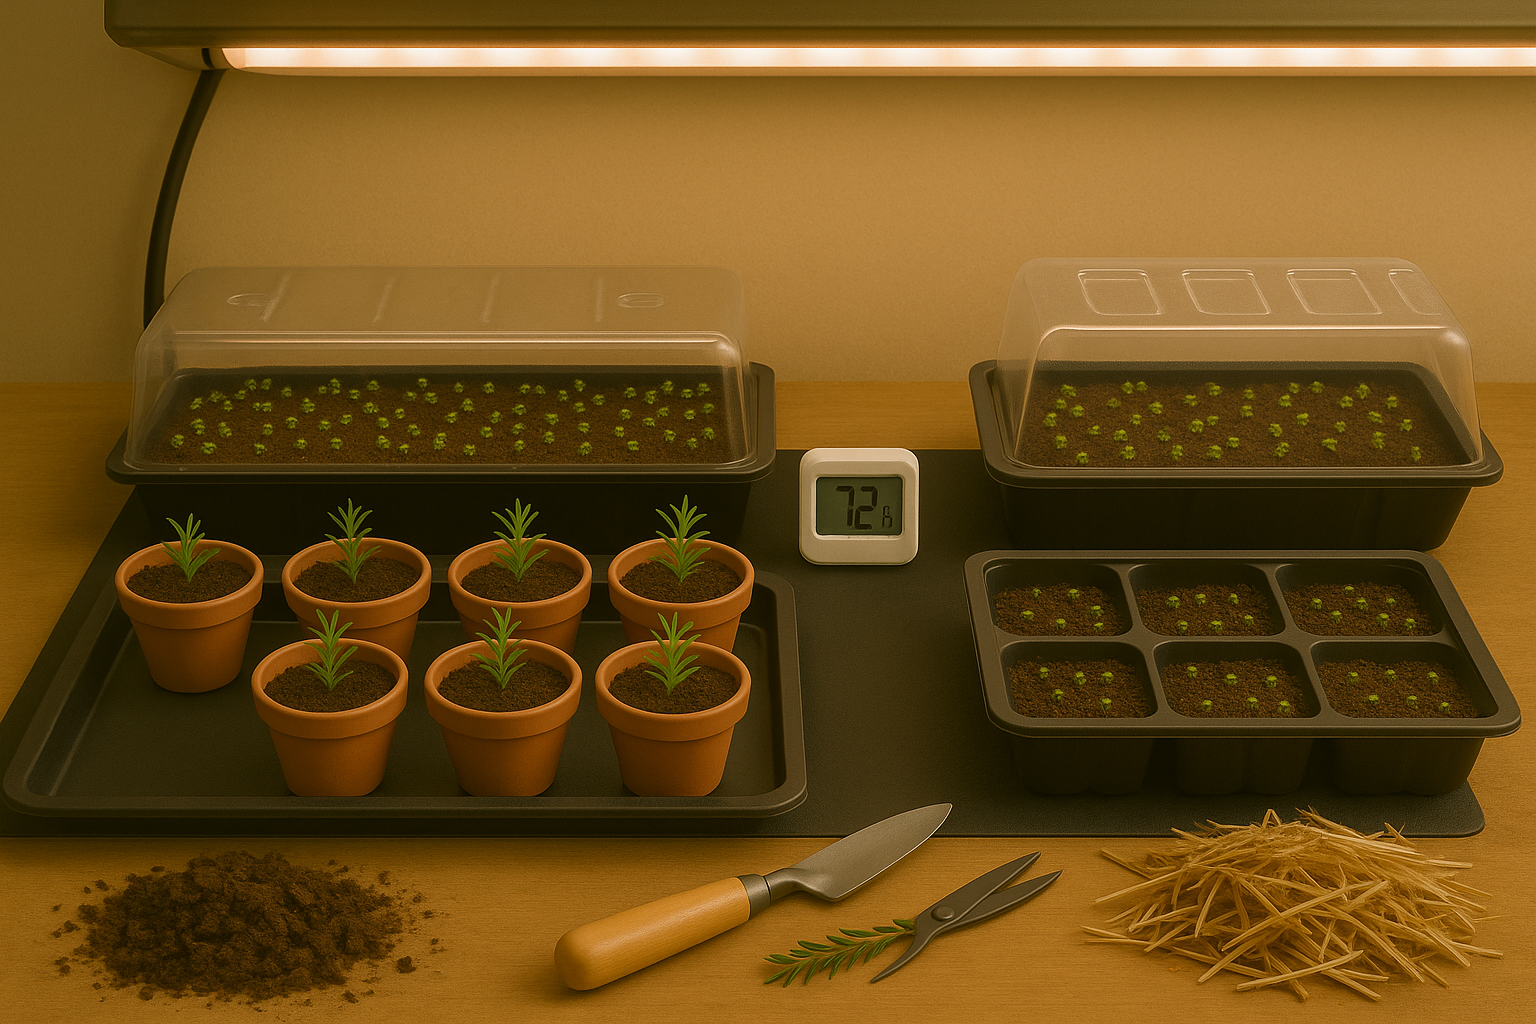
For the best results, start your thyme seeds indoors six to eight weeks before the last expected spring frost in your area. Place the containers in a bright location—ideally a south-facing windowsill—or provide supplemental grow lights set about two inches above the seedlings for 12 to 14 hours a day.
Monitor daily, lifting the cover as soon as you spot green shoots to increase airflow and prevent fungal issues. One helpful trick: If the soil mix ever looks soggy or moldy, remove the cover and allow it to dry out slightly before watering again.
Resist the temptation to overwater; thyme prefers slightly dry conditions, and too much moisture is a common reason seeds fail to sprout.
To improve germination rates, consistently provide gentle warmth (around 68-70°F or 20-21°C) using a seedling heat mat if needed, especially in cooler rooms. Rotate containers regularly if using window light, so seedlings grow upright instead of leaning.
Once seedlings develop their first true leaves, thin them to prevent crowding—use small scissors to snip extras rather than pulling them, which can disturb roots.
With just a bit of care and patience, you’ll have healthy thyme seedlings ready to move outside when the weather warms.
Transplanting and Outdoor Planting

Transplanting thyme seedlings outdoors is a rewarding step, but timing and preparation are crucial for success. Start by waiting until after the last frost date in your area; thyme is sensitive, and chilly nights can stunt its growth or kill young plants.
Before moving seedlings outside, use the “hardening-off” method: about a week before transplanting, place your thyme outdoors in partial shade for a few hours daily, gradually increasing their exposure to sunlight and outdoor temperatures. This toughens them up and reduces transplant shock.
When you’re ready to plant, choose a spot with full sun—thyme thrives in bright, direct light. Make sure the soil drains well, as thyme hates “wet feet” and does best in sandy or rocky soils with a neutral to slightly alkaline pH. A raised bed or garden edge often works great.
Space seedlings about 12–18 inches apart to give their roots room to spread, and to allow good air circulation, which helps prevent disease.
To plant:
- Dig a hole just deep enough for the root ball.
- Gently remove the seedling from its container.
- Set it into the soil at the same depth it was growing indoors.
- Water lightly to settle the roots, but avoid waterlogging.
For extra protection, mulch lightly with gravel or sand, which helps deter weeds and reflects heat.
By following these steps, your thyme will get off to a strong start in the garden, ready to flourish all summer long.
Caring for Growing Thyme Plants
Caring for growing thyme plants is simple with a few key steps. First, be sure to plant thyme in well-draining soil—sandy or rocky mixes work best, as thyme hates soggy roots. Place your plants where they’ll soak up at least six hours of full sunlight daily; south-facing windowsills or garden beds with clear exposure are ideal.
When it comes to watering, less is more: let the soil dry out between waterings to avoid root rot. A light watering once the soil feels dry an inch below the surface is usually plenty, especially if your thyme is growing in containers.
Fertilizing isn’t a big deal with thyme, but a light dose of balanced organic fertilizer in early spring can kickstart growth. Too much fertilizer, however, can reduce the herb’s flavor, so resist the urge to overfeed.
Mulching around the base with small gravel or coarse sand can help prevent weeds and improve drainage. Keep an eye out for aphids and spider mites—if you spot tiny bugs or yellowing leaves, wash them off with a gentle spray of water or use insecticidal soap if necessary.
Thyme is fairly disease-resistant but avoid crowding your plants to ensure good airflow and minimize fungal risks.
For bushier, healthier thyme, pinch off the tips regularly or give the plant a light prune after flowering. This not only encourages new, dense growth but also keeps your plant tidy and productive throughout the season.
Harvesting and Using Homegrown Thyme
To get the most flavor from your thyme, harvest it just before the plant flowers—this is when the essential oils are at their peak. Early morning, after the dew dries, is the ideal time to cut stems with sharp scissors or snips, taking no more than a third at a time to keep the plant healthy.
Fresh thyme adds a fragrant, earthy note to countless dishes:
- Toss sprigs into oven-roasted vegetables
- Tuck them under chicken skin
- Infuse olive oil
- Mix chopped leaves into salad dressings and marinades
For preservation, drying is a classic method—bundle stems with string, hang them upside down in a warm, airy spot, and once dry, strip the leaves into airtight jars away from direct sunlight. Freezing is also simple: chop leaves and freeze them in ice cube trays topped with a bit of water or olive oil, then add straight to soups or sauces as needed.
For short-term storage, keep fresh thyme in the fridge wrapped in a damp paper towel inside a resealable bag, where it should last up to two weeks. By timing your harvest and using smart storage tricks, you can enjoy the taste of homegrown thyme year-round.
Conclusion & Quick Troubleshooting
Growing thyme from seed is a rewarding project that adds fresh flavor to your kitchen and beauty to your garden. Start by sowing seeds in well-draining soil, keep them moist but not soaked, and provide plenty of sunlight as seedlings develop.
The benefits are many: homegrown thyme tastes better, saves money, and is always on hand for cooking.
Quick Troubleshooting Tips
- Slow germination: Be patient—thyme seeds can take up to 28 days to sprout.
- Mold on soil: Increase airflow and water less frequently.
- Spindly plants: Usually mean they need more light, so move them to a sunnier spot or use a grow light.
Don’t let minor setbacks discourage you—each step gets easier with practice. Give thyme a try, and soon you’ll be enjoying fresh, aromatic sprigs in your favorite dishes, all from a plant you nurtured from seed.