Why Grow Sage on Your Balcony?
Growing sage on your balcony is a smart and rewarding choice, especially if space is limited. This hardy herb thrives in containers and doesn’t require much fuss—just a sunny spot and occasional watering. Its silvery-green leaves add a touch of beauty and fragrance to small outdoor spaces, instantly making your balcony feel fresher.
In the kitchen, sage shines as a culinary superstar: you can pluck fresh leaves to flavor roasted vegetables, stews, meats, or even infuse butter for a gourmet touch. The pleasant aroma isn’t just for cooking—crushing a few leaves between your fingers releases a soothing scent that many find calming after a long day.
Beyond the kitchen, sage has a rich history in traditional medicine; it’s often brewed into teas to soothe sore throats or ease digestion. Because it resists pests and tolerates dry spells, sage appeals to busy city dwellers and novice gardeners alike—you can tuck it into a small pot and watch it flourish with minimal effort.
If you want to get more from your growing space without committing to high-maintenance plants, sage is a practical and versatile addition to your balcony garden.
Choosing the Right Sage Variety and Container
When growing sage on a balcony, picking the right variety can make all the difference in your success and enjoyment. Compact, container-friendly sage varieties like ‘Dwarf Garden Sage,’ ‘Berggarten,’ and ‘Compacta’ are perfect for small spaces because they stay a manageable size and maintain a bushy habit without sprawling uncontrollably. These types won’t overwhelm your balcony or compete with neighboring plants, making upkeep much simpler—even if you’re new to container gardening.
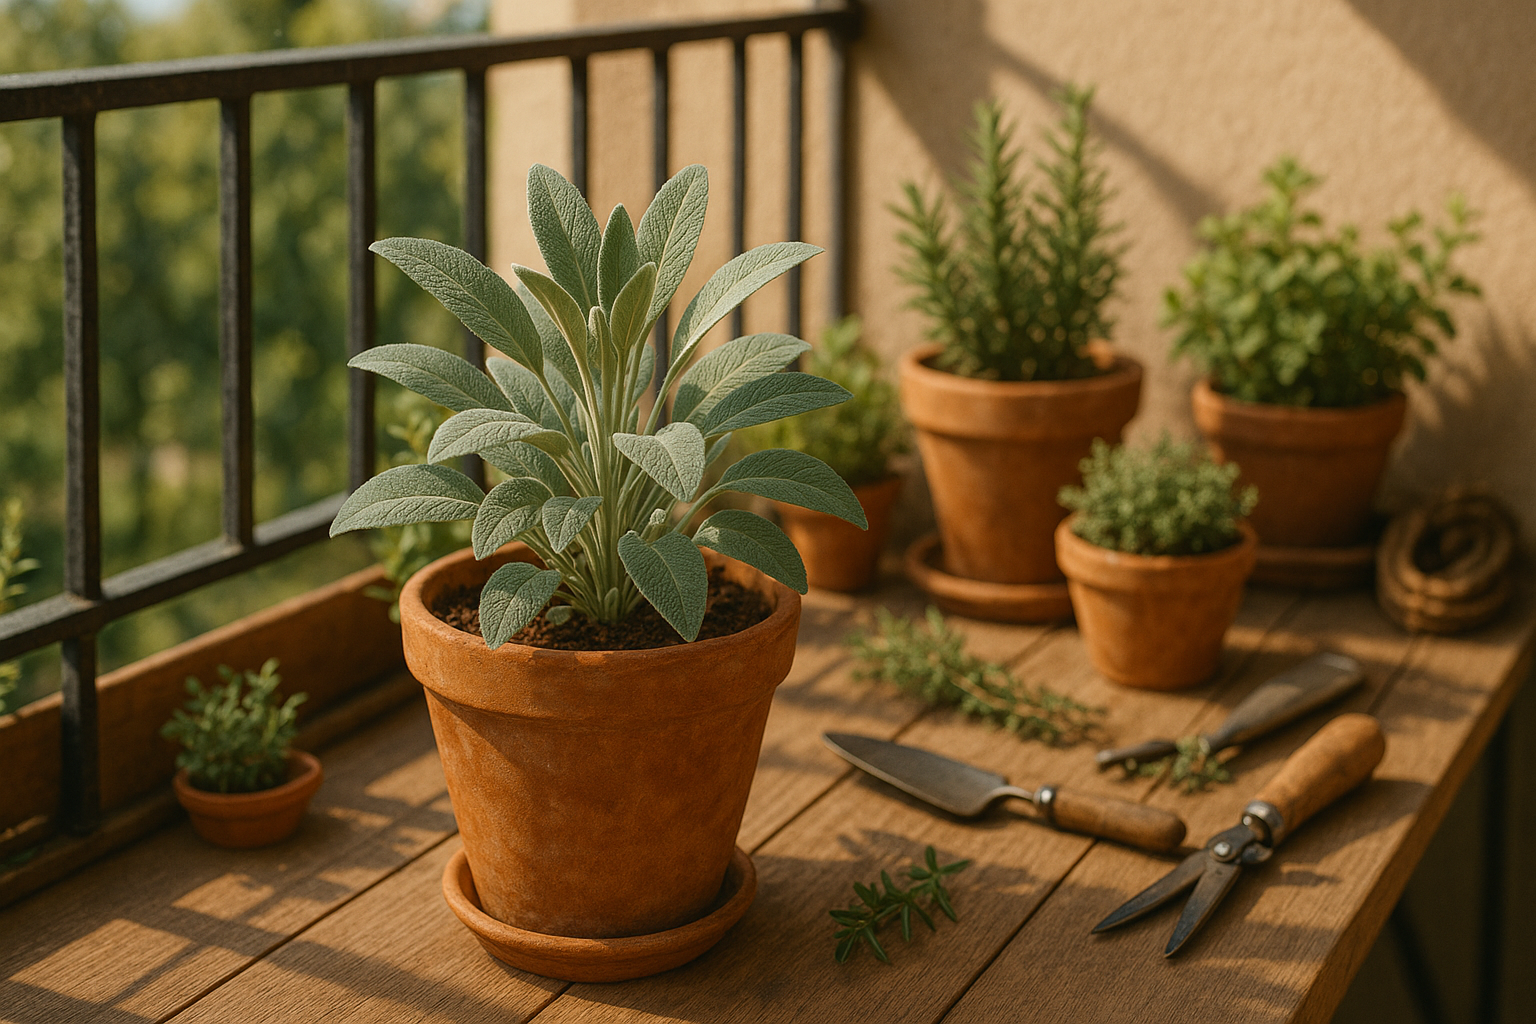
For pots, choose a container that’s at least 8 to 12 inches wide and deep to give the roots room to spread. Avoid anything much larger, as sage actually prefers to be slightly root-bound. The pot’s material matters too: terra cotta is a classic choice because it’s porous, allowing soil to breathe and moisture to evaporate. This suits sage’s drought-tolerant nature and helps reduce the risk of root rot. Plastic pots retain moisture longer, which can be helpful in extra-dry climates, but always pick those with sturdy drainage holes at the bottom.
Good drainage is key since sage hates “wet feet”—waterlogged roots can quickly lead to disease and kill the plant. If your favorite container lacks drainage holes, drill a few or use it as a decorative outer cachepot with a draining inner pot inside. To improve drainage, scatter an inch of gravel or broken terracotta pieces at the bottom before adding your potting mix, ideally a loose, sandy blend.
By carefully choosing both your sage variety and container, you’ll set your plant up for robust, aromatic growth while keeping maintenance simple—even on a crowded balcony.
Soil, Sunlight & Placement Essentials
When growing potted sage, getting the soil right is crucial for healthy, flavorful herbs. Sage prefers a light, well-draining soil mix with a pH level between 6.0 and 7.0—slightly acidic to neutral is ideal. Combine equal parts potting soil, coarse sand, and perlite or fine gravel to boost drainage and mimic sage’s Mediterranean roots. Avoid heavy garden soil or commercial mixes that retain excessive moisture, as soggy conditions can lead to root rot.
Place your sage in a spot where it will bask in at least 6 to 8 hours of direct sunlight each day. Without enough sun, sage can grow leggy and its aroma may weaken, so avoid shaded corners and north-facing balconies. If your balcony is partially shaded, choose the sunniest, most open section and consider elevating the pot on a stand to catch every possible ray.
Wind protection is another key factor—breezes can dry the soil quickly and stress delicate stems. Arrange pots behind railings, large planters, or create a natural windbreak with taller plants, but always allow enough airflow to prevent mildew.
Place your sage pot near your kitchen door or a frequently used window for convenient snipping and easy watering checks. Regularly rotate the pot so the plant grows evenly on all sides, and keep it within arm’s reach so you’ll remember to harvest sprigs fresh for meals. With these simple placement strategies, your balcony sage will thrive, stay manageable, and add vibrant flavor to your cooking year-round.
Planting and Propagation Steps

When it comes to growing sage, you have a few options: sowing seeds, planting seedlings, or propagating from cuttings. Sowing sage from seeds can be rewarding but requires patience. Seedlings can take up to two weeks to sprout, and sometimes germination is patchy, so it’s wise to scatter extra seeds and thin out the weaker ones later.
In contrast, starting with purchased seedlings or taking cuttings from a mature sage plant gives you a head-start, as these methods produce mature plants faster and more predictably.
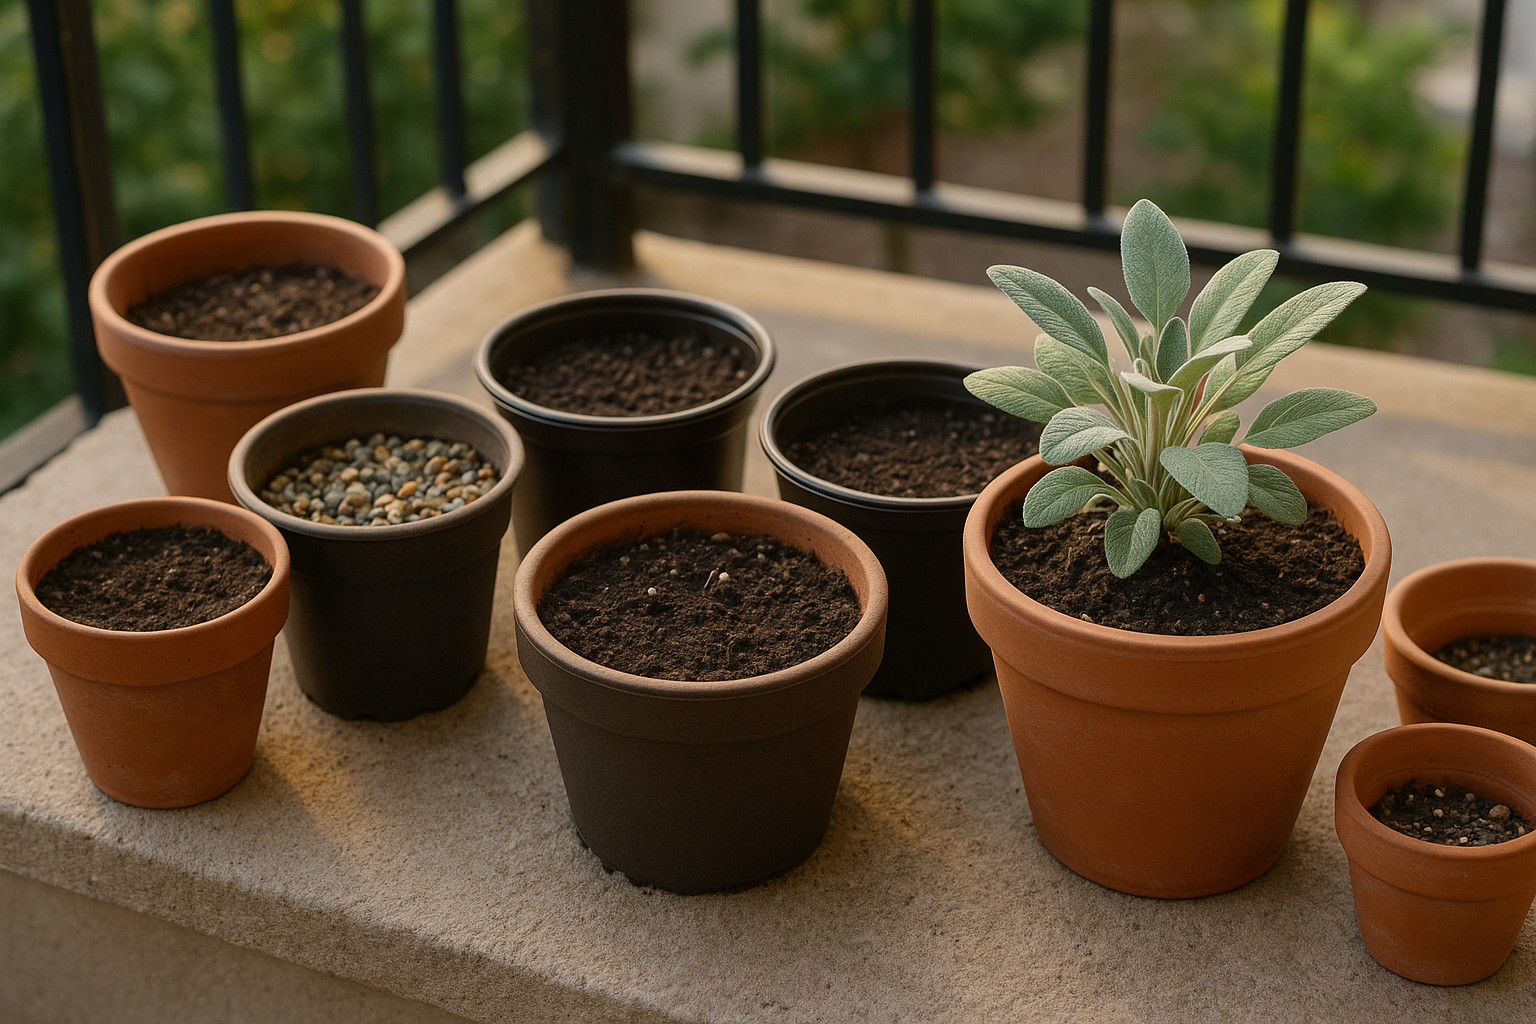
For containers, start with a pot at least 8 inches wide with drainage holes. Fill it with well-draining potting mix. If starting from seed, sprinkle the seeds evenly over the surface, cover lightly with soil, and moisten gently. For seedlings or rooted cuttings, plant them at the same depth they were in their original pots, spacing them at least 12 inches apart if your pot allows.
Water immediately but let the soil dry slightly between waterings—sage dislikes soggy roots.
If you want to multiply existing sage, try taking 3-4 inch softwood cuttings in spring and rooting them in damp, sterile soil or a glass of water. Roots usually form within a couple of weeks.
Alternatively, if your plant is mature and woody, you can divide it in early spring by gently teasing apart the roots and replanting sections into their own pots. This approach ensures robust, genetically identical new plants—perfect for expanding your herb garden efficiently.
Caring for Balcony Sage Plants
Watering sage grown in balcony containers requires a thoughtful approach to avoid the most common mistake—overwatering. Aim to water when the top inch of soil feels dry to the touch; typically, this means once or twice a week in warm weather, or less often during cooler periods.
Ensure your pots have drainage holes and water thoroughly so excess runs out the bottom. This encourages deep root growth and prevents root rot. Sage prefers lean soil, so be sparing with fertilizer. Once in early spring, feed your plant with a diluted liquid organic fertilizer or a handful of slow-release granules formulated for herbs. Too much fertilizer can cause leggy, less flavorful leaves.
As your sage grows, pinch off the top sets of leaves regularly. This not only supplies you with fresh herbs for your kitchen but also encourages the plant to branch out and become bushier, rather than tall and spindly.
For older stems or woody growth, snip them back by one-third just as new shoots emerge in spring. This rejuvenates the plant and supports a fuller shape.
When winter approaches and temperatures dip below 40°F (5°C), bring your pots indoors to a sunny windowsill or sheltered balcony. Reduce watering to prevent soggy roots during their semi-dormant period. Alternatively, wrap containers with insulating material or cluster them against a wall for warmth.
With just a bit of attention to these details, your balcony sage will thrive year-round, giving you aromatic leaves for seasons to come.
Harvesting and Troubleshooting
Harvesting sage at the right time ensures the best flavor and continued plant growth. The optimal period is just before the plant flowers, typically late spring to early summer, when the essential oils in the leaves are at their peak. Choose healthy, mature leaves and use clean scissors or pruning shears to snip stems just above a growth node—this encourages new shoots and makes the plant bushier.
For balcony growers, pests like aphids, spider mites, and whiteflies are common. Inspect leaves regularly and spray with a diluted neem oil solution to keep infestations in check. Powdery mildew, a frequent balcony woe due to limited airflow, can be managed by spacing pots apart and removing affected leaves quickly.
If your sage starts wilting, check for overly dry or waterlogged soil. Sage prefers to dry out slightly between waterings, so let the top inch of soil feel dry before watering again. For leaf spots, ensure adequate sunlight and avoid overhead watering to reduce humidity and fungal growth. Sometimes yellowing leaves signal over-fertilization, so use a light hand with feedings.
Ultimately, observation is your best tool—a quick daily check helps you spot and solve problems before they spread, keeping your sage healthy and productive all season.