Introduction
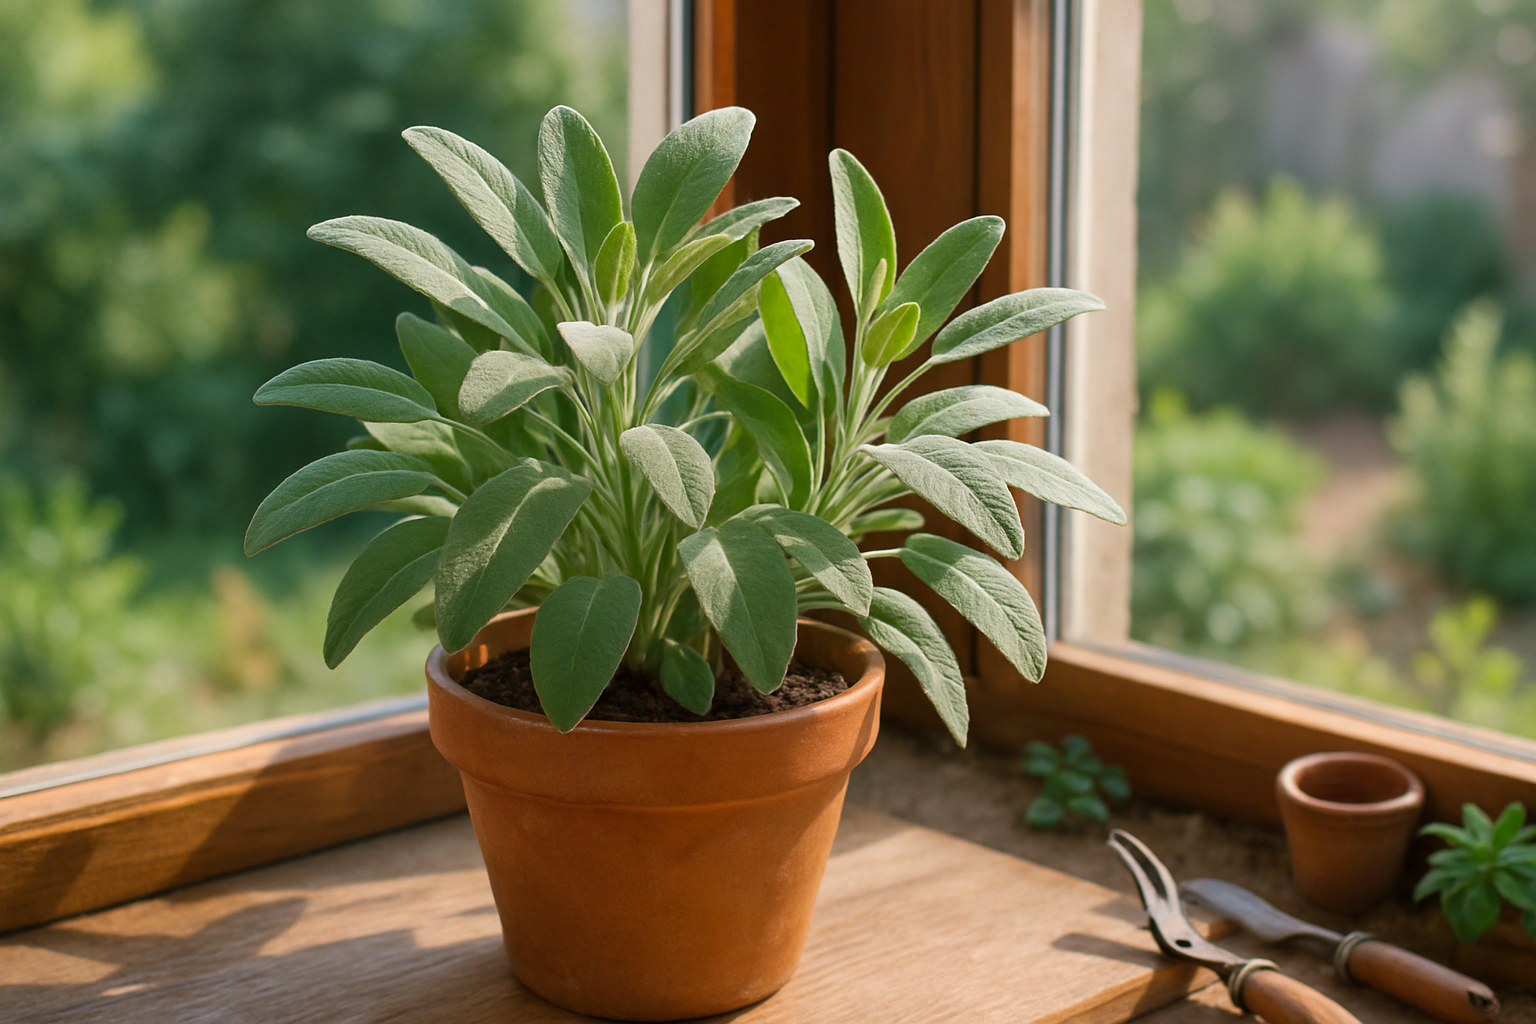
Sage is a favorite in both the kitchen and the garden, which is why so many people search for advice on sage growing mistakes. This aromatic herb is beloved for its earthy flavor, making it a key ingredient in roasts, stuffing, and teas, while its beautiful silvery-green leaves add texture to borders and pots.
Beyond cuisine, sage offers pollinator-friendly blooms and is known for being relatively drought-tolerant—an attractive quality for home gardeners seeking resilient yet eye-catching plants. Despite these benefits, sage isn’t always as easy to cultivate as many expect.
Even seasoned gardeners can struggle with issues like overwatering, poor soil drainage, and inadequate sunlight, which can swiftly turn healthy sage plants into wilted or woody disappointments. Sometimes, it’s as simple as picking the wrong variety or letting nearby plants compete for resources.
If you’ve ever watched your once-thriving sage suddenly droop or develop odd spots, you’re not alone. Understanding the most common sage growing mistakes can save time, money, and frustration—so you can enjoy both the flavor and beauty that make sage so popular in home gardens everywhere.
The Most Common Growing Mistake
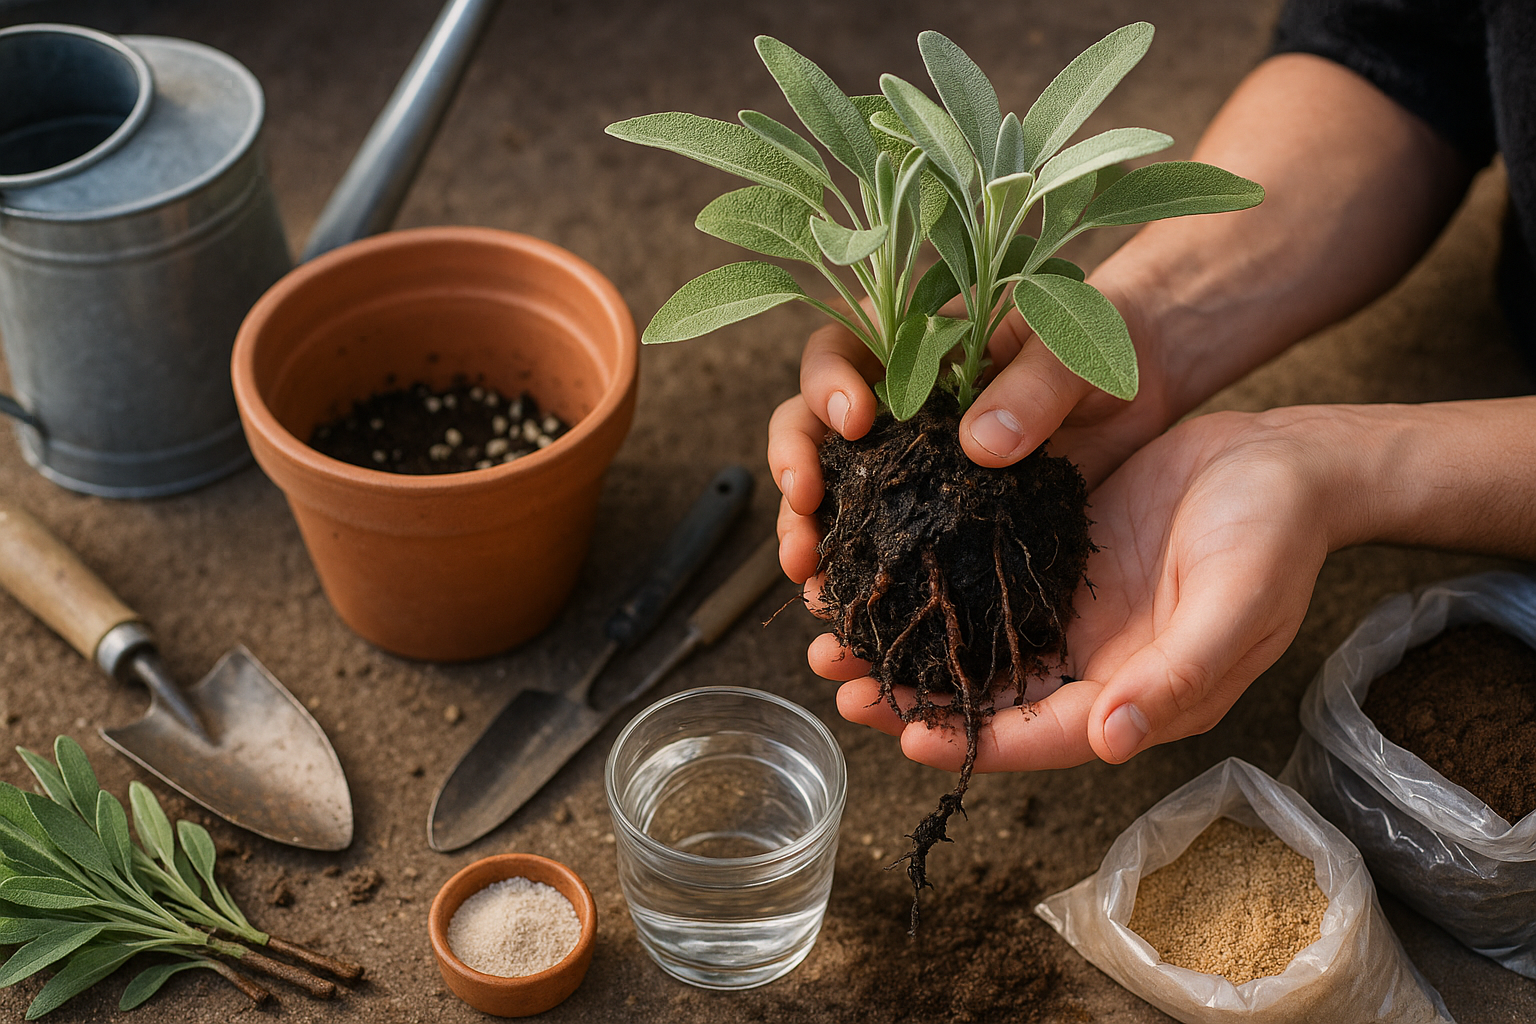
One of the most frequent mistakes gardeners make with sage is overwatering, which can quickly lead to root rot—a silent killer for this hardy herb. Sage thrives in dry, well-draining soil and actually prefers a little neglect when it comes to watering. Its Mediterranean origins mean its roots are easily overwhelmed by waterlogged conditions, and soggy soil suffocates them, preventing healthy growth.
If your sage’s leaves start to turn yellow or wilt, or if the plant seems stunted and isn’t putting out new growth, these are red flags that root rot may be setting in. Sometimes, you’ll notice a musty smell near the base or even blackened, mushy roots if you check beneath the surface.
To avoid this, make sure your sage is planted in a pot or garden bed with excellent drainage—add sand or fine gravel into your soil mix and always use containers with plenty of drainage holes. Only water sage when the top inch of soil is dry to the touch, even during summer months, and avoid letting water pool around the roots.
For most indoor situations, watering once every 10-14 days is plenty, though outdoor plants may need slightly more during droughts or heatwaves. If you’ve accidentally overwatered, let the soil dry out completely before resuming a careful watering schedule and consider repotting in fresh, well-aerated soil if root rot is advanced.
The bottom line: sage will flourish if you resist the urge to over-care for it—a little dryness goes a long way toward vibrant, healthy plants.
Light Requirements
Getting the light right is one of the most important steps to growing healthy sage. This herb thrives in full sun, meaning it needs at least six hours of direct sunlight each day. When sage doesn’t get enough light, you’ll notice it starts to stretch or become “leggy,” with long, spindly stems and fewer leaves. The plant may also lose its vibrant green color and look pale or weak, making it less flavorful and more susceptible to disease.
On the other hand, too much intense sunlight—especially during scorching summer afternoons—can damage sage leaves, causing them to turn brown, look scorched, or develop a bleached, faded appearance. To strike the right balance, choose a spot that gets morning and midday sun while offering some protection from the harshest afternoon rays.
In the garden, look for an area with southern or eastern exposure. For container-grown sage, place pots on a sun-drenched windowsill or patio where you can move them if the light becomes too intense. If you notice signs of too much or too little light, adjust your plant’s location accordingly.
Gardeners in hot climates might use a lightweight shade cloth during heat waves, while those in cooler or shadier areas can trim nearby plants to improve light exposure. Watching how the sun moves across your garden during the day will help you find the sweet spot, ensuring your sage remains compact, flavorful, and lush.
Poor Soil and Nutrient Mistakes
Getting your soil right is essential for healthy, thriving plants, especially in gardens or containers where poor soil and nutrient mistakes are common. Well-draining soil with moderate fertility is the sweet spot—too rich or too poor, and your plants will struggle.
Over-fertilizing is a frequent error, leading to lush but weak growth that’s prone to pests and diseases. With edible plants, it can even ruin the flavor of your harvests. On the flip side, under-fertilizing results in slow growth, pale leaves, and disappointing yields.
The key is balance: start by knowing your soil type and amending heavy clay with compost or perlite for better drainage, or enriching sandy soil with organic matter to help retain moisture. A soil test kit can reveal nutrient gaps so you only add what’s really needed.
Go for slow-release or balanced organic fertilizers and follow label directions carefully—in most cases, less is more. Mulching with compost or leaf mold feeds the soil gradually and improves its structure, too. Remember, healthy soil means healthier plants with less effort, so take a little time upfront to get it right, and your garden will thank you all season long.
Ignoring Pests and Diseases
When growing sage, ignoring pests and diseases can quickly derail your herb garden ambitions. Common sage pests include aphids, which cluster on new growth and leave behind sticky residue; spider mites, which create fine webbing on leaves and cause yellow stippling; and the ever-present slugs and snails, which chew irregular holes in leaves, especially in damp conditions. Vigilance is key—regularly inspect both the tops and undersides of leaves for early signs of trouble.
On the disease front, sage is most at risk from powdery mildew, a white, powdery coating that appears on leaves during periods of high humidity and poor airflow, as well as leaf spot diseases, which show up as brown or black specks often surrounded by yellow halos. Early warning signs include distorted foliage, sudden drooping, or unusual spotting.
Prevention is always easier than cure: start by spacing your sage plants adequately and prune regularly so air can circulate freely, reducing humidity around the leaves. Water the base of the plants in the morning to keep foliage dry and discourage fungal growth.
If pests appear, try organic solutions like spraying plants with a diluted solution of mild soap and water to tackle aphids or using neem oil for broader pest and disease control. Encourage beneficial insects such as ladybugs and lacewings to help keep pest populations in check naturally.
For slugs and snails, barriers made from crushed eggshells or copper tape can deter their advance, while hand-picking in the evening when they are most active is also effective. Finally, promptly remove any diseased or damaged leaves and avoid over-fertilizing, as lush, tender growth is more susceptible to both pests and diseases. A little early attention goes a long way toward keeping your sage healthy throughout the season.
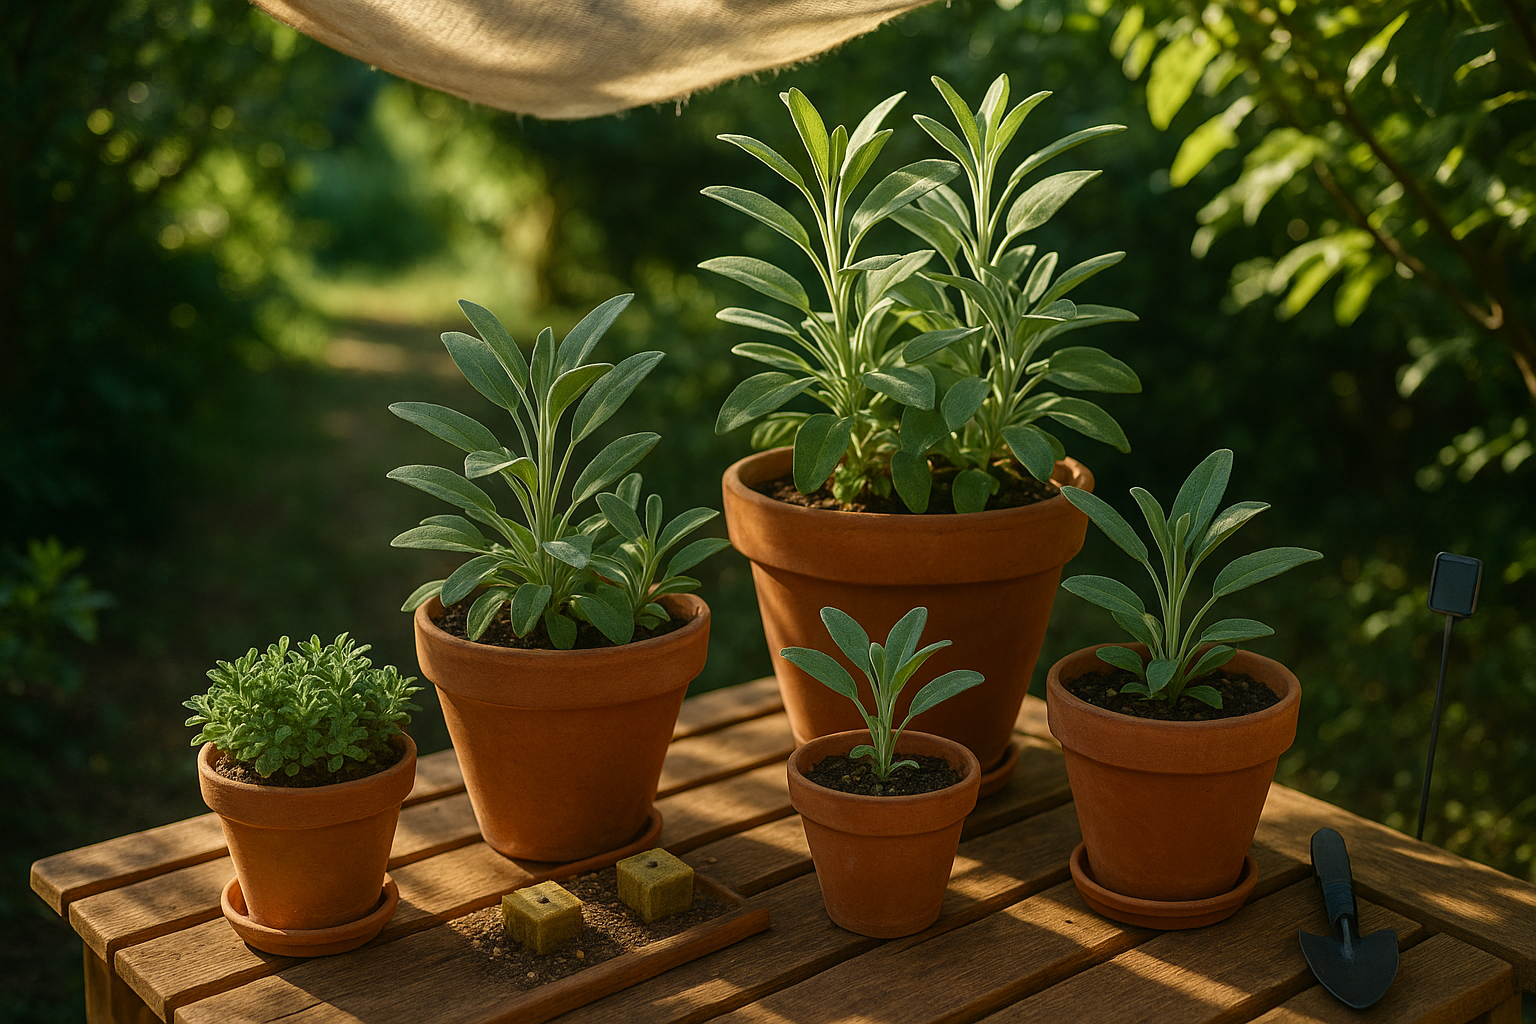
Pruning and Harvesting Errors
Pruning is essential for keeping sage plants healthy, bushy, and productive. Without regular pruning, sage tends to grow leggy with fewer leaves and a weaker structure that’s more prone to disease.
One common mistake is neglecting to prune altogether, which leads to tall, scraggly plants that don’t produce well. On the other hand, over-harvesting—removing too many leaves or stems at once—can seriously weaken the plant, causing slow regrowth or even dieback. Another issue is cutting stems too close to the base, which removes healthy growth points and stunts new shoots.
For best results, begin pruning sage in early spring, just as new growth emerges. Snip off the top third of the plant, clipping right above a set of healthy leaves—this encourages new shoots to form and keeps growth full. Throughout the season, regularly pinch off the tips to promote branching, but never remove more than one third of the plant at any time.
When harvesting, selectively pick the outer leaves first, allowing the center to continue growing. Always use clean scissors to prevent disease. This careful attention will keep your sage plants thriving and ready to provide fragrant, flavorful leaves all season long.
Conclusion
Growing sage at home can be deeply rewarding, but avoiding common pitfalls is key to your plant’s success. Overwatering is the biggest mistake, often causing root rot and stunted growth. Make sure your soil drains well and allow the surface to dry out before watering again.
Poor sunlight is another common issue—sage loves at least six hours of full sun daily, so pick a bright spot indoors or outdoors. Crowding sage with other plants can restrict airflow, which invites mildew and disease, so always give your sage some room to breathe.
To help your sage thrive:
- Use well-draining soil
- Prune gently to encourage bushiness
- Fertilize sparingly, since sage is hearty and doesn’t require much
With just a little care and attention, you’ll enjoy aromatic leaves for cooking and a handsome addition to your garden. Growing sage at home is simple—and the results are always worth it!