Introduction
If you love bold flavors and vibrant aromas, growing Mexican oregano in pots can be an exciting addition to your home garden. Unlike the more common Mediterranean oregano, Mexican oregano (Lippia graveolens) brings a citrusy, slightly peppery kick that’s essential in Latin American cooking, making it a standout herb for everything from salsas to slow-cooked stews. Its aromatic leaves, which resemble oregano in name but not in lineage, are a staple in traditional Mexican and Tex-Mex recipes, offering an authenticity that grocery store varieties just can’t match.
Whether you have limited space or simply want fresh herbs within arm’s reach, cultivating Mexican oregano in containers is a smart, convenient solution. In this article, we’ll cover everything you need to know: from choosing the right pot and soil to ensuring your plant thrives in your climate, and even how to harvest for the freshest flavor. You’ll discover practical care tips, troubleshooting advice, and creative ways to bring homegrown oregano straight from your patio to your kitchen table. If you’re ready to elevate your gardening game and spice up your cooking without leaving home, keep reading for expert advice that’s perfect for both green thumbs and culinary enthusiasts.
Understanding Mexican Oregano: Origins & Varieties
Mexican oregano (Lippia graveolens) is a versatile herb native to Mexico, Central America, and parts of the southwestern United States. Despite sharing a name with Mediterranean oregano (Origanum vulgare), Mexican oregano belongs to a completely different botanical family—Verbena rather than Mint. Its sharp, citrusy flavor with subtle notes of licorice and mild pepper sets it apart from the sweeter, more floral taste of its Mediterranean cousin, making it a staple in authentic Mexican and Latin American cooking.
You’ll often find it in salsas, chili con carne, or sprinkled over grilled meats, as its robust flavor holds up well alongside spicy peppers and rich tomato sauces. Mexican oregano thrives in arid, sun-drenched environments—think northern and central Mexico, Texas, and New Mexico—making it resilient against drought and heat, which is perfect for gardeners with hot, dry summers.
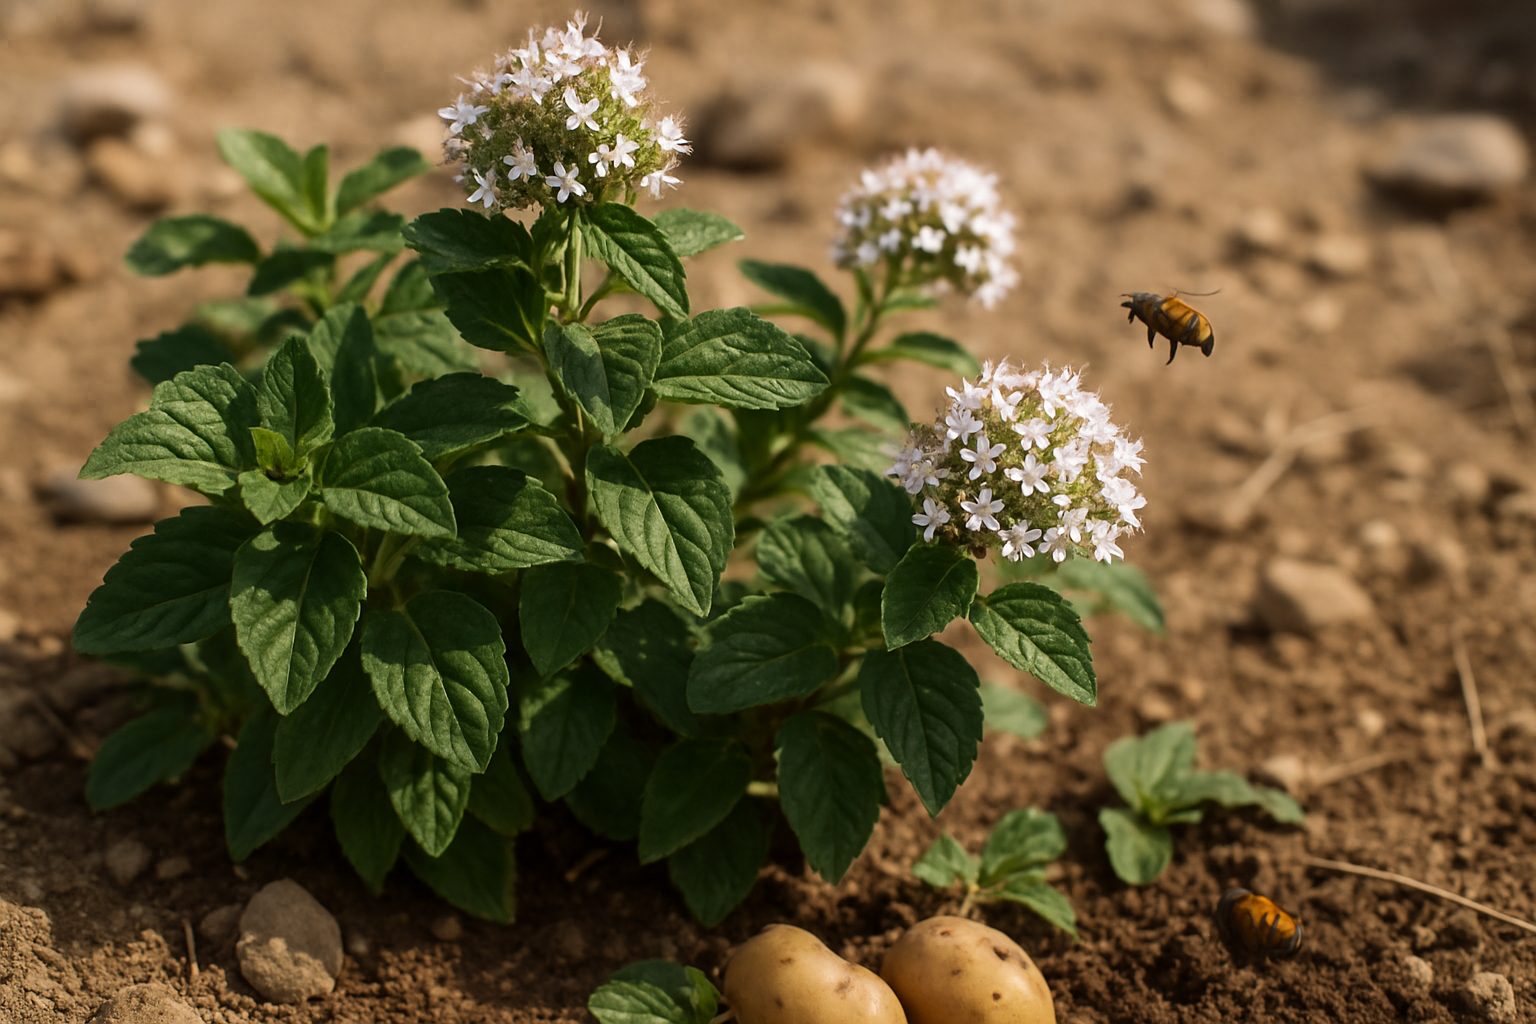
For home growers, varieties like ‘Desert Oregano’ (Poliomintha longiflora) and ‘Puerto Rican Oregano’ (Lippia micromera) offer similar tastes and aroma profiles, adapting well to containers or backyard herb beds. The plant itself has small, rough green leaves with clusters of tiny white or pale pink flowers that not only attract pollinators but also emit a pleasantly pungent, lemony scent when crushed.
Mexican oregano is impressively hardy, tolerating neglect, poor soil, and infrequent watering—just give it full sun and good drainage, and you’ll have an abundant, aromatic supply for your kitchen year-round. Whether you’re a passionate cook or casual gardener, Mexican oregano offers both flavorful dividends and easy-care growth, making it well worth exploring.
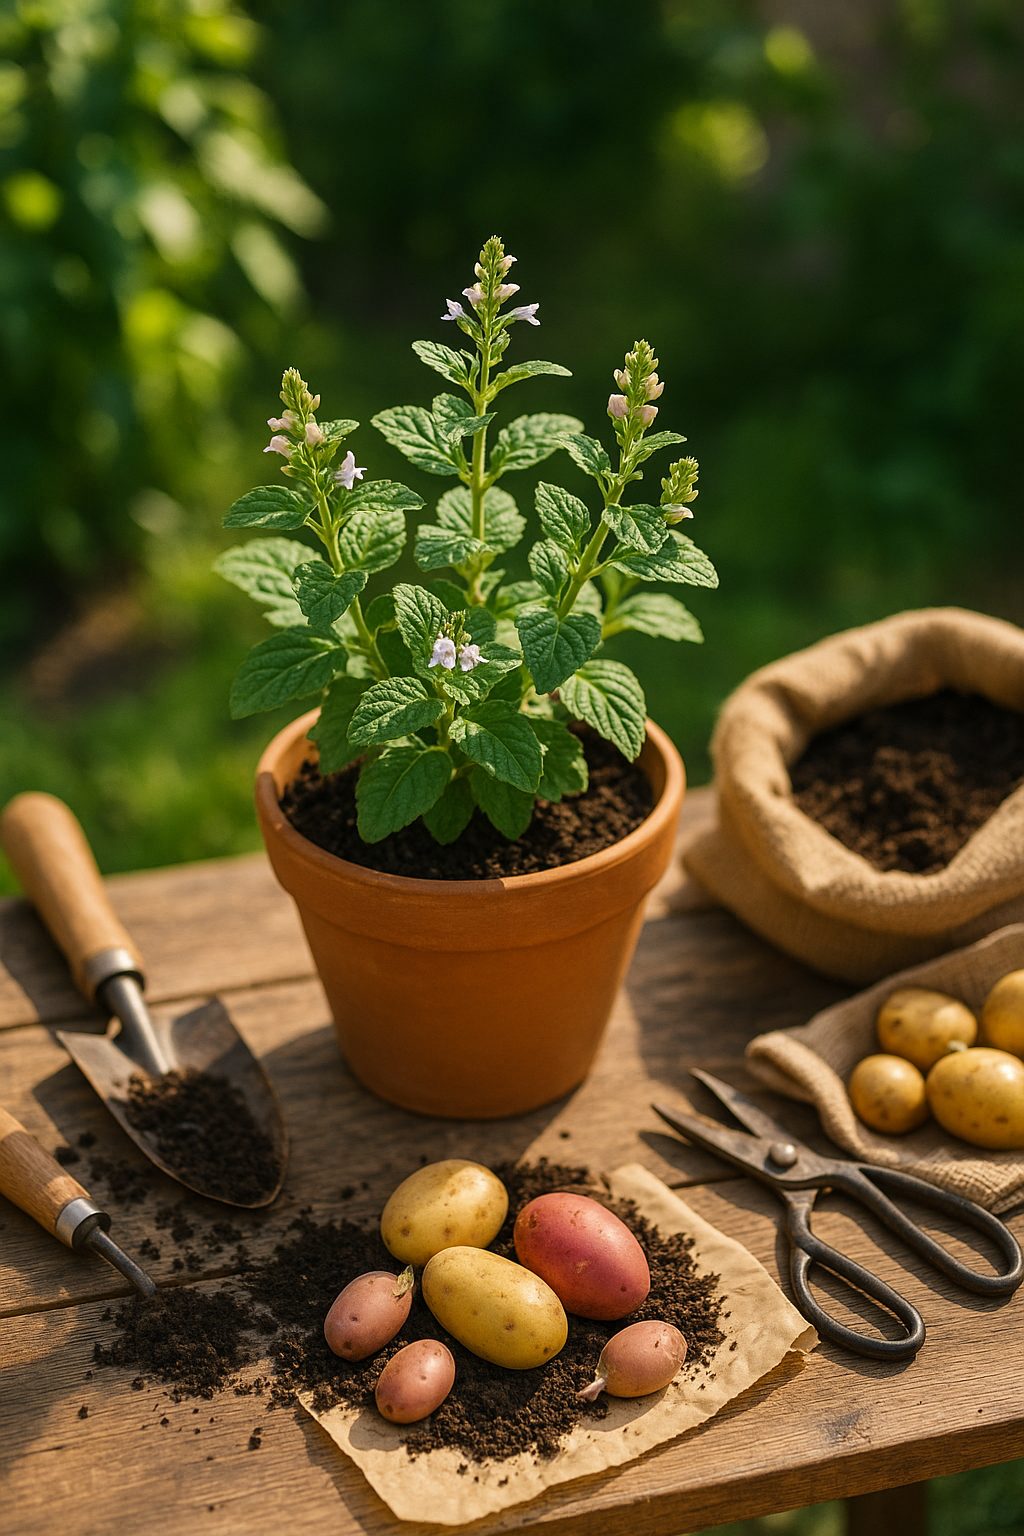
Getting Started: Choosing the Right Spot, Pot, and Soil
Picking the perfect spot for your plants is the first step to a thriving garden. Look for an area that gets at least six hours of sunlight each day—most vegetables, herbs, and flowers love the sun. Make sure the site has good drainage; watch for puddles after rain and avoid low-lying areas where water tends to collect, as soggy roots can lead to plant diseases. If you live somewhere with extreme temperatures or unpredictable weather, opt for a location with some wind protection, or consider using shade cloths in very hot climates.
For planting, you’ll need to choose between containers and in-ground beds. Containers are great for small spaces, patios, or renters, offering flexibility and control over soil quality, but they dry out more quickly and require frequent watering. In-ground gardening supports deeper root growth, retains moisture better, and lets plants access nutrients from a wider area, but it can be more challenging in poor or compacted soil.
Whether in pots or directly in the earth, aim for soil that’s loose, crumbly, and rich in organic matter—compost, aged manure, or worm castings are all excellent choices. The ideal mix should drain well to avoid waterlogged roots; you can test this by squeezing a handful—it should hold its shape but crumble when poked. Slightly alkaline soil (pH 6.5–7.5) suits most garden plants, so add lime if yours runs acidic.
Prepare your planting area by loosening the soil at least 8–12 inches deep so roots can spread and breathe—use a garden fork or tiller for larger beds, or mix fresh potting soil with perlite or coarse sand in containers. Investing a little time up front creates healthy root systems, setting the stage for lush, productive plants all season long.
How to Plant Mexican Oregano: Seeds vs. Cuttings
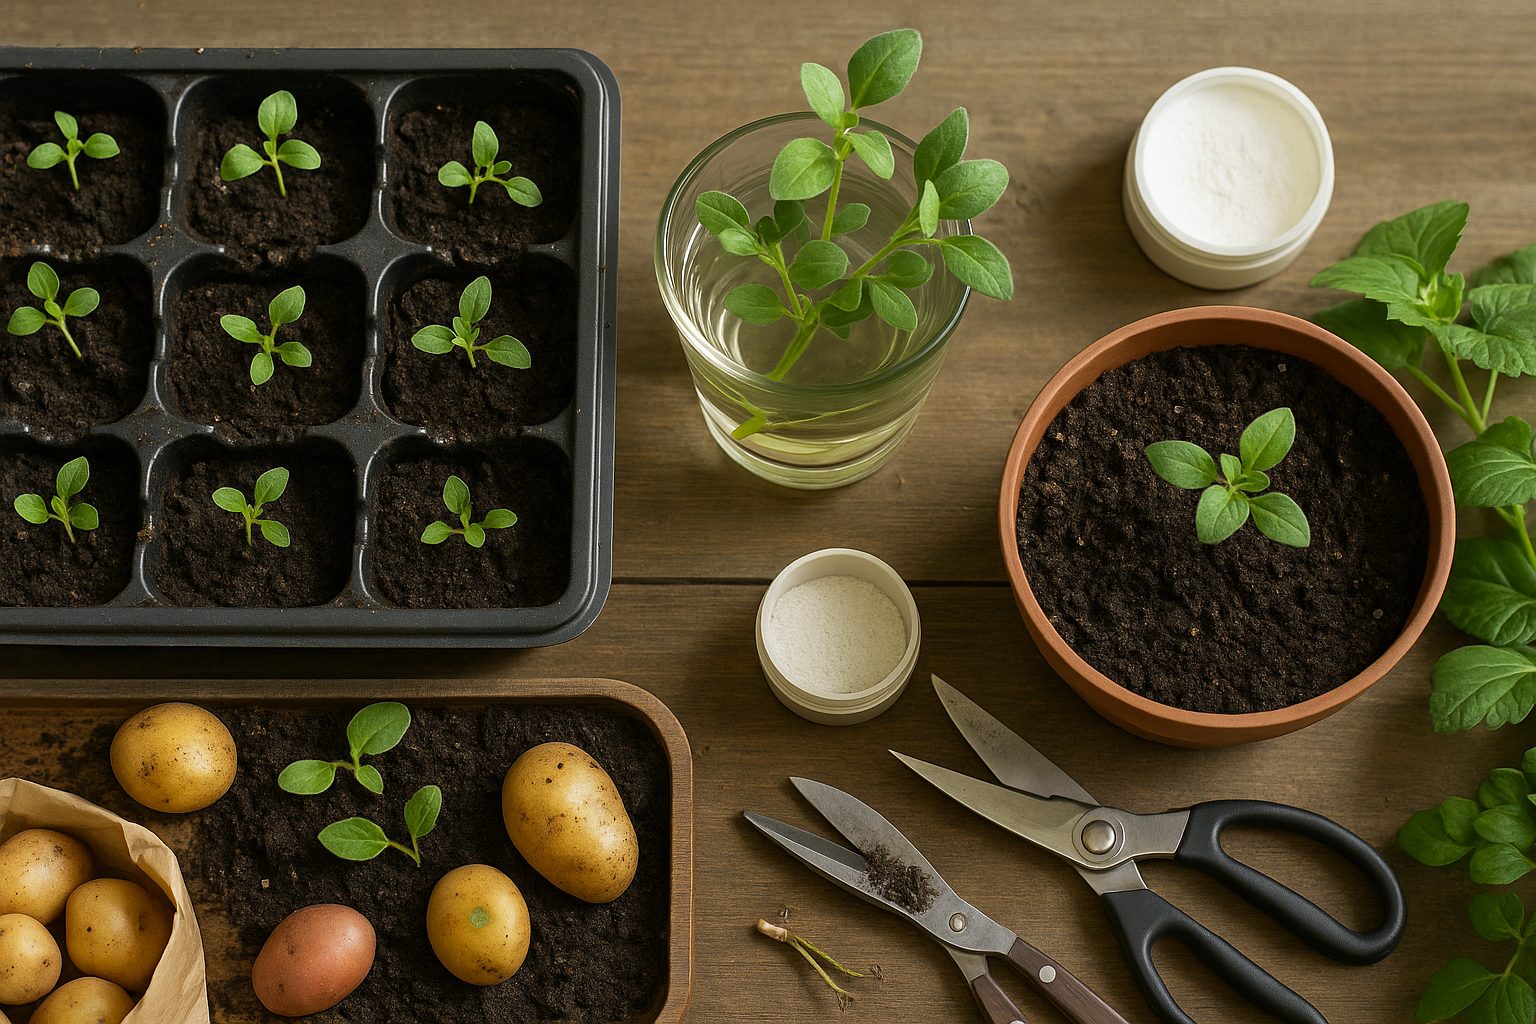
When deciding how to grow Mexican oregano, you’ll want to consider whether to start from seeds or take cuttings, as both methods have their pros and cons. Starting from seeds is generally inexpensive and allows you to grow large numbers of plants at once, but it can be slow—seeds often take up to three weeks to germinate, and overall success rates can vary since not all seeds will sprout. Cuttings, on the other hand, offer a faster route to a mature plant and have a higher success rate if handled correctly, but you’ll need access to an established or healthy mother plant.
Growing Mexican Oregano from Seeds
To sow Mexican oregano seeds, fill a seed tray or small pots with well-draining potting mix. Sprinkle the seeds on the surface, then cover them lightly with just 1/8 inch of soil. Keep the soil moist but not waterlogged, and place the container in a warm spot with indirect sunlight. Mist the surface daily to prevent drying out, and watch for sprouts in 2-3 weeks.
Propagating Mexican Oregano by Cuttings
For propagation by cuttings, snip a 4-6 inch section from a non-flowering stem and strip the lower leaves. Dip the cut end in rooting hormone if available, then insert it into moist potting mix or a glass of water. If using soil, keep the mix damp and place the pot in bright, indirect light. If rooting in water, change the water every few days to keep it fresh. Roots should develop in 2-4 weeks.
Hardening Off and Transplanting
Once your seedlings or rooted cuttings are at least 3 inches tall with a strong root system, harden them off by gradually exposing them to outdoor conditions over a week. Transplant them outdoors once nighttime temperatures stay above 55°F (13°C), planting in a sunny, well-drained spot or a larger container with similar soil. Keep the soil moist for the first couple of weeks while the plant gets established.
Growing & Plant Care: Sunshine, Water, and Pruning
When it comes to growing healthy, vibrant plants, providing the right balance of light, water, and care is key. Most sun-loving plants thrive best in at least six hours of direct sunlight each day, so try to place them where they’ll catch ample morning or afternoon rays.
For watering, deep and infrequent is the golden rule—rather than splashing a little water daily, give your plants a thorough soaking once or twice a week, ensuring moisture reaches the root zone where it does the most good. This encourages roots to grow deeper, making your plants stronger and more drought-resistant.
Pruning is another essential step for promoting bushy, healthy growth; snip back leggy stems or faded flowers regularly to encourage your plant to branch out and stay compact. Always use clean, sharp tools to prevent disease, and focus pruning during the growing season when your plant can recover quickly.
Fertilizing can give your plants a boost, but timing is important—early spring is generally the best window, using a balanced, slow-release fertilizer to support new growth. Overfeeding can harm your plants, so stick to recommended dosages.
Don’t overlook mulching, either! A two- to three-inch layer of organic mulch like shredded bark or compost helps retain soil moisture, suppress weeds, and regulate soil temperature.
Throughout the season, keep an eye on your plants for any signs of stress or pests, and remove debris to prevent disease. A little regular maintenance—such as checking soil moisture, deadheading spent blooms, and re-mulching as needed—will keep your garden looking its best and your plants thriving all year long.
Common Issues: Pests, Diseases, and Troubleshooting
Dealing with pests and diseases is a common part of plant care, but you don’t need harsh chemicals to keep your plants healthy. Two frequent invaders are aphids and spider mites, which often cluster on new growth or the undersides of leaves. You can deter them by spraying affected plants with a mix of mild soap and water, or by introducing beneficial insects like ladybugs that naturally reduce pest populations.
For a persistent problem, neem oil is a great organic solution—just be sure to spray in the early evening to avoid leaf burn.
Diseases like root rot are trickier, usually caused by overwatering or poor drainage. If you notice yellowing leaves, mushy stems, or a musty odor, it’s time to check the roots. Remove any blackened or mushy parts and repot the plant in fresh, well-draining soil.
Powdery mildew looks like a white, dusty coating on leaves and can be managed by increasing airflow, spacing plants apart, and watering early in the day so foliage dries quickly. Preventing disease is often about proper care: use clean tools, avoid crowded conditions, and rotate crops if you’re gardening outdoors.
If your plants grow leggy—stretching toward the light, looking thin—or just seem slow, it usually points to not enough light or overcrowding. Move them to a brighter spot or add a grow light, and check if repotting is needed to give roots more space. Pinching back the tips of leggy plants can help them grow fuller and bushier.
Always opt for eco-friendly treatments first; they protect the health of your plants, the soil, and beneficial insects, making your gardening efforts more sustainable in the long run.
Harvesting & Using Mexican Oregano
To get the most robust flavor from Mexican oregano, harvest the leaves just as the flower buds begin to form—this is when the essential oils are at their peak. Use sharp scissors or garden shears to snip the stems in the morning after the dew has dried.
Bundle small stems together with twine and hang them upside down in a warm, dry, well-ventilated place, out of direct sunlight. Once completely dry (usually about one to two weeks), crumble the leaves off the stems and store them in an airtight jar away from heat and light to preserve their bold, citrusy taste.
Mexican oregano is a star in authentic dishes like pozole, carne adovada, and enchilada sauce. Try sprinkling dried leaves over roasted meats or adding fresh sprigs to salsas for a bright kick. It’s also wonderful infused in teas, particularly for soothing digestive discomfort or colds, thanks to its natural antibacterial properties.
Beyond the kitchen, Mexican oregano’s intense fragrance can be used in homemade potpourri mixes or essential oil blends for a mood-lifting, clarifying effect in aromatherapy. Remember, a little goes a long way—especially with the dried herb, so start with small pinches and taste as you go for that perfect balance in your recipes.
Conclusion
Growing Mexican oregano at home offers plenty of perks—from having a steady supply of fresh, aromatic leaves to adding vibrant flavor and authentic flair to your dishes. Unlike store-bought herbs that can lose their potency over time, homegrown oregano delivers maximum fragrance and health benefits with every pinch.
It’s easy to grow, thriving in pots or backyard gardens with just some sun and well-drained soil, making it perfect for both beginners and seasoned gardeners. By adding Mexican oregano to your cooking, you’ll bring depth to salsas, stews, and grilled meats, turning everyday meals into memorable experiences.
Plus, gardening is a relaxing and rewarding hobby that connects you with a community of fellow growers eager to share tips, plant swaps, and inspiration. As you start your oregano journey, consider exploring other culinary herbs like basil, thyme, or cilantro to broaden your kitchen collection.
Don’t hesitate to join local gardening groups or online forums where you can ask questions, learn from others, and celebrate your progress. Now’s the perfect time to plant your first oregano seeds and discover the joy of cooking with your own homegrown herbs—dig in and let your green thumb lead the way!