Introduction to Growing Lovage in Raised Beds
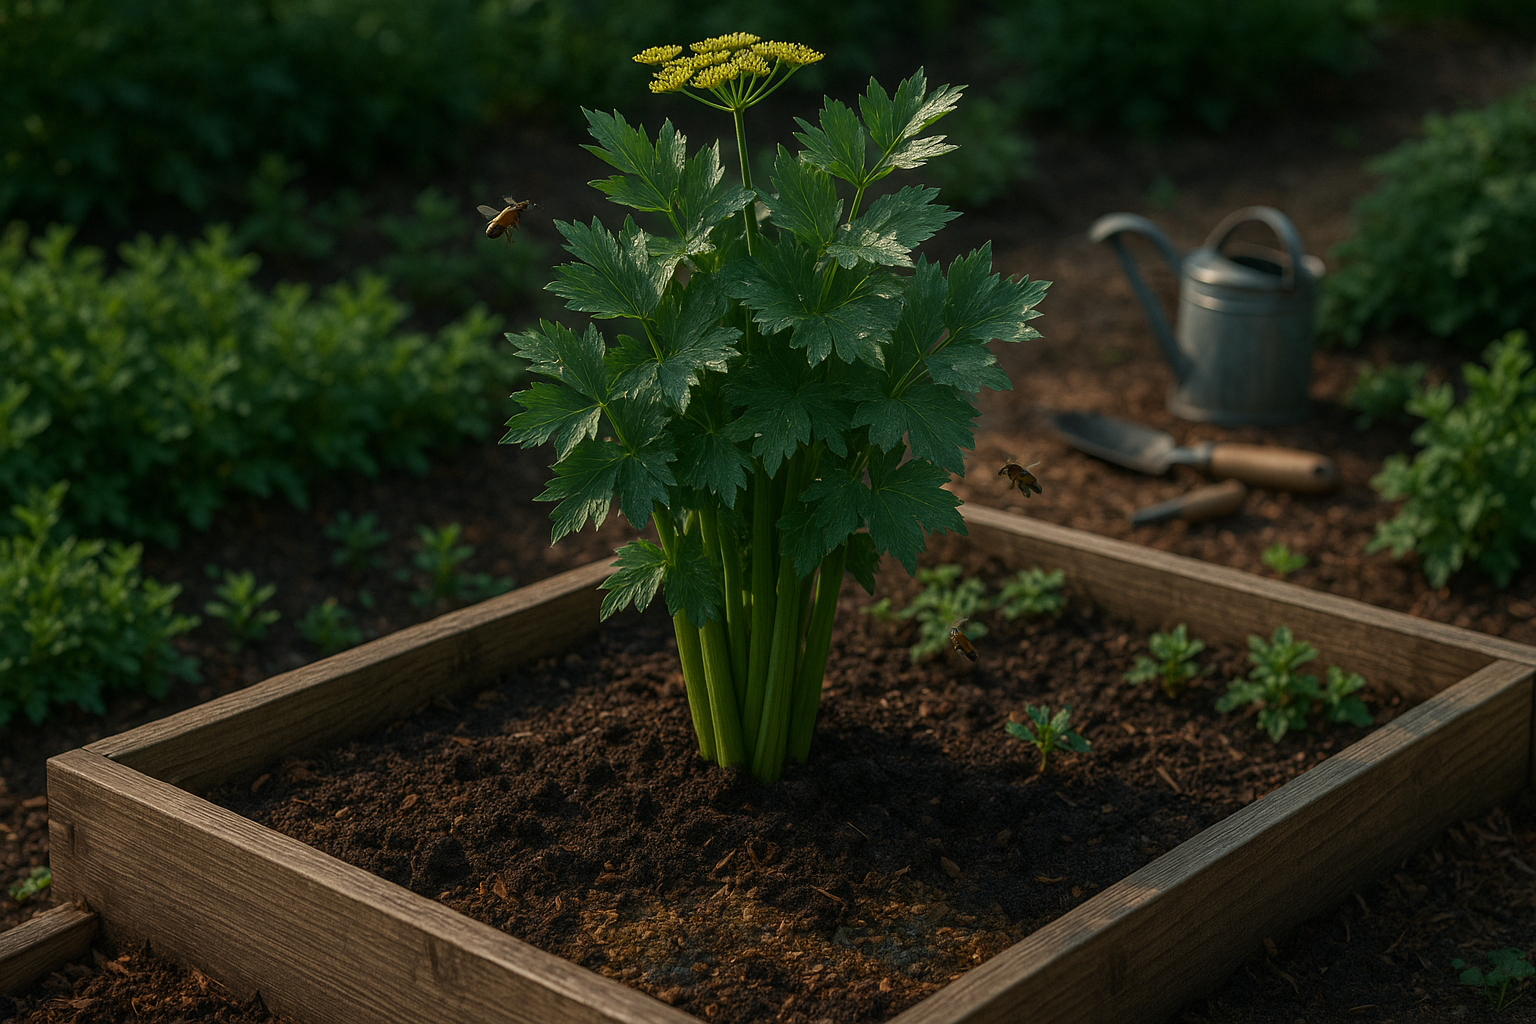
If you’ve ever wondered about the perks of growing lovage in raised beds, you’re not alone—this aromatic herb is gaining fans among gardeners for good reason. Lovage, known for its tall, celery-like stalks and bold, parsley-meets-celery flavor, is a versatile perennial herb that thrives in many gardens. Its leaves, stems, and seeds are prized in soups, stews, and salads, while the flowers attract bees and other vital pollinators, making it a lovely addition both at the table and in an eco-friendly garden.
Raised beds offer unique advantages when it comes to cultivating lovage. One major benefit is soil control: you can tailor the soil mix for optimum drainage and fertility, preventing the soggy conditions that can stunt lovage’s growth. Raised beds also provide better drainage, which is essential for this herb’s robust root system, and make it easier to keep weeds at bay. Plus, working at a higher level means less bending and stooping—perfect for gardeners who want a more accessible and manageable workspace. Whether you’re growing lovage for savory stocks, to freshen up your salad bowl, or to support the bees in your backyard, raised beds give you the ideal conditions to help this stately herb thrive.
Starting Out – Choosing Seeds or Seedlings
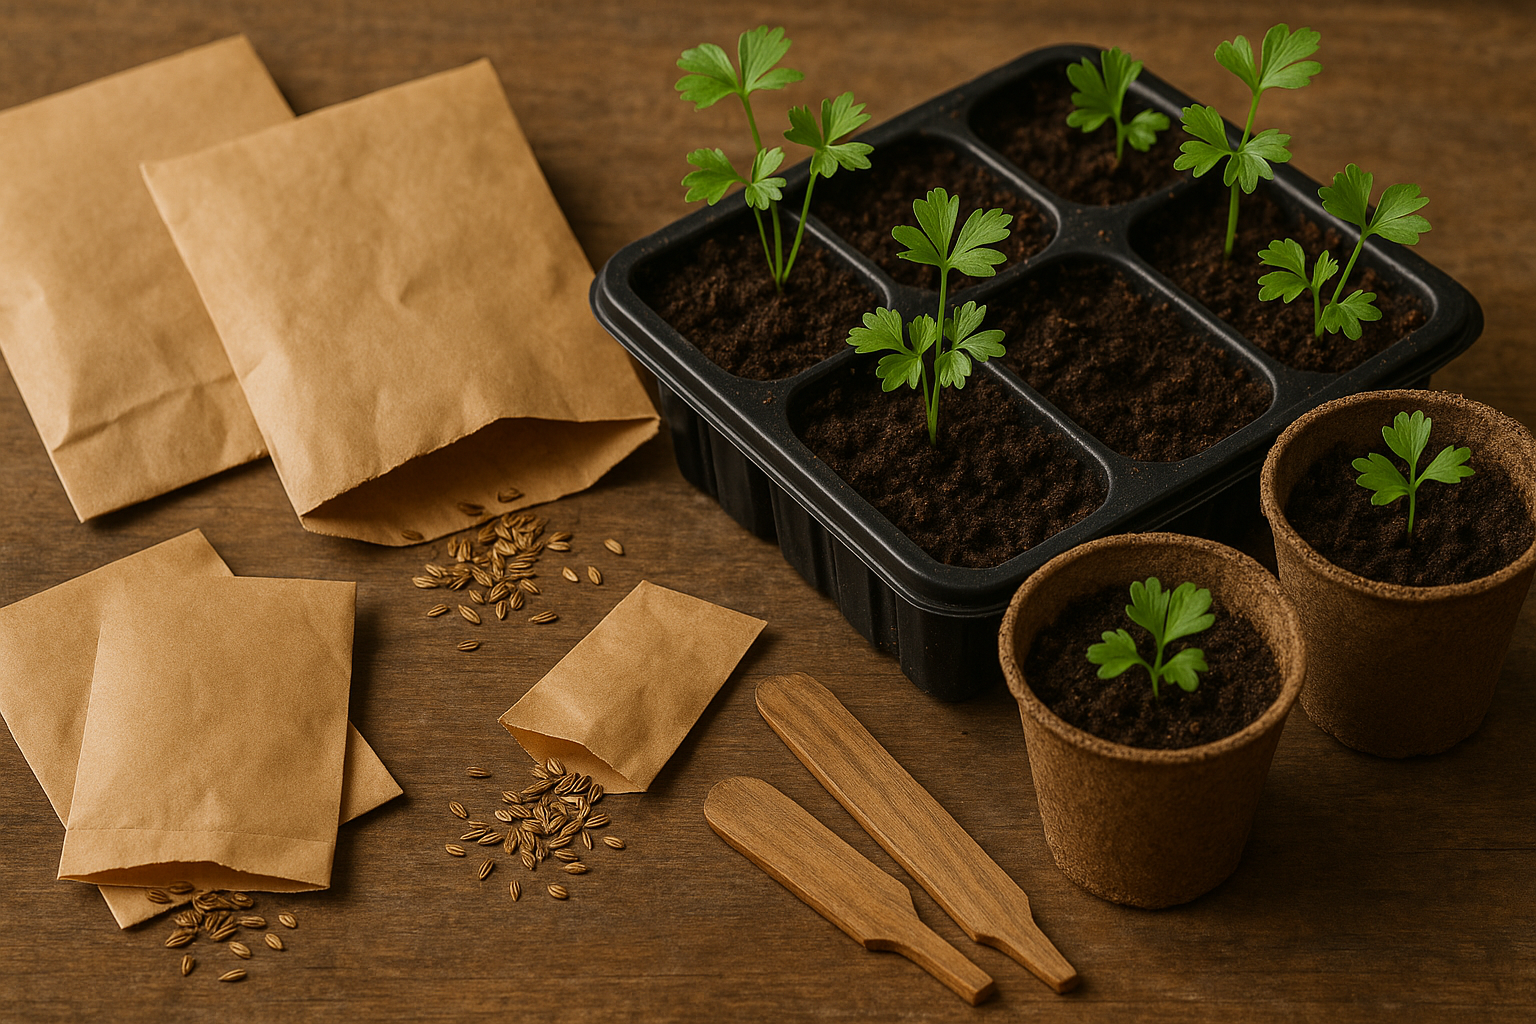
When starting your lovage journey, you’ll need to decide between growing from seeds or picking up young seedlings, each with its unique perks. Sowing lovage from seed is budget-friendly and offers more choices, letting you try lesser-known or heirloom varieties like ‘Maggie’ for its robust flavor or the classic Levisticum officinale.
However, lovage seeds can be slow and erratic to germinate—sometimes taking up to three weeks—and often need to be started indoors in late winter, using trays or pots with moist, well-draining soil. To boost your chances, opt for fresh seeds from reputable suppliers, check the expiration date, and look for phrases like “tested germination rate” on the packets.
Seedlings, on the other hand, are ideal if you prefer a head start and instant gratification. These well-established young plants are less finicky about transplant shock and take off faster in the garden.
When buying seedlings, examine the roots (they should be white and not circling the bottom of the pot), and check for sturdy stems with lush, green growth—steer clear of any yellowed or wilted foliage. Be aware, though, that starter plants are typically more expensive, and the choice of varieties might be slim at local nurseries.
Whichever method you choose, remember that lovage is a perennial that will reward you for years, so investing time in finding healthy seeds or robust transplants is well worth it for a thriving, fragrant crop.
Setting Up the Raised Bed for Lovage
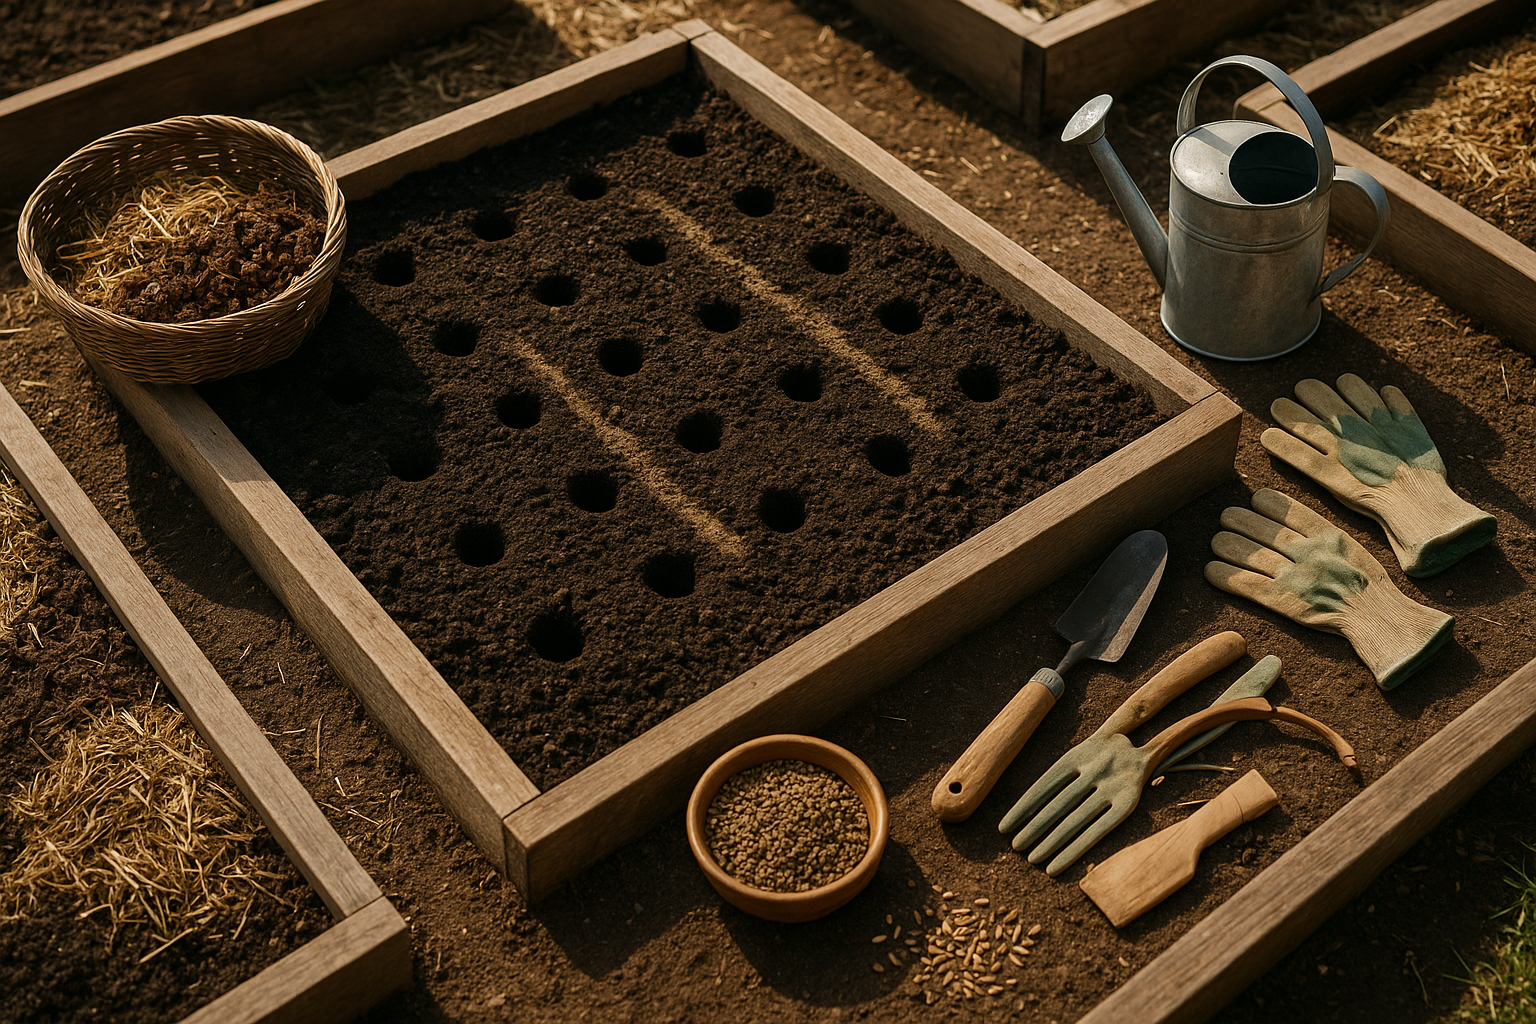
When setting up a raised bed for lovage, start by choosing a spacious spot that receives at least 6 hours of sunlight daily but is also shielded from harsh winds—placing your bed near a fence or shrub line often does the trick. Lovage grows tall and lush, with a deep taproot, so your raised bed should be at least 18 inches deep (24 inches is even better if your budget and space allow) and about 3 feet wide to give roots plenty of room to stretch.
For soil, lovage thrives in a rich, well-draining loam. Aim for a blend of equal parts high-quality garden soil, compost, and coarse sand or perlite. This keeps moisture steady without letting the soil get soggy, which can rot the roots. To boost fertility and airflow, mix in several inches of well-aged compost or leaf mold, and test the pH—lovage prefers a neutral to slightly alkaline environment (pH 6.5 to 7.5). Add a small handful of garden lime if your soil is on the acidic side.
As you fill the bed, break up any clumps and remove rocks to encourage straight, healthy root growth. Lovage is a substantial plant, so space each plant 18 to 24 inches apart to avoid crowding and ensure airflow (which helps prevent fungal diseases).
Finally, water the bed thoroughly after planting to help the roots settle in, and keep the top few inches of soil consistently moist. Mulching with straw or shredded leaves can help lock in moisture and ward off weeds. With these simple steps, your raised bed will offer the perfect foundation for flourishing lovage all season long.
Planting and Early Growth Care
Whether you’re starting seeds directly in the garden or transplanting young seedlings, a successful start begins with proper planting techniques. For direct sowing, plant seeds at their recommended depth—usually about two to three times their diameter. For example, small seeds like lettuce need only a light covering of soil, while larger beans or squash might require planting about an inch deep.
Space seeds or seedlings based on the crop’s needs; crowded plants can lead to poor air circulation and disease, while too much space wastes valuable garden real estate. After planting, water the area gently but thoroughly to moisten the soil without washing seeds away.
Keep the soil consistently damp during the first weeks, but avoid waterlogging, which can rot seeds or roots. Adding a layer of light mulch, such as straw or fine compost, helps retain moisture, keeps soil temperature stable, and suppresses early weeds.
Once seedlings appear, consider using a diluted liquid fertilizer to support root and leaf development, especially in nutrient-poor soils. Healthy early growth is signaled by sturdy, upright seedlings with vibrant green leaves—look for symmetrical growth and no signs of yellowing or wilting.
If seeds don’t germinate, check for causes like compacted or too-dry soil, old seeds, or planting too deep. For patchy germination, thin crowded seedlings to the healthiest few, and resow bare spots as needed.
Damping-off disease, a common fungal problem, can cause young seedlings to collapse; to prevent this, use clean soil, avoid overwatering, and ensure good airflow. With these steps—thoughtful planting, attentive watering, and careful observation—you’ll give your plants the strongest possible start in their new home.
Ongoing Lovage Care in Raised Beds
Caring for lovage in raised beds is simple once you establish a routine, and your plants will reward you with robust growth and flavorful leaves. Start with a steady watering schedule, aiming to keep the soil consistently moist but never soggy. In most climates, watering deeply once or twice a week is usually enough, but check more often during hot spells.
Lovage prefers rich soil, so every few weeks, apply a balanced, organic fertilizer or top-dress with compost to maintain nutrients throughout the growing season. Mulching is key in raised beds—add a two- to three-inch layer of straw, shredded leaves, or compost around the plants to hold moisture, suppress weeds, and keep the roots cool.
As lovage grows, it can reach heights of five feet or more, so consider inserting simple bamboo stakes or a tomato cage early on to support the stems and prevent them from falling over in wind or rain.
Keep an eye out for common pests like aphids or leaf miners. A strong spray of water or introducing beneficial insects like ladybugs can manage populations naturally. If you spot powdery mildew or root rot, improve air circulation by thinning overcrowded stems and avoid overhead watering to keep leaves dry.
For a chemical-free approach, neem oil or insecticidal soap works well in raised beds. Just test on a few leaves first. Regularly prune older leaves and keep the bed tidy to discourage disease and pests. By sticking to these simple routines and paying attention to your plants, you’ll have healthy, thriving lovage for culinary use all season long.
Harvesting and Using Lovage
To get the most flavor and nutrition from your lovage, it’s essential to time your harvests wisely. Start picking leaves and stems once the plant reaches about 12 inches tall—this usually happens in late spring. Snip outer stalks and leaves with scissors or garden shears early in the morning, when essential oils are most concentrated for peak taste and aroma.
For seeds, wait until mid-to-late summer, harvesting just as the seed heads begin turning brown but before they scatter naturally. Cut the stalk and hang it upside down in a paper bag to catch the seeds as they dry.
Store fresh lovage stems and leaves wrapped in a damp paper towel inside a zip-top bag in the refrigerator; they should last about a week. To preserve lovage longer, dry the leaves and stems in bundles in a cool, dark place, then crumble and keep them in airtight containers for up to a year.
Add fresh lovage sparingly to soups, stews, vegetable dishes, or use chopped leaves in salads for a celery-like kick. The dried herb is potent too—just use about half the amount you’d use fresh.
To keep the harvest coming, snip leaves and stems regularly. Avoid removing more than a third of the plant at once, and cut flower stalks promptly to redirect energy into new growth. With these tips, you can enjoy a steady supply of lovage throughout the growing season and beyond.
Companion Planting and Raised Bed Design Tips
Lovage is a powerhouse herb for raised bed gardens, but smart companion planting is key to healthy growth. It pairs well with most vegetables—especially root crops like carrots and potatoes—since its tall growth and deep roots help loosen soil and provide partial shade during hot afternoons.
Other great companions include parsley, chives, and celery because they share similar soil and moisture needs. However, avoid planting lovage near fennel, as both compete for nutrients and can stunt each other’s growth. Also, steer clear of planting lovage close to mint, which tends to be aggressive and can overtake its neighbors.
When designing a raised bed, place lovage near a corner or along the north edge so its height doesn’t shade out sun-loving plants. Lovage’s feathery foliage and tall stems add vertical interest, making it both functional and attractive. Consider pairing it with colorful lettuces or nasturtiums at the bed’s edge for a pop of visual contrast.
Beyond its good looks, lovage attracts beneficial insects like hoverflies and parasitic wasps that hunt aphids and caterpillars. Its strong scent can also help deter cabbage moths and other pests, creating a more resilient garden community.