Introduction to Growing Lemon Balm in Pots
If you’re curious about growing lemon balm in pots, you’ll be thrilled by how easy and rewarding it can be. Known for its fresh, citrusy scent, lemon balm is a cherished herb in both kitchens and medicine cabinets. Popular in calming teas, refreshing summer drinks, and as a gentle remedy for stress, this versatile herb deserves a spot in every home garden.
What makes lemon balm ideal for container gardening is its adaptable nature and forgiving temperament. Whether you have a sunny windowsill, a small balcony, or just a bit of unused patio space, you can grow a healthy lemon balm plant without needing a traditional garden.
Pots help you control soil quality, drainage, and sun exposure—crucial factors for a thriving herb garden. Plus, keeping lemon balm in containers prevents it from overtaking your garden beds, as it can be quite the enthusiastic spreader. For apartment dwellers or anyone short on outdoor space, growing lemon balm in pots means you can enjoy fresh leaves at your fingertips all season long.
With just a little care, even beginners can rely on this hardy, fragrant herb to deliver both beauty and bounty.
Choosing the Right Pot and Soil

When growing lemon balm, selecting the right pot and soil makes a huge difference in your plant’s health and productivity. Start with a container that holds at least 8 to 12 inches of soil depth; this gives the roots plenty of space to spread without becoming crowded.
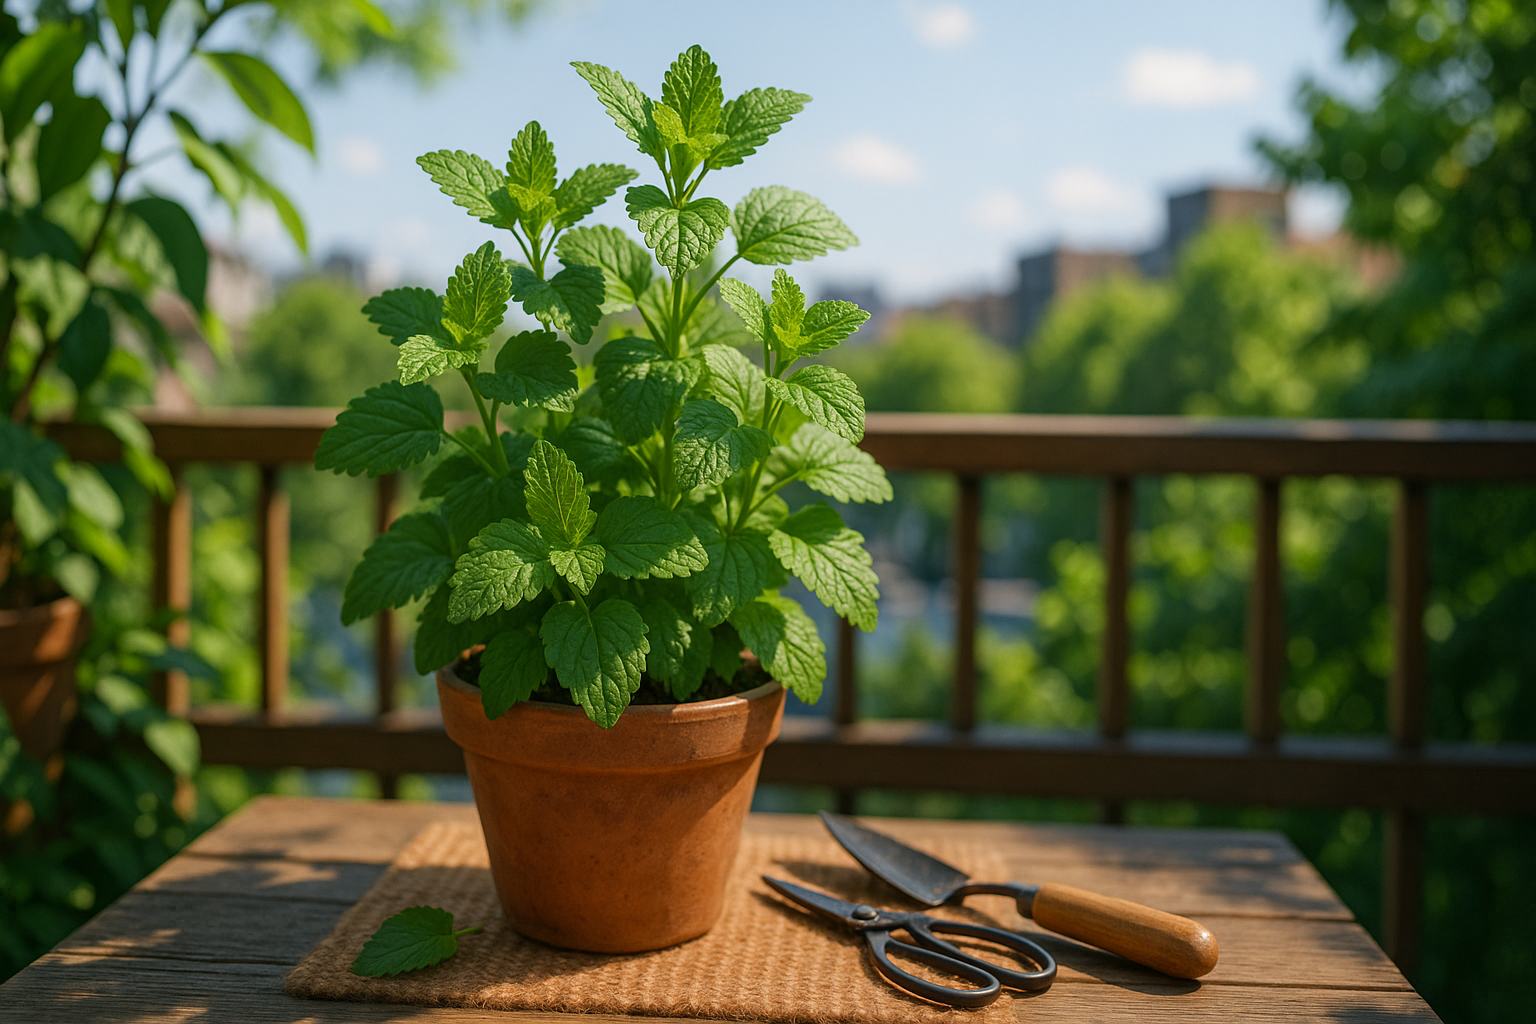
Terra cotta pots are a great choice because they allow the soil to breathe and help prevent waterlogging, but sturdy plastic or ceramic containers also work well as long as they have good drainage. Drainage holes are a must—never skip them! Poor drainage leads to soggy roots and root rot, a common reason lemon balm fails to thrive.
For soil, use a high-quality potting mix enriched with compost for nutrients and perlite or coarse sand for improved drainage. Avoid heavy garden soil, which can compact and retain too much moisture. Try mixing two parts potting soil, one part perlite or sand, and one part compost for a balanced growing medium.
Place the pot in a sunny spot—lemon balm loves at least 6 hours of sunshine per day, so a south-facing patio, windowsill, or balcony is ideal. Rotate the container every few days to encourage even growth. With the right pot, soil mix, and sunlight, your lemon balm will grow lush, flavorful leaves perfect for teas or recipes.
How to Plant and Propagate Lemon Balm in Containers

Starting lemon balm in containers is both simple and rewarding, as this fragrant herb thrives in pots on sunny patios or windowsills. You can begin with seeds, cuttings, or healthy nursery plants.
If starting from seed, fill a small pot with quality potting mix and barely cover the tiny seeds with soil—lemon balm seeds need some light to germinate. Mist the surface to keep it moist and place the pot in a warm, bright spot; seedlings should appear in about two weeks.
For cuttings, snip a four-inch stem just below a leaf node, strip off the lower leaves, and place the cutting in water or moist potting soil. Roots usually develop in 10–14 days, after which you can transplant your new plant into its own container.
Nursery plants offer the fastest start: gently remove the plant from its pot, tease out the roots if tangled, and plant it in a container that’s at least 8–10 inches wide with well-draining soil.
Lemon balm prefers full sun but will tolerate partial shade. It’s important not to overwater—allow the top inch of soil to dry before watering again.
How to Propagate Lemon Balm
To multiply your lemon balm, simply divide mature plants in early spring or fall:
- Remove the plant from its pot.
- Gently separate the root ball into two or three sections, each with roots and shoots.
- Repot each section individually.
Alternatively, you can snip off new shoots and root them as you would cuttings. With this method, one lemon balm plant can quickly become several, providing an ongoing supply for tea, cooking, or aromatic balcony gardens.
Regularly harvest the tips to encourage bushier growth, and your potted lemon balm will reward you with lush, fragrant leaves all season long.
Caring for Potted Lemon Balm
Potted lemon balm thrives with just the right balance of moisture—too much water is a common pitfall. Always check the top inch of soil before watering: if it feels dry, it’s time to water; if it’s still damp, wait another day. Overwatering can lead to root rot, especially in containers without drainage holes, so always use pots with good drainage and empty saucers promptly.
For healthy growth, feed your lemon balm every 4–6 weeks during spring and summer with a balanced, water-soluble fertilizer diluted to half strength. Avoid over-fertilizing, which can cause spindly growth.
Regular pruning and pinching are key: pinch off the growing tips every couple of weeks to encourage bushier plants, and snip stems just above a set of leaves when harvesting. Remove at least one-third of the plant every few weeks to keep it lush and prevent legginess, and always prune any yellow or damaged foliage.
Container-grown lemon balm can attract aphids and spider mites—inspect leaves regularly and spray with a gentle blast of water or use mild insecticidal soap if pests appear.
Don’t forget root management: lemon balm can become root-bound in pots, leading to stunted growth. Check roots annually, and if you notice roots circling the pot or growing out of drainage holes, repot into a slightly larger container or gently divide the plant. Choosing a pot at least 8–10 inches wide helps reduce the need for frequent repotting.
With these simple routines—right watering, light feeding, proactive pruning, and mindful pest and root care—you can enjoy a thriving lemon balm plant on your patio or windowsill all season long.
Harvesting and Using Lemon Balm
Harvesting lemon balm at the right time is key to getting the most flavor and potency from its leaves. For the best results, pick lemon balm in the morning just after the dew has dried but before the midday sun, when the essential oils are at their peak. Use clean, sharp scissors to snip off the top few inches of healthy stems, ideally right before the plant flowers, as this is when the leaves are most fragrant and flavorful.
Avoid harvesting more than one-third of the plant at a time to ensure it keeps growing strong. To cure and preserve your lemon balm, gently rinse the cut stems to remove dirt, then pat them dry and bundle them together. Hang the bundles upside down in a warm, dry, well-ventilated space out of direct sunlight—this helps preserve both color and delicate flavor.
Leaves usually dry within about a week; you’ll know they’re ready when they feel crisp and crumble easily. Strip the dried leaves from the stems and store them in airtight containers, away from heat and light, to maintain their aroma for several months. For quick use, you can also chop fresh lemon balm and freeze it in ice cube trays with a little water or oil.
In the kitchen, lemon balm’s citrusy notes brighten teas, salads, and desserts, while its herbal benefits make it a soothing ingredient for homemade salves or calming infusions. Fresh or dried, a little lemon balm goes a long way in both recipes and remedies.
Seasonal Care and Troubleshooting
As temperatures drop, potted lemon balm needs special attention to survive the winter, especially in regions with harsh frosts. Before the first cold snap, gently prune your plant back by about half and check for signs of pests.
If your lemon balm is in a container, consider moving it indoors to a bright windowsill or an unheated garage that stays above freezing. Make sure the pot has excellent drainage, and reduce watering—overly wet soil can cause root rot during dormancy.
If moving the plant indoors, watch for common indoor pests like aphids, spider mites, or whiteflies. These can often be managed with a gentle spray of insecticidal soap or by rinsing leaves under lukewarm water.
Lemon balm is relatively disease-resistant, but container plants can sometimes suffer from powdery mildew, especially in humid indoor conditions. Improve air circulation and avoid wetting the leaves to help prevent this.
Noticing yellowing or brown spots? This may signal overwatering, nutrient deficiency, or a root issue. Let the soil dry slightly between waterings and use a balanced, water-soluble fertilizer once a month during the active growing season.
Droopy or wilting leaves often mean the soil is either too wet or too dry; always check soil moisture before watering.
With a watchful eye and a few simple care steps, you can keep your lemon balm healthy all year—whether it’s basking on a patio in summer or thriving on a kitchen windowsill through winter.
Conclusion
Growing lemon balm in pots brings a touch of freshness and tranquility to your home, whether you have a sunny windowsill or a small patio. This fragrant herb thrives with minimal effort and offers a variety of uses—from soothing teas to fragrant additions in salads or homemade skincare products.
The satisfaction of snipping a few leaves for your evening tea or refreshing lemonade is hard to beat. You’ll also enjoy the little bursts of citrusy aroma every time you brush past your plant.
For best results, keep your lemon balm regularly pruned to maintain a bushy and lush appearance. Don’t be afraid to experiment with the leaves in your kitchen or even dry them in sachets to scent your drawers. Growing lemon balm is more than just gardening—it’s about creating moments of calm and adding delicious, homegrown flavor to everyday life.