How to Grow Oregano at Home (Complete Beginner Guide)
If you’ve ever dreamed of snipping fresh oregano straight from your own windowsill or garden, this guide is for you. We’ll walk you through every simple step—choosing the right variety, planting, caring for, and harvesting—so you can enjoy bold, homegrown flavor even if you’ve never grown herbs before. With easy tips and fuss-free advice, you’ll see that raising oregano is achievable for any beginner, whether you have a spacious yard or just a sunny spot on your kitchen counter.
Choosing the Right Oregano Variety

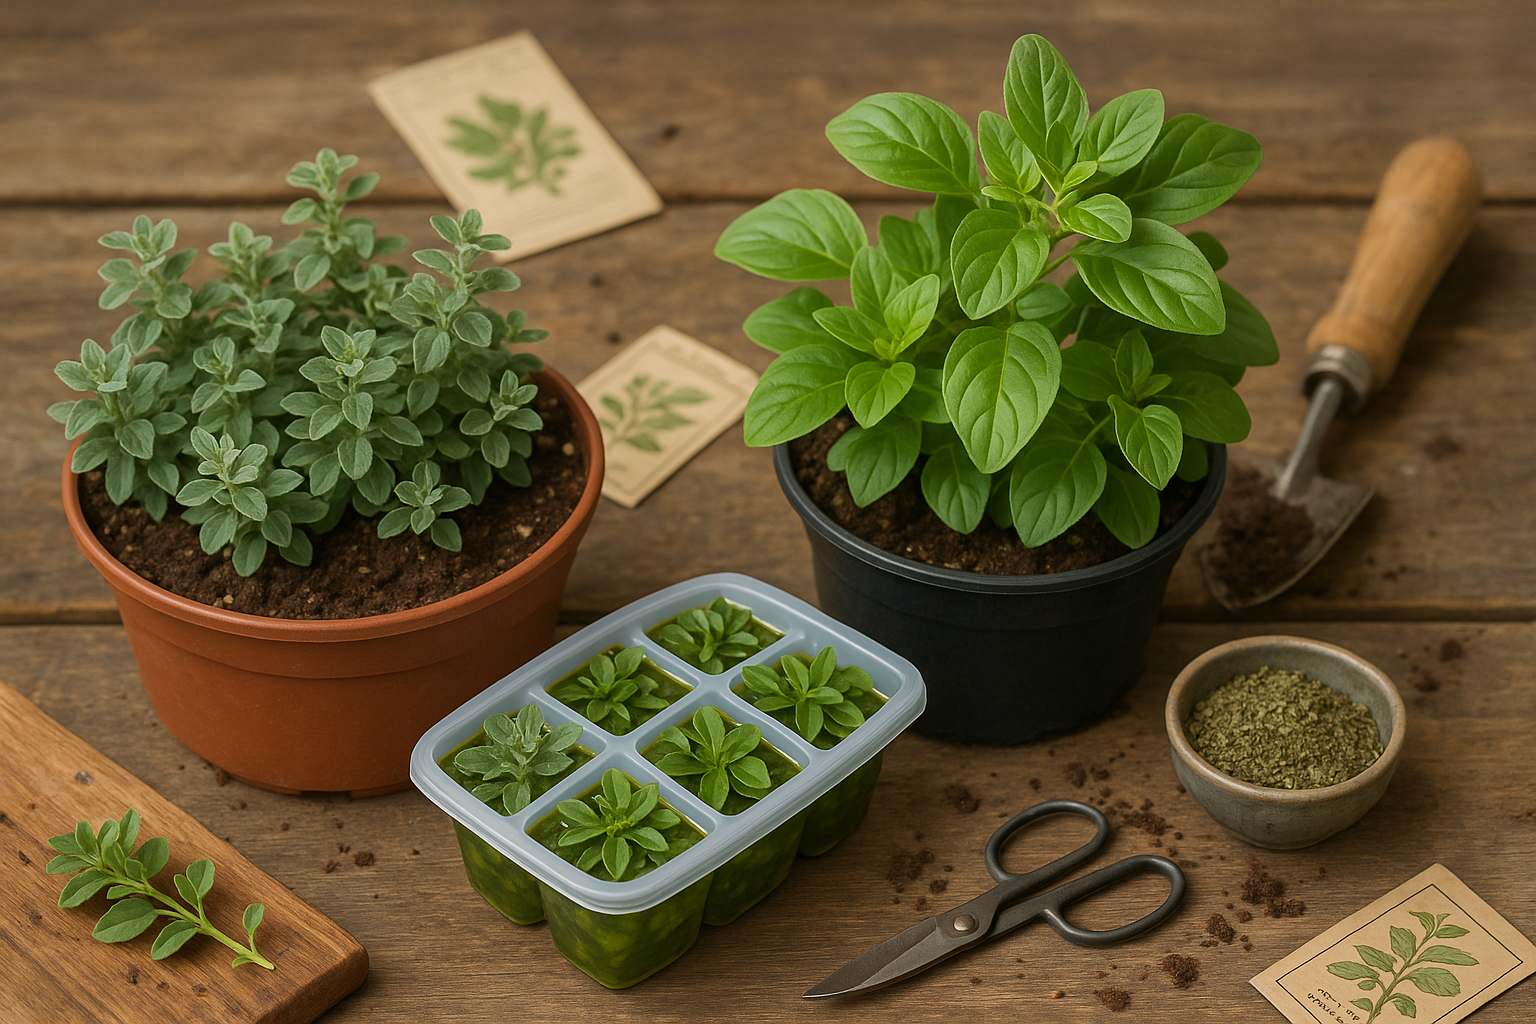
When starting your oregano garden, selecting the right variety is key to success and flavor. Greek oregano (Origanum vulgare hirtum) is a classic favorite for its robust, peppery taste—ideal for bold Mediterranean dishes and sauces. Its small, grey-green leaves pack an aromatic punch, making it perfect for cooks who love vibrant, authentic flavors.
Italian oregano, often a hybrid of oregano and marjoram, has larger, milder green leaves with a sweeter undertone—great for pizzas, pasta, and recipes where you want a more subtle herbal note.
For climate adaptability, Greek oregano thrives both in-ground and in pots, tolerating dry or rocky soils and full sun. In contrast, Italian oregano prefers slightly richer soil and part-sun exposure, making it a versatile choice for outdoor beds and sunny kitchen windowsills.
If you live in a colder climate or want year-round harvests, try growing oregano indoors in a well-draining container. Both varieties adapt well to indoor environments with enough sunlight.
When sourcing seeds or starter plants, choose reputable suppliers. Local nurseries are excellent for starter plants, allowing you to inspect leaf health and aroma firsthand. For seeds, look for organic, heirloom varieties from trusted online retailers to ensure authenticity and strong germination rates.
Avoid big-box stores with unlabeled or generic oregano varieties, as these might offer less distinct flavor or lower plant vigor. Starting with quality plants or seeds gives your herb garden the best start, ensuring flavorful harvests for months to come.
Preparing to Plant
Before you start planting oregano, it’s essential to set the stage for success by focusing on soil, light, and location. Oregano thrives in well-draining soil with a sandy or loamy texture—heavy, waterlogged ground can cause roots to rot. Aim for a neutral to slightly alkaline pH between 6.5 and 7.5. If your garden soil is dense or acidic, mix in a bit of coarse sand or perlite and a handful of garden lime to improve drainage and balance pH.
Adding organic matter, like compost or well-rotted manure, will provide slow-release nutrients without overwhelming the plant. Fertilizing oregano is usually minimal—too much fertilizer encourages leafiness but weakens flavor, so stick to a light feeding in spring.
When it comes to sunlight, oregano loves full sun, soaking up at least 6 hours of direct light per day, resulting in robust growth and heightened essential oils that give the herb its signature aroma. In hotter climates or for a milder flavor, partial afternoon shade is acceptable.
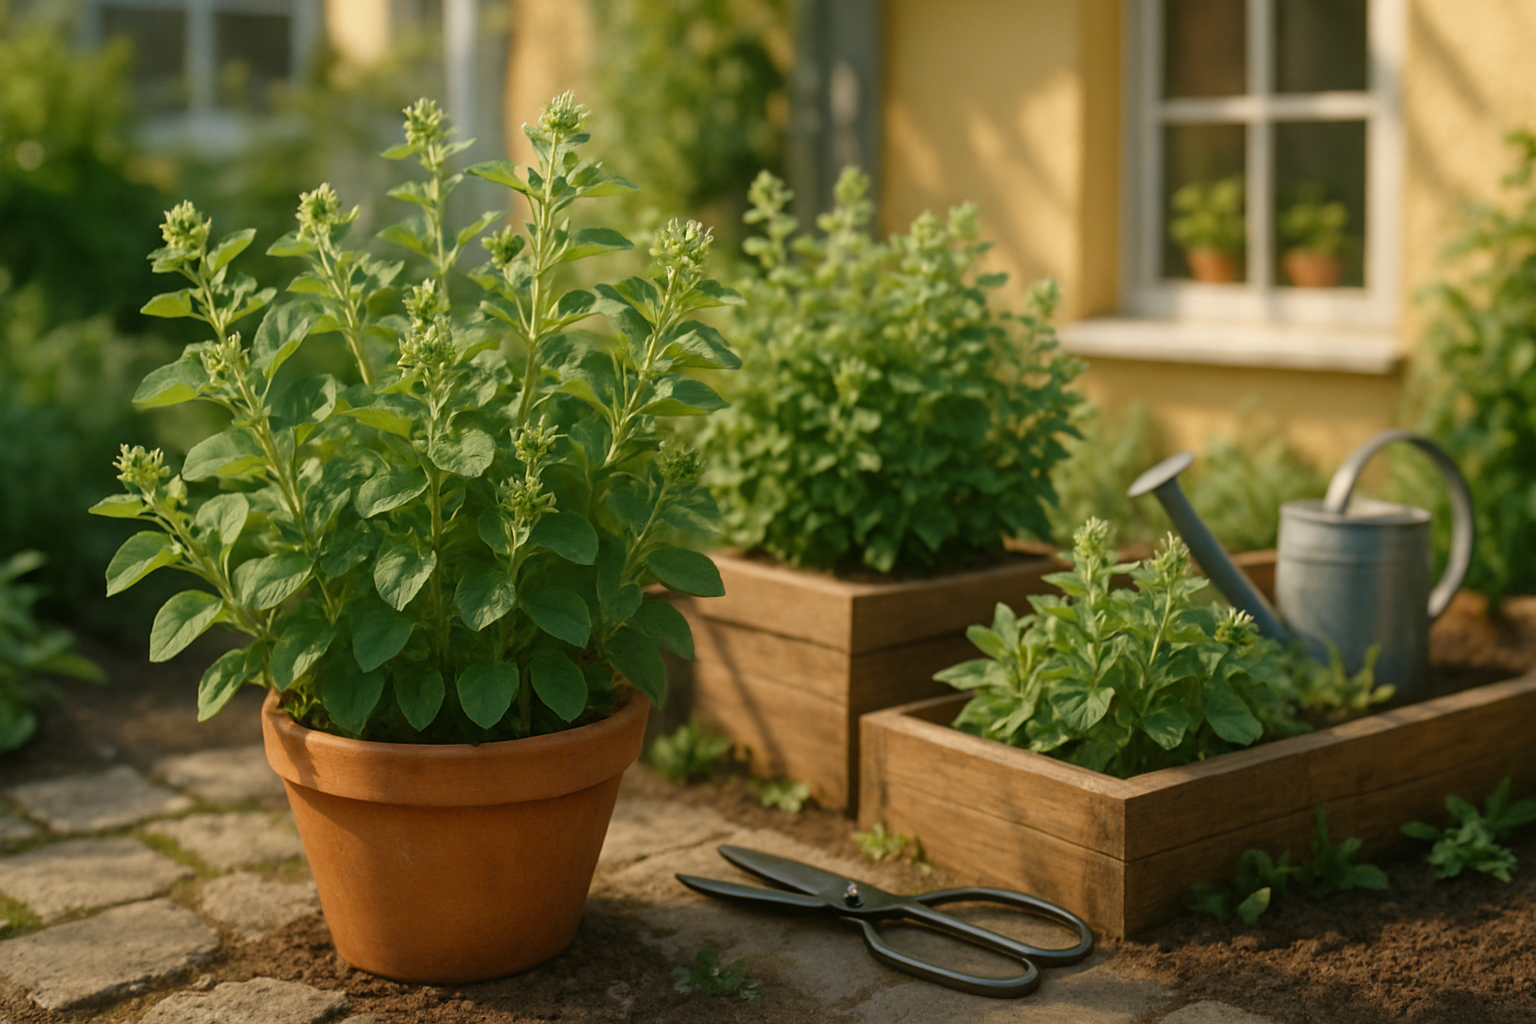
For the perfect spot, oregano is flexible: it grows happily in raised garden beds, window boxes, balcony planters, or roomy containers indoors near a sunny window. However, give each oregano plant enough personal space—about 10 to 12 inches apart. Good airflow helps prevent mildew and keeps roots from competing for nutrients.
Whether you tuck oregano alongside your tomatoes in a garden bed or line up pots on your kitchen sill, the right start will reward you with vigorous, fragrant growth all season long.
Planting Oregano Seeds or Seedlings
When planting oregano from seeds, start by choosing a well-draining seed-starting mix and sowing the seeds on the surface—don’t bury them, as they need light to germinate. Gently press the seeds into the soil and mist with water to keep them moist but never soggy. Aim for a temperature of about 70°F (21°C), which you can achieve by placing trays on a sunny windowsill or using a gentle heat mat. Seeds typically sprout in 7 to 14 days.
For indoor growing, use a shallow tray and keep it in a bright spot; for outdoor starts, wait until nighttime temperatures stay above 50°F (10°C) to avoid shock. Once seedlings have two or more sets of true leaves and are a few inches tall, it’s time to transplant. Gently lift each seedling with a spoon or small fork, ensuring minimal root disturbance, and replant into pots or directly into garden beds spaced about 8 to 12 inches apart.
If moving seedlings outside, harden them off by gradually exposing them to outdoor conditions over a week—place them in a shaded spot for a few hours each day, slowly increasing sunlight and outdoor time. Oregano thrives in full sun and well-drained soil, so avoid waterlogged spots.
When watering, keep the soil lightly moist but not wet, especially during the first weeks; let the top inch dry out between waterings to discourage root rot. Indoors, be mindful not to overwater, as oregano prefers slightly drier conditions. Expect slow, steady growth at first—this is normal. Tiny leaves will soon develop a rich fragrance, and the young plants will bush out if pinched back lightly, encouraging fuller herbs as they mature.
Everyday Care and Maintenance
Caring for oregano is straightforward once you get to know this herb’s hardy personality. Since oregano is native to the Mediterranean, it thrives with a less-is-more watering approach. Allow the top inch of soil to dry completely before watering again, as soggy roots are the fastest route to trouble.
To check, simply stick your finger into the soil—if it feels dry, it’s time to water. Prevent overwatering by always using pots or garden beds with good drainage. Oregano’s drought tolerance means it will bounce back from dry spells, but it’s far less forgiving of soggy conditions.
Fertilizing is simple; oregano is not a heavy feeder. Apply a balanced organic fertilizer such as compost, worm castings, or fish emulsion once each spring as new growth starts, and that’s often enough. Avoid over-fertilizing, which can lead to weak, lanky plants and a less intense flavor.
Regular pruning encourages a full, bushy plant and ensures a constant supply of fresh leaves. Start pinching back the tips when the plant is about four inches high, and trim off flower buds as they appear to focus energy on leaf production. Use clean scissors to take cuttings right above a leaf node to promote sideways branching.
Watch for yellowing leaves or stunted growth—these are usually signs of overwatering, poor drainage, or nutrient deficiencies. If you spot yellow leaves, let the soil dry and ensure your container drains well. For sluggish plants, a light feeding of compost tea and moving them to a sunnier spot can do wonders.
With these simple habits, your oregano will thrive, providing aromatic, flavorful leaves for every culinary adventure.
Handling Pests and Diseases
Oregano is a hardy herb, but like any plant, it can face pest and disease challenges. The most common pests include aphids, which cluster on new shoots and the undersides of leaves, and spider mites, which form fine webs and cause yellow speckling.
To discourage these pests, check your oregano regularly and wash off intruders with a strong spray of water or use insecticidal soap—both gentle but effective methods.
Diseases also pose a threat, especially if oregano sits in damp conditions. Watch for root rot, marked by yellowing, wilting, and mushy roots, often caused by overwatering or poor drainage. Powdery mildew, another concern, appears as a white, powdery coating on leaves and thrives in humid environments.
To prevent disease:
- Water oregano at the base rather than overhead to keep leaves dry.
- Space plants for good airflow.
- Use well-draining soil.
If powdery mildew appears, a simple homemade spray of one tablespoon baking soda dissolved in a quart of water can help. Trim away affected parts and avoid crowding plants to keep future problems at bay.
By staying vigilant and using these earth-friendly methods, even beginners can keep their oregano healthy and thriving.
Harvesting and Using Oregano
For the best flavor, harvest oregano just as the plant begins to flower—usually in late spring or early summer—since the oils that give it its signature aroma are at their peak then. Choose a dry morning after the dew has evaporated, and snip stems with clean scissors or garden shears about a third of the way down the plant, leaving plenty of growth so it can bounce back.
Regular harvesting like this not only gives you a fresh supply but also encourages bushier, more robust growth. Use the fresh leaves by stripping them from the stems and adding them directly to salads, marinades, or pizza for a fragrant, earthy kick.
If your harvest is bountiful, you can preserve oregano by drying: bundle several stems and hang them upside-down in a warm, ventilated spot away from direct sunlight until the leaves are crumbly. Alternatively, chop the leaves and freeze them in an ice cube tray with a bit of water or olive oil to enjoy bright flavor all year.
When storing dried oregano, strip the leaves from the stems, crumble them, and keep them in an airtight container away from light and heat to preserve their flavor for up to six months. Remember, dried oregano is more potent than fresh, so use it sparingly in your recipes.
With these simple techniques, you can enjoy garden-fresh oregano in your meals long after the growing season ends.
Troubleshooting & FAQs
Even the most attentive gardener can face challenges when growing herbs indoors, but most issues have straightforward fixes. If your plants look leggy and weak, they’re likely reaching for more light—move them to a sunnier window or supplement with a grow light for 12–16 hours a day.
When growth stalls, check that your pots have good drainage and that your soil isn’t staying soggy; herbs prefer to dry out slightly between waterings. For flavor problems, like bland basil or mint, harvest leaves regularly and avoid over-fertilizing—too much fertilizer can dilute those signature tastes.
Always inspect plants for pests like aphids, and trim off any damaged leaves. If you’re unsure what’s wrong, start by reviewing your care basics: lighting, watering, container size, and feeding schedule.
For more in-depth guidance, turn to reputable resources like the University Extension programs in your state or trusted gardening sites such as the Old Farmer’s Almanac and RHS Gardening. Connecting with local gardening clubs or cooperative extensions can also provide personalized advice and support for troubleshooting stubborn issues.
