Introduction

Welcome, mint enthusiasts! If you’re wondering when and how to harvest mint for maximum flavor, you’re in the right place. Freshly harvested mint can elevate everything from summer drinks to homemade pestos and teas, but knowing the best time and technique makes all the difference.
Harvesting mint at the right moment ensures the leaves are packed with essential oils, delivering vibrant flavor and aroma for your culinary and herbal recipes. A simple snip here or there, done the right way, can even promote healthier, bushier plants all season long.
In this guide, we’ll walk you through the ideal harvesting time, smart tools to use, and the most effective methods to pick your mint. Plus, you’ll learn real-world tricks to keep your mint crop thriving, so you always have a fresh supply on hand.
Ready to make the most of your mint patch? Let’s get started!
When to Harvest Mint for Peak Flavor
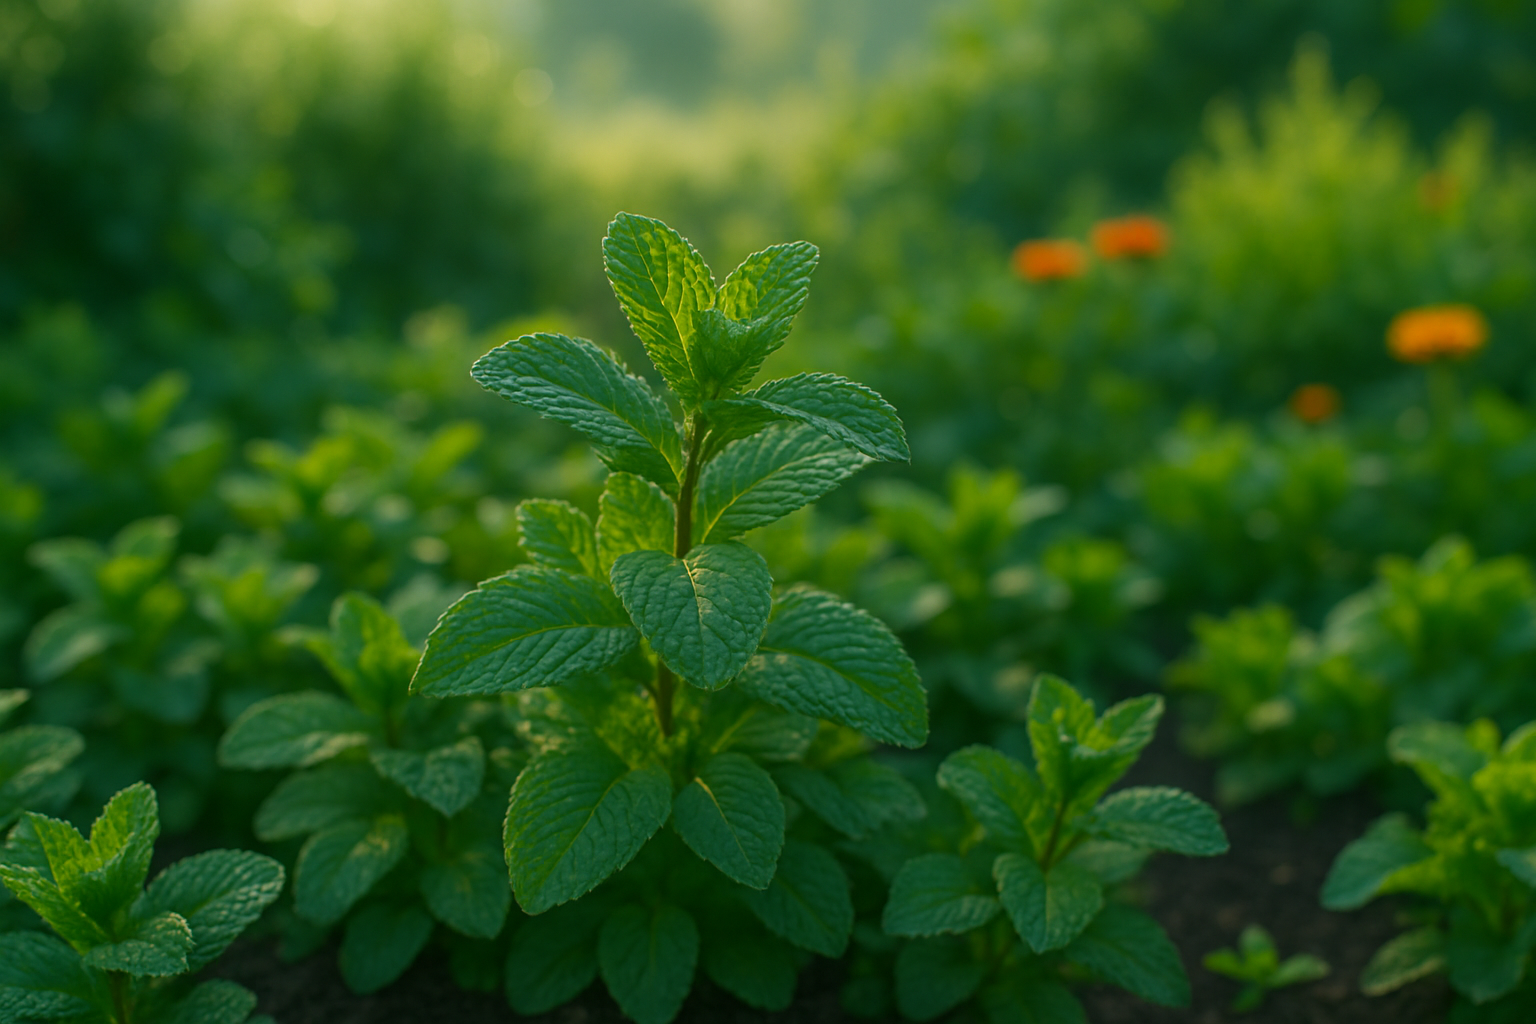
For the freshest, most flavorful mint, timing your harvest is key. Aim to pick mint during late spring or early summer, just before the plant starts to flower—this is when the essential oils that give mint its vibrant aroma and taste are most concentrated.
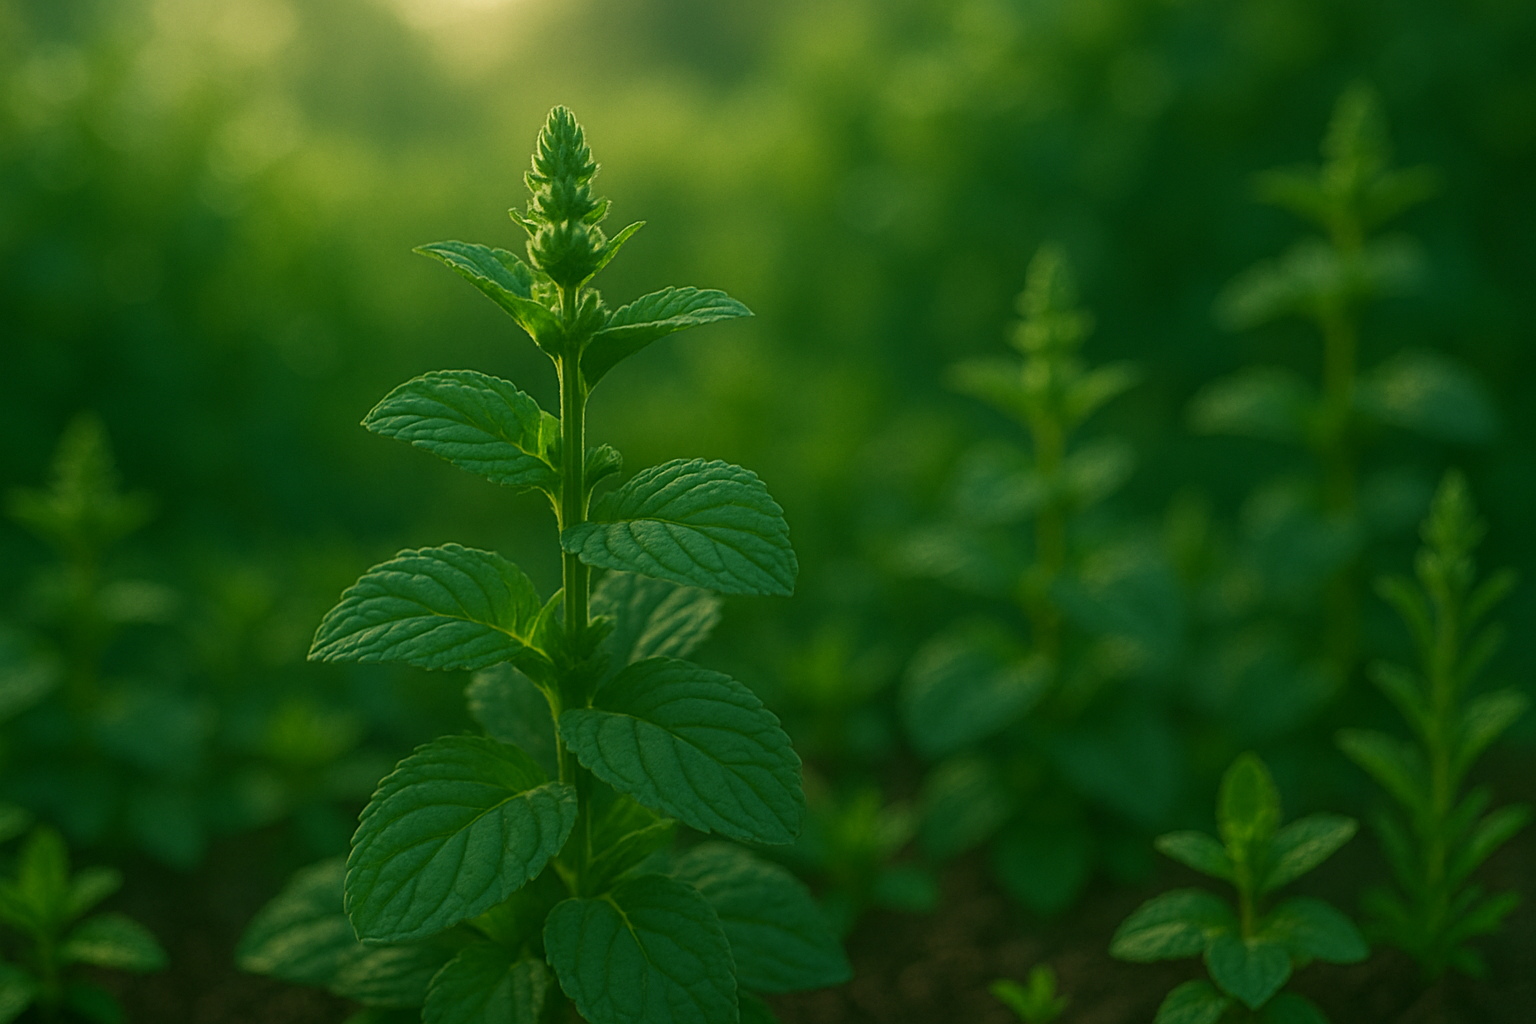
Early morning, after the dew has dried but before the midday sun, is the best time to harvest because the cooler temperatures help preserve those delicate oils. Look for mature plants with stems at least six inches tall and plenty of healthy, bright green leaves.
The leaves should look plump and feel slightly fuzzy, giving off a strong, refreshing scent when gently rubbed between your fingers. If you notice flower buds forming, it’s time to act—harvesting before flowering ensures the best flavor, as leaves can develop a bitter taste after flowering begins.
Regularly picking mint—every couple of weeks—not only keeps your plant bushy but also encourages the growth of new, tender shoots, maintaining a continuous supply of mint for your kitchen. Even if you don’t need the leaves immediately, trim your mint back frequently; this keeps the plant from becoming leggy and helps concentrate the plant’s essential oils in new growth, so you’ll always have top-quality mint ready for your recipes and teas.
How to Harvest Mint Without Damaging the Plant

Harvesting mint is simple, but it’s important to use the right technique to keep your plant healthy and productive. Start by grabbing a clean pair of scissors or garden shears—while you can pinch stems with your fingers, using sharp scissors makes a cleaner cut, reducing the risk of damage or disease.
Look for mature stems that are at least six inches tall; these are sturdy enough to handle pruning. Hold a stem between your fingers and locate a leaf node—this is where the leaves sprout from the main stem. Cut just above a leaf node, leaving at least two sets of leaves behind on the plant.
This technique encourages new branches to grow, making your mint bushier over time. When harvesting, take only one-third of the plant at a time, which gives the mint plenty of energy to regrow before your next harvest. If you just need a few leaves for a recipe, it’s best to take them from various stems rather than stripping one bare, as this allows the plant to photosynthesize and stay strong.
Avoid cutting too close to the soil or removing all of a stem’s leaves, as this can shock the plant and stunt future growth. Never harvest during the hottest part of the day—instead, pick mint in the morning when oils are most concentrated and the plant is freshest.
Skipping these best practices could lead to a thinning mint patch or even dying stems, so be gentle with your plant and always harvest mindfully. With the right approach, you’ll have plenty of aromatic mint throughout the growing season, and your plant will thrive year after year.
Best Practices for Storing Fresh Mint
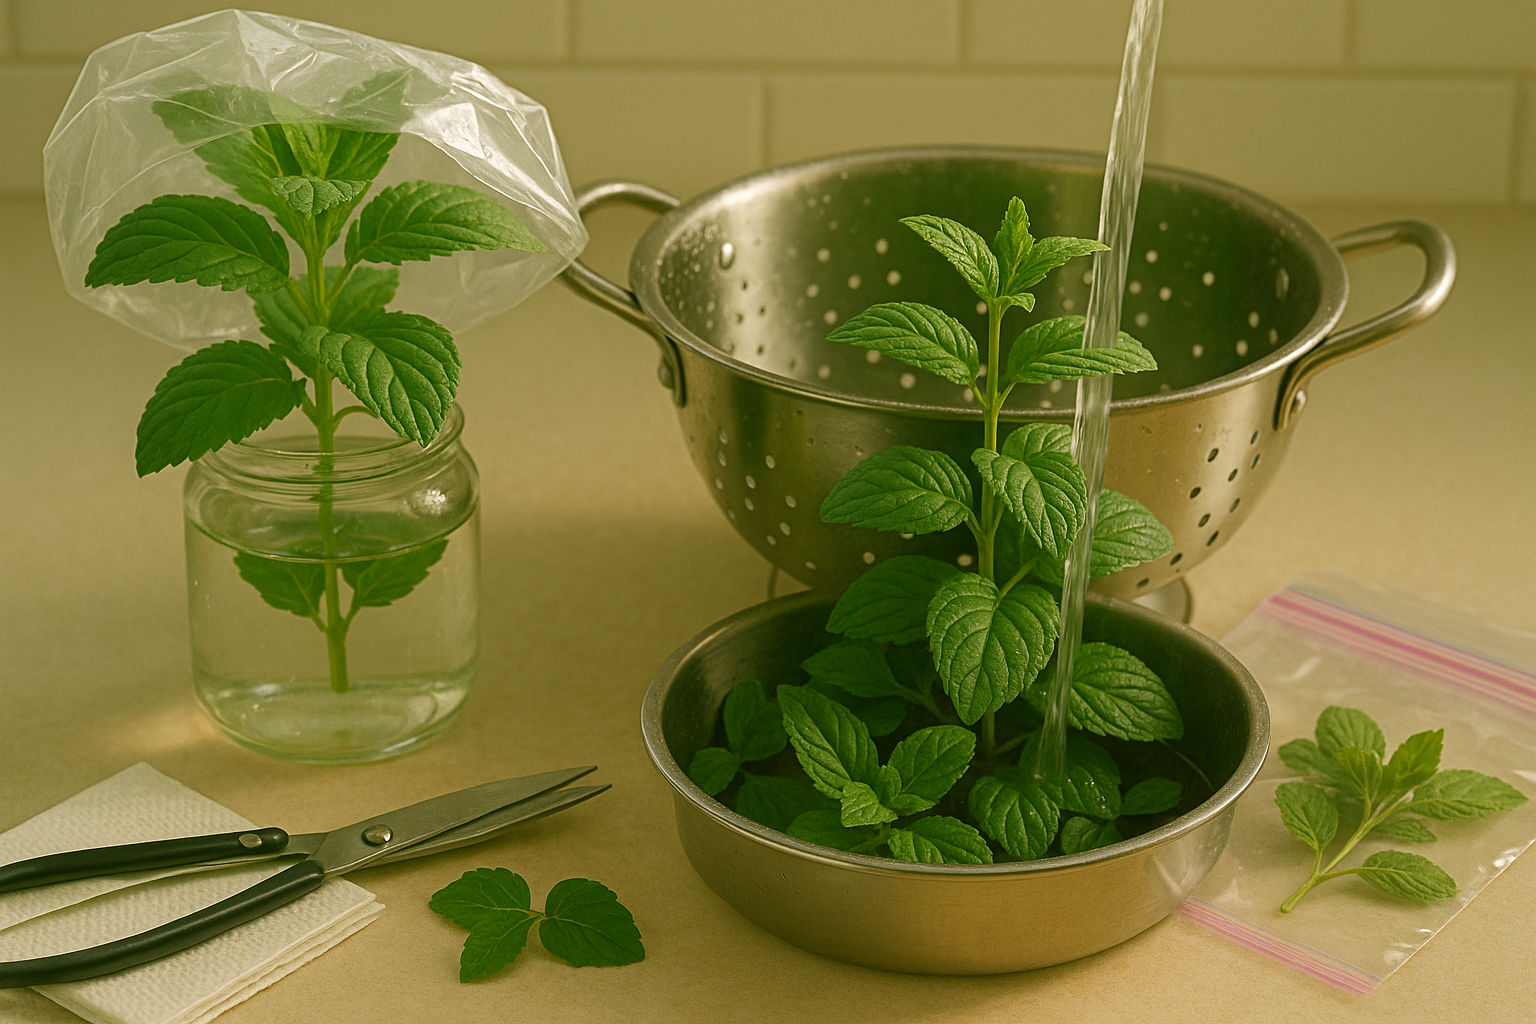
After harvesting fresh mint, it’s important to handle it gently for the best results. Start by rinsing the leaves with cool water to remove any dirt or bugs—do this as soon as possible to prevent debris from causing spoilage. Next, gently pat the mint dry with a clean towel or use a salad spinner. Excess moisture is the enemy here, as it speeds up wilting and can lead to mold.
Trim the bottoms of the stems about half an inch; this allows the plant to absorb water more efficiently and stay perky.
Short-Term Storage Methods
For storage up to a week, one simple method is to place the mint like a bouquet in a glass of water, stems down, and loosely cover the leaves with a plastic bag before putting it in the refrigerator. Change the water every couple of days to keep things fresh.
Alternatively, wrap mint sprigs in a slightly damp paper towel, tuck them into a resealable plastic bag, and store them in your refrigerator’s crisper drawer.
Additional Tips
- Avoid packing too many leaves together, which can trap moisture and encourage rot—give them some space to breathe.
- Keep mint away from ethylene-producing fruits like apples and bananas, as this natural gas can accelerate spoilage.
- Watch for warning signs like slimy leaves, dark spots, limp or yellowed appearance, or any musty smell—these mean it’s time to toss your mint.
When handled with care, these steps will keep your mint vibrant, fragrant, and ready to brighten your next meal or drink.
How to Dry and Preserve Mint for Long-Term Use
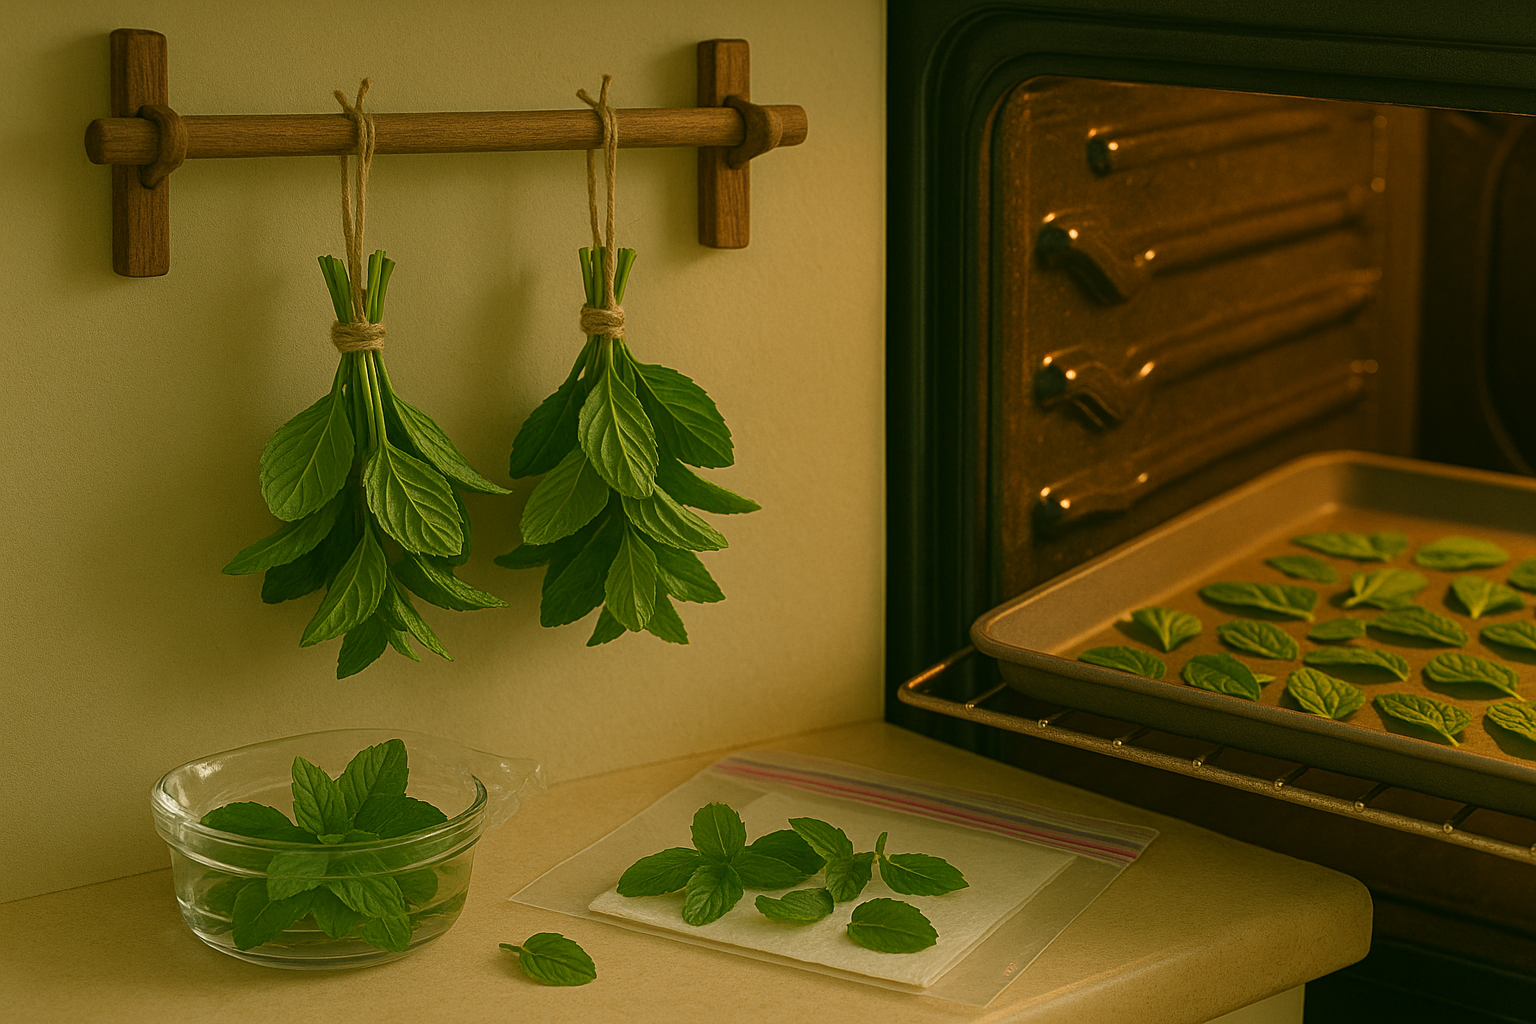
Drying and preserving mint is easy and keeps this fragrant herb at your fingertips all year. Air drying is the simplest and most traditional method. Just gather mint stems into small bunches, tie them with string, and hang them upside down in a dry, well-ventilated area away from direct sunlight. This usually takes about one to two weeks, depending on humidity.
For oven drying, spread the mint leaves in a single layer on a baking sheet, set your oven to the lowest possible temperature (usually 170°F or 75°C), and leave the door slightly ajar. Check every 5–10 minutes and remove as soon as the leaves are dry and crumbly—this usually takes 1–2 hours.
If you have a dehydrator, set it to about 95°F–105°F (35°C–40°C) and dry the mint for 1–4 hours, checking often for dryness.
Whichever method you choose, once the leaves are fully dry, strip them from their stems and store in airtight containers, like glass jars or resealable bags. Keep them away from heat and light to preserve their oils and aroma.
For best results, avoid crushing the leaves until you’re ready to use them, as whole leaves retain their flavor longer. When adding dried mint to recipes, use about one-third the amount you’d use fresh, since the flavor is more concentrated.
To rehydrate, soak the dried mint leaves in a small amount of hot water for a few minutes before adding them to soups, sauces, or dressings—this helps restore some of their fresh taste and texture.
Using Harvested Mint in the Kitchen
Mint is a kitchen staple that’s as versatile as it is aromatic. Using your own freshly harvested mint adds a whole new level of vibrancy to dishes. Classic uses for fresh mint include steeping it in hot water for tea, tossing whole leaves into fruit salads for a refreshing twist, or scattering shredded mint over Greek yogurt with honey for a quick, healthy dessert.
In savory cooking, try pairing mint with lamb or folding it into a couscous salad alongside parsley for a Mediterranean flair. When making cocktails, muddle fresh mint in mojitos or juleps—but be gentle to avoid bitterness from bruising the leaves.
If you have dried mint, remember it has a more concentrated flavor—use about one-third the amount called for with fresh (for example, if a recipe calls for 1 tablespoon fresh, use 1 teaspoon dried). Add fresh mint near the end of cooking or as a garnish to preserve its bright flavor, while dried mint can be integrated earlier to infuse dishes.
For a quick way to always have mint on hand, try these storage tips:
- Chop leaves and freeze them in ice cube trays with water for instant herbal flavor.
- Layer fresh leaves between damp paper towels in a sealed container in the fridge to keep them perky.
Pairing mint with other herbs like basil in salads or cilantro in chutneys also creates complex, fresh flavors. With a bit of prep, mint easily becomes a go-to ingredient for both everyday meals and special occasions.
Common Questions and Troubleshooting
Mint is a popular herb, but growers often have questions about how to keep their plants healthy and productive. One common question is when to harvest mint—it’s best to pick the leaves just before the plant flowers, as this is when the flavor is most intense. If your plant has already flowered, you can still harvest, but the taste might be milder.
After harvesting, mint regrows quickly; just make sure to leave some stems and leaves behind so the plant can recover. Many gardeners worry about leggy mint, which happens when plants stretch for light. To prevent this, provide plenty of sunlight and pinch back the stems regularly to encourage bushier growth.
Pests like aphids and spider mites can damage mint leaves; check for them often and wash the leaves with a gentle spray of water or use neem oil if infestations persist. If you notice that your mint is losing flavor, it may be due to overwatering or soil that has lost nutrients—water only when the top inch of soil is dry and feed the plant with a diluted organic fertilizer every few weeks.
To keep your mint thriving after each harvest, trim away any dead or woody stems and thin the plant to improve air circulation. Consider re-potting every year or two, as mint can quickly outgrow its container. With these simple care tips, you can enjoy fresh, flavorful mint all season long, whether in your garden or on a sunny windowsill.
Conclusion
Harvesting mint at its peak flavor is simple: snip the stems in the cool morning, just before the plant flowers, using clean, sharp scissors. Regular trimming not only promotes bushier growth but also ensures a steady supply of fresh, fragrant leaves.
Whether you toss mint into salads, brew homemade tea, or add a fresh twist to your desserts, the possibilities are endless. Give it a try and discover how easy and rewarding it can be to harvest your own mint.
Have questions about mint care or favorite ways to use it? Drop a comment below—I’d love to hear from you!