Understanding Lemon Balm’s Growing Cycle
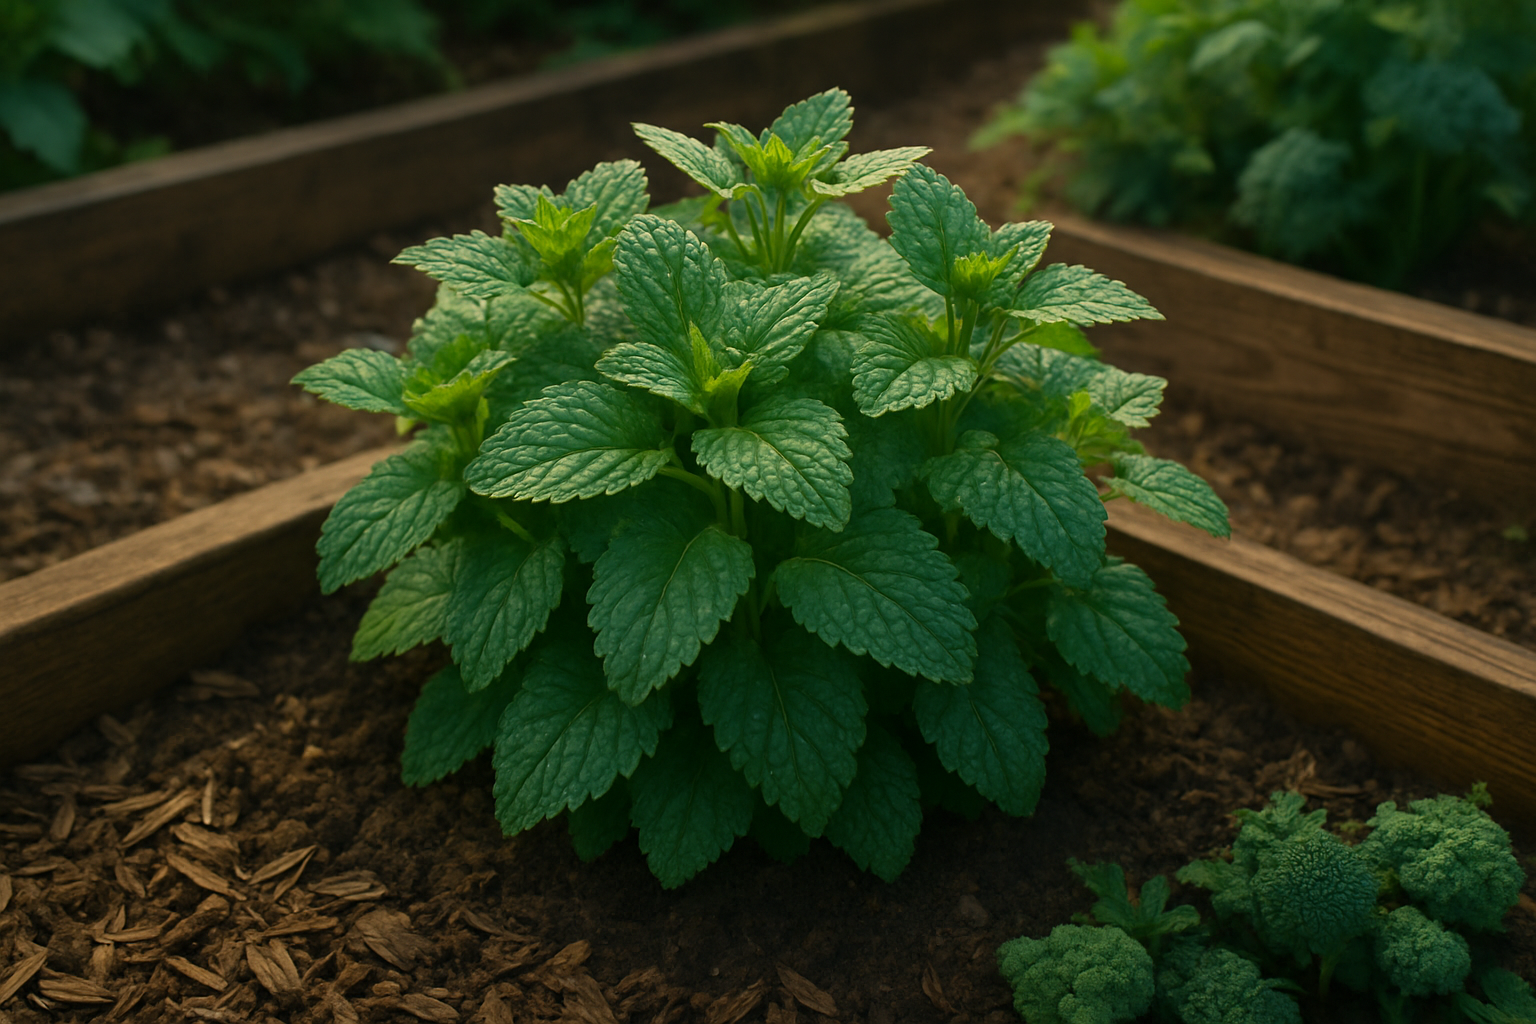
Lemon balm, known for its fragrant, citrus-scented leaves, is a hardy perennial herb that thrives in a variety of gardens. Its growing season naturally begins in spring, with robust leafy growth that lasts through summer into early fall. As winter approaches, lemon balm enters a dormancy phase where the above-ground foliage dies back, but the deep roots remain alive underground, ready to sprout when warm weather returns.
This seasonal rhythm means gardeners can enjoy fresh harvests from late spring through autumn and simply leave the dormant roots undisturbed over winter, knowing the plant will re-emerge. However, year-round cultivation depends on your climate zone.
Climate Considerations
- Mild regions (zones 5-9): Lemon balm overwinters easily—just add a mulch layer to protect it from frost.
- Colder climates: Extra insulation or moving potted plants indoors might be needed to prevent root damage.
- Very hot climates: Lemon balm may struggle during peak summer heat and benefits from afternoon shade and consistent moisture.
Understanding your local weather patterns helps plan for lemon balm’s cycles: expect vigorous growth with longer days, slower activity and dormancy with short, frosty days, and make simple adjustments like mulching, dividing roots in early spring, or bringing plants inside when necessary.
With these small seasonal tweaks, you’ll keep lemon balm healthy, abundant, and coming back year after year, no matter where you garden.
Outdoor Cultivation – Is Lemon Balm Winter-Hardy?
Lemon balm (Melissa officinalis) is an herbaceous perennial prized for its bright, lemony aroma and gentle flavor, making it a delightful addition to outdoor gardens. When it comes to winter hardiness, lemon balm is resilient in USDA Zones 4–9, which means it can tolerate temperatures as low as -20°F (-29°C).
In most temperate regions, lemon balm is considered “winter-hardy”—it survives frosty conditions and returns each spring. During winter, the growth above the soil dies back, entering a natural dormancy that conserves energy in the plant’s roots. In milder climates, some green leaves may persist throughout the winter, while in colder areas, you’ll typically see bare soil or dead stems.
If you live near the edge of lemon balm’s hardiness zone or face especially harsh winters, a few simple steps can help boost your plant’s chances of survival:
- Mulch is your friend! Apply a thick layer (about 2–4 inches) of straw, shredded leaves, or compost over the root zone after the ground freezes. This insulates the roots and helps prevent damaging freeze-thaw cycles.
- Avoid heavy plastic coverings, as they may trap moisture and encourage rot.
- In raised beds or containers, be extra vigilant since roots are more exposed to cold air. Consider wrapping containers with burlap or moving them against a sheltered wall.
- In windy areas, install a simple windbreak or snow fencing to reduce winter stress.
- In northern climates, you can cut back dead stalks in late fall or leave them standing for additional insulation and to provide habitat for wildlife.
By planning ahead with these easy steps, you can enjoy lush, healthy lemon balm year after year, with minimal worry about winter losses.
Growing Lemon Balm Indoors Year-Round
Growing lemon balm indoors is an easy way to enjoy its fresh, citrusy leaves all year round, no matter the weather outside. By bringing this low-maintenance herb inside, you avoid common outdoor gardening challenges like frost, pests, and intense summer heat.
Indoors, you’re in control: provide steady warmth, consistent light, and optimal moisture, and your lemon balm will stay productive month after month. The key is to mimic its preferred natural conditions.
Ideal Conditions for Lemon Balm
- Temperature: Thrives between 65-75°F.
- Light: Loves bright, indirect sunlight. A south or west-facing windowsill works great, especially in winter when daylight is limited.
- Lighting alternatives: If your home is low on natural light, consider using affordable LED grow lights positioned 6-12 inches above the plants for best results.
- Soil: Use well-draining soil—either a mix labeled for herbs or vegetables or a blend of standard potting soil with sand or perlite.
- Watering: Water when the top inch of soil feels dry, but avoid overwatering to prevent root rot.
Maintenance Tips
Regular pruning is essential. Snip the stems often for cooking or tea to encourage a bushy, healthy plant. If space allows, a small indoor greenhouse or portable grow shelf can help maintain steady humidity and warmth, especially in homes with cold drafts.
With these simple adjustments, your kitchen windowsill or living room corner can become a thriving herb garden, supplying you with zesty lemon balm leaves for recipes or relaxing teas anytime, regardless of the season outside.
Sowing, Planting, and Propagation Tips
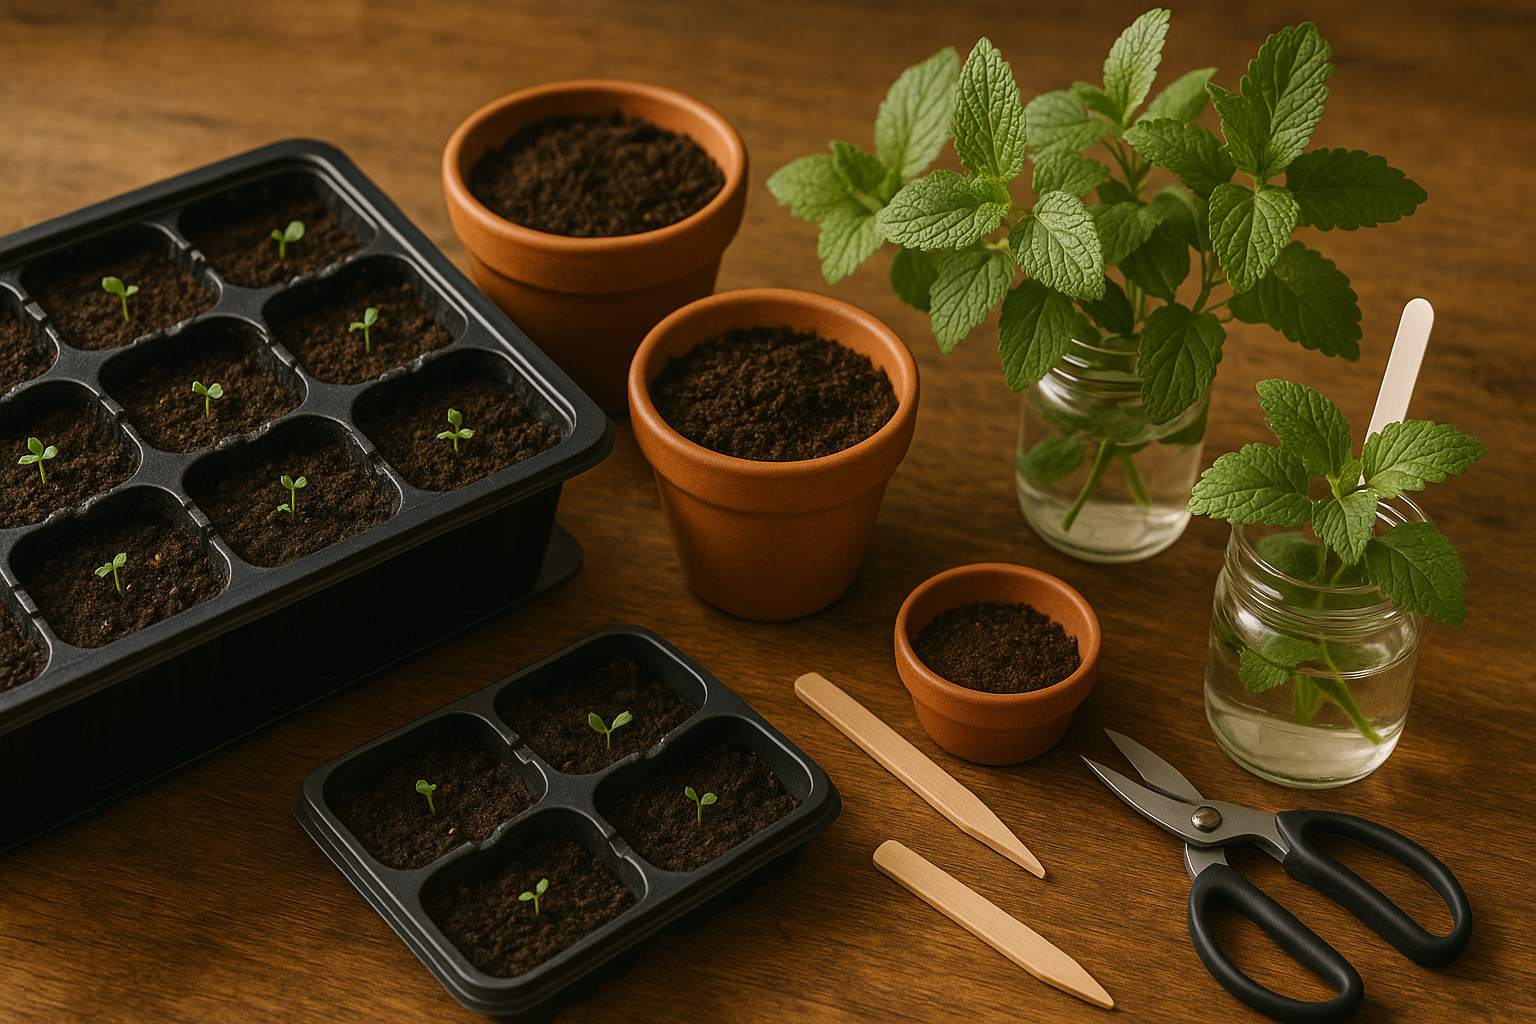
Getting your lemon balm off to a strong start begins with sowing seeds or propagating from existing plants using cuttings or division. For seeds, early spring is ideal outdoors—just as the soil warms. Sow them on the surface of moist soil because lemon balm seeds need light to germinate. Indoors, you can get a jump on the season by starting seeds in trays 6-8 weeks before your last frost date, using a seed-starting mix and providing gentle bottom heat.
If propagating from cuttings, snip 4-6 inch healthy shoots in late spring or early summer, remove the lower leaves, and root them in water or a well-drained potting mix. Roots usually form within two weeks. Division works best in spring or fall: simply dig up a mature plant, split the roots into sections, and replant.
Growing indoors lets you cultivate lemon balm year-round; just place pots in a sunny window and avoid overwatering, as the plant is sensitive to soggy roots. Outdoors, space plants about 18 inches apart and mulch around them to retain moisture and suppress weeds.
For lush, bushy growth, pinch back the stems regularly and harvest leaves before the plant flowers, which keeps the foliage sweet and tender. No matter your method or setting, remember consistent moisture and plenty of light are key—skip soggy soil and cramped corners, and you’ll enjoy aromatic, healthy lemon balm for months on end.
Year-Round Lemon Balm Care and Maintenance
Caring for lemon balm year-round is easy once you learn to tune into the plant’s seasonal needs, whether you’re growing it indoors on a sunny windowsill or outdoors in your garden.
In spring and summer, lemon balm thrives with regular watering—aim to keep the soil consistently moist but not soggy, checking every few days. Outdoor plants especially benefit from a layer of mulch to conserve moisture and reduce weeds, while indoor pots should have drainage holes to avoid root rot.
Feed your lemon balm about every four to six weeks during active growth with a balanced, all-purpose fertilizer. However, be cautious not to over-fertilize, as too much can make the leaves less flavorful.
Prune regularly by pinching back the stems; this encourages bushy growth and keeps the plant from becoming leggy. Plus, you can use the trimmings fresh or dried.
As fall approaches, reduce watering and feeding, letting outdoor lemon balm die back naturally after a hard frost—mulch the base deeply for winter protection. Indoors, growth will slow, so water only when the top inch of soil feels dry, and skip the fertilizer until spring.
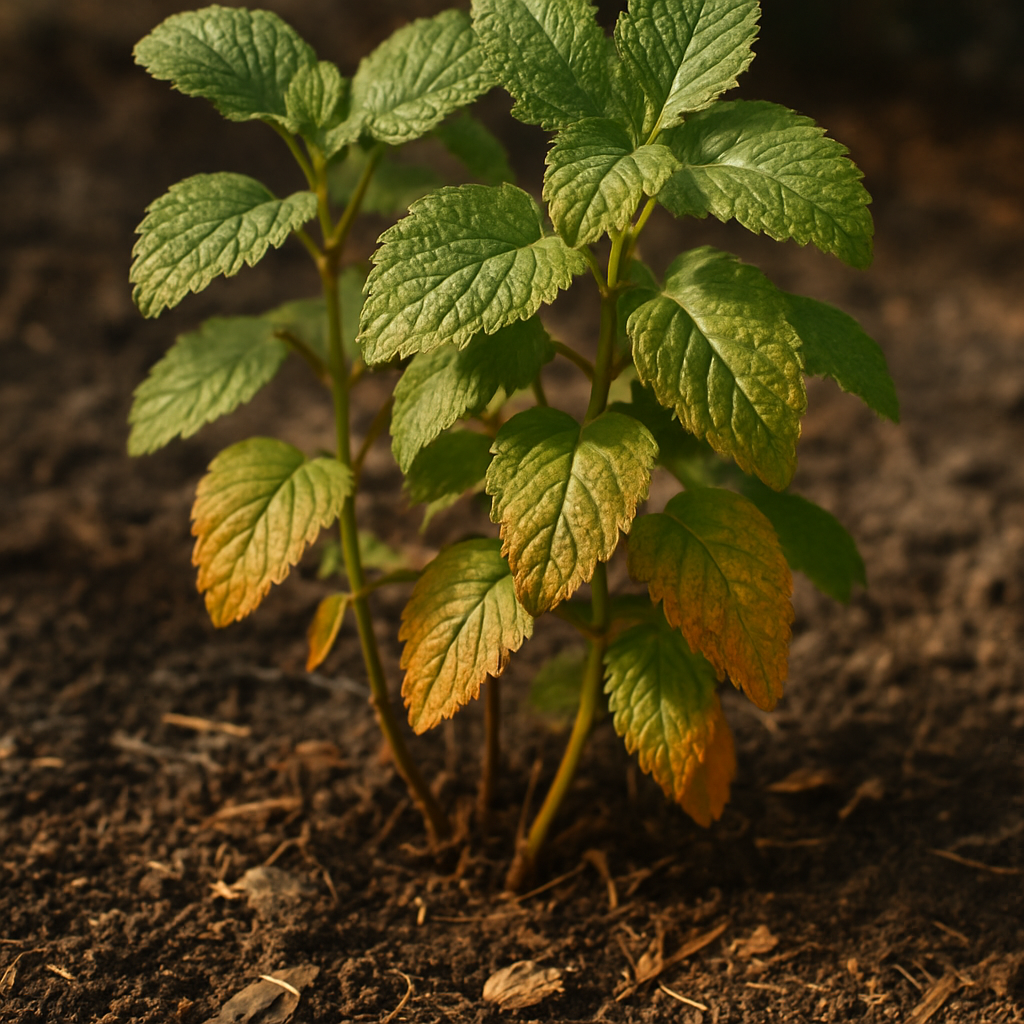
Throughout the year, watch for aphids, spider mites, or powdery mildew; spraying leaves with water can dislodge pests, while good airflow helps prevent mildew. Yellowing leaves might indicate overwatering or poor drainage, so check soil moisture and adjust as needed. Slow or spindly growth indoors usually means not enough light—move pots to a brighter spot if possible.
Remember, lemon balm is resilient: with a little seasonal attention and a quick response to issues, it will reward you with lush, fragrant leaves year after year.
Harvesting and Using Lemon Balm Throughout the Year
Harvesting lemon balm at its peak ensures vigorous regrowth and plenty of potent leaves for your kitchen and wellness projects. The best time to harvest is late morning, after the dew has dried but before the afternoon sun, when the essential oils are strongest.
Snip stems just above a leaf node using clean scissors or garden shears—this encourages new side shoots and keeps the plant lush. Avoid cutting more than a third of the plant at once, and repeat this process every few weeks for a season-long supply.
Fresh lemon balm leaves are perfect for infusing teas, where their light, citrusy flavor shines, or muddled into summer drinks and salads. In the kitchen, try finely chopping fresh leaves into fish dishes, fruit salsas, or herbal butters.
For aromatherapy, crush fresh leaves and scatter them in the bath or include them in homemade sachets for a calming scent.
When the growing season wanes, drying is a great way to save your harvest. Bundle small bunches of stems together, hang them upside down in a dark, airy spot, and once crisp, strip the leaves and store them in glass jars away from light.
Alternatively, freeze chopped leaves in ice cube trays topped with water for a quick addition to teas or soups year-round. These techniques let you enjoy lemon balm’s soothing, uplifting qualities well past summer—whether you’re brewing a cup of tea on a winter night or adding a touch of summer to your cooking.