Introduction to Growing Dill Year-Round
Growing dill year-round is easier than you might think—and the rewards are delicious. Dill is a feathery, aromatic herb prized for its fresh, slightly tangy flavor that brightens salads, pickles, sauces, and seafood dishes. Loved by home cooks and gardeners alike, it’s a staple in many kitchens and a must-have for anyone who enjoys adding a burst of green to their meals. The real magic comes from having a steady, homegrown supply all year long, rather than relying on supermarket bunches that wilt too quickly.
By growing dill year-round, you ensure you always have access to its tender leaves and fragrant seeds whenever inspiration strikes—whether you tuck it beside a sunny kitchen window in winter or let it flourish in your garden plot during summer.
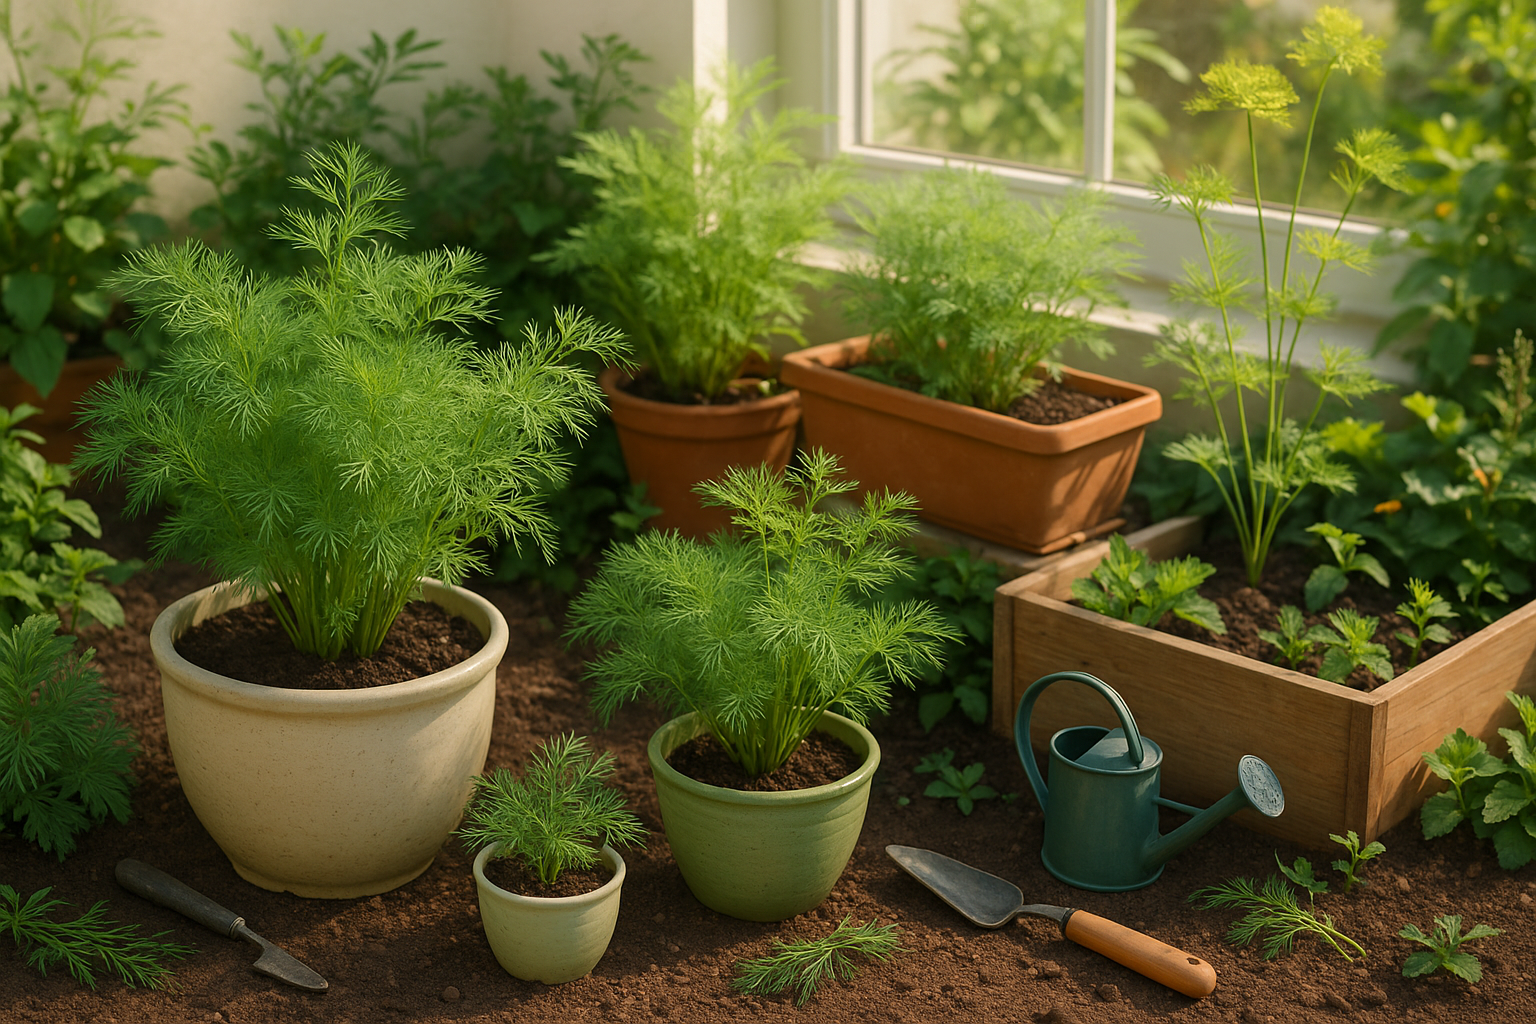
Beyond convenience, dill is a forgiving and rewarding plant for gardeners at any skill level. It thrives in full sunlight, prefers well-draining, neutral soil, and needs just enough water to keep the soil lightly moist—making it relatively low-maintenance indoors or out. With options for container gardening, hydroponic setups, or traditional outdoor beds, you can tailor your dill-growing adventure to your available space and climate.
In this blog post, we’ll explore practical methods and expert tips for growing dill year-round in any home environment. Whether you’re a beginner or a seasoned green thumb, you’ll learn how to keep your dill plants happy, healthy, and productive from season to season. Let’s dig into the secrets of cultivating vibrant, flavorful dill, no matter the month!
Choosing the Right Dill Varieties and Where to Grow
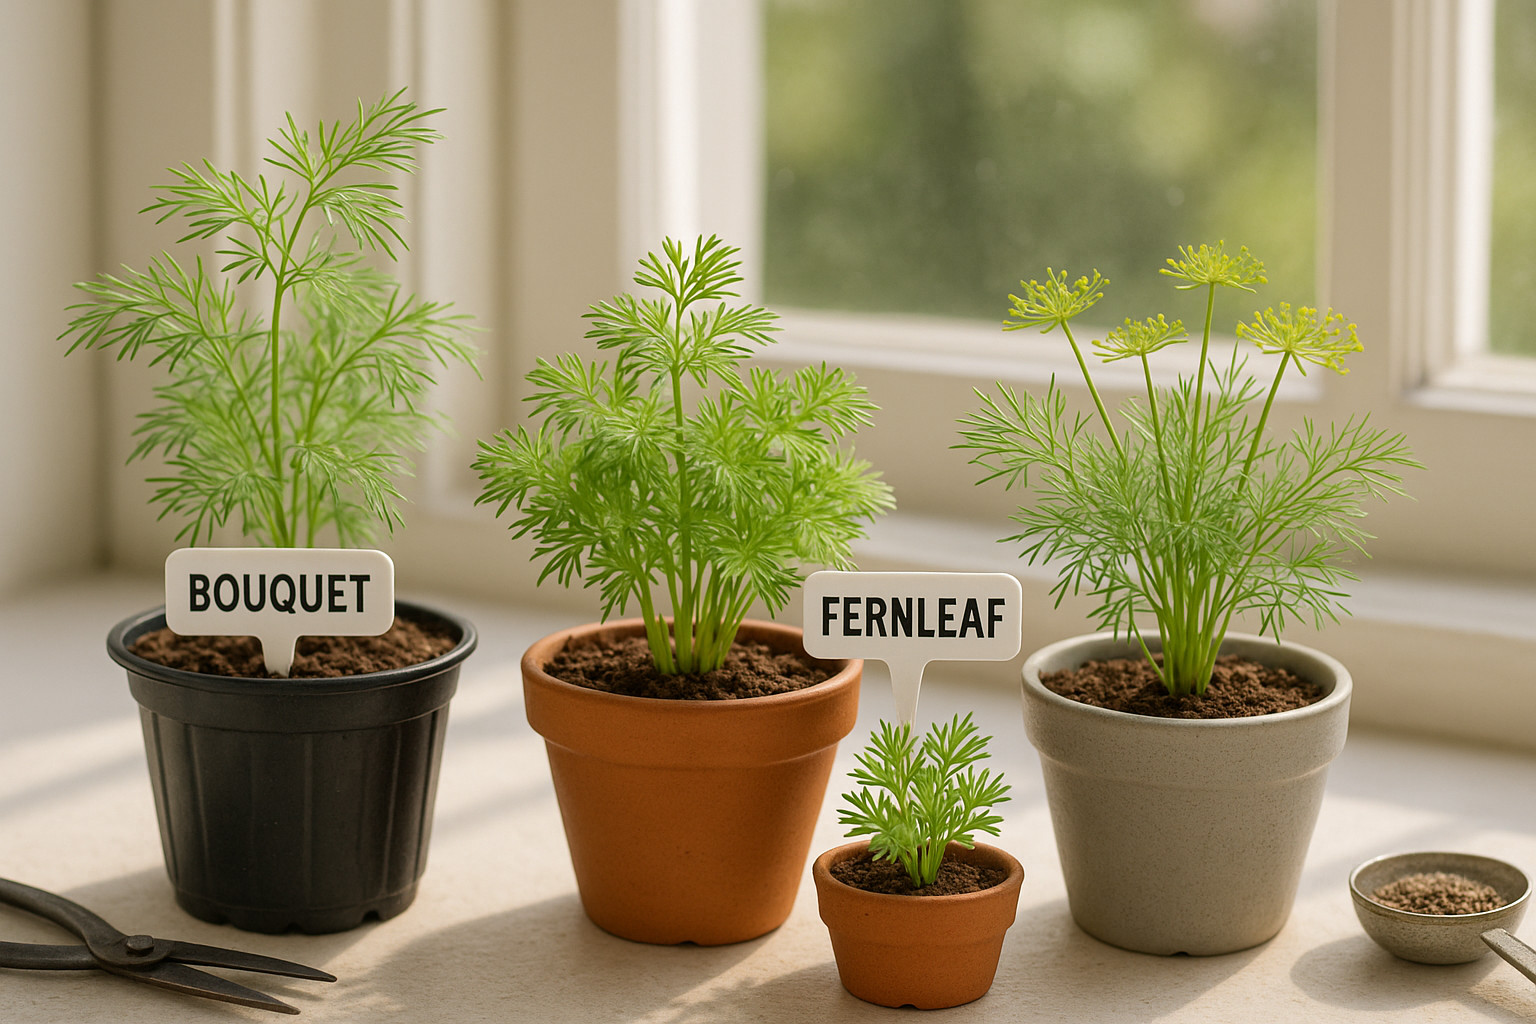
When it comes to choosing the right dill varieties, it’s smart to start with popular types like Bouquet, Fernleaf, and Dukat. Bouquet dill is a go-to for many gardeners because it grows quickly and produces abundant, aromatic leaves and seeds, making it ideal for outdoor gardens and larger pots.
If you’re interested in growing dill year-round or indoors, opt for a compact variety like Fernleaf—it’s slow to bolt (meaning it won’t flower and go to seed as quickly) and thrives in containers on sunny window sills or even in hydroponic systems, making it a favorite for apartment dwellers.
Dukat is another solid choice, prized for its sweet flavor and ability to handle variable conditions both indoors and out.
Indoor vs. Outdoor Growing
Deciding between indoor and outdoor growing comes down to your space and climate:
- Indoor growing is perfect if you have a small apartment, want fresh dill in winter, or live in a climate with harsh winters or hot summers that can stress the plants.
- The main challenge indoors is ensuring enough sunlight, so positioning your pots on a bright south-facing window or using grow lights is key.
- Outdoors, dill flourishes in garden beds or raised planters where it gets at least six hours of sunlight daily, but be wary of strong winds that can topple the tall stems.
Hydroponic setups and containers are excellent for anyone who wants more control over soil conditions, water, and mobility—you can move your plants outside on warm days and back inside when the weather turns.
Tips for Continuous Harvests
For continuous harvests, sow seeds every few weeks and trim leaves regularly, whether your dill lives in a kitchen window pot or a backyard patch. With the right variety and setup, you can enjoy fresh, fragrant dill for salads, pickles, and garnishes all year.
How to Plant Dill for Year-Round Harvests
Planting dill for year-round harvests starts with the right soil preparation—choose a spot with well-draining, slightly acidic to neutral soil and full sunlight. For garden beds, loosen the soil to at least 12 inches deep and mix in compost for rich nutrients.
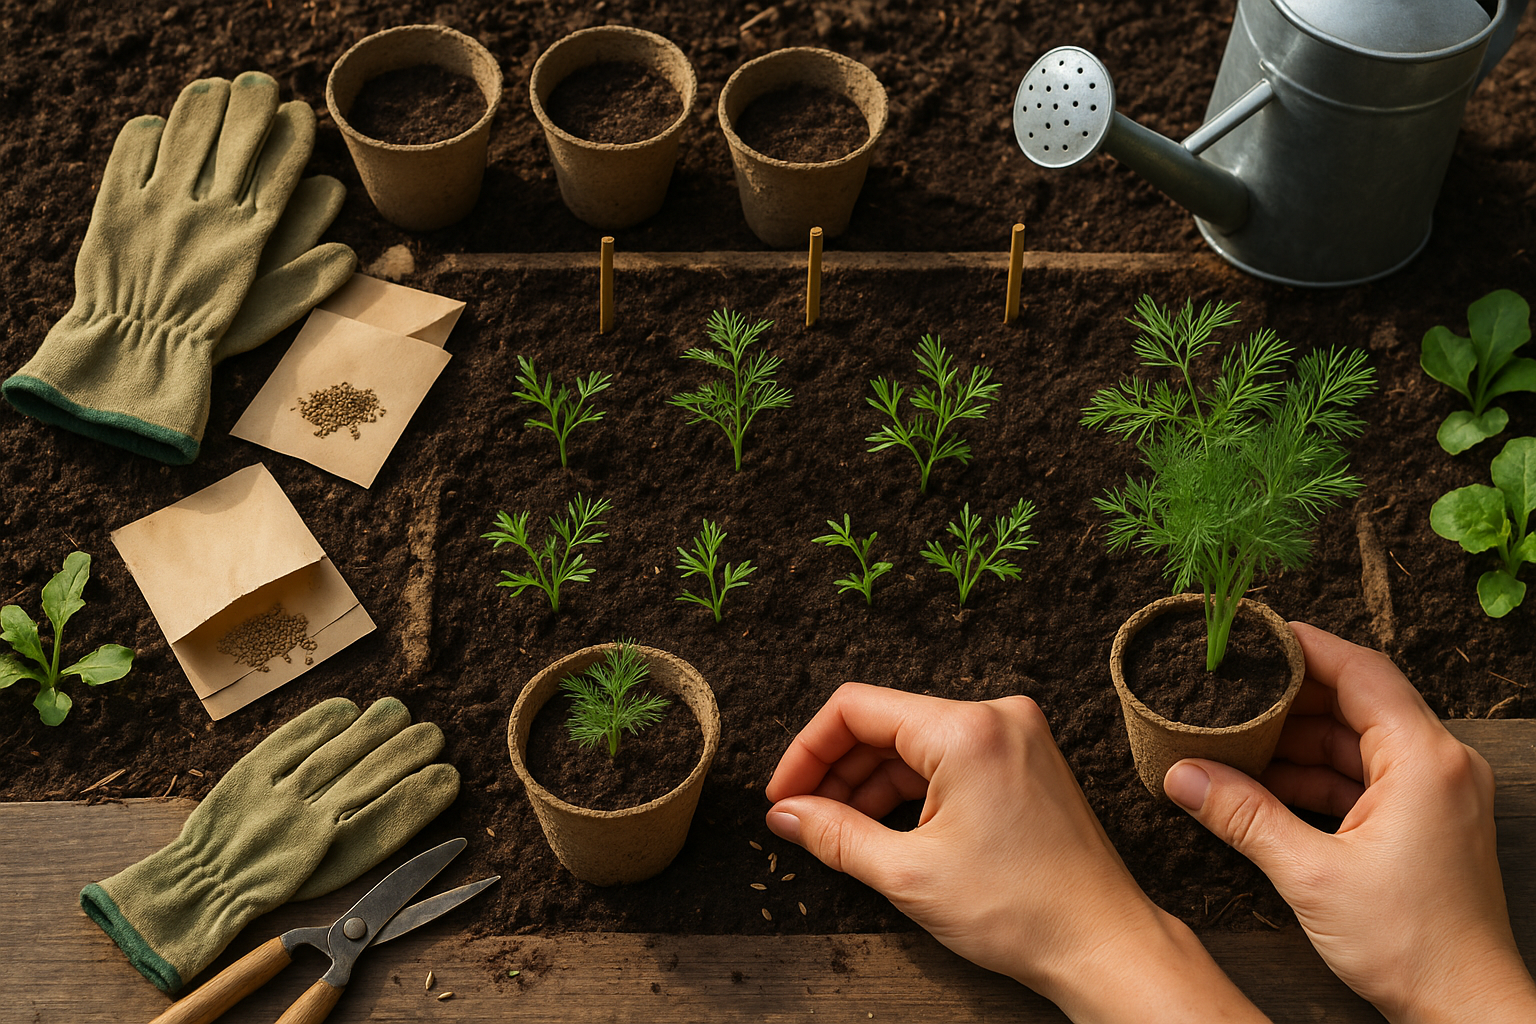
Sow dill seeds directly since they dislike transplantation; space them about 12 inches apart to give each plant room to flourish. You can also grow dill in containers—pick pots at least 12 inches wide and deep, fill them with high-quality potting mix, and plant seeds a quarter-inch deep, thinning the seedlings once they sprout.
Water gently so the soil stays consistently moist but never soggy. If you want non-stop dill, try succession planting: sow a small batch of seeds every 2–3 weeks from early spring through late summer. This staggered approach works both in beds and containers, ensuring fresh foliage for months.
While transplanting is possible, it’s trickier; if starting seeds indoors, use biodegradable pots so you can transplant without disturbing the roots, moving seedlings outdoors when they have 2–3 true leaves and all risk of frost has passed. Direct sowing is generally more reliable for dill, but for an early spring jump-start, sow indoors about 4–6 weeks before your last frost date.
No matter the method, keep the area weed-free and mulch lightly to lock in moisture. Remember to harvest leaves regularly to encourage fuller, bushier plants—simply snip off top leaves as needed, and leave some plants to flower for a steady supply of seeds as well.
With these steps, you’ll enjoy fresh dill in your kitchen through the seasons.
Caring for Dill
Dill thrives best with plenty of sunlight—ideally, it should receive at least six hours of direct sunlight each day. If you’re growing dill indoors or in an area with limited natural light, supplementing with a full-spectrum grow light is essential to prevent leggy growth. Position the grow light about 6–12 inches above your plants and leave it on for 12–14 hours daily to mimic the sun.
When it comes to watering, dill prefers soil that’s consistently moist but never soggy. Use a pot with drainage holes or ensure your garden bed drains well. Let the top inch of soil dry out before watering again to avoid overwatering and root rot.
For lush growth, thin seedlings once they reach a few inches tall, spacing them 10–12 inches apart so each plant has room to flourish. Fertilizer isn’t always necessary, but if your dill appears pale or stunted, a balanced, water-soluble fertilizer every 4–6 weeks can give it a gentle boost.
To keep your dill producing tender leaves, pinch off flower heads as soon as they form; flowering signals the plant to shift energy from leaf production to seed-making.
Indoors and out, watch for pests like aphids, spider mites, and caterpillars. Regularly inspect the undersides of leaves and spray off pests with a sharp stream of water or use insecticidal soap for persistent problems.
Prevent fungal diseases by watering at the base rather than overhead and maintaining good air circulation. Avoid overcrowding plants, and promptly remove any yellow, spotted, or withered leaves.
Rotating your dill with other crops each year, especially outdoors, helps minimize the risk of soil-borne diseases. By combining these care practices, you can ensure your dill remains healthy and productive—whether it’s in a backyard garden or a sunny kitchen window.
Harvesting and Using Fresh Dill Year-Round
The key to enjoying dill’s vibrant flavor all year is proper harvesting. For the best taste, pick dill leaves early in the morning when their oils are strongest, ideally just before the plant flowers. Snip off the feathery foliage about one-third of the stem length with sharp scissors, but never remove more than a third of the entire plant to prevent stress.
To harvest seeds, wait until the yellow flower heads turn brown and the seeds loosen easily. Clip entire heads and place them upside-down in a paper bag to dry.
Pruning regularly is essential: pinch off the growing tips above a leaf node every couple of weeks. This encourages your dill to branch out and produce fuller, bushier growth instead of bolting early.
For short-term storage, wrap dill sprigs in a damp paper towel and seal them in a plastic bag in the fridge, where they’ll stay fresh for up to a week. For long-term storage, dill can be frozen—chop it and place it in an airtight container, or freeze whole sprigs between wax paper—or dried by hanging bundles upside-down in a dark, dry spot, then crumbling the leaves into jars for future use.
Don’t limit dill to pickles—it shines in many dishes, including:
- Potato salads
- Mixed into yogurt or butter for a quick dip
- Tossed with roasted vegetables
- Sprinkled on grilled fish
Try adding chopped fresh dill to scrambled eggs, creamy sauces, or even homemade bread dough for a burst of green, aromatic flavor that keeps summer alive in your kitchen all year long.
Troubleshooting and Common Dill Growing Problems
Growing healthy dill can be easy with a little attention, but like any herb, dill can face its share of problems. Leggy growth is one of the most common issues, usually caused by low light, especially for indoor plants. Place your dill in a bright, south-facing window or use a grow light to keep stems strong and bushy.
Another challenge is premature bolting—when dill quickly flowers before producing many leaves. This can happen due to hot temperatures or stress. To prevent it, grow dill in cooler months, provide afternoon shade outdoors, and keep indoor temperatures steady.
Pests like aphids can sap dill’s energy, causing yellow, curling leaves. Inspect plants weekly and wash off aphids with a sharp stream of water, or use insecticidal soap for persistent problems.
Indoors, poor airflow and excess humidity can encourage fungal issues like powdery mildew. Space out your plants, avoid getting the leaves too wet, and use a small fan if necessary to improve air circulation around your dill.
Regularly check for pests, wilting, or spots on the leaves—early intervention is key. By catching problems early and making small adjustments to lighting, airflow, and watering routines, you’ll keep your dill lush and productive all year round, whether it’s growing in the garden or on your kitchen windowsill.
Conclusion & Encouragement to Grow Dill All Year
Growing dill all year is easier than many gardeners think, and the rewards are plentiful. Whether you tuck seeds into pots on a sunny windowsill or plant them in outdoor beds, dill thrives with minimal fuss and gives you aromatic leaves and seeds perfect for pickling, cooking, or garnishing dishes.
Fresh dill isn’t just flavorful—it’s packed with nutrients and can transform everything from scrambled eggs to salads. Even if you have limited space, compact pots or creative vertical planters will keep you stocked with fresh foliage. Starting small is totally fine; just a few seeds can get you going.
If growing one herb inspires you, explore resources like indoor herb gardening guides or local gardening workshops. These make cultivating basil, mint, parsley, or chives just as easy. Give dill a try this season—it’s a simple step toward a fresher, more flavorful kitchen and a rewarding gardening habit!