Dill, with its feathery leaves and distinct, tangy flavor, has long been a favorite herb for home cooks and gardeners alike.
Its popularity is growing among indoor gardeners, too, thanks to the trend of cultivating herbs year-round in compact, sunlit spaces. But can you really grow dill indoors? Absolutely! Dill adapts surprisingly well to life on a sunny windowsill, offering a steady supply of fresh leaves for your culinary creations without the need for a sprawling garden bed.
Growing dill indoors brings several benefits:
- You get fresh, aromatic herbs at your fingertips.
- You’re less dependent on store-bought greens that may lose flavor.
- You save yourself from unpredictable outdoor weather or pests.
Plus, dill is relatively low-maintenance—making it ideal for both seasoned gardeners and beginners.
In this article, you’ll discover everything you need to know to start your indoor dill patch, from selecting the right container and soil to best planting practices, sunlight and watering requirements, and harvesting tips. We’ll also troubleshoot common issues and share creative ways to use your homegrown dill, ensuring your indoor herb garden stays lush and productive all year long.
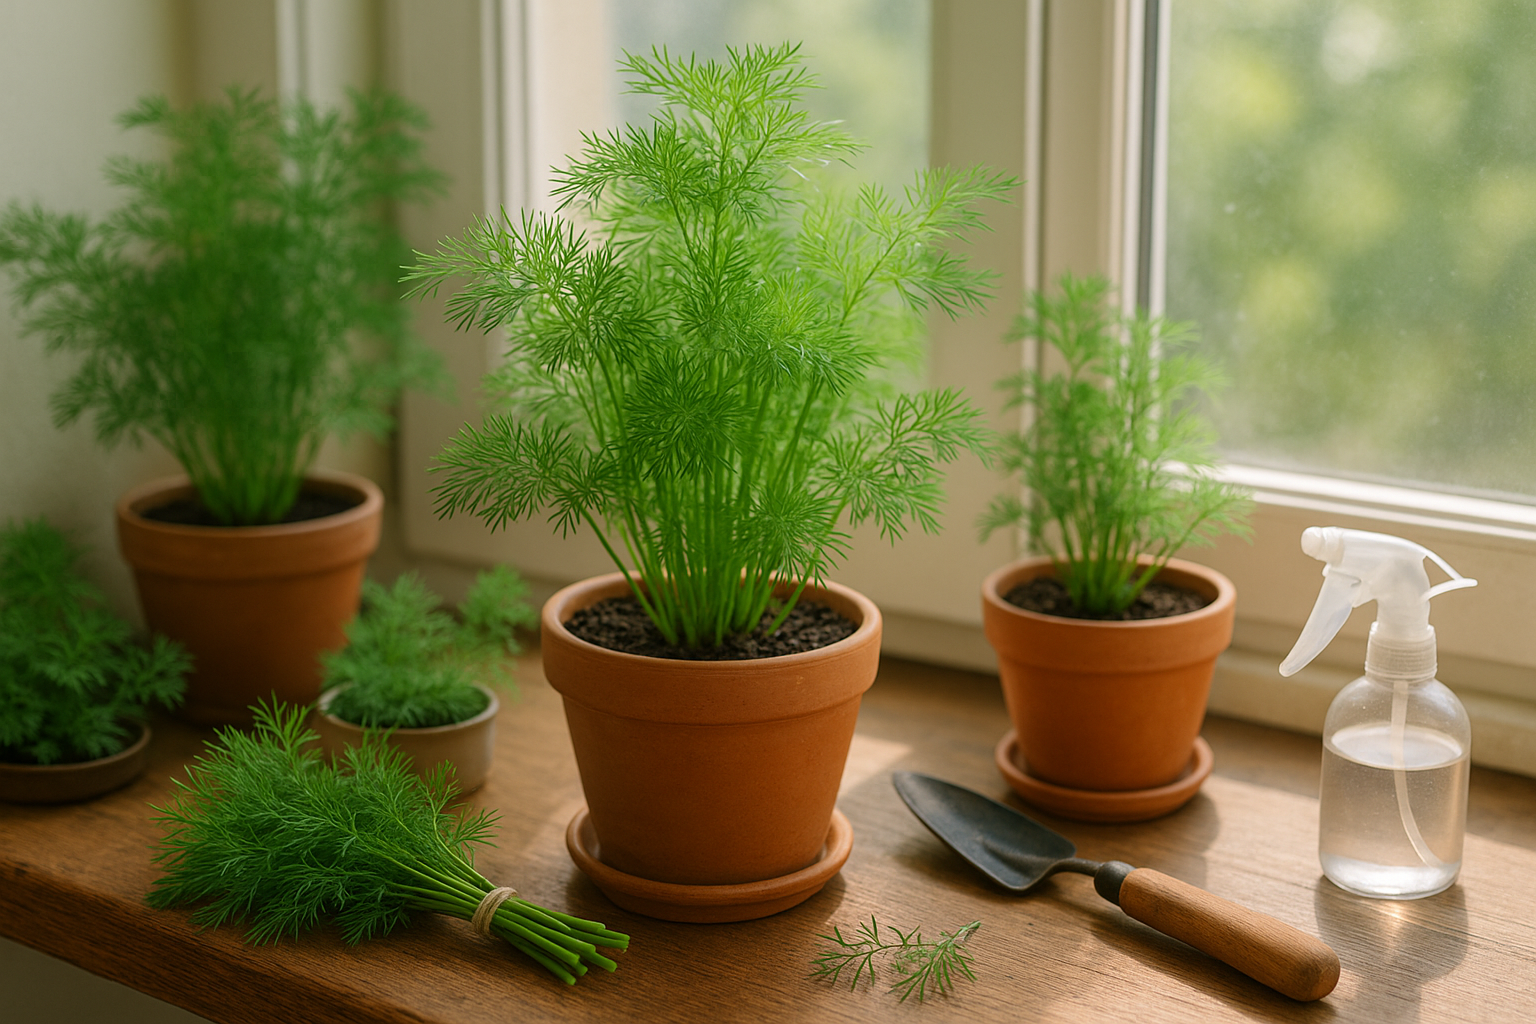
To grow dill indoors successfully, start by gathering a few essential supplies:

Quality containers, potting soil, dill seeds, a reliable light source, and a method for watering.
Container
Choose a container that’s at least 8-12 inches deep, as dill develops long taproots. Lightweight plastic, ceramic, or clay pots all work, but make sure they have drainage holes to prevent soggy soil.
Soil
Use a well-draining potting mix, ideally formulated for herbs or vegetables. Consider mixing in perlite or sand to enhance drainage—dill hates “wet feet” and does best when roots aren’t waterlogged.
Seeds
Select dill seeds labeled for culinary use, available at most garden centers.
Lighting
Dill craves bright conditions, so position your pot on a sunny windowsill that receives at least 6 hours of sunlight a day, such as a south- or west-facing window. If natural light is limited, invest in a small grow light to supplement.
Watering
Keep the soil consistently moist but don’t let it become oversaturated. Wait until the top inch feels dry to the touch before watering again.
Location
Make sure to keep dill away from chilly drafts—kitchens or sunrooms often work well for consistent warmth and light.
With these basic supplies and a prime spot in your home, you’ll be ready to start your indoor dill garden for fresh, flavorful herbs all year round.
Starting Dill Seeds Indoors
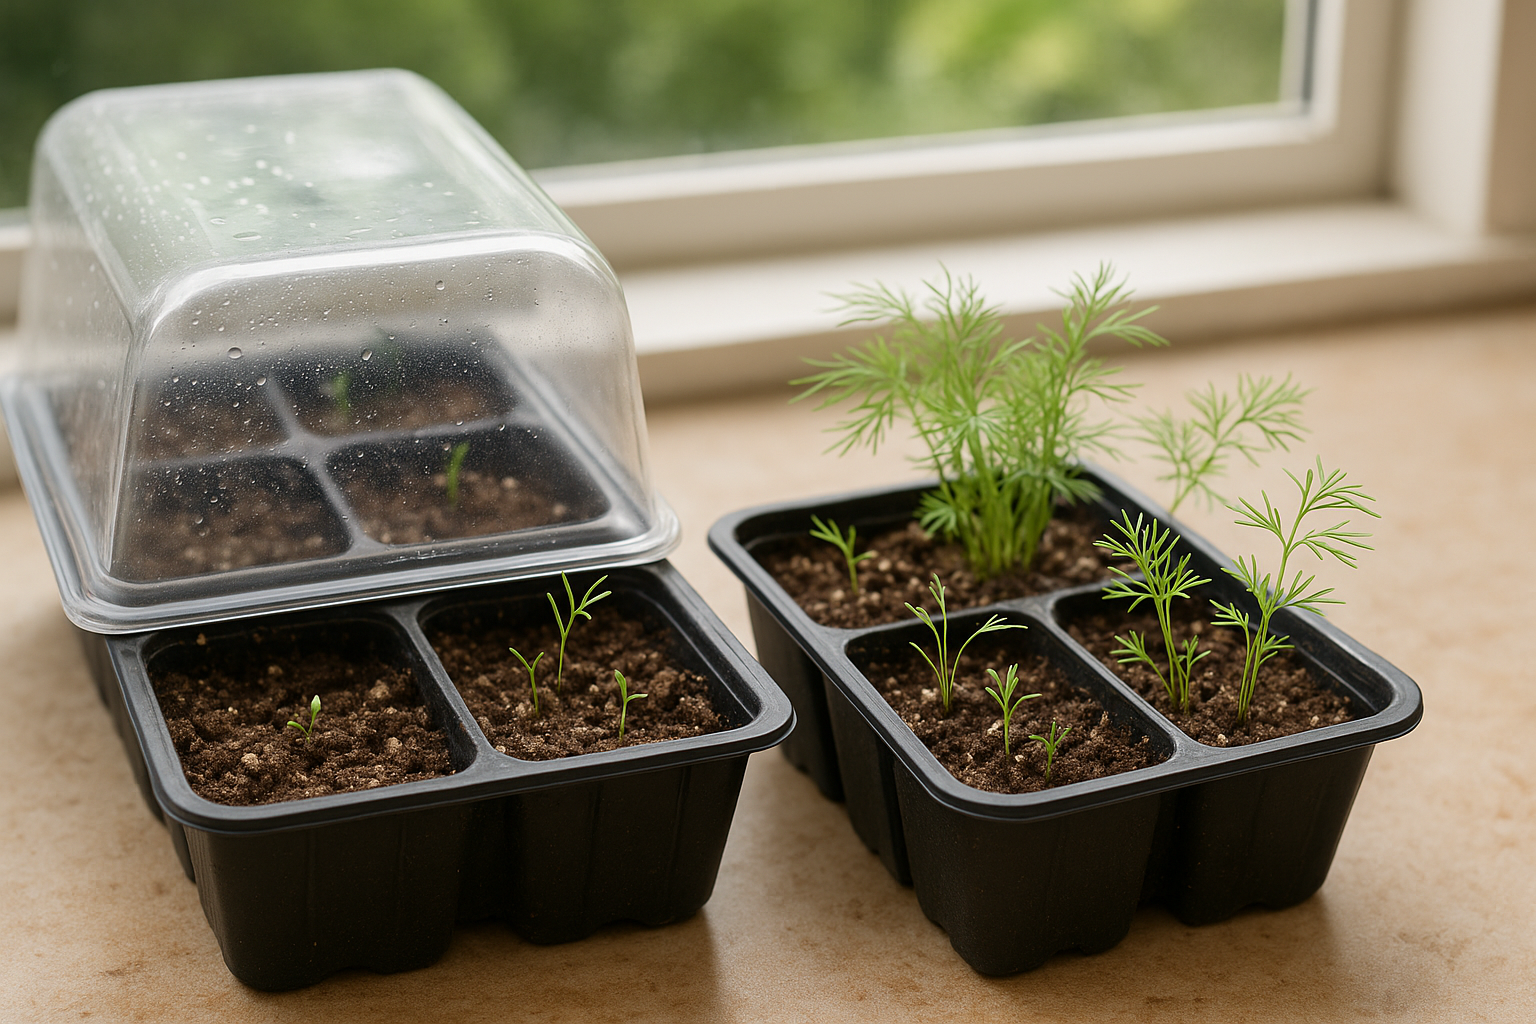
Starting dill seeds indoors is a simple and rewarding way to get a jumpstart on your herb garden. It’s easy to tailor your setup whether you want full-sized dill or just fresh microgreens.
Begin by filling a shallow seed tray or small pots with a light, well-draining seed-starting mix—dill prefers airy soil that won’t stay soggy. Sow the dill seeds about ¼-inch deep and space them roughly 2 inches apart if you plan to grow full-sized plants, or more densely (about ½ inch apart) if you’re after microgreens. Lightly water the soil so it’s moist but never waterlogged.
Next, cover the tray with a clear plastic dome or gently drape with plastic wrap to help retain humidity, removing it once seedlings sprout. Place your seeded tray in a warm, sunny spot—dill seeds need warmth to germinate, ideally between 65–75°F (18–24°C). You should see tiny green shoots in 10 to 14 days.
For microgreens, you can begin harvesting when the seedlings reach about 2 inches, usually within 18–20 days. If growing to full size, thin the seedlings to one every 4 to 6 inches once they have two sets of true leaves, allowing the strongest plants more space to mature.
Keep soil consistently moist, turn trays for even growth, and provide at least 6 hours of light daily—an LED grow light works great if windows are limited. These quick steps ensure a fresh batch of dill, whether you’re snipping delicate microgreens for salads or raising hearty fronds for pickling and cooking.
Dill Thrives Indoors with the Right Conditions
Dill thrives indoors when you recreate its favorite outdoor conditions. Start by giving it enough light—at least 6 hours of sun each day. A sunny, south-facing window is often ideal, but if your space doesn’t get strong, direct sunlight, consider using a full-spectrum LED grow light.
Place the grow light 6 to 12 inches above your plants and set a timer for 12–14 hours daily to mimic long summer days. Keep the room temperature between 65°F and 75°F, which matches dill’s preference and helps prevent leggy growth.
Humidity is best kept around 40–50%, so avoid placing your dill near heaters or drafty windows, as these can quickly dry it out. Consistent soil moisture is also key—use a well-draining potting mix and water when the top inch of soil feels dry. To avoid overwatering, use pots with drainage holes and empty saucers after watering.
Common Indoor Issues and Solutions
- Wilting or yellowing leaves: Usually caused by overwatering, insufficient light, or sudden temperature changes.
- Plants stretching or leaning toward the window: This indicates they need more light. Try rotating the pot every few days or supplementing with grow lights.
- Limp leaves and soggy soil: Cut back on watering and ensure good drainage.
By fine-tuning these details, you’ll create a hospitable environment for dill to flourish year-round on your windowsill or kitchen counter.
Proper Care is Key to Enjoying Healthy, Fragrant Dill Indoors
Start by watering your dill seedlings when the top inch of soil feels dry. Use a gentle stream to avoid disturbing tender roots—a spray bottle works well for young plants. Be cautious not to overwater, as dill dislikes soggy soil and is prone to root rot.
Feed your dill with a balanced, diluted liquid fertilizer every 4-6 weeks. Skip heavy feeding, since too much fertilizer can lead to weak, leggy growth.
Once your seedlings have two sets of true leaves, thin them to one plant every 4-6 inches to ensure each has room to thrive. Simply snip extras at soil level to avoid disturbing the roots.
For bushier, healthier dill, try pinching off the top inch of new growth once plants reach 6-8 inches tall—this encourages side shoots and a fuller appearance.
Prune regularly by snipping off flower buds as they form. This helps your plant produce longer and prevents early seeding.
Indoor dill is not immune to pests like aphids, spider mites, or fungal diseases such as powdery mildew. Keep air circulating by placing a small fan nearby, and inspect leaves often for tiny bugs or white patches.
Wipe pests away with a damp cloth, or spray plants with a gentle mix of water and insecticidal soap. Avoid overhead watering to keep leaves dry and reduce disease risk.
With a little attentive care, your dill can thrive through the seasons, brightening your kitchen with fresh flavor.
To get the freshest, most flavorful dill leaves
Harvest them in the morning after the dew dries but before the heat sets in. Snip the feathery leaves from the top third of the plant once it’s at least six inches tall—this encourages bushier growth and prolongs your harvest. Regular leaf harvesting also prevents premature flowering, which can make the leaves taste bitter.
If you want to collect dill seeds, allow select flower heads to blossom and turn brown. Once the seed heads dry out, carefully snip them off into a paper bag and shake gently to release the seeds. These can be used for pickling or future planting.
Freshly cut dill leaves are best used right away, but you can keep them crisp by standing the stems in a glass of water or wrapping them in a damp paper towel before placing them in the fridge. Alternatively, chop and freeze dill in ice cube trays with a bit of water or olive oil for easy use in soups or sautés.
Indoors, regular harvesting and proper storage can keep your dill productive and flavorful for weeks.
Growing dill indoors can be rewarding, but it’s not uncommon to run into a few hurdles.
One frequent issue is leggy growth, often caused by insufficient sunlight. If your dill looks tall and spindly, try moving it to a brighter, south-facing window or supplement with a grow light.
Yellow leaves usually point to overwatering or poor drainage; make sure your pot has holes, and let the top inch of soil dry between waterings.
Pests like aphids can show up too—if you spot tiny bugs or sticky residue, gently wash the leaves with soapy water or use a neem oil spray.
If your dill looks weak, prune back any damaged stems and consider repotting in fresh, well-draining soil.
Remember, every indoor gardener faces setbacks, so don’t get discouraged if your dill struggles at first. With a little patience and attention, most problems can be turned around.
For further help, join local gardening groups online or consult reliable sites like the Old Farmer’s Almanac for more detailed tips.