Introduction
If you love adding a sweet, gentle herbal flavor to your dishes, you’ve probably discovered marjoram—a kitchen favorite cherished by both gardeners and chefs. When you grow marjoram from cuttings, you get a reliable and efficient way to expand your herb garden. Unlike starting from seeds, propagating marjoram from cuttings offers faster results, more predictable growth, and ensures that all the prized qualities of your original plant—like flavor and hardiness—are passed on to every new sprig.
Whether you want to fill a sunny kitchen windowsill with lush greenery or maintain a steady supply for your culinary adventures, using cuttings gives you the perfect head start. In this article, we’ll guide you through a simple, step-by-step process to propagate marjoram successfully. You’ll also find practical care tips to help your new plants thrive, troubleshooting advice in case challenges arise, and creative ideas for using your homegrown marjoram in cooking and crafts.
By the end, you’ll have everything you need for a flourishing, aromatic addition to both your garden and your meals.
Choosing the Right Marjoram Variety and Gathering Materials
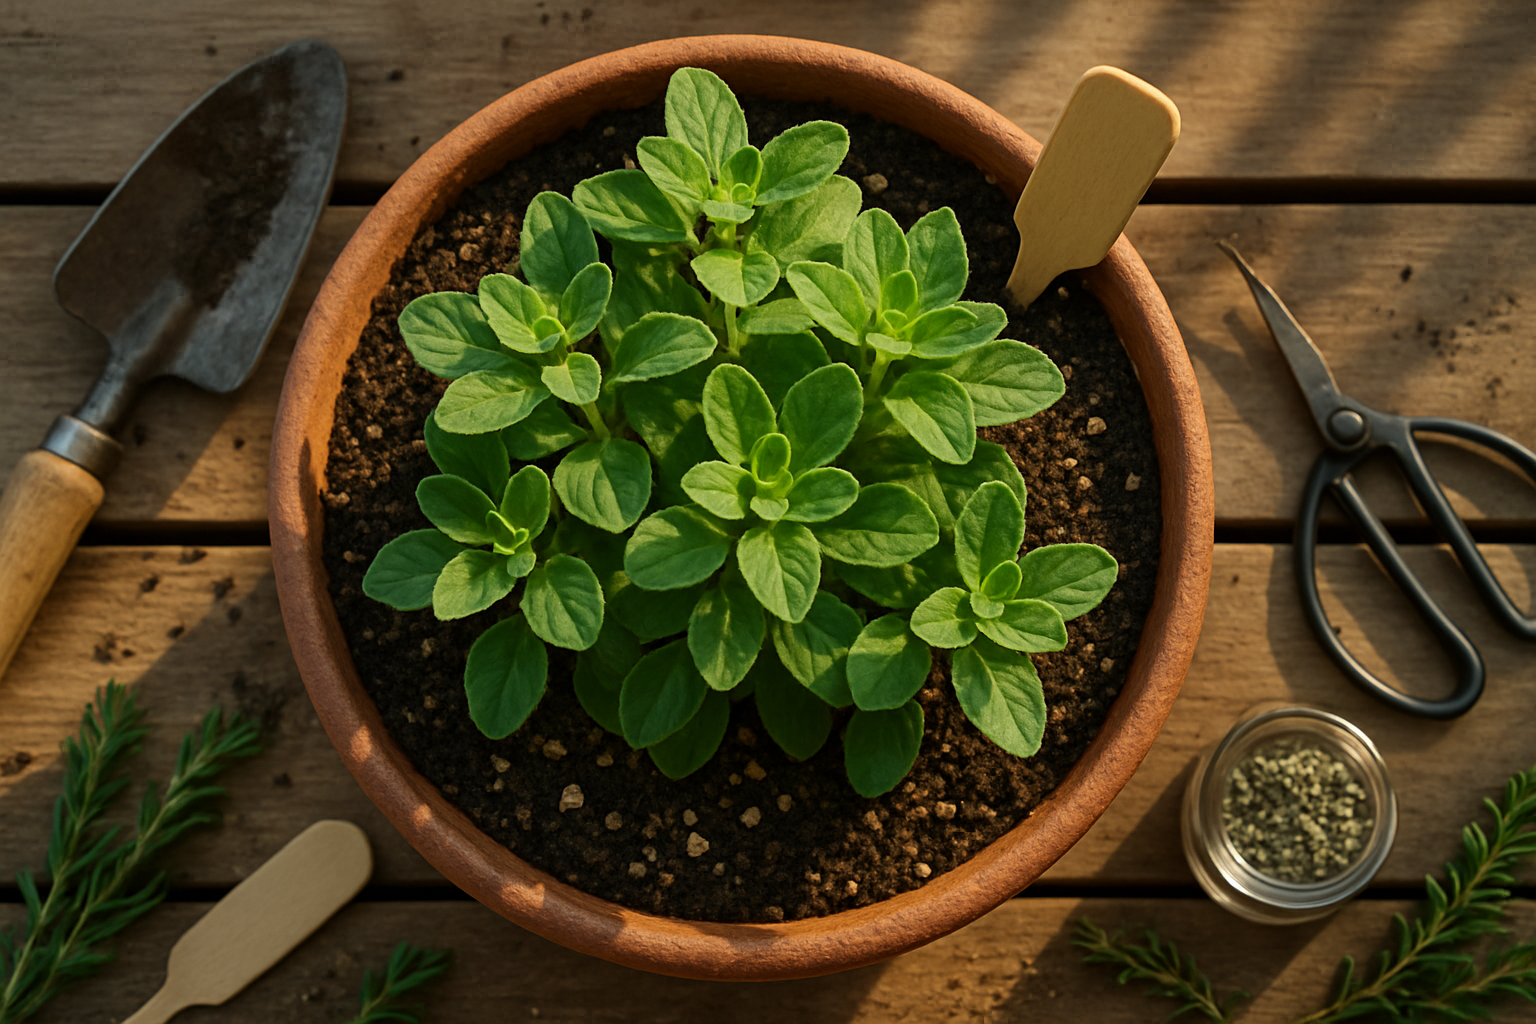
To successfully grow marjoram from cuttings, start by choosing the right variety and gathering the necessary tools. Sweet marjoram (Origanum majorana) is the classic kitchen herb with soft, aromatic leaves and is by far the most popular type for home gardens. It’s known for its tender stems and mild, sweet flavor, which works perfectly in Mediterranean dishes. Another variety, wild marjoram—more commonly known as oregano (Origanum vulgare)—is hardier and somewhat more pungent. However, it’s usually better grown from seed or division rather than cuttings, as it’s woodier and less reliable for propagation this way. For consistent results, stick with sweet marjoram when you grow marjoram from cuttings.
Gather all your supplies before you begin. You’ll need a pair of clean, sharp scissors or pruning shears to make a clean cut without damaging the stem. Rooting hormone is optional but can boost your success rate, especially if it’s your first time. Prepare small pots or containers for planting, quality potting mix for good drainage, a clear plastic bag or small greenhouse dome to maintain humidity while the cuttings root, and labels to keep track of each cutting.
When selecting your parent plant, look for one that’s healthy, vigorous, and free of pests or disease. The stems should be green and flexible—not too woody or weak. Avoid plants that are flowering, as energy is diverted from root production during blooming. Choose non-flowering side shoots about 3–5 inches long, with several pairs of healthy leaves, to give your cuttings the best start.
How to Take Successful Marjoram Cuttings
To grow marjoram from cuttings and ensure strong, healthy plants, it all starts with taking your cuttings the right way. Begin by choosing a mature, healthy marjoram plant free from pests or disease. The best time to snip cuttings is in the morning when the plant is well-hydrated and turgid, which helps the stems stay fresher and less stressed. Look for non-flowering stems, as these have more energy reserved for root growth rather than flowering. Select a stem that is green and flexible (not woody), and use clean, sharp scissors or garden shears. From the tip of the stem, cut a 3- to 4-inch section just below a leaf node, as this is where new roots are most likely to develop.
Once you have your cuttings, strip off the lower sets of leaves, leaving just a few pairs at the top. This step is crucial because it reduces moisture loss through transpiration and ensures no leaves are submerged in water or pressed into your rooting medium, which could lead to rot. Trim the base of the cutting at a 45-degree angle rather than a blunt straight cut—this gives a larger surface area for root formation and helps the cutting absorb water and nutrients more efficiently.
Although marjoram is generally a cooperative rooter and often doesn’t require additional rooting stimulants, you can dip the cut base of your cuttings into rooting hormone powder or gel if desired. Rooting hormone can increase the success rate and speed up rooting, especially in variable conditions or if you’ve had trouble propagating from cuttings before. However, some gardeners worry about chemical exposure, though many hormone products are plant-based or rated for organic gardening. With or without rooting hormone, plant your cuttings promptly into a moist, sterile growing medium like perlite or seed-starting mix, and keep them in bright, indirect light until roots develop—usually in about two to three weeks.
Rooting Marjoram Cuttings in Different Mediums
When deciding how to grow marjoram from cuttings, you have two main options: rooting them in water or in soil (or potting mix). Rooting cuttings in water is straightforward and lets you easily monitor root development—just place 4- to 6-inch stem cuttings in a glass of clean water, ensuring only the lower leaf nodes are submerged. Change the water every few days to prevent stagnation. This method requires less equipment, but roots started in water can be more fragile and slower to adapt when transferred to soil.
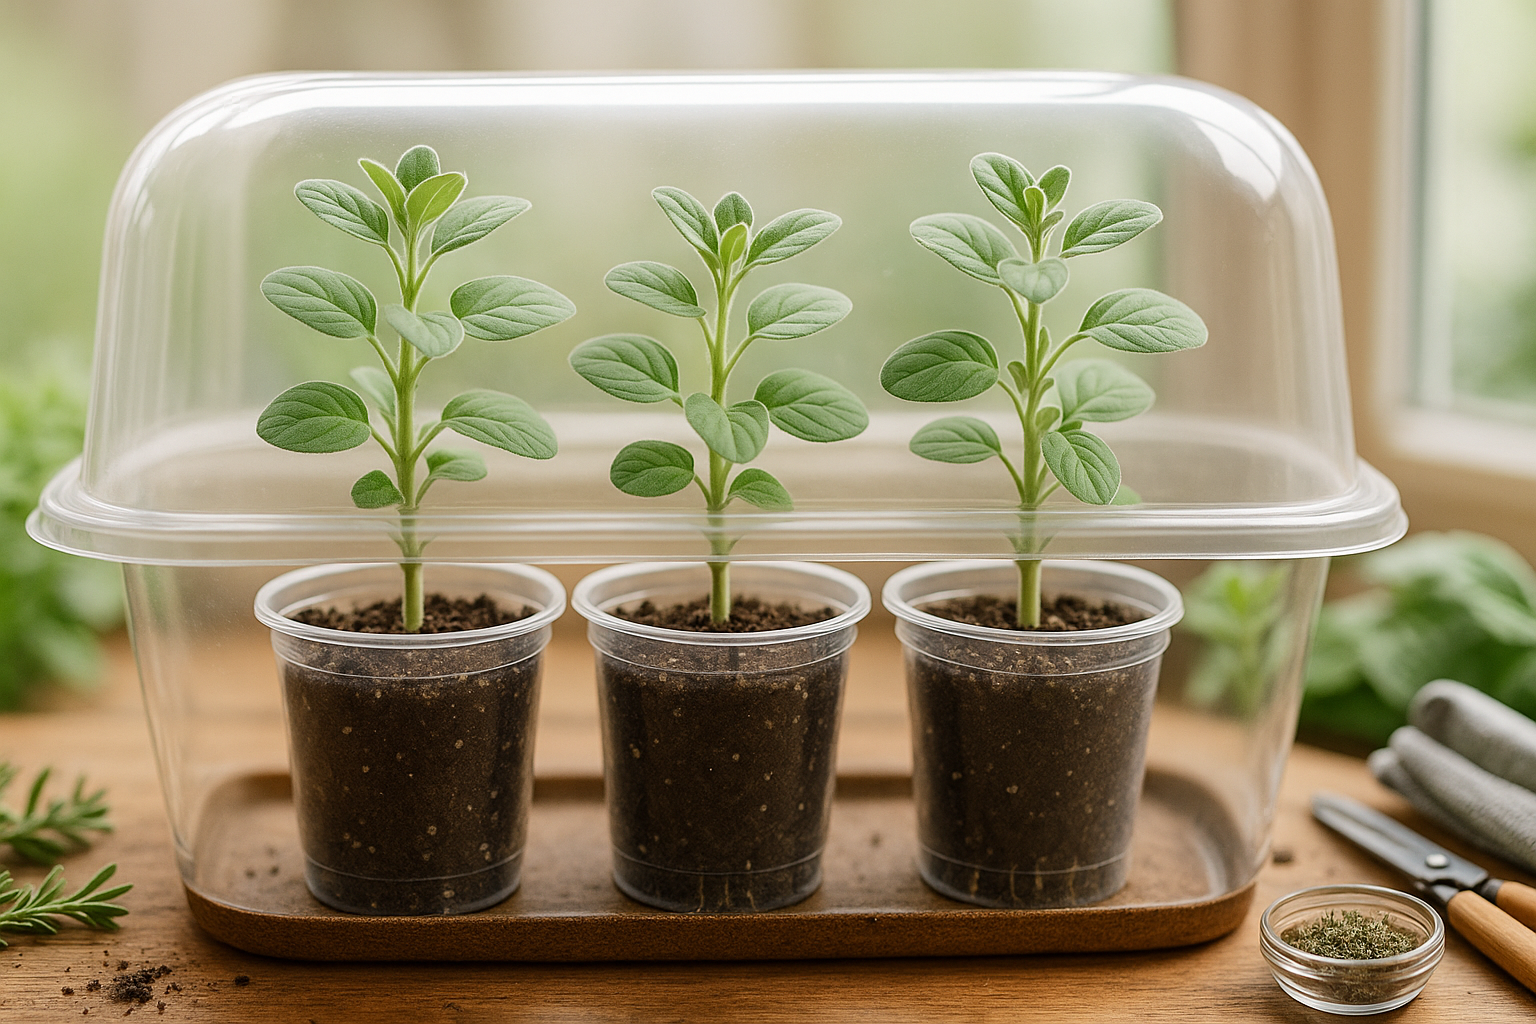
On the other hand, rooting marjoram cuttings directly in moist, well-draining potting mix or soil can yield sturdier roots from the start, though monitoring progress is trickier since the roots are hidden. To do this, remove the bottom leaves and insert the cuttings about 1.5 to 2 inches deep into the moistened medium—press gently to ensure good contact. Cover the pot with a clear plastic dome, bag, or even a cut plastic bottle to maintain humidity, which is crucial for the first few weeks.
Place cuttings out of direct sunlight but in bright, indirect light for optimal growth. Regardless of the method, keep the medium consistently damp but not soggy to discourage rot. Expect root development within 2 to 4 weeks. Signs of healthy roots include visible white root growth (in water), new sprouting leaves, and gentle resistance when you tug on the stem (in soil). Once established, gradually remove humidity covers before potting your young marjoram plants in their final location.
Transplanting and Early Care for Young Plants
When you grow marjoram from cuttings, it’s important to know when the rooted cuttings are ready for transplanting. Usually, marjoram cuttings are ready once the roots are about two inches long and have developed several healthy, white root hairs—typically within 2 to 4 weeks after planting in a moist medium. Gently tugging on the cutting can help you feel resistance, which indicates that roots have formed.
For transplanting, choose a pot with good drainage or a garden bed with loose, well-draining soil rich in organic matter. Space the young marjoram plants at least 6 to 8 inches apart to promote healthy airflow and bushy growth. Loosen the transplant spot with your fingers or a trowel, creating a hole just big enough for the root ball to fit without crowding. Carefully lift each cutting from the rooting medium—handling by the leaves or main stem, not the delicate roots—and settle it into the soil. Lightly firm the soil around each plant, then water gently to help the roots settle into their new home.
After transplanting, protect your marjoram cuttings from shock by gradually introducing them to direct sunlight. Start with a few hours of morning sun and increase exposure over a week. Keep the soil consistently moist but not soggy—water when the top inch feels dry. Young marjoram doesn’t need much fertilizer; a diluted balanced liquid feed every four weeks is enough, since over-fertilizing can cause leggy growth.
Avoid common mistakes like planting in heavy, waterlogged soil, which can lead to root rot, or placing plants in areas with insufficient sunlight, causing weak, spindly growth. Watch for signs of wilting or yellowing leaves during the first few weeks—these could indicate overwatering, underwatering, or transplant stress. By caring for your young marjoram thoughtfully during these early stages, you’ll give them the best chance for robust and aromatic growth.
Troubleshooting Common Problems When You Grow Marjoram from Cuttings
When you grow marjoram from cuttings, a few common issues can arise, but with quick action, you can often save your plants. Wilting is the most noticeable problem—usually caused by too much sun or underwatering. To prevent this, keep your cuttings in bright, indirect light and ensure the soil stays lightly moist, not dry.
If root growth seems slow, check that the temperature is warm enough (around 70°F/21°C) and avoid overwatering, as soggy soil can starve roots of oxygen. Mold or white fuzzy growth on the soil or stems indicates too much moisture or poor air circulation. Try moving the cuttings to a breezier spot, reduce misting, and remove any affected leaves.
Stem rot, identified by blackened or mushy bases, may result from dirty tools, non-sterile soil, or consistently saturated conditions. If this happens, start again with fresh materials and ensure good drainage.
If you notice yellowing, shriveled leaves, or no new growth after a few weeks, your cuttings might not be viable. Don’t be discouraged—re-cut the marjoram stems, making sure they’re 4-6 inches long with only the top leaves left, and try again using clean tools and containers. Success often comes with a second or third round of practice and paying attention to these little details.
Enjoying and Using Your Homegrown Marjoram
Harvesting marjoram at the right time can make all the difference in flavor and the health of your plant. To get the best taste, pick marjoram when its leaves are vibrant and before the plant flowers, since that’s when the essential oils are most concentrated. Use clean, sharp scissors or garden shears to snip stems just above a leaf node. Cutting this way encourages bushier growth and prevents the plant from getting too woody. Only take about one-third of the plant at a time so it continues to thrive.
For preserving your marjoram, drying is a classic option: tie small bunches of stems together, hang them upside down in a dry, well-ventilated spot, and the leaves should be ready in about a week or two. Once dry, store the crumbled leaves in airtight jars. Freezing is another simple method—wash and pat the leaves dry, then either freeze whole sprigs in freezer bags or chop and freeze marjoram in ice cube trays with a little water or olive oil. If you want to keep some sprigs fresh for daily use, place them in a jar of water on your kitchen counter or loosely wrap them in a damp paper towel and store in the fridge.
Fresh marjoram from your garden is delicious sprinkled over grilled vegetables, stirred into omelets and soups, or added to salad dressings for a gentle, sweet herb flavor. Try tossing a few chopped leaves over roasted potatoes or mixing them into a homemade marinade for chicken or fish—the possibilities are endless with this aromatic herb you’ve grown yourself.
Conclusion and Encouragement
Growing marjoram from cuttings is an easy and rewarding way to expand your herb garden. By taking healthy cuttings, placing them in water or soil, and maintaining consistent moisture and warmth, you can quickly grow new, vigorous marjoram plants. Propagating this way not only saves money and time compared to starting from seed but also ensures your new plants keep the desirable traits of the parent plant. Don’t hesitate to experiment—propagating marjoram is perfect for gardeners of all skill levels and offers a simple way to enjoy fresh herbs at home. For more tips, check out online gardening forums or guides from local extension services.