Introduction
If you love cooking with herbs, mastering the art of drying thyme at home can be a true game-changer. Not only does it lock in thyme’s bold, savory flavor, but it also stretches your kitchen herb supply far beyond the growing season. Dried thyme boasts a concentrated taste that’s perfect for seasoning stews, meats, and roasted vegetables, while its longer shelf life means you’ll always have fresh-tasting herbs on hand—convenient for weeknight dinners and impromptu meals alike.
Plus, drying your own thyme saves money and eliminates the need for store-bought options, which may have lost their potency over time. In this article, we’ll guide you through the entire process of drying thyme at home, using simple, effective methods you can easily manage in your kitchen.
You’ll learn when and how to harvest thyme for peak flavor, explore different drying techniques—from air-drying to oven and dehydrator methods—discover best practices for storing dried thyme, and get practical tips for using it in your favorite recipes. Whether you have a backyard herb garden or just a few pots on your windowsill, you’ll find everything you need to make the most of your thyme harvest and enjoy its aromatic benefits all year round.
When and How to Harvest Thyme
Harvesting thyme at the right time ensures you get the freshest, most flavorful leaves for your kitchen. For the best results, aim to harvest thyme in the morning, after the dew has dried but before the sun gets too hot. This is when the oils in the leaves—which give thyme its signature taste and aroma—are at their peak.
Early summer, just before thyme plants begin to bloom, is the perfect season to harvest; at this point, the leaves are most tender and fragrant. If your thyme has already started flowering, you can still harvest it, but the leaves may be a bit tougher and less aromatic.
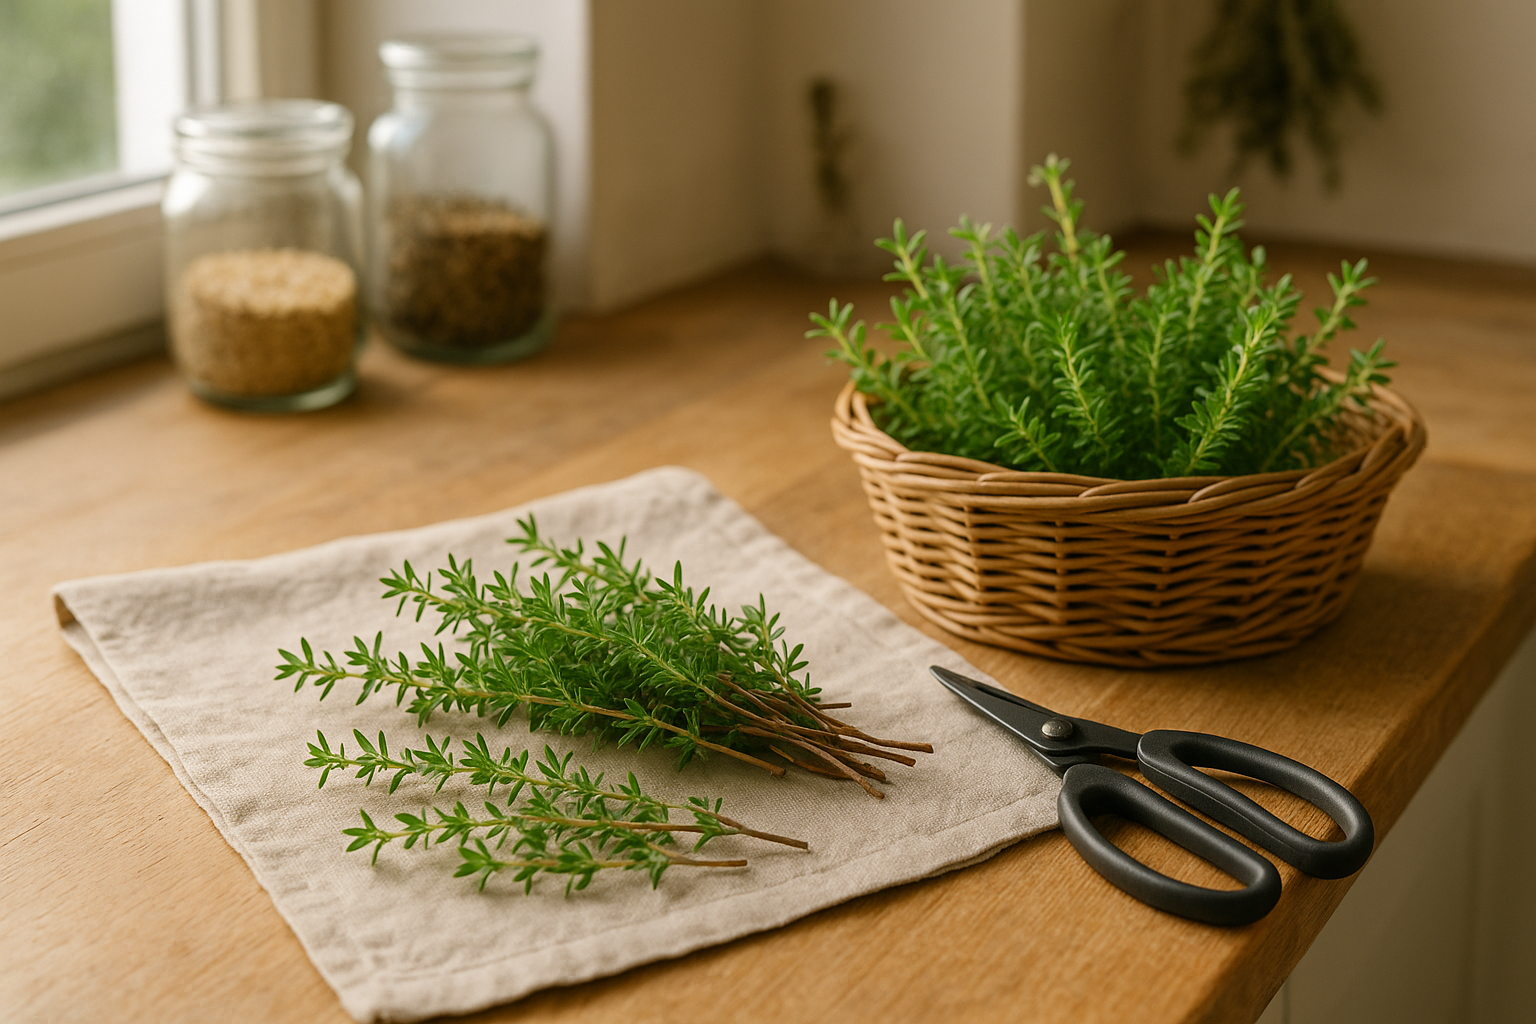
To encourage healthy regrowth, use sharp scissors or garden shears to cut the stems about 5-6 inches above the ground, making sure to leave a few inches of growth so the plant can recover and keep producing. Avoid stripping any one stem completely bare.
Once you’ve harvested your thyme, gently shake the sprigs to remove any insects or loose dirt. Give them a light rinse under cool water and pat them dry with a clean towel, making sure to eliminate any excess moisture to prevent mold. Remove any damaged leaves and woody stems.
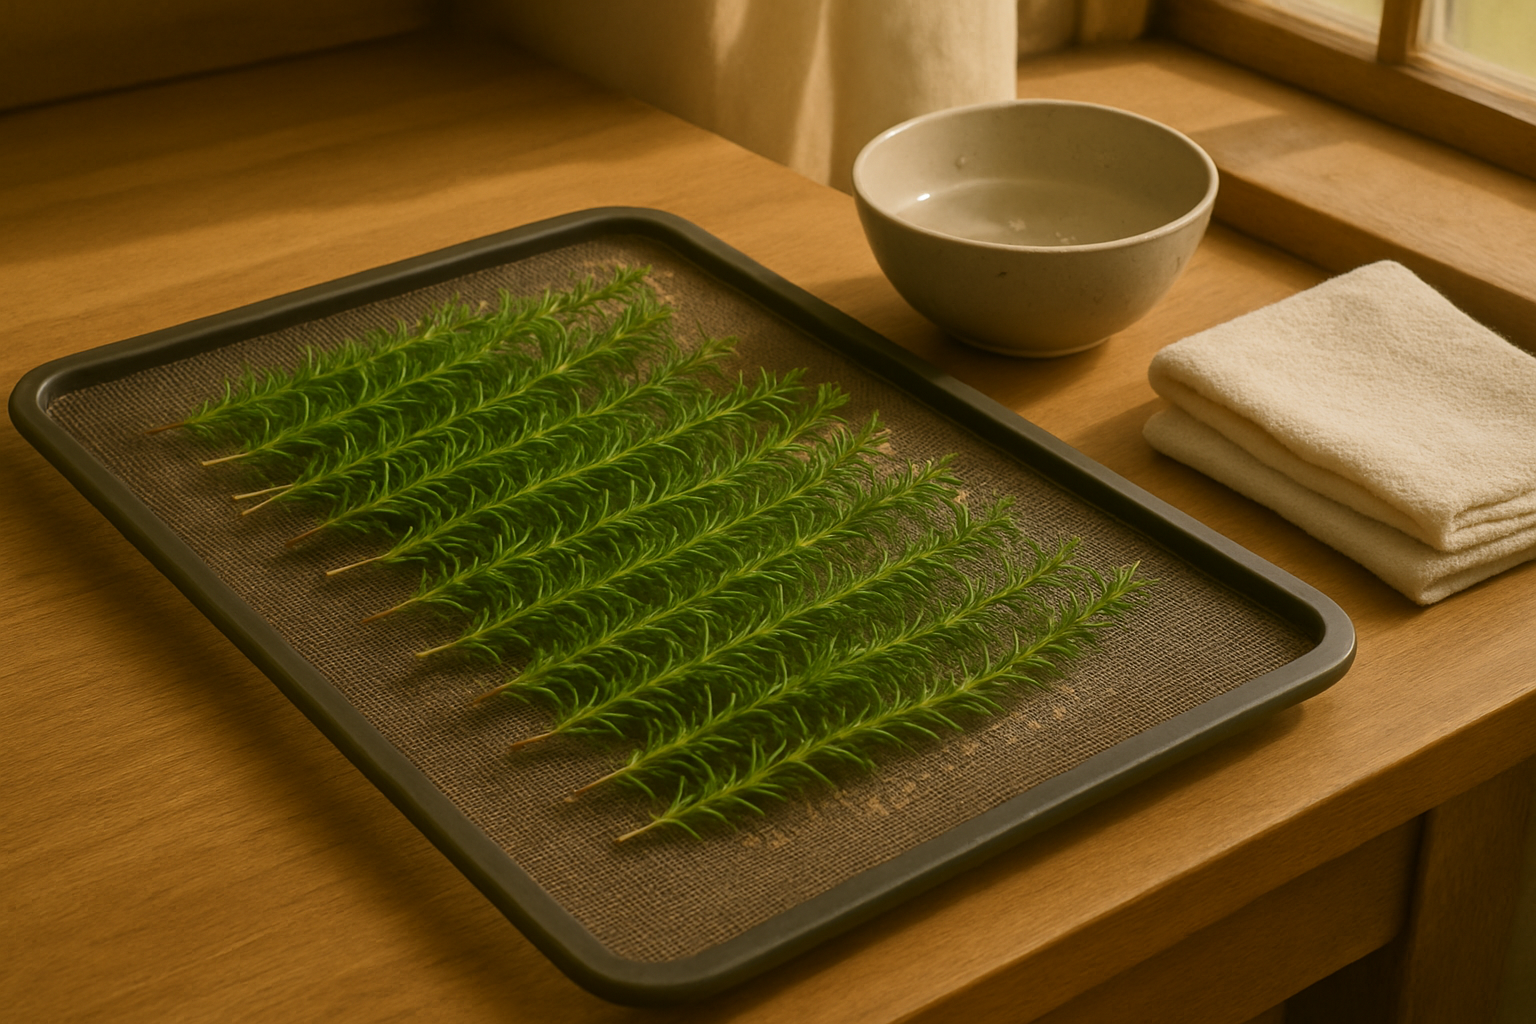
To prepare thyme for drying, spread the sprigs out in a single layer on a clean kitchen towel or a mesh drying rack in a well-ventilated area away from direct sunlight. This simple care pays off with delicious, homegrown thyme ready for cooking all season long.
Top Methods to Dry Thyme
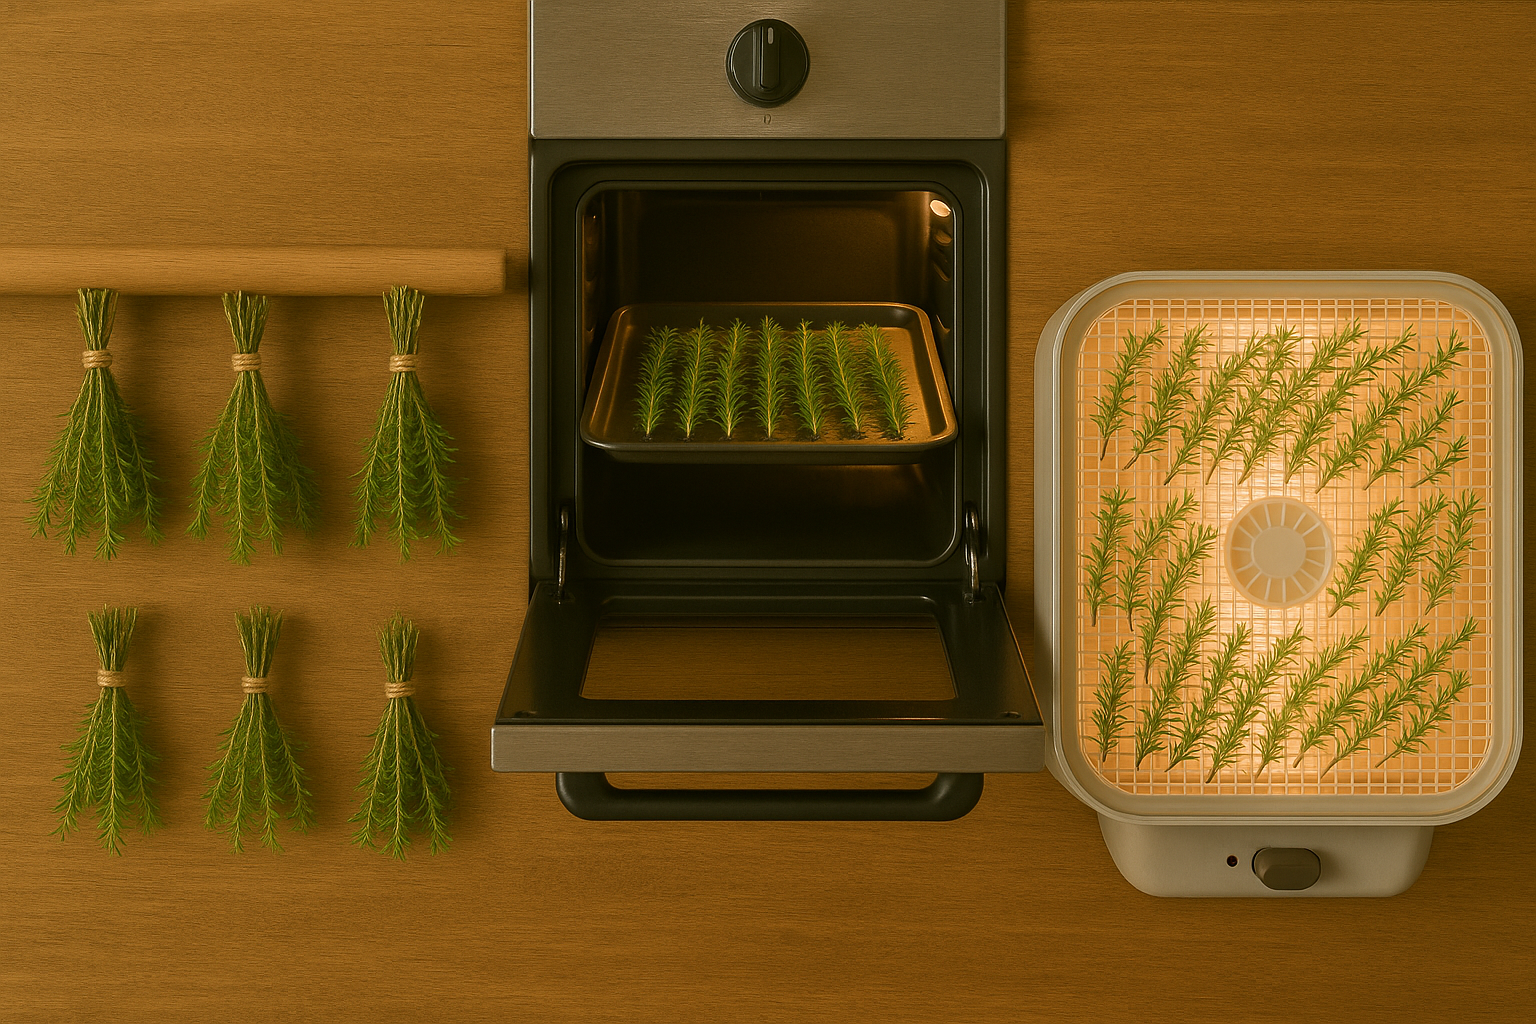
Drying thyme at home is an easy way to preserve its flavor, and you can choose from air drying, oven drying, or using a food dehydrator.
Air drying is the most traditional, no-fuss method—just tie small bundles of fresh thyme with string and hang them upside down in a well-ventilated, dry spot away from sunlight. This usually takes 1–2 weeks, but it’s virtually free and retains much of the herb’s essential oils for a robust flavor. However, it requires patience and space and may not be ideal in humid environments.
If you want a quicker option, oven drying is handy: spread rinsed, patted-dry thyme sprigs in a single layer on a baking sheet, place them in the oven set to its lowest temperature (around 100–120°C/210–250°F, ideally with the door slightly open), and check every 10–15 minutes. Thyme can be fully dry in as little as 30–40 minutes. Oven drying is fast and accessible but may cause a slight loss of flavor if the oven gets too hot, so watch closely to avoid burning.
If you have a food dehydrator, it offers a controlled, low-temperature environment perfect for drying herbs while retaining maximum flavor. Simply lay the thyme sprigs in a single layer on the dehydrator trays, select the lowest setting (typically 35–45°C/95–115°F), and let it run for 1–3 hours, checking occasionally for crispness. A dehydrator is the quickest, most consistent option but requires investing in a specialized appliance.
No matter which method you choose, once the leaves are crisp and crumble easily, strip them from the stems and store them in airtight jars away from sunlight for the freshest taste.
How to Store Dried Thyme Properly
Storing dried thyme correctly ensures it retains its flavor and aroma for months to come. Start by removing the dried leaves from the stems: simply hold a sprig of dried thyme over a clean bowl and pinch the top; then, gently run your fingers down the length of the stem, stripping the leaves off easily. Discard any woody stems and keep just the leaves for optimal freshness.
Next, choose your storage container wisely. Glass jars with tight-fitting lids or airtight tins work best, as they prevent moisture and air from degrading the thyme’s quality. For a practical tip, upcycle empty spice jars or use small mason jars for a budget-friendly option. Always label your container with the herb’s name and the date you dried it—this helps you keep track of freshness and avoid confusion with similar-looking herbs.
For best results, store the containers in a cool, dark place such as a pantry or a kitchen cabinet away from direct sunlight and heat sources. Sunlight and warmth can cause dried thyme to lose its bright flavor and may even encourage mold in humid conditions. Try to keep your dried herbs away from the stove or dishwasher, where heat and steam are common.
By following these easy steps, you’ll keep your dried thyme flavorful and ready to enhance your favorite recipes for up to a year.
Using Dried Thyme in Cooking
When swapping fresh thyme for dried in recipes, remember that dried herbs are more concentrated—use about one-third the amount. For example, if a recipe calls for 1 tablespoon of fresh thyme, substitute it with 1 teaspoon of dried thyme.
Dried thyme is a kitchen staple with versatility beyond classic roast chicken and soups. It infuses stews, roasted veggies, and homemade bread with earthy, savory notes. Try sprinkling it into marinades, tomato sauces, or salad dressings, or blend it with garlic and lemon for a vibrant rub on fish. Dried thyme even enhances popcorn, roasted nuts, or compound butters for a creative twist.
Flavor-wise, dried thyme is more intense and somewhat woodier than fresh, lacking the subtle citrus notes of the fresh leaves. Because of this, season carefully—start with less and taste as you go, especially if a dish doesn’t involve long cooking where flavors mellow. A little dried thyme goes a long way, so add it in stages and balance it with complementary herbs like oregano, basil, or parsley.
By understanding the differences and how to adjust, you can let dried thyme shine in your everyday cooking without overpowering your dishes.
Troubleshooting and Tips
Even with the best intentions, drying thyme at home can come with its challenges, but most issues have simple fixes. If you notice mold forming on your thyme, it’s usually because the air wasn’t circulating enough or the bundles were too dense, trapping moisture.
To prevent this, make smaller bundles and hang them in a space with good airflow, or consider using a dehydrator for more controlled drying.
Loss of aroma is another common complaint—over-drying or drying thyme in direct sunlight can cause its natural oils to evaporate. Instead, aim for a shady, warm spot and check on the thyme daily; remove it when the leaves crumble easily but still boast a strong scent.
On the other hand, over-drying until the leaves are brittle can also diminish flavor, so be mindful of timing.
To maximize shelf life, store dried thyme in an airtight container away from heat and light—think a glass jar in a pantry instead of a plastic bag by the stove. For bonus freshness, consider adding a small food-safe desiccant packet to your jar.
Don’t be afraid to experiment: try air-drying, oven-drying, or even mixing storage methods to see what keeps your thyme at its flavorful best.
Conclusion
Preserving your own thyme at home is both rewarding and surprisingly simple, as we’ve explored—from harvest to kitchen use. Remember to harvest thyme in the morning, ideally just before it flowers, when its essential oils are at their peak.
Drying is as easy as gathering small bundles and hanging them upside down in a warm, airy spot. Just avoid direct sunlight to preserve the flavor and color. Once dry, strip the leaves from the stems and store them in airtight containers away from heat and light.
Properly stored thyme retains its earthy aroma for months, ready to enhance soups, meats, or even homemade breads. Not only does this process reduce waste and save money, but it also lets you enjoy the freshest herbs year-round. Even if you have a small balcony or sunny windowsill, you can grow enough thyme to start preserving your own batch.
Give it a try—experiment with drying methods or incorporate your preserved thyme into your favorite recipes. Have you tried harvesting or drying your own thyme before? If you have any questions or want to share your tips and experiences, drop a comment below—we’d love to hear from you!