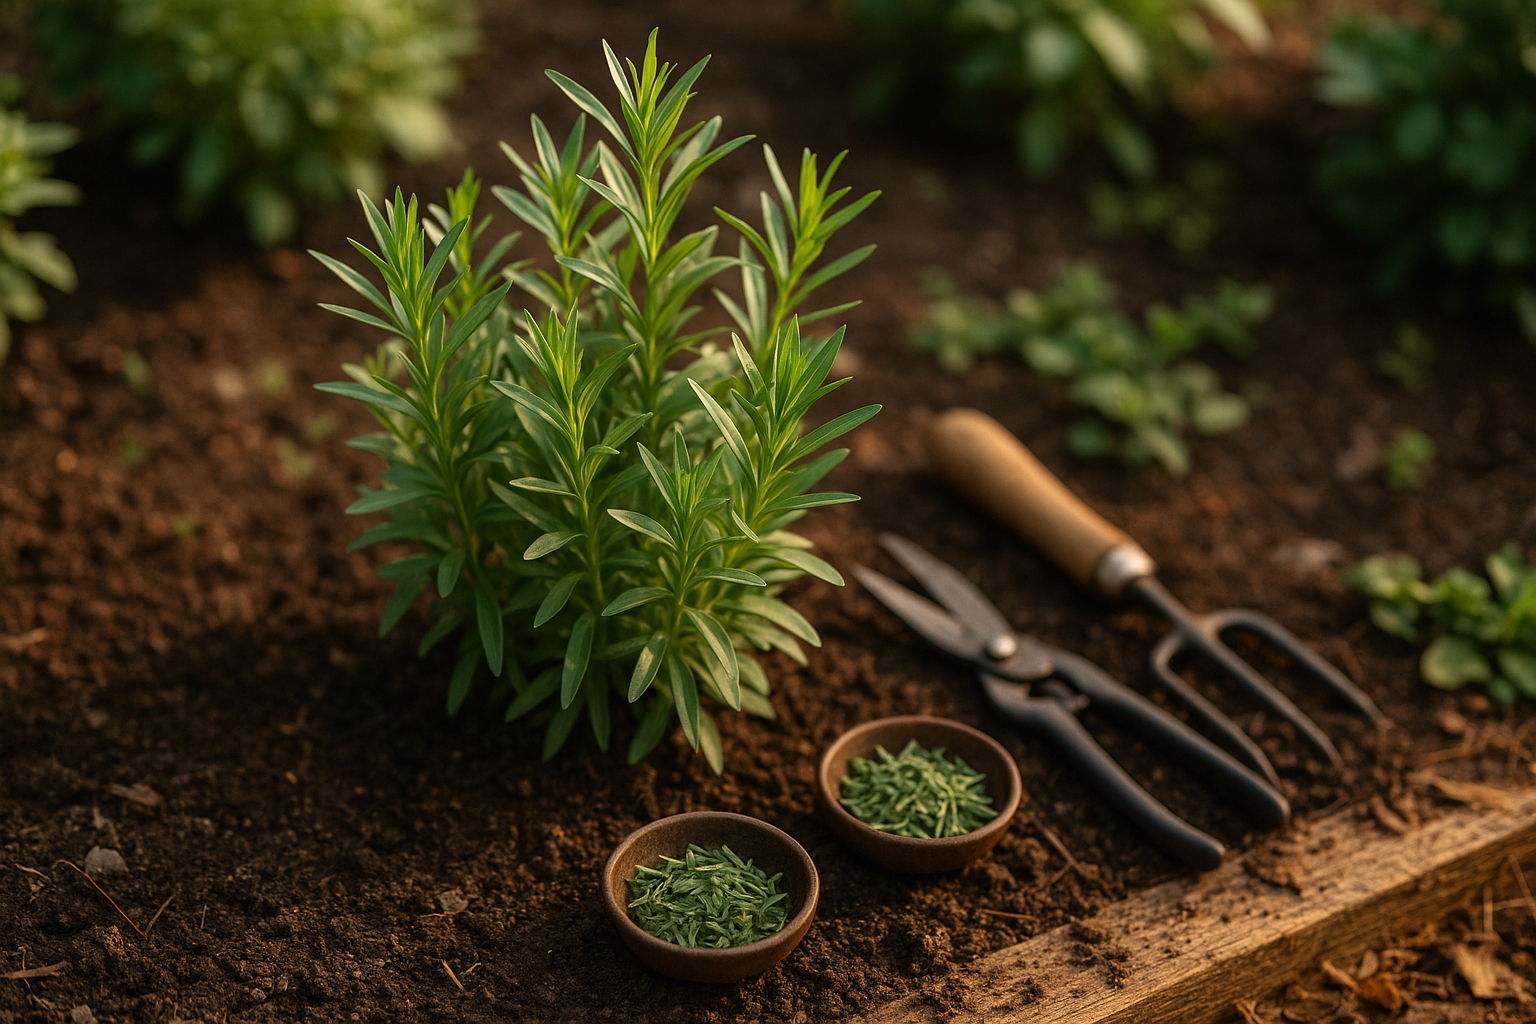
Introduction to Tarragon & Its Propagation
Dividing tarragon is a simple yet transformative gardening technique, especially prized by herb enthusiasts and home cooks who love this herb’s unique blend of anise and subtle sweetness. Tarragon’s aromatic leaves bring a burst of complex flavor to classic dishes—think béarnaise sauce, roast chicken, and vibrant summer salads.
But when it comes to growing your own, tarragon (especially the popular French variety) can be a bit of a challenge to propagate from seed, as true French tarragon rarely produces viable seeds. That’s why gardeners turn to dividing tarragon as their preferred way to keep this culinary staple thriving in their gardens year after year.
By splitting mature tarragon plants and transplanting the resulting divisions, you’re not just multiplying your crop—you’re reinvigorating the plant itself. Over time, older tarragon plants can become woody, less productive, or prone to disease. Dividing them breathes new life into your herb patch, stimulating new, vigorous growth and warding off common plant health issues.
Plus, it’s an economical way to boost yields, share plants with gardening friends, and make the most of your favorite herb’s distinctive flavor all season long. With just a little effort, dividing and transplanting tarragon pays continuous returns, both in garden vitality and unforgettable taste.
When & Why to Divide Tarragon
The best times to divide tarragon are in early spring, just as new growth appears, or in early fall after the risk of frost has passed and the plant is still active. Dividing during these cooler, less stressful periods helps tarragon recover and establish quickly.
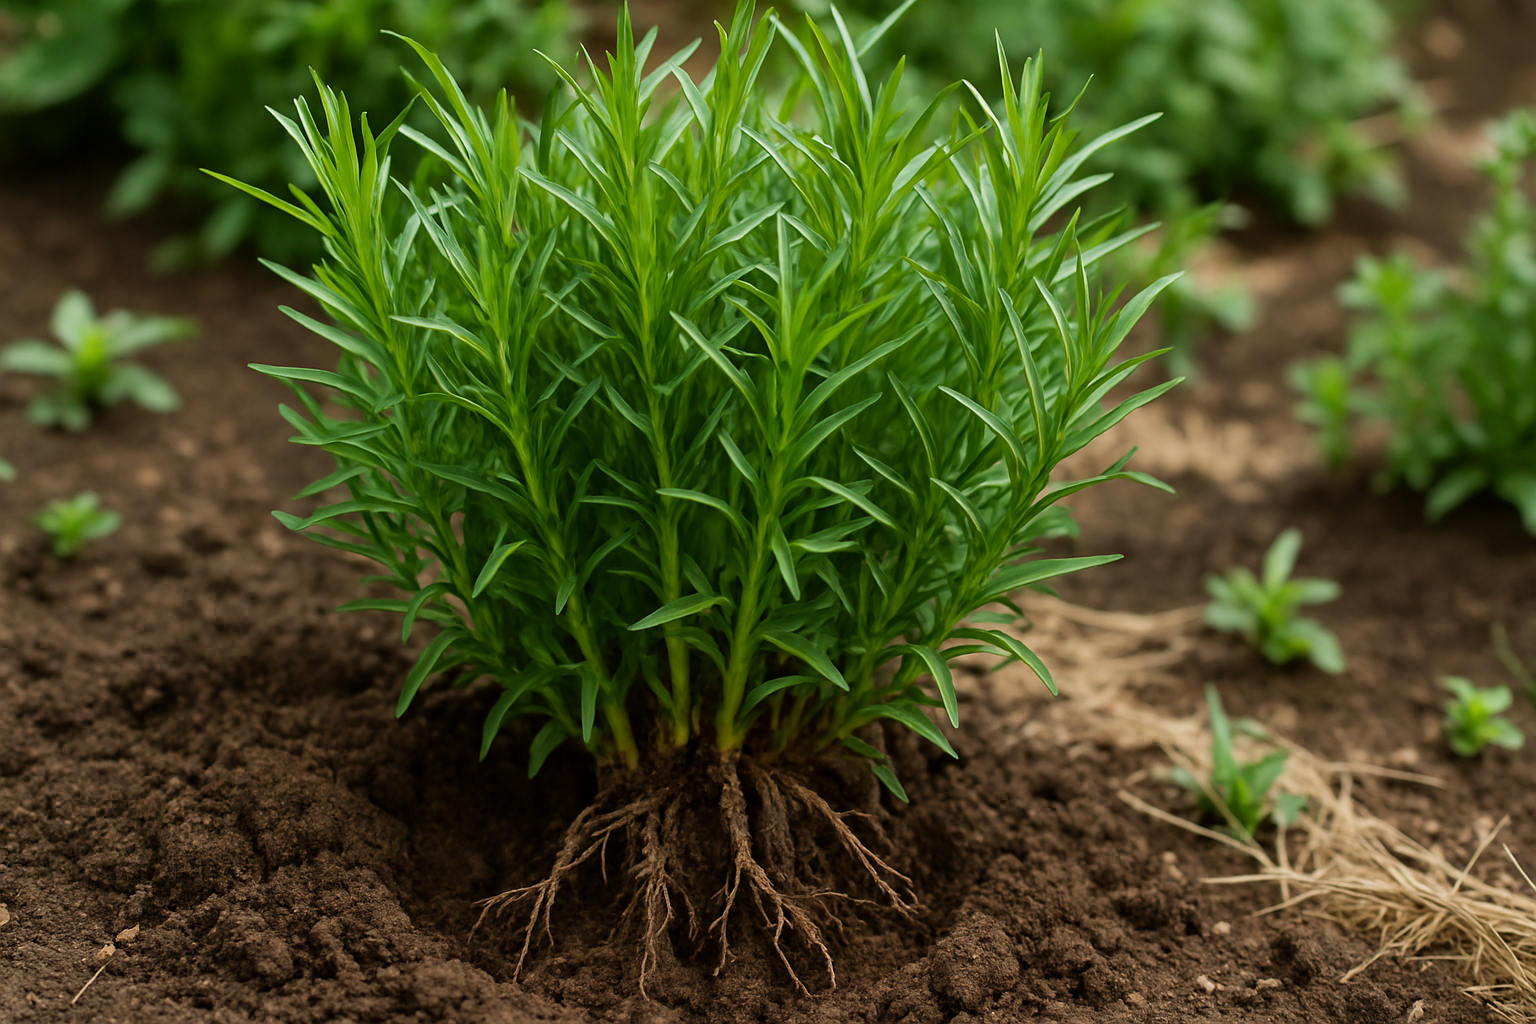
Gardeners often divide tarragon when plants become overcrowded, show reduced vigor, or start producing fewer flavorful leaves—a sign that the roots need more space. Division is also an easy way to expand your herb garden or share healthy tarragon clumps with friends.
French tarragon (Artemisia dracunculus var. sativa) is the variety most commonly divided because it rarely sets viable seeds and can only be propagated through cuttings or root division. By contrast, Russian tarragon (Artemisia dracunculoides) is hardier, grows from seed, and doesn’t require division unless it outgrows its space or you want to reinvigorate older plants.
To divide, gently lift the plant, use a sharp knife to separate healthy sections with roots attached, then replant immediately at the same depth, watering well. This process rejuvenates tired plants, promotes vigorous new growth, and helps prevent disease buildup in overcrowded patches—ensuring your tarragon thrives for seasons to come.
Preparing Tarragon for Division
Before dividing your tarragon plant, take a little time to help it recover and thrive after the split. Start by watering the plant one to two days in advance—moist soil is easier to work with and less stressful for the roots.
Next, check for any signs of disease or pests; remove any yellowed leaves or visible bugs to prevent spreading problems to the new divisions. Use this opportunity to gather clean, sharp garden tools like a spade, pruning shears, and gloves, as sanitized equipment protects the tender plants from infection.
Aim to divide tarragon on a cool, cloudy day or in the early morning when the sun isn’t harsh. This helps reduce transplant shock and water loss from the exposed roots.
Prepare your materials ahead of time: fill clean containers with quality potting mix if potting up divisions, or ensure your garden beds are well-cultivated and enriched with compost. Have your materials ready—a watering can, pots or planting holes, and mulch for moisture retention—so your split tarragon plants can be transplanted quickly and stay healthy from the start.
Step-by-Step Tarragon Division
Dividing tarragon is a simple yet rewarding process when done step by step. Start by watering your tarragon thoroughly the day before; this makes it easier to handle. Gently loosen the soil around the base of the plant using a hand fork or small shovel, being careful not to damage the root system.
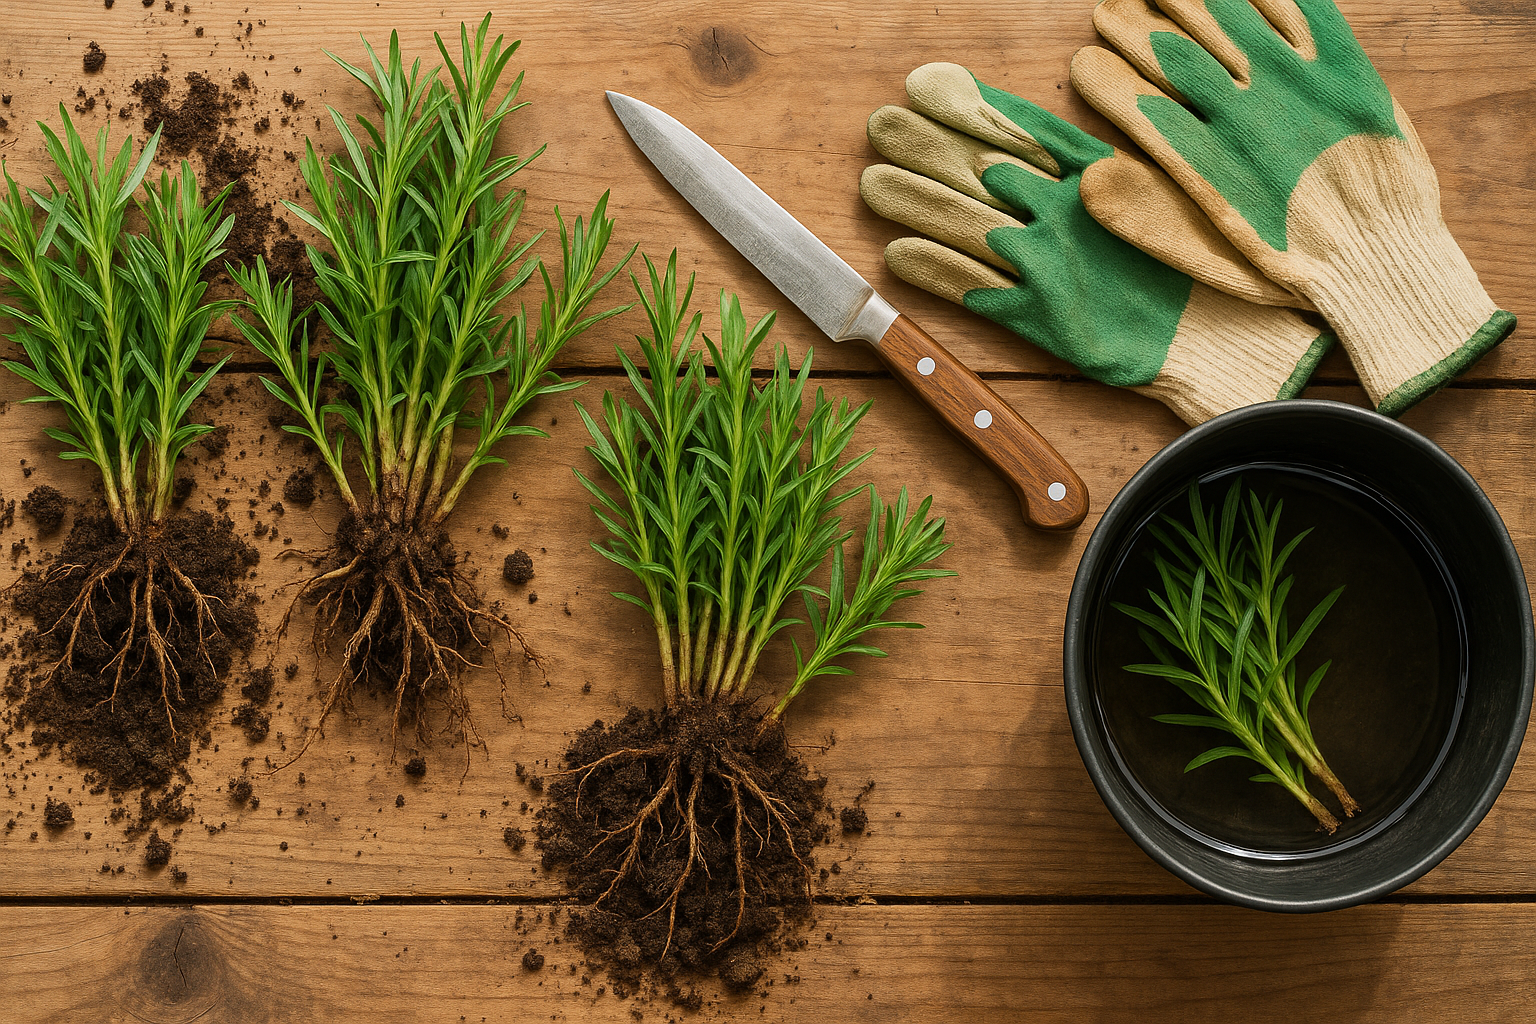
If your tarragon is in a pot, tip it sideways and ease the plant out by squeezing the container and supporting the stems. Next, carefully shake off excess soil and inspect the root ball. Using your fingers or a clean, sharp knife, gently tease apart the clumps, making sure each division has several healthy roots and a few sturdy shoots.
Aim to make two to four divisions from an established plant—any more, and the sections may be too small to thrive. Look for clean, creamy white roots and lush green shoots; avoid divisions with mushy or blackened roots. Remove any dead or diseased tissue with sterile scissors.
If you encounter tangled roots, soak the root ball in a bucket of water for a few minutes to soften the soil and loosen the knots. For stubborn mats, gently pull the roots apart before making precise cuts. If roots break, don’t panic—small root loss is normal, but discard divisions with very few roots left.
Once divided, replant promptly into moist, well-draining soil and keep the plants out of direct sun for a few days to minimize transplant shock. With patience and care, your tarragon will bounce back quickly, ready to flavor your favorite dishes.
How to Transplant Tarragon Successfully
When transplanting tarragon, choosing the right spot is crucial for healthy growth. Find a location that receives at least six hours of sunlight per day—tarragon thrives in light, well-draining soil with a neutral to slightly alkaline pH. If your soil is heavy, consider adding compost or sand to improve drainage.
Space your tarragon plants about 18 to 24 inches apart to allow for good air circulation and prevent overcrowding. Plant them at the same depth they were growing in their pots—burying the stems too deep can cause rot.
After transplanting, water thoroughly so the soil settles around the roots, and keep the soil consistently moist—but not soggy—for the first two weeks. This helps the plants establish without encouraging root rot.
Protecting Your New Transplants
In hot weather, shield new transplants with a temporary cover like shade cloth, a lightweight row tunnel, or even an upturned laundry basket during the hottest part of the day to reduce stress and prevent sun scorch. Applying a two-inch layer of mulch around the base helps retain moisture and keeps roots cool.
Minimizing Transplant Shock
Watch for signs of transplant shock, such as wilting, yellowing, or leaf drop. To reduce shock:
- Avoid disturbing the roots more than necessary.
- Transplant early in the morning or late in the afternoon when it’s cooler.
- Keep plants well-hydrated but not waterlogged.
With a little care, your tarragon will bounce back quickly and provide plenty of flavorful sprigs for your kitchen.
Ongoing Care for New Tarragon Plants
Once your newly planted tarragon is settled in, routine care is simple but essential for healthy growth. Water tarragon consistently, keeping the soil lightly moist but never soggy. Generally, a deep watering once a week works well, though you may need to water more often during hot, dry spells.
Tarragon doesn’t require heavy feeding; mix in some compost at planting, then apply a balanced, diluted liquid fertilizer once a month throughout its first growing season. Spread a two-inch layer of mulch around the base to help retain moisture and deter weeds, but avoid crowding the stems.
As your tarragon grows, look for bright green, upright shoots and a steady increase in leaf volume—signs the plant is adapting well. If leaves yellow or growth slows, reassess drainage and watering frequency.
Hold off on major harvesting until the plant is well-established, typically after 8–10 weeks. During the first year, limit yourself to snipping only a few stems at a time; this encourages bushier growth without stressing the young plant. Always harvest in the morning, once the dew has dried, for the most flavorful leaves.
With gentle care, your tarragon will quickly become a thriving addition to your herb garden.
Troubleshooting Common Issues
After dividing your plants, it’s common to notice wilting, slow growth, or even signs of root rot. To minimize wilting, be sure to replant divisions quickly and water thoroughly. Using a shade cloth for a few days can help ease the transition, especially during hot weather.
Slow growth might indicate transplant shock or poor soil. Mixing in compost and keeping the soil consistently moist (not soggy) can help roots recover.
Root rot usually results from overwatering or poor drainage. Make sure your containers or beds allow excess water to escape, and trim away any mushy or blackened roots before replanting.
Early on, watch for pests like aphids, slugs, or fungal diseases—yellowed leaves or sticky residue are warning signs. Neem oil or hand-picking pests can be effective for minor problems, but persistent or widespread symptoms might require help from a local nursery or extension office.
Don’t hesitate to consult an expert if your plant shows little improvement after a few weeks or if you’re unsure about a diagnosis. Remember, patience pays off—most divisions take several weeks to settle in and thrive.