Introduction
Dill growing mistakes are surprisingly easy to make, even though this herb’s reputation for being low-maintenance draws many gardeners in. Dill is a beloved staple in kitchens worldwide, adding bright flavor to everything from pickles and potato salads to seafood and soups. Its feathery green foliage and tiny yellow blooms make it attractive in the garden, while its aromatic leaves and seeds are packed with culinary potential.
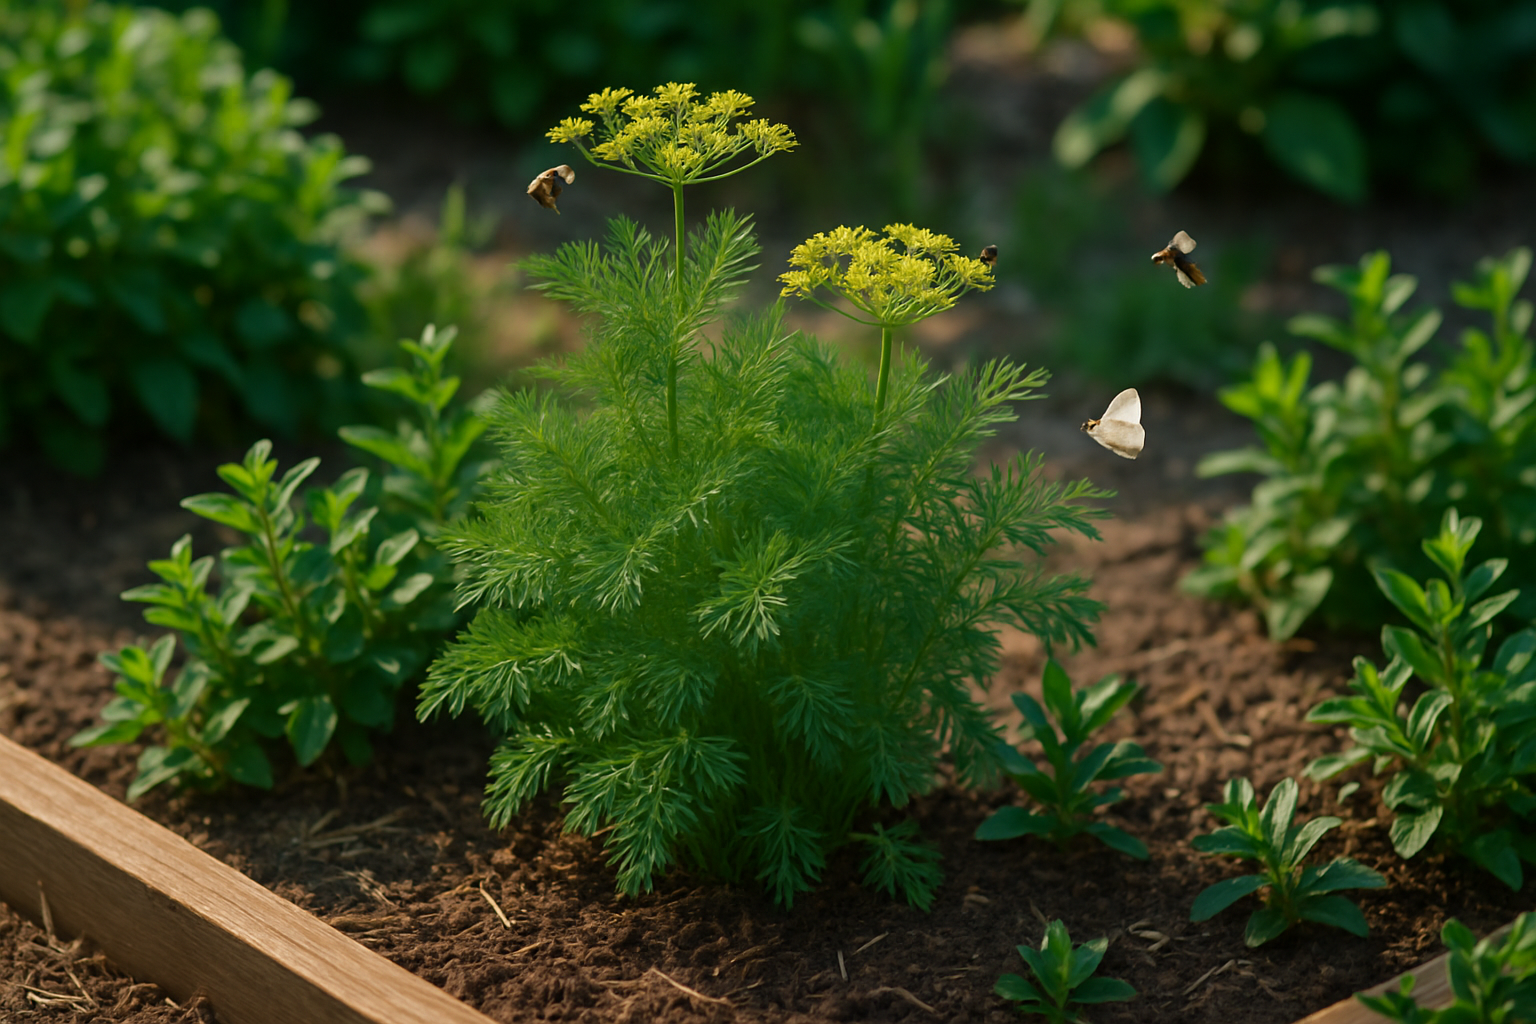
But dill isn’t just about taste. It’s also a magnet for pollinators, especially bees and butterflies, making it a biodiversity booster for any outdoor space. Most varieties thrive in containers or garden beds, making them a favorite for both new and experienced gardeners looking for quick and rewarding results.
However, skipping a few key details can lead to weak, spindly plants or disappointing harvests. In this post, we’ll walk you through the most common dill growing mistakes and, more importantly, how to avoid them—so you can enjoy lush, fragrant dill all season long. Whether you’re planning your first herb garden or trying dill again after a struggle, a few simple adjustments can make all the difference. Let’s set you up for dill-growing success!
Starting Off Right
Choosing the right spot for your dill is the first step toward a successful, low-maintenance herb garden. Many gardeners make the mistake of planting dill in shady corners or areas with soggy soil, but dill thrives with at least six hours of sunlight each day and dislikes wet feet.
Always select a location that gets plenty of sunshine and has loose, well-draining soil. If water pools after a rain, pick another spot or amend the soil with compost and sand to improve drainage. Aim for slightly acidic to neutral soil, between pH 6.0 and 7.5, so your dill gets the nutrients it needs for vigorous growth.
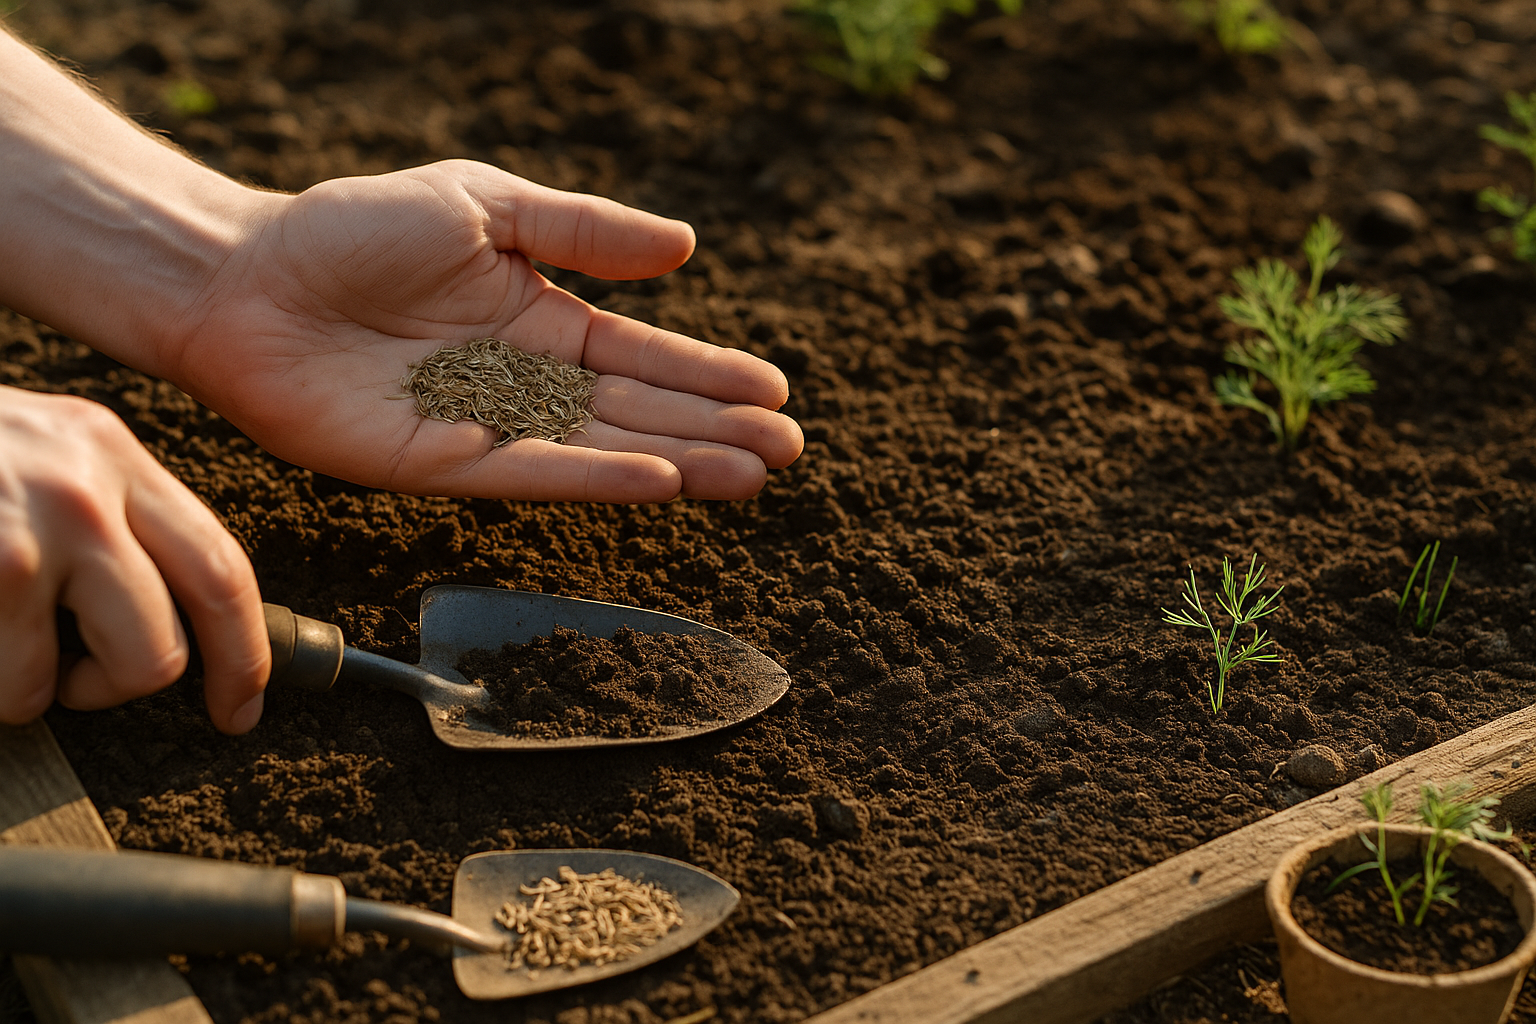
Avoid the temptation to transplant dill seedlings from pots, because dill develops a long taproot that doesn’t like to be disturbed. Direct sowing seeds right where you want them to grow will result in sturdier, more prolific plants.
For best results, loosen the soil to a depth of at least 12 inches before sowing and mix in organic matter such as well-rotted compost. Taking just a bit of extra time to choose and prepare the right garden site pays off with healthier plants and a much bigger dill harvest later in the season.
Watering Wisely
One of the most common mistakes gardeners make is improper watering, which can show up as wilted leaves, yellowing, or stunted plant growth. Wilting often means your plants are thirsty, but don’t be fooled—yellow leaves and droopy stems can also signal overwatering.
If the soil feels soggy or develops a sour smell, it’s likely too wet, suffocating the roots and hampering growth. On the other hand, bone-dry soil can leave roots parched, leading to slow growth and weak, brittle leaves. The key is consistency: check the soil before watering by sticking your finger an inch deep—if it feels dry at that level, it’s time to water.
Aim to water deeply but less frequently, encouraging roots to grow downward instead of staying near the surface. To help retain even moisture, apply a layer of organic mulch like straw, bark, or compost around your plants; this keeps soil cool, reduces evaporation, and means you’ll need to water less often.
Avoid splashing water directly on the leaves, as this can increase the risk of fungal diseases—focus on getting water to the base of the plant, right where it’s needed most.
Setting a regular schedule and tailoring your watering based on the weather (less during rainy weeks, more during hot spells) will help keep your garden healthy, vibrant, and resilient. By paying attention to your plants and the soil, you’ll quickly get a feel for exactly what they need.
Getting Light & Temperature Right
Planting flowers in the wrong light or temperature can lead to disappointing results, such as leggy stems, slow growth, or poor blooms. Shade might seem inviting, but most flowering plants need full sun—at least six hours of direct light each day—to produce vibrant colors and strong stems. Too little sun, and you’ll notice your plants stretching out, looking spindly, and struggling to flower.
On the other hand, planting in spots with extreme afternoon heat, especially in hotter regions, can stress or even scorch young plants. Temperature timing is equally crucial; sow your seeds or seedlings after the danger of the last frost has passed but before the intense summer heat kicks in. This window gives young plants the mild, stable temperatures they need to establish roots without battling scorching sun or surprise cold snaps.
If you’re new to gardening, mark your local average last frost date (easily found online or by asking at a garden center) and aim to plant right after. In southern states, this might mean sowing as early as March; in northern regions, late May could be ideal. If you’re forced to plant later during a heatwave, provide afternoon shade with garden fabric or plant taller companions nearby to shield delicate seedlings.
These simple adjustments help ensure your flowers get what they need from the start—plenty of light, growth-friendly warmth, and a fighting chance at their best display.
Overcrowding and Poor Companion Plant Choices
Overcrowding is one of the most common problems gardeners face, leading to a chain reaction of issues. When plants are packed too tightly, they struggle to get enough sunlight, water, and nutrients, resulting in weak, spindly growth. Poor airflow in crowded beds also creates the perfect environment for diseases like powdery mildew to take hold.
To keep your garden healthy, thin seedlings once they’re a couple of inches tall and always follow the recommended spacing on seed packets—even if those empty spaces look tempting to fill. Companion planting is another crucial factor for a thriving garden, but not all plant neighbors get along. For example, fennel releases chemicals through a process called allelopathy that stunt the growth of many vegetables. Carrots, on the other hand, compete heavily for nutrients when planted near root crops like onions.
On the bright side, some plants make great companions. For instance, cabbage and onions pair well because onions deter pests that usually target cabbage. Be mindful of cross-pollination, especially if you grow different varieties of the same vegetable family close together, as this can impact the quality of seeds for next year.
By keeping your plants well-spaced and choosing companions carefully, you’ll set your garden up for a season of vigorous, resilient growth.
Common Care Mistakes
One of the most common mistakes when caring for your garden is overfertilizing, especially with herbs and leafy greens. Adding too much fertilizer can actually diminish the flavor and aroma of your plants, making them bland instead of rich and vibrant. It’s best to stick to a “less is more” approach—use organic compost sparingly and only when your plant shows signs of slow growth.
Another common oversight is neglecting regular pruning and harvesting. Letting herbs or veggies grow wild might seem efficient, but it actually weakens the plant and reduces yields over time. Regularly snipping back herbs like basil, parsley, or mint not only encourages bushier growth but also ensures you continually enjoy peak flavor.
On the flip side, ignoring pest and disease signs can quickly ruin your hard work. Keep an eye out for tiny green aphids clustering under leaves or the white powdery spots of mildew that can spread on squash and cucumber vines. Early intervention is key—try a gentle spray of soapy water for aphids and remove affected leaves promptly to prevent mildew from taking over.
By staying vigilant and responding early, you can save your plants from major setbacks without resorting to harsh chemicals. Balancing attentive care with a watchful, but restrained, hand helps your garden flourish with less risk of costly mistakes.
Harvesting Mistakes and Saving Seeds
Timing is everything when it comes to harvesting your garden vegetables—pick too early, and you’ll get bland, stunted crops; wait too long, and you risk tough skins, overripe flavors, or spoilage. For example, tomatoes should ripen fully on the vine for the sweetest taste, while green beans are best picked young for crispness.
When gathering leaves or fruit, use a sharp, clean pair of scissors or garden shears to snip the produce rather than tearing or twisting. This keeps plants healthy and encourages new growth for future harvests.
If you’re saving seeds for next season, don’t rush to collect them. Seeds need to mature fully on the plant—think of harvesting dried-out pods from peas rather than green ones. After collecting, dry seeds thoroughly in a cool, airy place. Avoid drying them in a humid kitchen or on a sunny windowsill, which can encourage mold.
Always store seeds in labeled, airtight containers away from heat and light. Be sure your hands and tools are clean before handling to prevent contamination. A little extra care at harvest time pays off when you sow a thriving garden next year.
Conclusion
Avoiding common mistakes like overwatering, using poor-draining soil, or overcrowding plants can make a big difference when growing dill. Remember to provide plenty of sunlight and trim flower heads to encourage leafy growth. With these simple tips, you’ll increase your chances of a fresh, fragrant harvest.
Don’t be discouraged if your first attempt isn’t perfect—gardening is all about learning. Share your own dill-growing experiences or ask questions in the comments below. Let’s help each other grow better herbs together!