Understanding Lemon Balm and Its Growth Needs
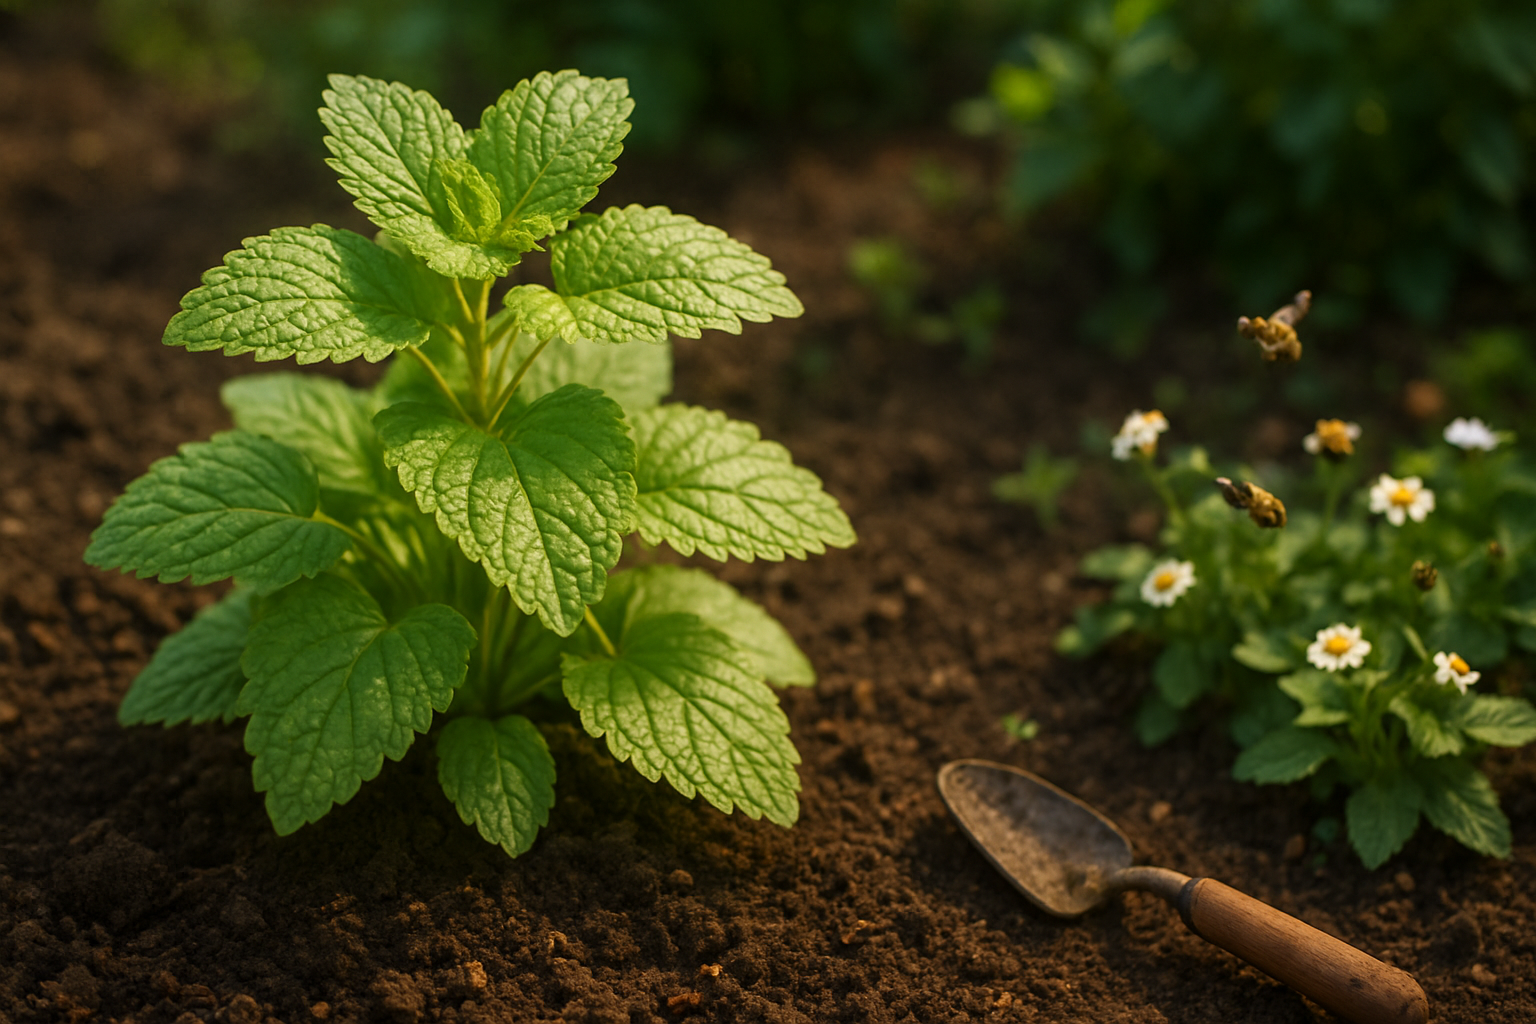
Lemon balm (Melissa officinalis) is a fragrant, bushy perennial herb cherished by gardeners for both its versatility and ease of care. With its heart-shaped, quilted green leaves and a subtle lemon scent, it brings an inviting aroma to any garden.
Lemon balm is prized for its hardiness, thriving across USDA zones 3-7 and tolerating a range of conditions, making it a popular choice for beginners and seasoned gardeners alike. Native to the Mediterranean, lemon balm naturally grows in the mild, sunny, and well-drained environments found across southern Europe.
This origin means it prefers soil that is rich yet light, with good drainage to prevent root rot; amending the garden bed with compost or sand can help recreate these ideal conditions.
One of the standout features of lemon balm is its incredible range of uses.
- In the kitchen, fresh leaves brighten salads, teas, and desserts, while dried lemon balm adds complexity to seasoning blends and herbal teas.
- Medicinally, it has a long tradition of helping relieve stress, supporting sleep, and soothing digestion—many people brew a calming lemon balm tea to unwind.
- Beyond the household, the small white flowers attract bees and other pollinators, boosting the health and productivity of the wider garden ecosystem.
Whether you want a soothing herbal tea, culinary zest, or a pollinator-friendly corner, lemon balm’s undemanding nature and multitude of benefits explain why it has become a staple in herb gardens worldwide.
Essential Soil Qualities for Healthy Lemon Balm
For thriving lemon balm, choosing the right soil makes all the difference. Lemon balm flourishes best in loamy soil—a balanced mix of sand, silt, and clay. This texture offers superb drainage while holding onto enough moisture and nutrients, so roots stay healthy but aren’t smothered.
Well-draining soil prevents soggy conditions that can lead to root rot, a common problem for many herbs, while rich organic matter boosts nutrient content and improves the soil’s structure. Add compost or well-rotted manure before planting for an extra nutrient kick—your lemon balm will thank you with vigorous, fragrant growth.
Aim for a neutral to slightly acidic pH, ideally between 6.0 and 7.5. This range unlocks key nutrients in the soil, making them easier for the plant to absorb. Outside this zone, lemon balm can struggle, with yellowing leaves or stunted growth as common signs of nutrient deficiency.
Consistent, moderate moisture is another key: the soil should feel damp like a wrung-out sponge, not soggy. If you garden in containers, choose pots with drainage holes and use a high-quality potting mix amended with compost to achieve this balance. Mulching around your plants also helps stabilize soil moisture and keep the roots cool, especially during hot spells.
By paying attention to these essential soil qualities, you ensure that your lemon balm stays lush, healthy, and full of flavor all season long.
Choosing and Improving Outdoor Soil for Lemon Balm
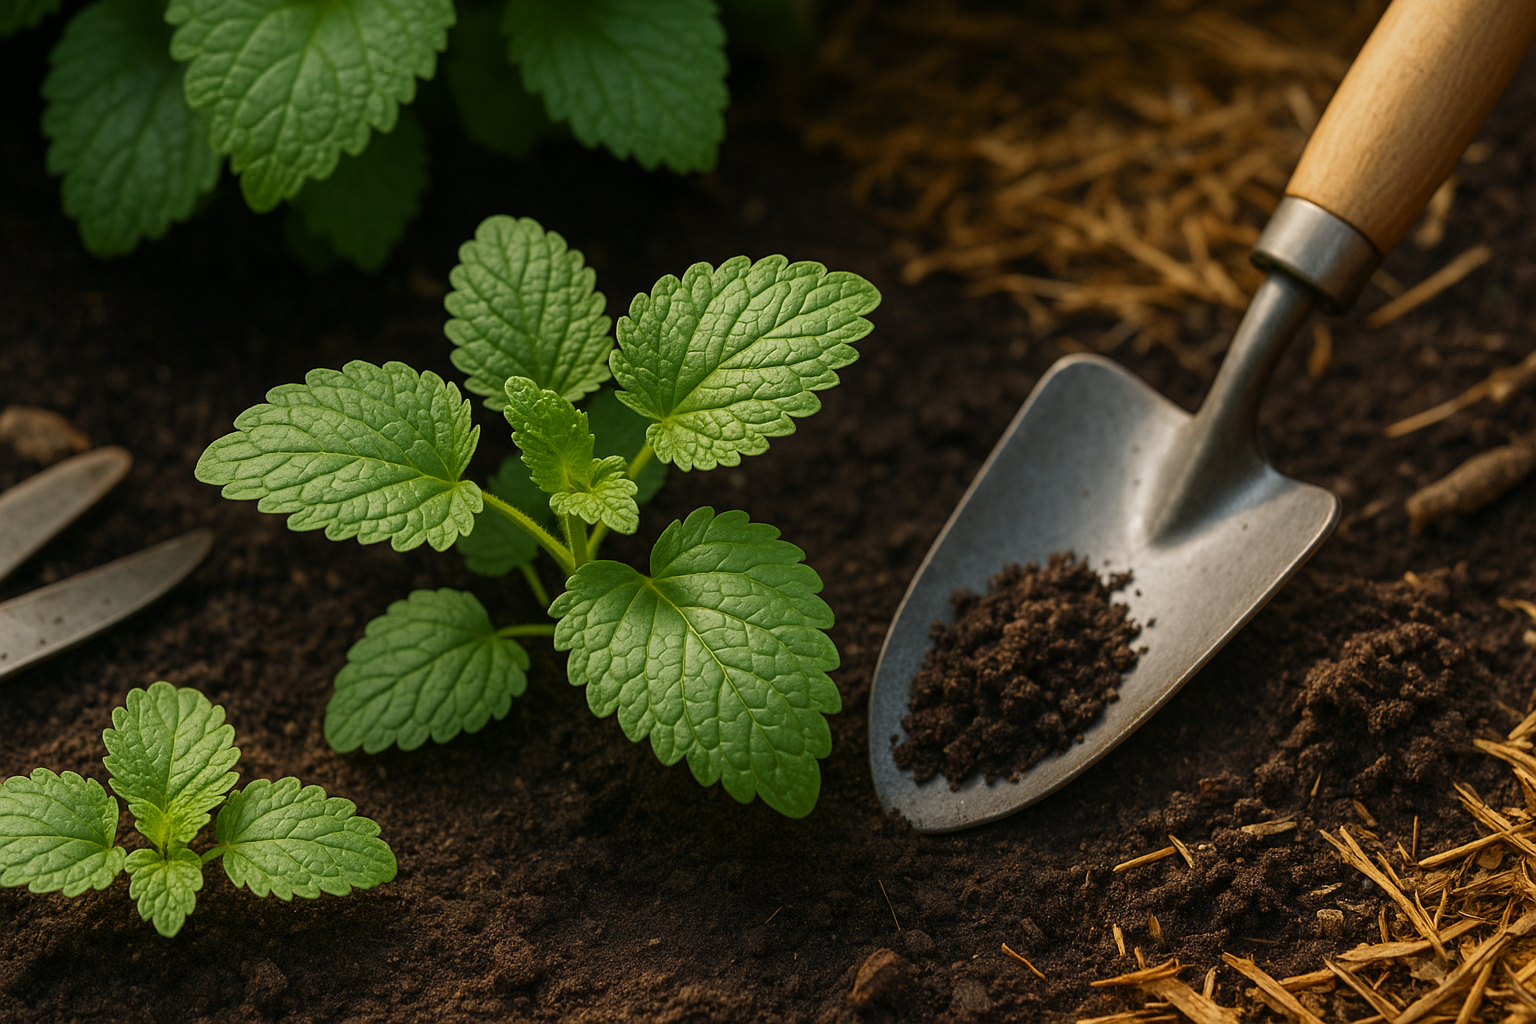
Growing healthy, vibrant lemon balm starts with choosing the right spot and prepping your soil. Begin by checking your garden’s native soil—ideally, lemon balm loves well-draining, loamy earth with a neutral to slightly acidic pH (around 6.0 to 7.0).
Grab a handful and give it a squeeze; if it clumps and stays together, it might have too much clay and could use a boost of coarse sand to improve drainage. If it refuses to hold shape and feels gritty, it’s sandy—mix in rich compost or peat to boost water and nutrient retention.
Adding a few inches of organic compost, worked evenly into the top 6-8 inches of soil, transforms tired ground by boosting fertility and supporting beneficial microbes.
Before you plant, use an inexpensive soil test kit from the garden center or a local cooperative extension service to check your soil’s pH. If you find it’s too acidic, add some garden lime according to package instructions; if your soil is highly alkaline, work in peat moss or elemental sulfur.
Once your soil is amended, pick a spot that gets at least four hours of sunlight and make sure it’s not a low-lying area where water pools—a raised bed or gently sloped site is ideal.
When forming your outdoor bed, loosen the soil well and ensure excess water can drain away easily, as lemon balm hates soggy roots.
Spread a two-inch layer of natural mulch, such as shredded bark or straw, around your new plants; this helps retain just the right amount of moisture while keeping weeds at bay and insulating roots against temperature swings.
With thoughtful soil assessment and these easy improvements, your lemon balm will settle in quickly and thrive for seasons to come.
Selecting and Mixing Soil for Indoor Lemon Balm
Choosing the right soil for your indoor lemon balm can make all the difference in its health and flavor. When shopping for commercial potting mixes, look for blends labeled “herb mix,” “vegetable garden,” or “all-purpose potting soil.” Check for indicators like “well-draining,” “lightweight,” and “contains perlite or vermiculite.” Avoid any soil marketed as “moisture control” or “water-retaining,” since lemon balm’s roots dislike staying soggy.
For a homemade mix, blend:
- Two parts peat moss or coco coir (for water retention and structure)
- One part compost (for nutrients)
- One part perlite or coarse sand (for drainage)
Mix the ingredients well before filling your pot.
Container choice matters, too—go for pots at least 6–8 inches wide with drainage holes at the bottom. Clay or unglazed ceramic pots are great because they allow excess moisture to evaporate, but plastic works fine as long as drainage holes are present.
To further prevent soggy roots, place a thin layer of gravel or broken pottery over the pot’s holes before adding soil, and always empty excess water from saucers underneath.
This attention to soil quality, pot size, and drainage will help indoor lemon balm thrive, providing lush growth and fresh leaves for months to come.
Common Soil Problems and How to Fix Them
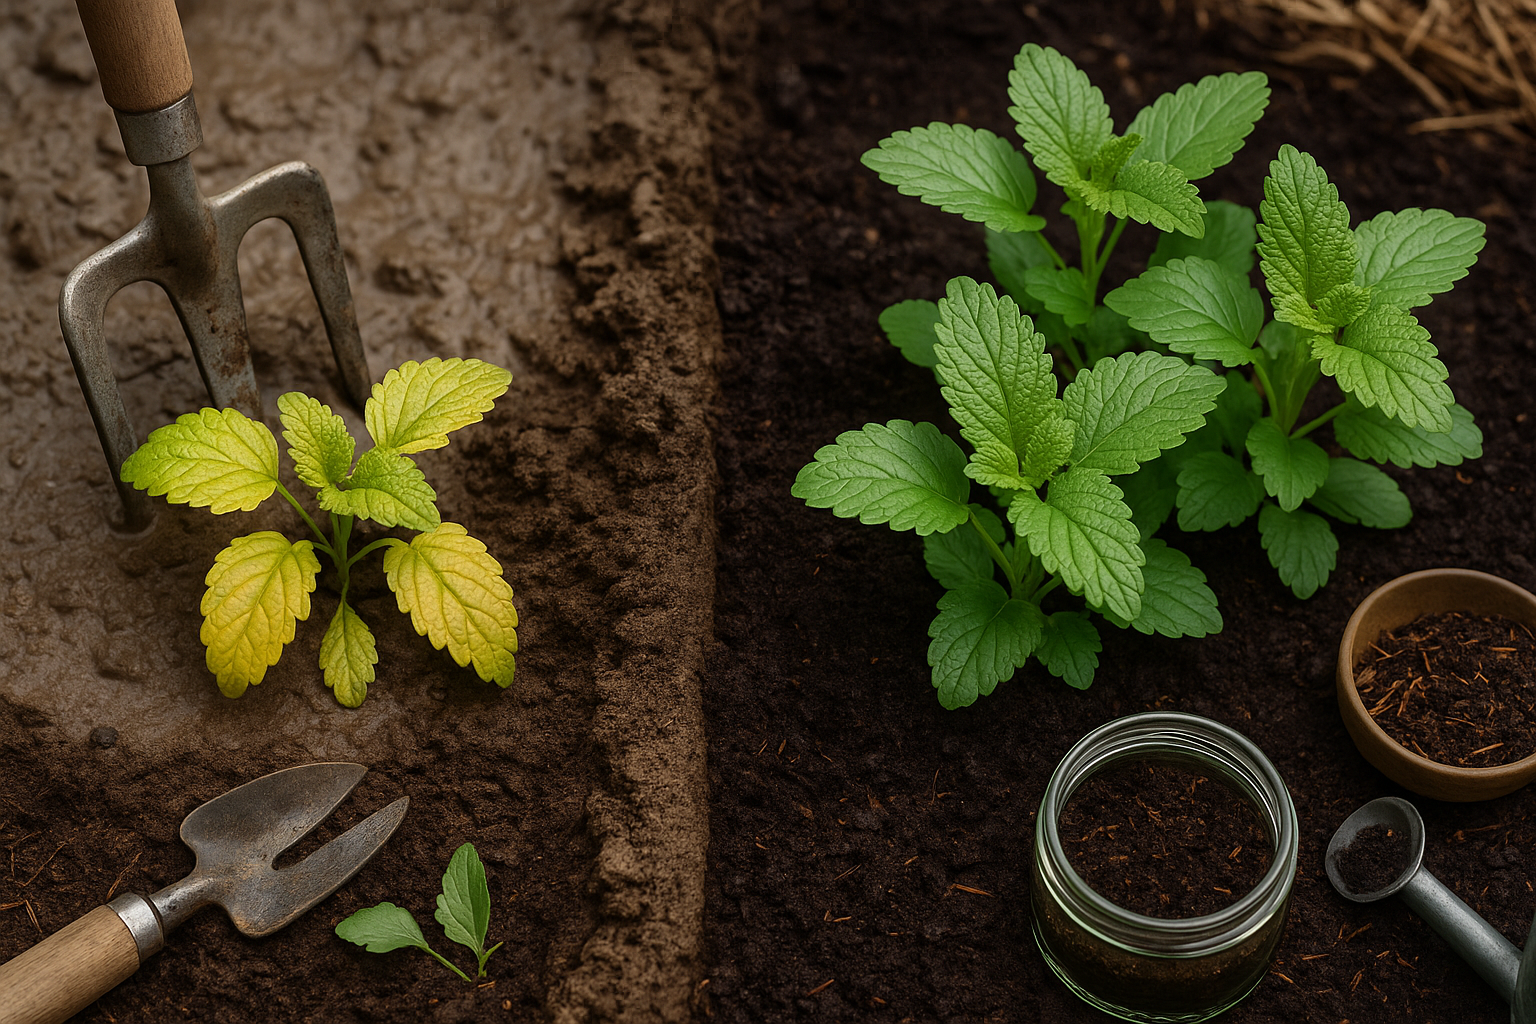
Spotting soil problems early can make all the difference in your plant’s health. Some classic warning signs include stunted growth, yellowing leaves, wilting, root rot, and even an increase in pest activity.
For instance, if your plants look small and sickly or their leaves start turning yellow despite regular watering, you might be dealing with compacted soil or a lack of key nutrients. Overwatering is another common culprit—soggy soil can suffocate roots, leading to root rot or fungal infections. On the other hand, if water seems to just sit on top of the soil or drains away too quickly, compacted or sandy soil could be to blame.
Fixing these issues doesn’t have to be complicated:
- Adjust how often and how much you water—let the top inch of soil dry out between waterings for most houseplants.
- If you suspect compacted soil, gently loosen it with a fork or repot the plant altogether, choosing a lighter, well-draining soil mix.
- Nutrient deficiencies, often shown as pale or mottled leaves, can be addressed by mixing in natural amendments like compost, worm castings, or organic fertilizers.
- If pests are drawn to your unhealthy plants, improving soil conditions usually helps resist bugs naturally.
By staying alert to these symptoms and making simple adjustments, you’ll support healthier, stronger plants without fuss or expensive solutions.
Ongoing Soil Care for Thriving Lemon Balm
Caring for lemon balm’s soil goes beyond the initial planting—ongoing maintenance is key to keeping your plant healthy and vigorous. Start by mulching around your lemon balm with compost, shredded leaves, or straw every few months. This helps conserve moisture, keeps weeds at bay, and slowly adds nutrients as the mulch breaks down.
Conduct a quick soil check at the start of each season by feeling the texture: if the soil is compacted, gently loosen the top layer so roots can breathe. It’s also smart to test the pH once or twice a year; lemon balm prefers a slightly acidic to neutral range (6.0–7.0), which you can adjust with lime or sulfur if needed.
Instead of heavy chemical fertilizers, opt for organic nutrition. A light top-dressing of worm castings or well-rotted compost in spring and mid-summer gives your plant a gentle boost.
When watering, aim for consistently moist—but never soggy—soil. Stick your finger an inch into the earth; if it feels dry, water thoroughly until excess drains out. Never let roots sit in standing water, as this can lead to rot.
For indoor lemon balm or mature outdoor plants, repot every 1–2 years with fresh organic potting mix, or rotate the soil in raised beds by digging in new compost and replacing one-third of the old earth. This ensures that your lemon balm stays lush, fragrant, and productive year after year, whether in a pot on the windowsill or thriving in your backyard garden.
Quick Reference
Indoor Soil Needs
- Use a high-quality, well-draining potting mix designed for herbs or container plants.
- Keep the soil consistently moist but not soggy to prevent root rot.
- Choose sterile, pest-free mixes to avoid indoor infestations and diseases.
- Consider mixing in perlite or sand for extra drainage, since indoor pots tend to retain water.
- Refresh the soil yearly to replenish nutrients and prevent compaction.
Outdoor Soil Needs
- Plant lemon balm in loamy, well-drained garden soil; amend clay or sandy soils with compost.
- Pick a spot with good sunlight and airflow to reduce fungal risks.
- Test soil pH—lemon balm prefers slightly acidic to neutral (6.0–7.0).
- Mulch to retain moisture and suppress weeds, but leave space around stems for airflow.
- Fertilize lightly in spring; avoid overfeeding to prevent leggy growth.
Common Mistakes to Avoid
- Indoors: Don’t use garden soil in pots—it can compact and bring pests inside. Also, avoid overwatering.
- Outdoors: Avoid low spots where water pools and don’t overcrowd plants—give them room to spread.
Ready to try? Pick a spot, prep your soil, and plant a few lemon balm seeds or seedlings today to enjoy fresh, fragrant leaves all season!