Introduction
Understanding the basil growth stages is key to transforming a handful of tiny seeds into a lush, aromatic plant that elevates any dish. Basil is one of the most rewarding herbs you can grow, prized for its fresh flavor and adaptability—whether you have a sprawling garden or just a sunny kitchen window.
Starting basil from seed appeals to both beginners and experienced gardeners. Not only is it cost-effective, but it also gives you control over the plant’s environment right from the very start. Watching those first green shoots push through the soil brings a unique sense of accomplishment and connection to your food.
In this article, we’ll walk you through the entire basil growing timeline, tracking each stage from the first sign of sprouting to the leafy, fragrant harvest. Along the way, you’ll find practical tips for every phase, like how to ensure strong root development in seedlings, when to thin for best growth, and the perfect moment to pinch your basil for bushy, prolific plants.
Whether you’re hoping to fill your kitchen with homemade pesto or simply want to enjoy the scent of fresh basil on your windowsill, this guide will help you nurture your basil at every step and harvest at its flavorful peak.
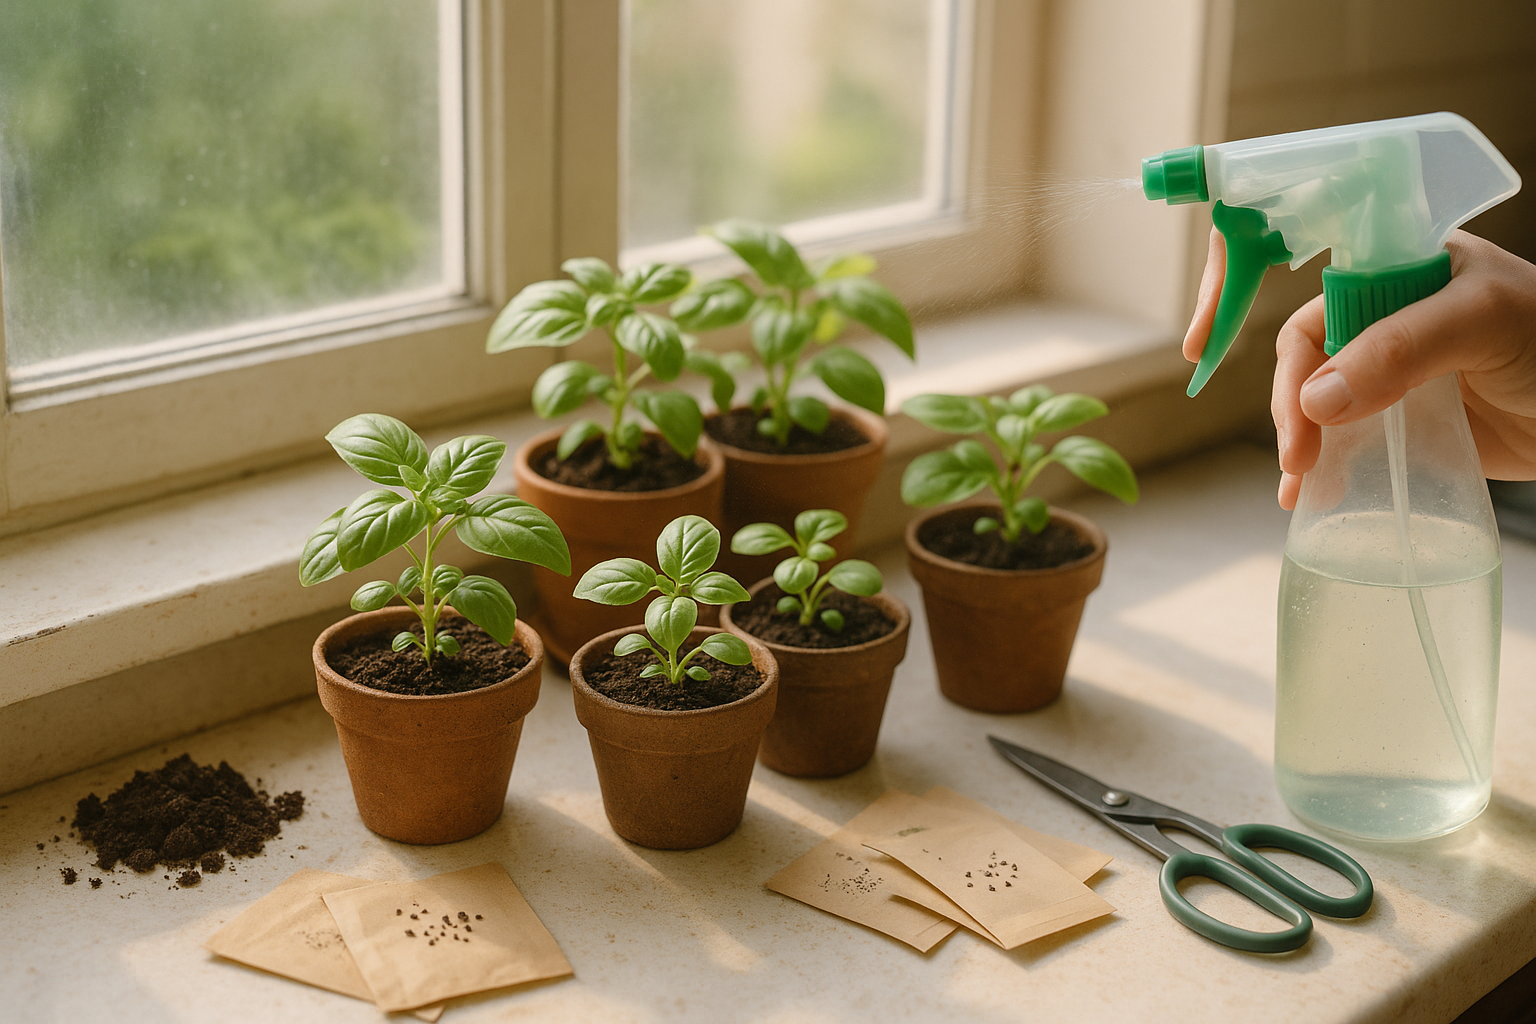
Choosing and Sowing Basil Seeds
Choosing the right basil variety can elevate both your garden and your kitchen. Start by considering your climate: sweet basil thrives in warm, sunny areas, while Thai or lemon basil varieties can handle a bit more humidity or heat. If you love making pesto, traditional Genovese basil is a classic pick. For salads or drinks, try globe basil or purple basil for unique flavors and colors.
Once you’ve selected your seeds, plan your planting. Basil is sensitive to cold, so in cooler climates, it’s best to sow indoors about 6-8 weeks before your last expected frost. If you’re in a warmer region, you can sow directly outdoors once overnight temperatures consistently stay above 50°F (10°C).
Use seed trays or small pots filled with a light, well-draining seed-starting mix. Basil seeds need only a shallow covering—just 1/4 inch deep—as they require some light to germinate well. Space seeds or seedlings about 10-12 inches apart to allow airflow and prevent mildew.
Keep the soil consistently moist, but not waterlogged, by misting gently after planting, and aim to maintain a temperature around 70°F (21°C) to encourage quick sprouting. Using a humidity dome or covering your pots with plastic wrap can help retain moisture during the first week.
Within 5-10 days, you should see tiny basil seedlings emerge. Just be careful not to overwater at this stage, as young plants can be prone to damping-off. With a bit of attention to both seed choice and care, you’ll set the stage for a thriving basil harvest all season long.
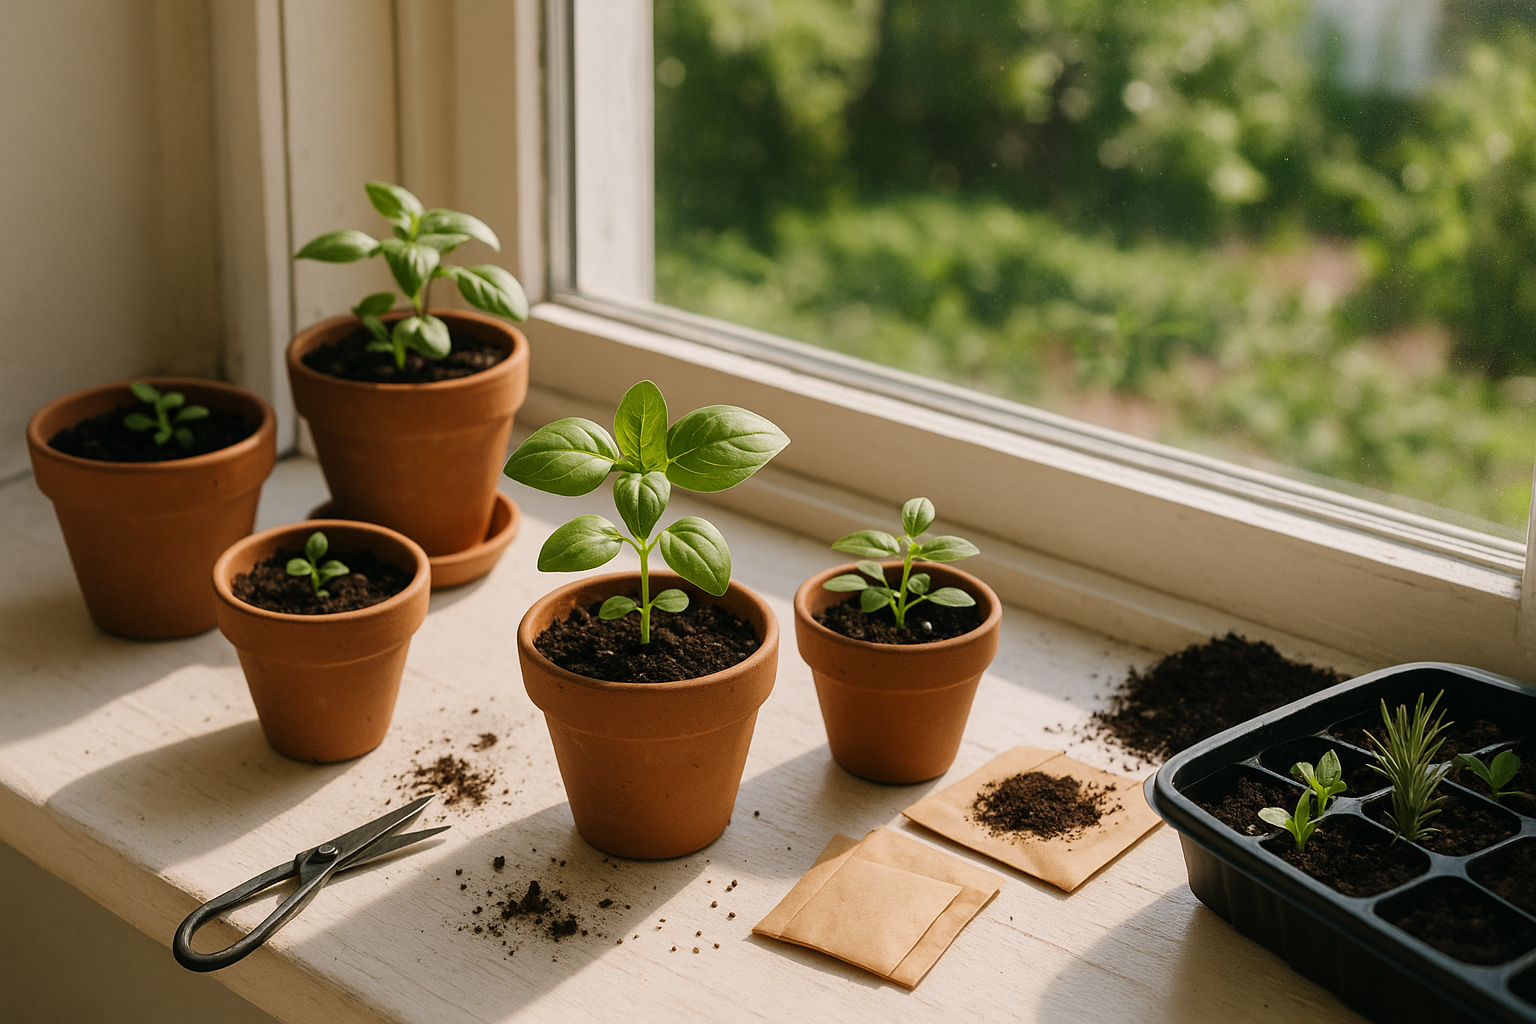
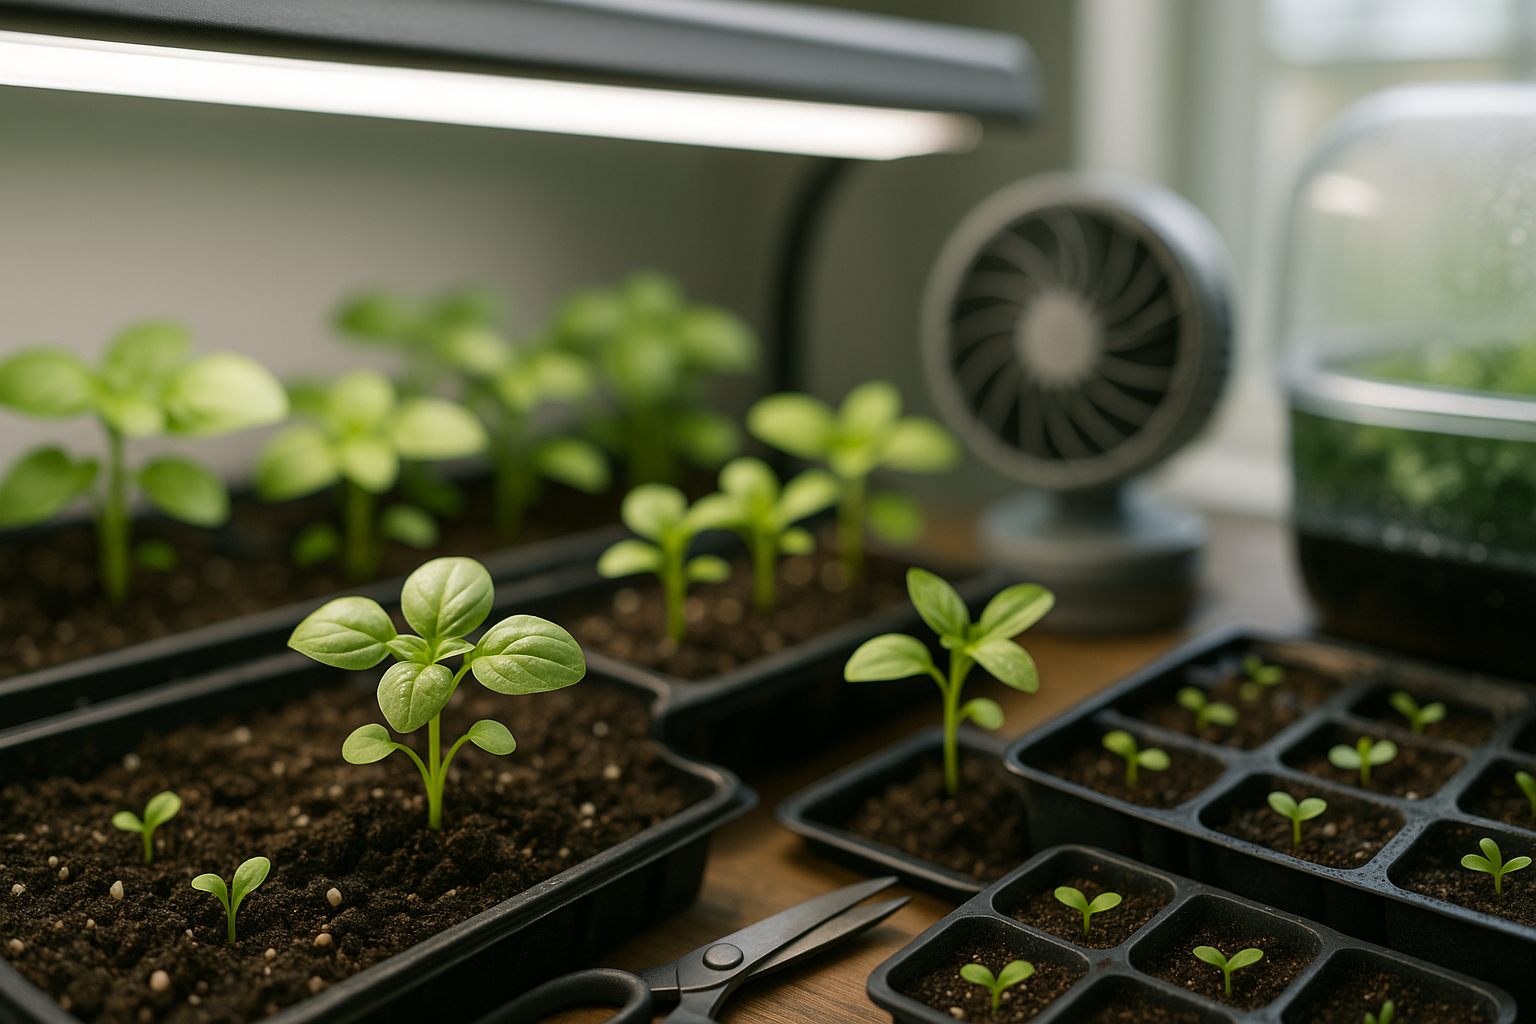
Germination and Seedling Care
Germination marks the exciting beginning of plant growth, when seeds break dormancy and send up their first shoots. For most vegetables and flowers, germination typically takes 5 to 14 days. However, some seeds—like peppers or parsley—may take longer, sometimes up to three weeks, so patience is key.
Start by planting seeds in a quality seed-starting mix, keeping the soil consistently moist but never soggy; too much water can suffocate seeds or cause rot. Ideal soil temperatures usually fall between 65 and 75°F (18-24°C), and bottom heat from a seedling mat can speed sprouting for warmth-loving plants.
As soon as seeds sprout, move trays to a bright window or place them under grow lights set just a few inches above to prevent spindly, stretched seedlings—known as legginess—which results from insufficient light. Aim for 12-16 hours of light per day.
Good air circulation is crucial: stagnant, damp air promotes damping-off, a common fungal disease that causes seedlings to collapse. To reduce this risk, avoid overwatering, use sterile containers, and consider gently running a fan nearby.
Thin crowded seedlings early so each has enough space for airflow and growth. By providing the right conditions—ample light, moderate warmth, gentle moisture, and clean surroundings—you’ll raise sturdy, healthy seedlings ready for transplanting outside.
Vegetative Growth and Maintenance
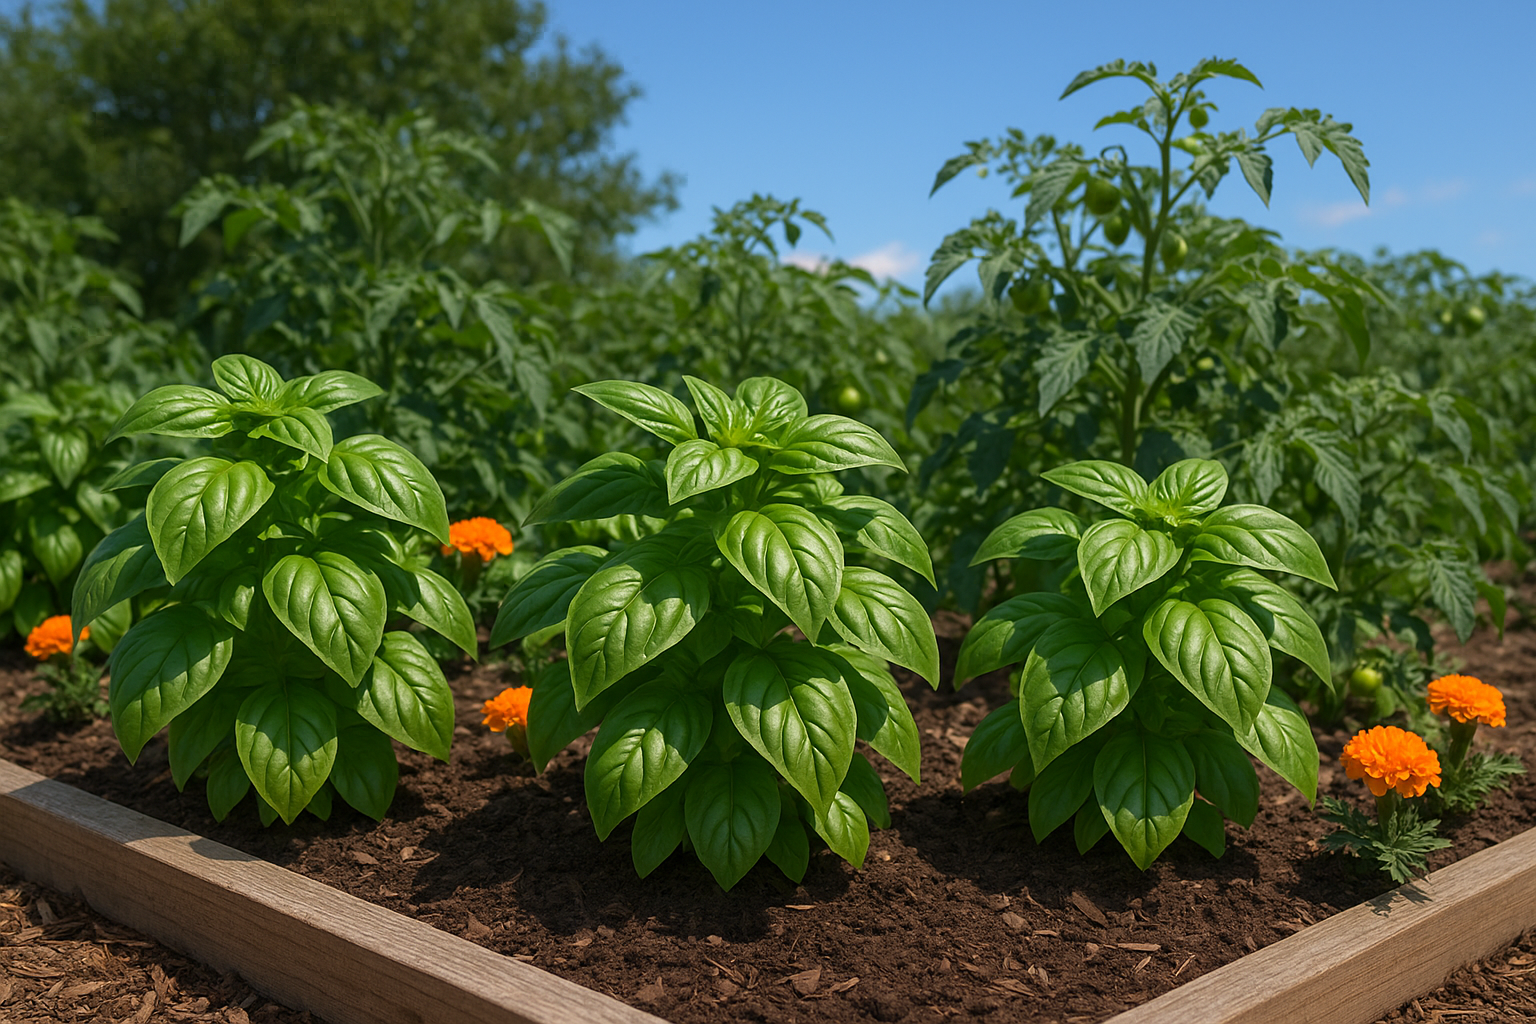
The vegetative phase is a crucial period when plants focus their energy on developing strong leaves and stems, setting the stage for healthy blooms and high yields later on. During this phase, you’ll notice your plants growing rapidly, producing lush green foliage and sturdy branches.
To keep up with their needs, check the soil moisture daily; most plants prefer consistently damp (not soggy) soil, so water when the top inch feels dry. Use a balanced fertilizer every few weeks, choosing a formula high in nitrogen to fuel leafy growth.
Thinning seedlings ensures each plant has enough space to spread out, reducing competition for nutrients—aim for recommended spacing, such as 12 to 18 inches apart, depending on the species. Pinch or prune growing tips regularly to encourage bushier, fuller plants and prevent them from becoming leggy.
If you are transplanting outdoors, pick a cloudy day or evening to minimize transplant shock, and water deeply after moving each plant. Spacing is vital: overcrowded plants are more susceptible to disease and poor air circulation, so follow the guidelines on your seed packet.
Companion planting—like pairing basil with tomatoes or marigolds with vegetables—naturally wards off pests and boosts growth by creating a healthier microenvironment.
Watch closely for common problems such as aphids, powdery mildew, or yellowing leaves. Early warning signs include tiny holes in leaves, sticky residue, curling foliage, or white patches. Catching these issues early lets you respond quickly, whether by removing affected leaves, using natural sprays, or introducing beneficial insects.
By staying observant and giving your plants the right care during the vegetative stage, you lay the groundwork for a bountiful, resilient garden.
Flowering, Harvesting, and Maximizing Basil’s Flavor
As basil shifts from leafy growth to the flowering stage, you’ll notice buds forming at the tips. This signals the plant’s energy moving from producing lush leaves to creating seeds. This change often causes a decline in both flavor and leaf production, which is why keeping basil at its best requires some simple but essential tricks.
For the best flavor, harvest basil regularly—at least every week or two—by pinching or snipping stems just above a pair of healthy leaves. This encourages the plant to branch out and stay bushy, rather than grow tall and leggy. The key to maximum flavor is to harvest the leaves before the plant flowers; once flowers appear, pinch them off immediately to refocus basil’s energy on its leaves and extend your harvest window.
Don’t hesitate to cut back! Regular harvesting and vigilant flower removal can keep basil fresh for weeks longer, rewarding you with sweeter, more aromatic leaves.
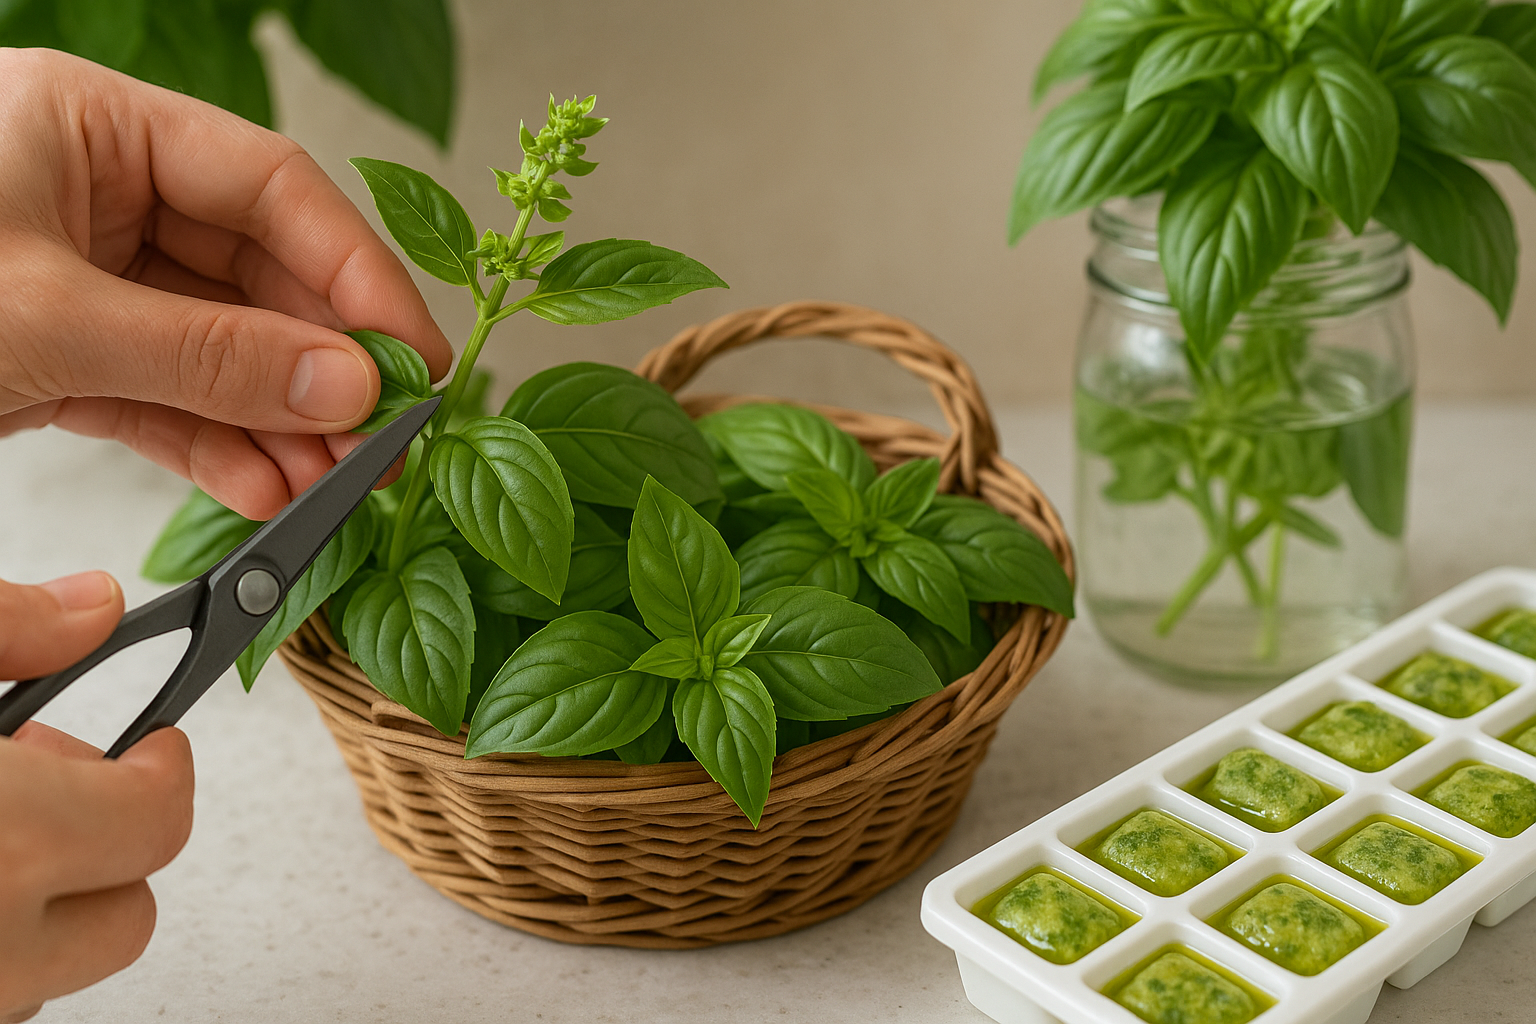
After harvesting, basil can be used immediately or stored for later use. If you plan to use it within a few days, place the stems like a bouquet in a glass of water at room temperature and loosely cover with a plastic bag. For longer storage, gently wash and thoroughly dry the leaves, then spread them on a clean towel or tray to air-dry or use a dehydrator on a low setting.
You can also freeze the leaves whole in a single layer, then transfer them to a bag, or blend basil with olive oil and freeze in ice cube trays for easy use in sauces, soups, or pesto.
By understanding each stage of basil’s growth and applying these simple harvesting and preservation techniques, you can enjoy garden-fresh basil with peak flavor all season long.
Troubleshooting & FAQs for Thriving Basil
Knowing when and how to harvest basil can make all the difference for healthy, flavorful growth. Generally, you’ll want to start picking leaves when the plant reaches about six inches tall and has several sets of leaves. Snip above a pair of leaves to encourage bushier regrowth, and never take more than one-third of the plant at once.
If you’re wondering about the optimal environment, basil loves full sun (at least 6 hours daily) and prefers well-draining, moist—not soggy—soil. Inconsistent watering leads to wilting, yellowing, or root rot, so always check soil moisture with your finger before watering.
Are your basil leaves turning yellow or curling? You might be overwatering, underwatering, or exposing the plant to cold. Leaf-eating pests like aphids and Japanese beetles can also cause damage; look for tiny clusters or holes in the leaves and treat with a gentle insecticidal soap if needed.
For those worried about regrowth after cutting, don’t stress—basil is incredibly resilient. Regular harvesting actually signals the plant to produce fuller foliage.
Quick-tip Chart
- Seedling stage: Keep soil damp, avoid drafts.
- Early growth: Pinch tips for bushier plants.
- Mature basil: Harvest early and often; watch for flower buds and pinch them off to maintain flavor.
End-of-season? If outdoors, protect your plant from sudden chills and snip as needed for indoor window growing. By understanding basil’s needs at each stage and acting quickly when problems pop up, you’ll keep your plant lush and productive all season long.
Conclusion
From seed to harvest, growing basil is a rewarding journey that doesn’t take long—typically, your basil plants will be ready for their first leafy harvest in about 6 to 8 weeks. Whether you started your seeds on a sunny windowsill or picked up a young plant at the nursery, you’ve watched it grow through sprouting, leafing out, and finally, vigorous branching.
Remember, regular pinching or harvesting keeps basil bushy and productive, so don’t hesitate to snip leaves often. Now comes the best part: enjoying your fresh basil! Toss whole leaves onto salads, blend them into vibrant pestos, or sprinkle over hot pizzas for a burst of flavor.
Every plant and kitchen is different, so don’t be afraid to experiment with recipes—basil pairs well with everything from tomatoes to strawberries. As you continue to grow and cook, you’ll get a feel for what works best for you.
We’d love to see how your basil is thriving and hear about your favorite ways to use it. Feel free to leave a comment below with your feedback or share photos of your basil bounty—let’s celebrate the joys of gardening and fresh flavors together!