
Understanding Common Cauliflower Pests
Growing cauliflower in your garden is rewarding, but the constant battle with cauliflower pests can be frustrating—even for seasoned gardeners. Cauliflower plants, with their tender leaves and compact heads, are especially susceptible to pest attacks because their tightly clustered foliage provides a sheltered oasis for insects to thrive.
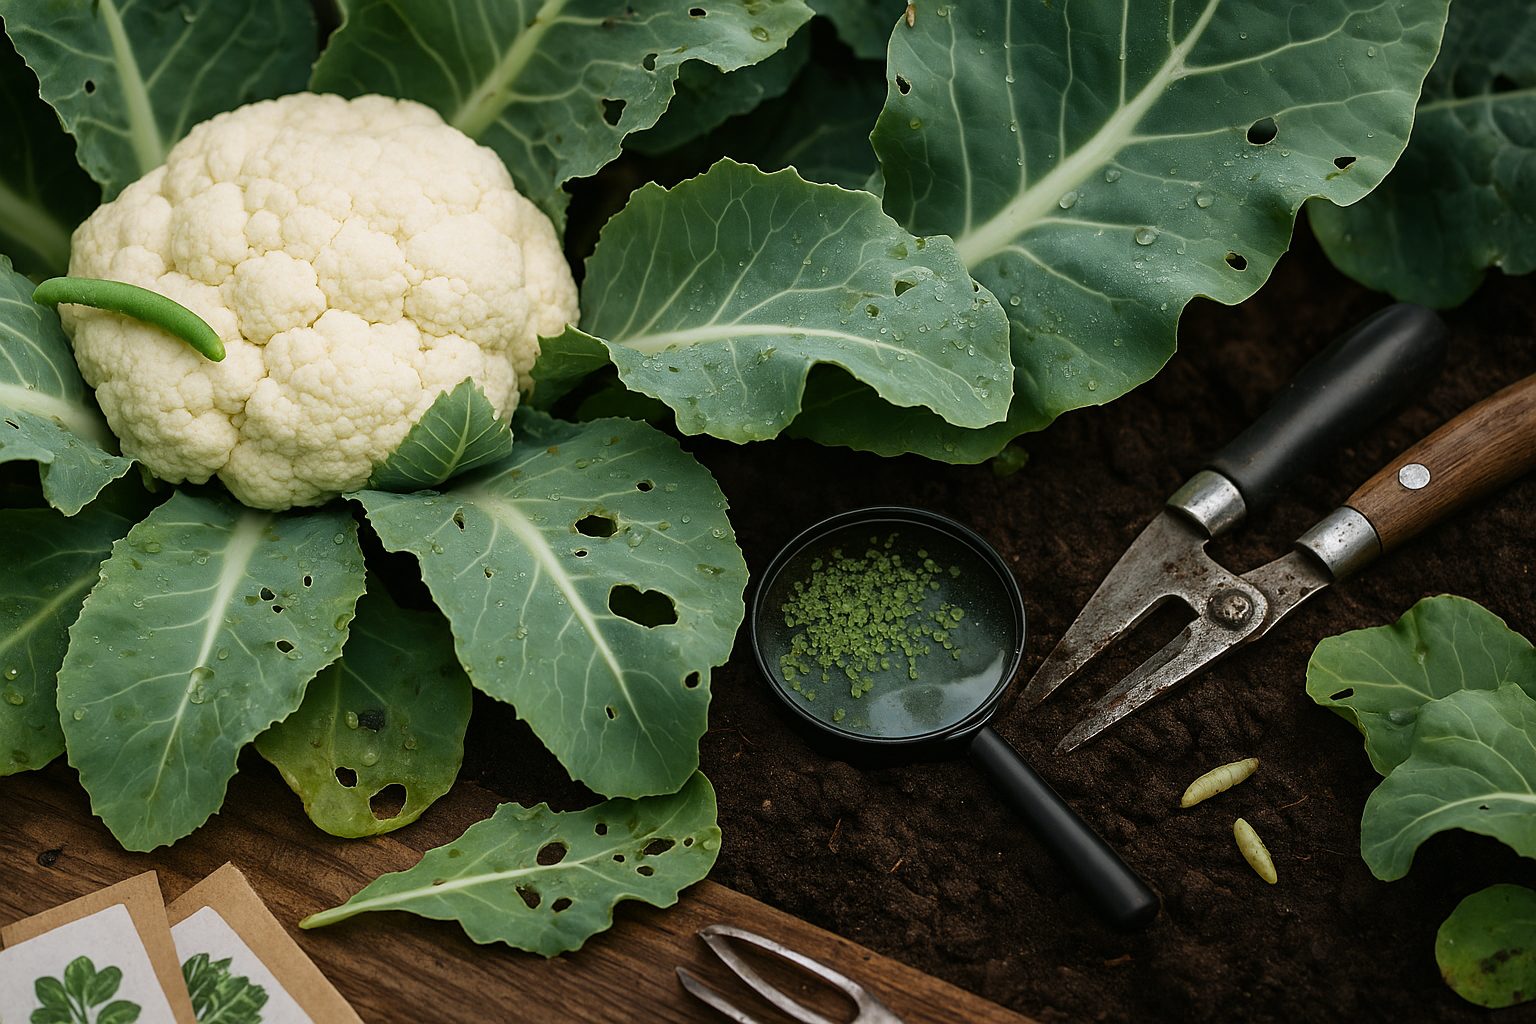
Among the most common culprits are aphids, cabbage loopers, cabbage moths, and maggots.
- Aphids: Tiny sap-sucking insects that cluster on new growth and the underside of leaves, causing yellowing, distortion, and stunted growth.
- Cabbage loopers: Green caterpillars with a looping movement that chew irregular holes in leaves, often leaving frass behind and reducing photosynthesis.
- Cabbage moths: Their larvae burrow into cauliflower heads, contaminating and destroying edible portions.
- Maggots: Target the roots, leading to wilting and sometimes plant death as they compromise the plant’s ability to uptake water and nutrients.
The impact of these cauliflower pests goes beyond cosmetic; unchecked infestations can decimate yields and ruin your entire season’s effort. Managing these pests early and effectively is essential for healthy, productive cauliflower crops.
Thankfully, by recognizing early signs of infestation and using natural fixes—such as encouraging beneficial insects like ladybugs, handpicking caterpillars, or using row covers—you can protect your plants without resorting to harsh chemicals.
Keeping your cauliflower patch healthy is all about vigilance, quick action, and understanding the threats these pests pose, ensuring you’ll enjoy those crisp, white heads at harvest time.
How to Identify Pest Problems Early
Spotting pests in your garden or on houseplants early can make all the difference in keeping your plants healthy. Keep an eye out for common visual clues:
- Chewed or ragged leaves often signal caterpillars or beetles.
- Small holes are telltale signs of aphids or flea beetles.
- Wilting or drooping might mean root pests or an infestation damaging the plant’s ability to absorb water.
- Sticky residue on leaves, called honeydew, is a giveaway for sap-sucking insects like aphids, whiteflies, or scale.
- Discolored spots, yellowing, or stippling can also point to mites or thrips.
Inspect your plants closely—turn leaves over to check the undersides for clusters of eggs, which often look like tiny dots or granules and may be pale, yellow, brown, or even fuzzy. Look along stems, leaf joints, and near the soil for larvae or adult bugs; many pests hide in these shaded, less obvious spots.
Make inspection a regular habit: morning is often best, as insects are less active and dew can highlight signs like webs or eggs. Take a few minutes each week to scan your plants from top to bottom, paying special attention to new growth, the underside of leaves, and the soil surface.
For potted plants, gently lift the pot to check for movement underneath, since some insects hide there during the day. Early detection lets you act quickly—hand-picking or pruning affected parts, applying safe remedies, or isolating a sick plant—before pests multiply and cause major damage.
Consistent, thorough checks are the best way to stop a small problem from turning into an infestation and can save you time, money, and frustration in the long run.
Organic and Preventative Pest Control Methods

Organic and preventative pest control is all about stopping pest problems before they start and using nature-friendly tactics when they do appear. Simple acts like hand-picking pests—especially larger bugs like caterpillars or beetles—can quickly reduce infestations if you check your plants regularly. A strong spray of water from a hose can knock off aphids, mites, and other small insects without leaving residues.
Neem oil is another excellent option; it disrupts pest feeding and reproduction but is safe for pollinators once dry. To keep the balance, encourage beneficial insects like ladybugs, lacewings, and hoverflies by planting pollinator-friendly flowers and avoiding broad-spectrum pesticides.
In addition, cultural practices make a big difference:
- Swap crop locations each year (crop rotation) to prevent soil-dwelling pests from taking hold.
- Space plants properly to boost airflow and reduce disease.
- Always clean up fallen leaves or plant debris that can harbor insects.
Physical barriers add another line of defense; floating row covers and insect netting can protect young plants from flying pests without chemicals. You might also try simple deterrents like copper tape to repel slugs around garden beds or sticky traps for monitoring insect populations.
By combining these strategies, you’ll not only keep pests in check but also foster a more resilient, environmentally friendly garden that stays healthy with less intervention and less risk to pollinators or soil life. Remember, the key is regular vigilance and a proactive approach—catching small problems early is always easier and safer than dealing with a full-blown infestation.
Safe Chemical and Integrated Pest Management Strategies
Chemical pesticides should be a last resort in your garden, especially when growing edible crops. Consider other options first, like hand-picking pests or using barriers. When chemicals are necessary, choose organic or low-toxicity pesticides such as neem oil, insecticidal soaps, or diatomaceous earth, which are generally safer for both humans and the environment.
Even with these safer options, always follow the label instructions for application rates and timing. This significantly reduces the risk of harming pollinators like bees and butterflies. To protect beneficial insects, spray pesticides in the early morning or late evening when pollinators are less active. Target only the affected plants and avoid spraying blooming flowers whenever possible.
The best approach is Integrated Pest Management (IPM), which combines:
- Cultural methods: rotating crops and selecting pest-resistant varieties
- Biological controls: encouraging beneficial insects like ladybugs and lacewings
- Selective, minimal use of chemical treatments
This strategy helps keep pest populations in check while maintaining a balanced, healthier ecosystem in your garden.
When handling any pesticide, always wear gloves, long sleeves, and a mask, and wash your hands thoroughly afterward. Store chemicals out of the reach of children and pets. Finally, avoid harvesting crops until the recommended waiting period has passed after pesticide application—check the product’s “pre-harvest interval” on the label to ensure your produce is safe to eat.
With thoughtful choices and safe practices, you can keep your edible garden productive and healthy while minimizing risks to yourself and the environment.
Dealing with Persistent or Severe Infestations
If homemade solutions or over-the-counter products aren’t stopping your pest problem, it’s time to escalate your approach. Warning signs of a severe infestation include rapid spread of damage across multiple plants, visible swarming or colonies of insects (like aphids, mites, or mealybugs), wilting or yellowing despite good care, sticky honeydew residue, or evidence of pest eggs and larvae on leaves and stems. At this stage, prompt action is critical to protect your entire garden.
Start by isolating infested plants—move them away from healthy ones if possible, to prevent pests from spreading. Use pruning shears to remove heavily damaged or insect-ridden parts, making sure to seal and dispose of this material in a plastic bag outside your home rather than composting it. For small potted plants, consider repotting into fresh soil and cleaning all pots and tools with hot, soapy water.
In cases where a plant is completely overrun and unlikely to recover, it’s best to remove and destroy it entirely to break the infestation cycle. Disinfect your hands and tools between every affected plant to avoid contamination.
If the situation remains out of control, don’t hesitate to reach out to your local extension service or a master gardener program—these resources can offer expert advice specific to your area and may identify pest species and recommend targeted treatments, such as beneficial insect release or systemic pesticides. Acting quickly and consulting the right experts not only saves your plants but also helps you avoid future outbreaks.
Maintaining Long-Term Cauliflower Health and Pest Prevention
Keeping your cauliflower healthy over the long term starts with smart, ongoing practices that disrupt pest cycles and foster a thriving garden ecosystem. One of the most effective strategies is crop rotation—avoid planting cauliflower or other brassicas in the same spot year after year. This helps prevent soil-borne diseases and reduces the buildup of pests like cabbage loopers and aphids. Give your beds at least two or three years before returning to cauliflower, switching with unrelated crops such as beans, peas, or carrots.
Equally important is active soil management. Regularly incorporate organic matter such as compost or well-rotted manure to encourage strong root systems and healthy plants, making them less vulnerable to attacks. Companion planting can further bolster your defenses—consider growing herbs like dill, cilantro, or nasturtiums nearby, which can deter pests and attract beneficial insects like ladybugs and lacewings that feast on aphids. Creating small habitats—such as leaving mulch piles, planting wildflower borders, or installing insect hotels—offers shelter for predatory insects that keep harmful populations in check.
Seasonal Maintenance
Seasonal maintenance plays a big role in sustaining cauliflower health. Each year, promptly remove plant debris at the end of the season to eliminate overwintering sites for pests or fungal spores. Early in the spring, inspect your soil and plants for signs of eggs, larvae, or early infestations, and react quickly with organic interventions if needed. Regularly weeding not only reduces competition for nutrients but also removes hiding spots for pests.
Throughout the growing season, use floating row covers as a physical barrier during peak pest activity, rotating them out as pollination needs arise. Additionally, keep detailed garden records—note the varieties you’ve planted, any pest outbreaks, treatments used, and successes or failures. Over time, these notes become invaluable, helping you spot patterns in pest activity and tailor your prevention strategies for future seasons.
Consistent attention and a willingness to adjust your approach each year will give your cauliflower—and your entire garden—the best chance at thriving, season after season.