Choosing the Right Cauliflower Variety
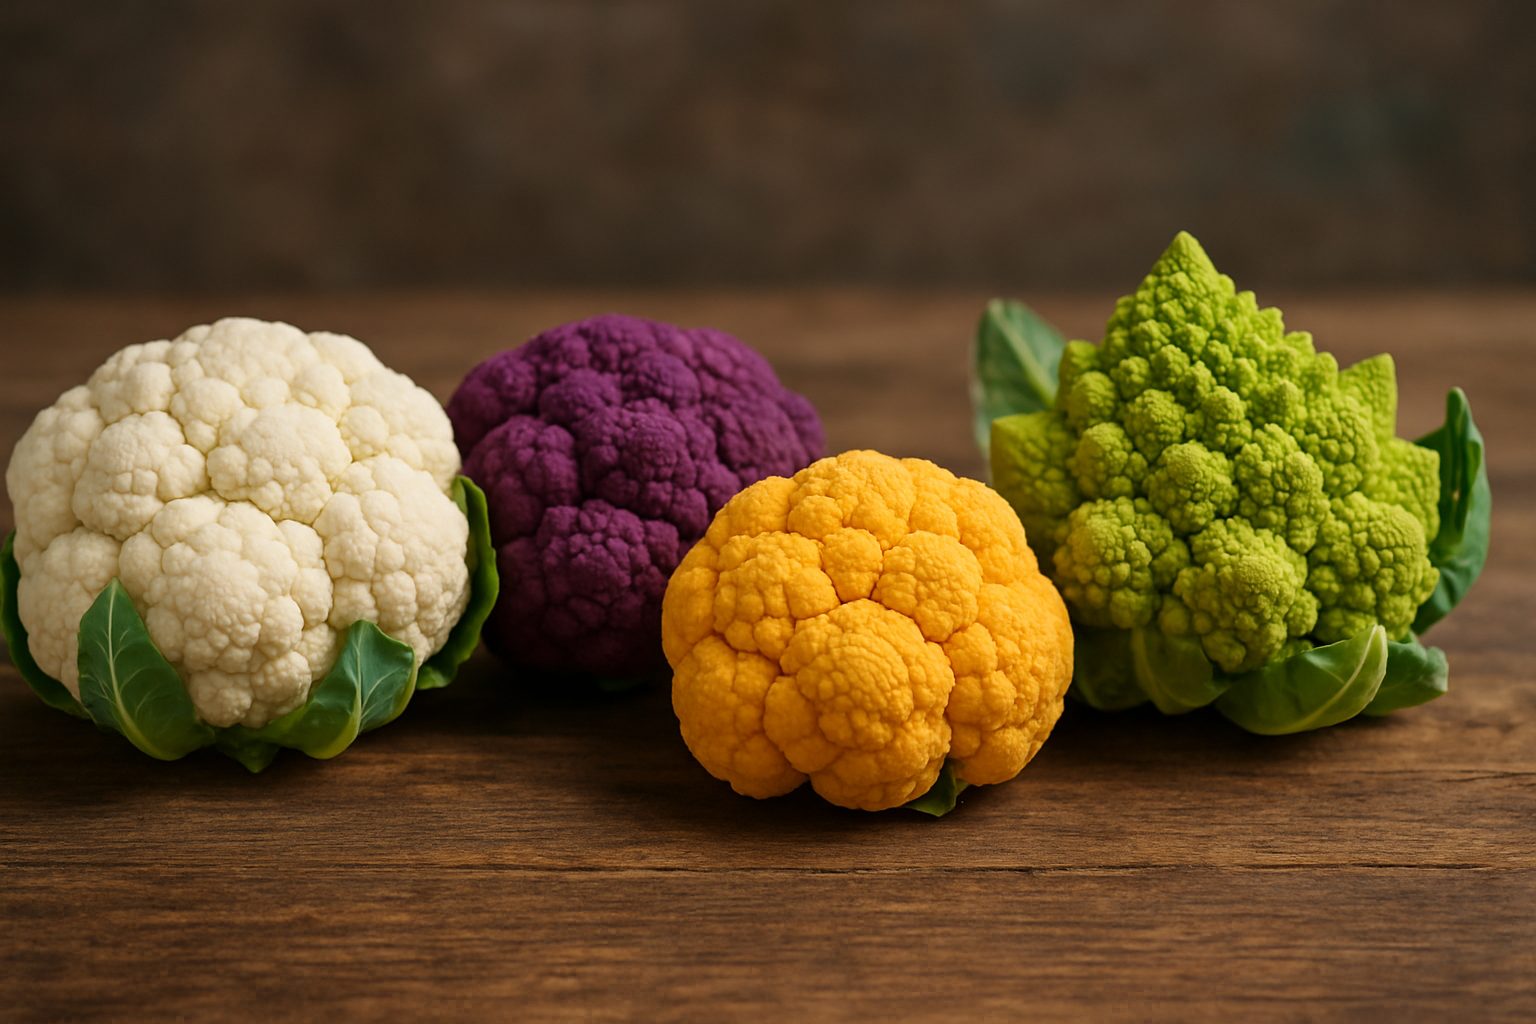
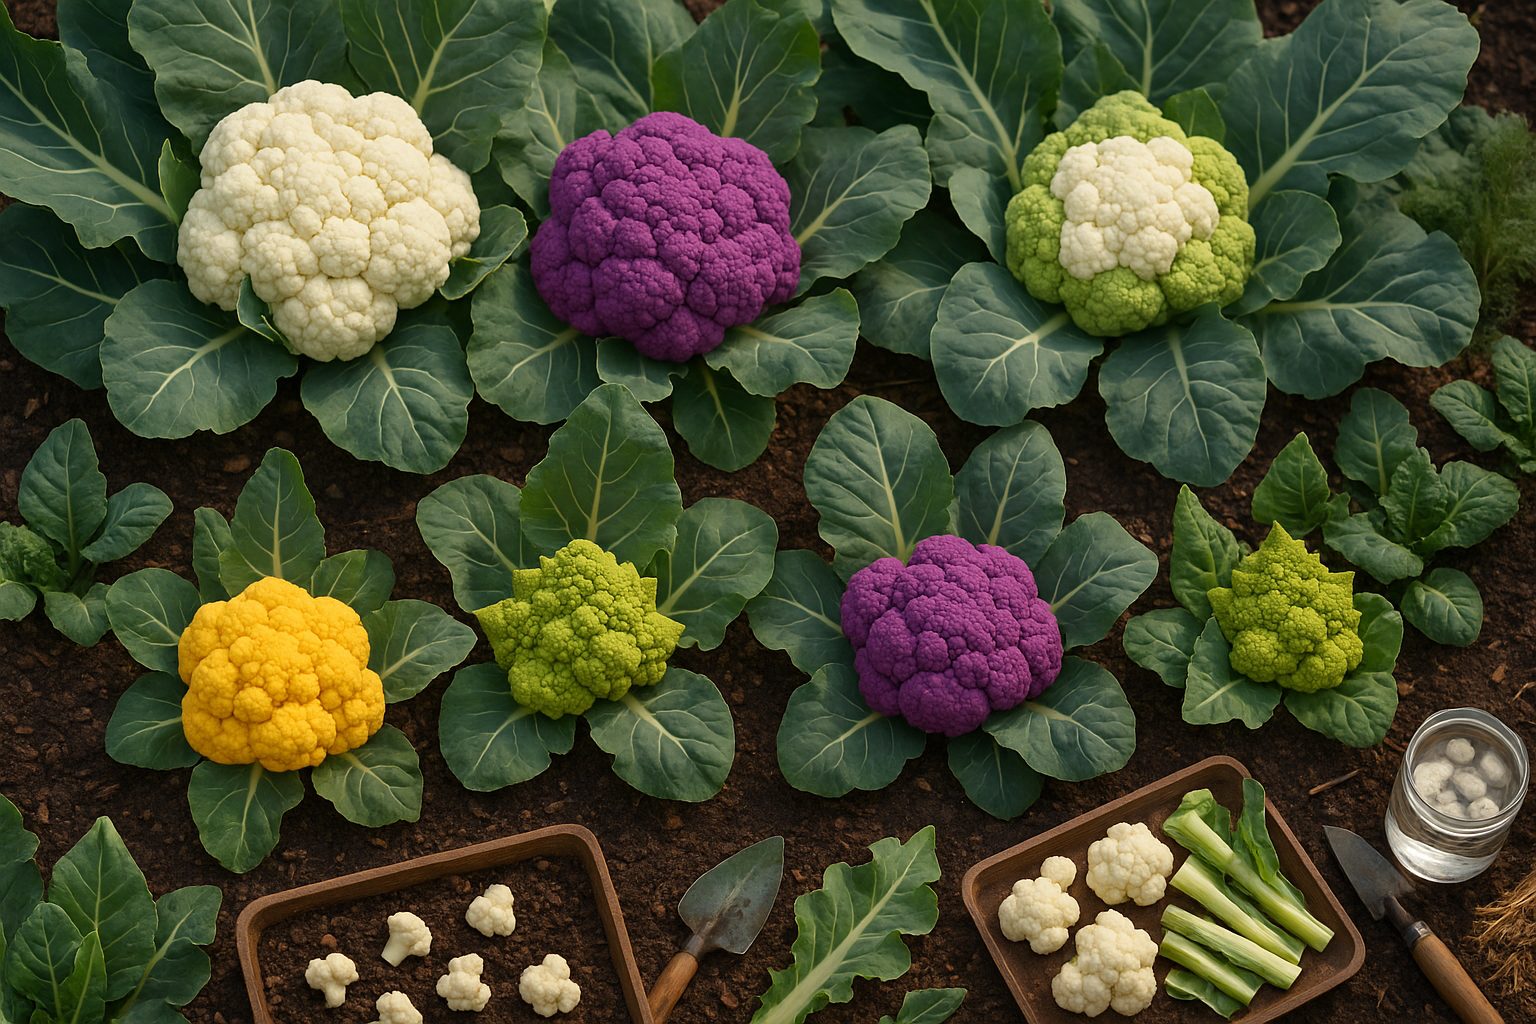
Understanding cauliflower growing time is key when deciding which variety to plant in your garden. With options like classic white cauliflower, striking purple types, vibrant orange heads, and the uniquely spiraled Romanesco, gardeners have plenty of choices. Each variety comes with its own advantages.
White cauliflower is a kitchen staple and matures in about 55-80 days, making it a reliable pick for most zones. Purple varieties, often a bit sweeter with a nutty flavor, can brighten up raw salads or steamed dishes—perfect if you want to add visual appeal to your meals. Orange cauliflower not only delivers a boost of vitamin A but often matures slightly faster than white varieties, ideal for gardeners seeking quicker results. Romanesco, with its distinct taste and appearance, is a favorite for adventurous cooks but may require a longer growing time and more attentive care.
When choosing a variety, consider your local climate—some cauliflowers tolerate heat better, while others thrive in cooler temperatures. If you plan to roast, rice, or serve it fresh, match the flavor profile to your favorite dishes. Lastly, pay attention to the days to maturity and look for seed packets that highlight disease resistance, such as protection from clubroot or powdery mildew. Careful selection ensures you enjoy a bountiful harvest perfectly suited to your garden and kitchen needs.
Preparing the Soil and Garden Beds
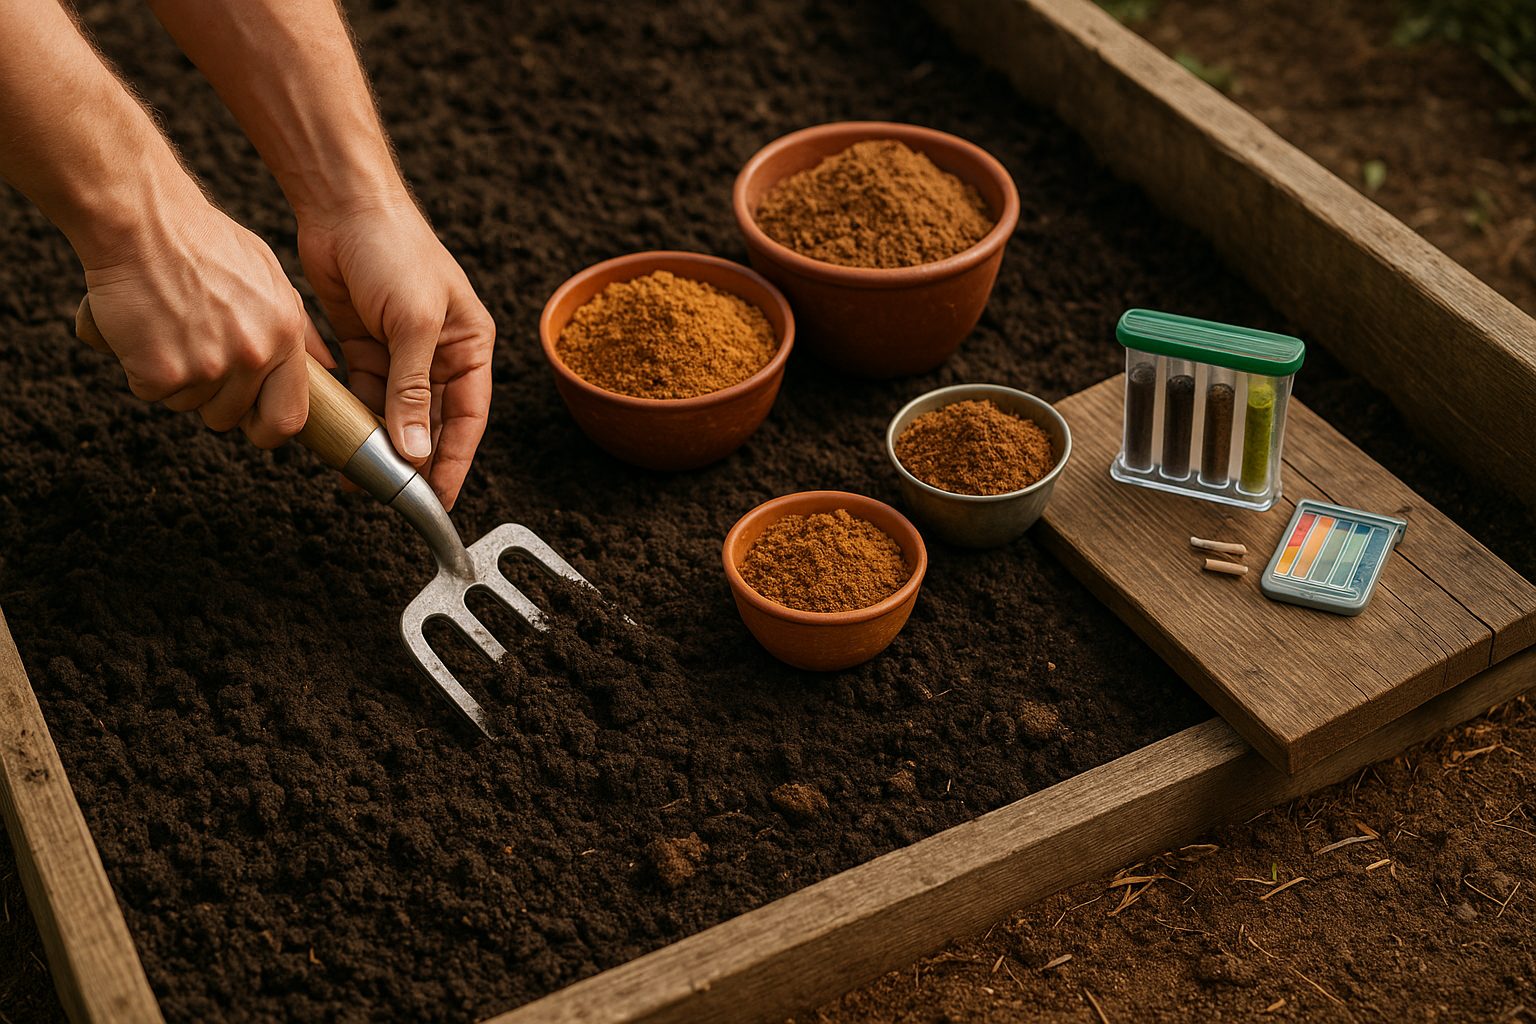
Getting your garden beds ready is an essential first step for a productive garden, and a little preparation goes a long way. Start by clearing away any old plants, rocks, or debris so you have a clean slate.
Next, loosen the soil with a spade or garden fork to break up compacted areas—this helps roots grow freely. Mix in 2–3 inches of compost to boost soil nutrition and improve texture. It’s also smart to amend the soil with organic matter like aged manure or peat moss to increase fertility and support beneficial microbes.
For best results, check your soil’s pH with a home test kit; most veggies and flowers thrive in slightly acidic to neutral soil, with an ideal pH between 6.5 and 7.0. If your pH is off, adjust it gradually: add lime to raise pH or sulfur to lower it, following product instructions.
To make sure excess water drains away (preventing root rot), mix in coarse sand or shredded bark if your soil feels sticky or puddles after rain. Raised beds are another handy solution for areas with heavy clay soils—simply mound the soil higher for better drainage.
By taking care with these simple steps, you’ll set the stage for strong, healthy growth all season long.
Sowing and Planting Cauliflower
To get a head start on your cauliflower crop, start seeds indoors about 4 to 6 weeks before your area’s last frost date—this is especially helpful in cooler climates where the growing season is short. Use seed trays or small pots and plant seeds about ¼ inch deep. Keep the soil consistently moist and maintain temperatures around 70°F (21°C) for germination.
Once seedlings show a few true leaves, transplant them into the garden when outdoor temperatures stay reliably above 50°F (10°C) during the day and there’s little risk of frost. Space seedlings 18 to 24 inches apart in rows 2 to 3 feet apart, giving mature plants room to grow.
In milder climates, you can direct sow seeds outdoors as soon as the soil is workable in spring or in late summer for a fall harvest—just be sure soil temperatures are at least 45°F (7°C) for good germination. Always harden off indoor-grown seedlings by gradually introducing them to outdoor conditions over a week before transplanting. This helps prevent shock and sets the stage for healthy, robust heads of cauliflower.
Caring for Growing Cauliflower Plants
Proper care is essential for healthy, productive cauliflower plants. Start by watering deeply and consistently—cauliflower prefers soil that stays evenly moist but never soggy. Aim for about 1 to 1.5 inches of water each week, adjusting for rainfall and using a soaker hose or drip irrigation to avoid splashing and reduce the risk of disease.
Applying a thick 2-3 inch layer of mulch around the base of the plants can significantly help retain soil moisture, regulate temperature, and reduce weed competition. Fertilize at planting with a balanced, slow-release fertilizer, and side-dress with a nitrogen-rich amendment when the plants are about halfway to maturity to promote vigorous leaf and head development.
For many white cauliflower varieties, blanching is crucial to ensure tender, pale curds. When heads reach the size of a golf ball, gently pull together the outer leaves and secure them over the head with a loose string or clothespin to shield it from the sun and prevent discoloration.
Don’t forget to provide support if your area is windy—mound extra soil at the base or use a tomato cage to prevent plants from toppling and getting stressed. Stable, even growth is key, so avoid big swings in moisture or nutrients, which can cause heads to button or plants to bolt.
Regularly inspect for pests and diseases, removing any problems early to keep your crop thriving. With these simple tips, you’ll be rewarded with robust, beautiful cauliflower heads ready for harvest.
Managing Pests, Diseases, and Common Problems
Keeping your cabbage patch healthy starts with early identification of common troublemakers like aphids and cabbage worms. If you spot tiny green insects clustering on the leaves or notice holes in your cabbage, act swiftly: blast aphids off with a hose or spray plants with a solution of mild soapy water, and handpick cabbage worms before they cause serious damage.
Diseases like clubroot and downy mildew can also cause headaches by stunting plants or leaving fuzzy patches on the leaves. To reduce disease risk, rotate crops every year so cabbages don’t follow other brassicas in the same soil, and use well-draining beds. Removable row covers can help keep pests at bay and shelter young plants from airborne spores.
For organic disease control, try removing affected leaves early or cautiously apply approved copper-based sprays. If your cabbage heads are forming poorly or leaves turn yellow, check for crowded spacing, uneven watering, or nutrient deficiencies—adjusting these factors can often get your crop back on track.
Proactive care, close observation, and quick action are your best allies in keeping problems to a minimum and your cabbage harvest thriving.
Harvesting and Storing Cauliflower
Knowing when to harvest your cauliflower is key to getting crisp, delicious heads. Look for tight, compact heads that are white and firm—about 6 to 8 inches across. Don’t wait too long: if the curds start to loosen or separate, the cauliflower is past its prime.
Harvest on a dry morning to minimize disease risk. Grab a sharp knife and cut the head off the main stem, leaving a few outer leaves to help protect the curds. Handle heads gently; avoid dropping or bruising them, as cauliflower can be quite delicate.
Once harvested, immediately remove any soil and keep the heads out of direct sun. For storage, wrap each head loosely in a paper towel and place it in a perforated plastic bag in the refrigerator’s crisper drawer. Well-handled cauliflower often lasts up to two weeks this way.
For longer storage, blanch the florets for a few minutes, cool them in ice water, and freeze in airtight containers—perfect for adding to meals all winter long.
Remember, fresher heads mean better taste and texture, so enjoy your harvest soon after picking whenever possible.
Summary and Frequently Asked Questions
Growing healthy cauliflower starts with choosing a sunny spot, rich, well-draining soil, and maintaining consistent moisture—key factors that ensure robust plant development. Remember to space plants about 18-24 inches apart to allow air circulation and prevent disease.
Common problems like lack of head formation often result from heat stress, irregular watering, or excess nitrogen. To combat this, try mulching to keep the soil cool and feed plants with a balanced fertilizer.
If you’re interested in saving seeds, let one healthy plant fully flower and dry on the stalk. Harvest the seeds once the pods turn brown and crisp.
Beginners often ask if cauliflower can grow in containers—they can, as long as the pots are deep and wide enough, and the plants are watered regularly.
Keep in mind that local weather and soil conditions can affect your results, so adjust your methods based on what you observe in your garden. Don’t be discouraged by setbacks—every season brings new lessons.
Track what works, stay patient, and soon you’ll enjoy crisp, homegrown cauliflower right from your backyard.