
Why Grow Mini Carrots in Jars?
When kids grow carrots, especially the mini varieties, it not only sparks their curiosity but also offers real rewards you can see (and taste) in just a few weeks. Growing mini carrots in jars is a smart way to save space, making it perfect if you don’t have a big garden or live in an apartment.
Kids love the instant gratification of watching these little veggies sprout on a sunny windowsill, and the sweet, crunchy harvest is fun to pick and eat together. Plus, jars add a stylish and practical touch—easy to move, water, and monitor progress every day.
In this guide, you’ll discover simple steps and clever tips to make homegrown carrots an exciting, hands-on project for the whole family.
Choosing the Best Mini Carrot Varieties
When picking mini carrot varieties for jars or containers, look for types like ‘Parisian’ and ‘Thumbelina’. These carrots stay small and round or blunt, making them perfect for tight spaces and shallow soil. Their petite size—usually just one to two inches long—means they’re less likely to fork or grow misshapen in containers.
Plus, they mature quickly, often in under 70 days, so you can enjoy harvests sooner. When browsing seed packets, check for descriptions like “container-friendly” or “short-rooted,” and always look for estimated days to maturity. A picture of the carrot shape on the packet is helpful too.
Sticking with these smaller, quick-growing varieties makes indoor gardening easy and rewarding, especially for beginners.
Gathering Your Tools and Supplies
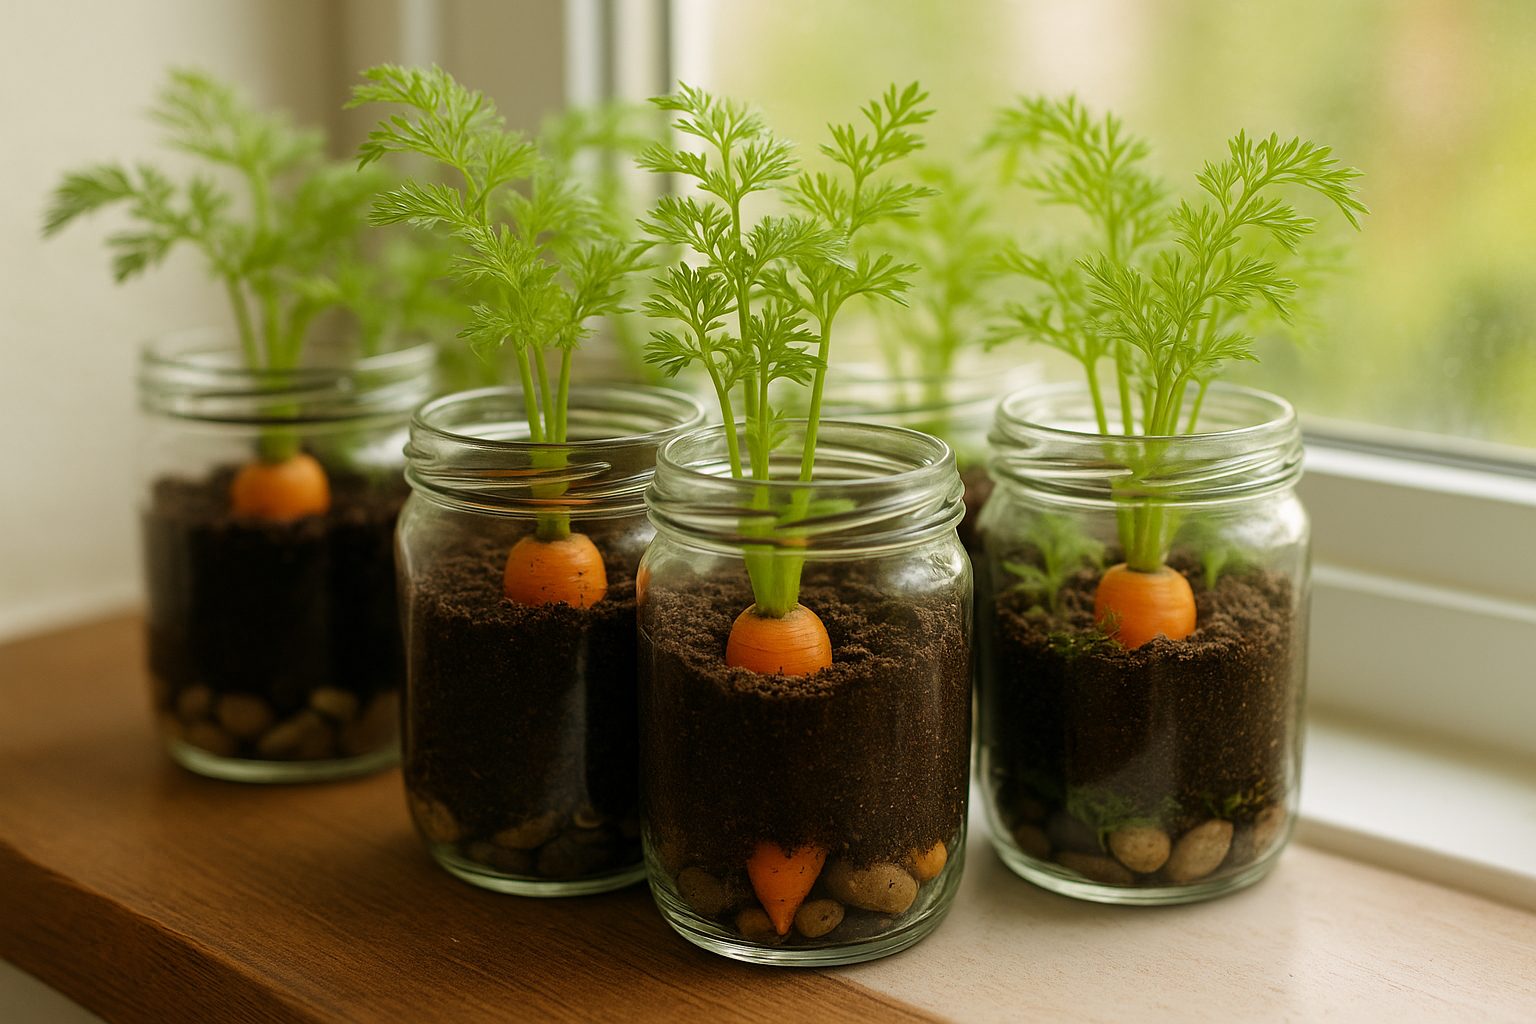
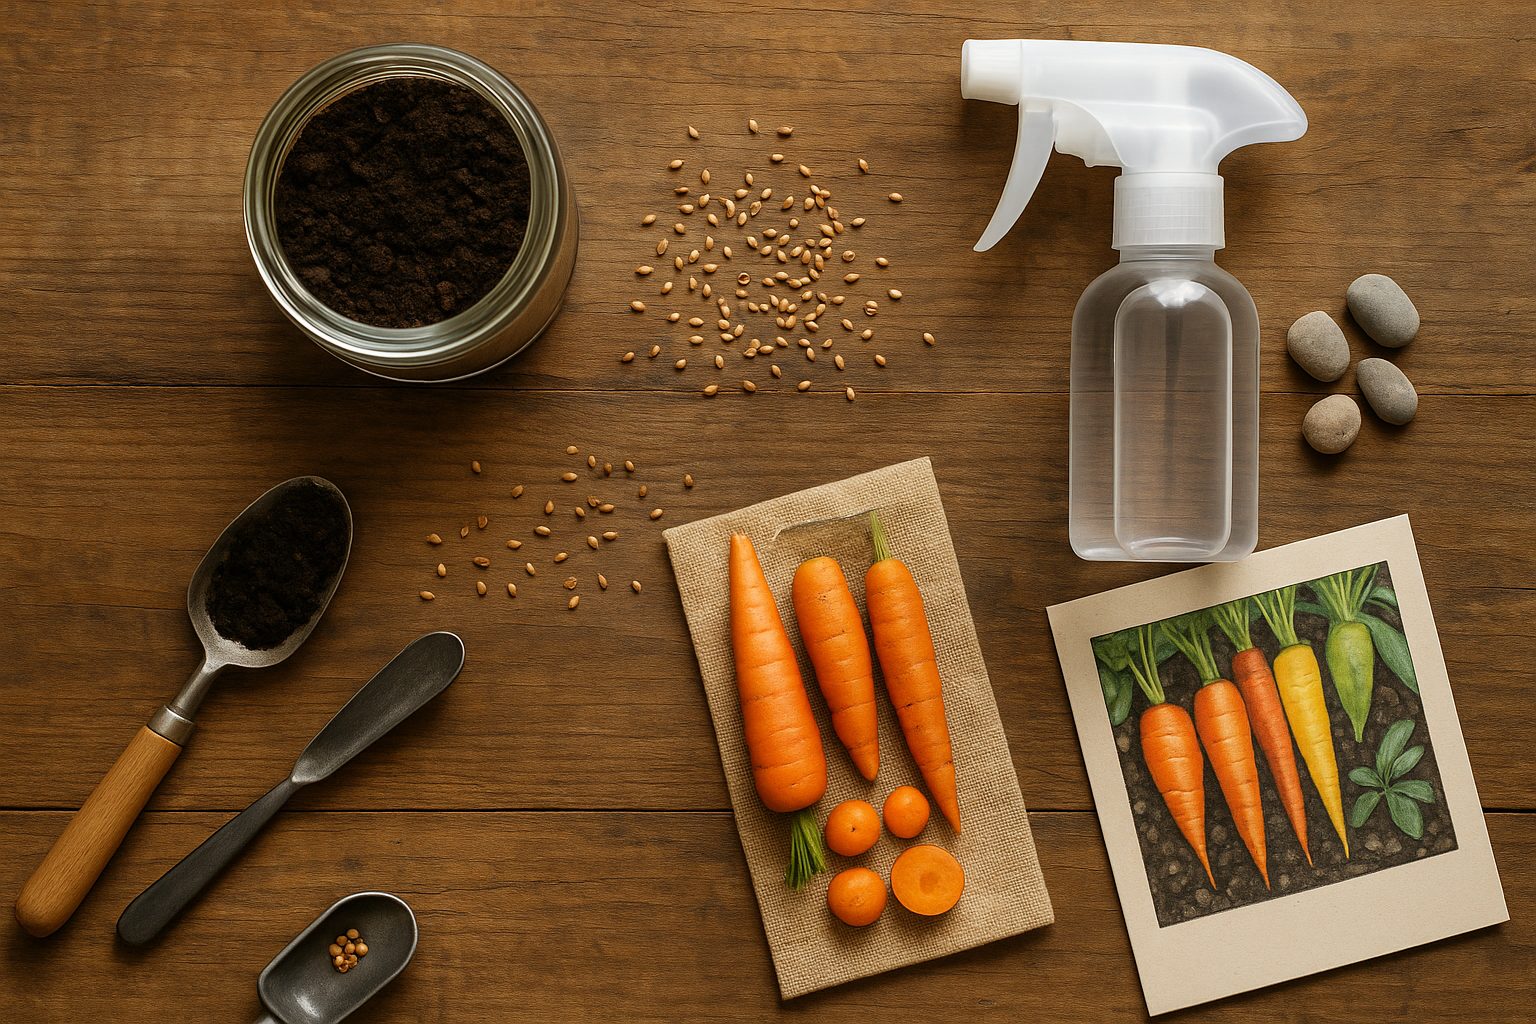
To get started, gather clear glass jars—mason jars or recycled food jars work well—making sure they’re clean and have wide openings for easy planting. You’ll need a light, well-draining potting mix; cactus or succulent soil can be great choices for good airflow. Pick quality seeds suited to your indoor space, and try pre-soaking larger or tougher seeds overnight to encourage quick sprouting.
Essential tools include a small trowel or spoon, gardening gloves, and a small watering can with a gentle spout. Don’t forget a balanced, water-soluble fertilizer to support healthy growth.
Before planting, wipe jars dry and layer small pebbles at the bottom for drainage, preventing water from sitting at the roots and causing rot.
Planting Mini Carrots in Jars: Step-by-Step
Start by choosing clear jars with drainage holes, then fill each about three-quarters full with loose, well-draining potting soil. Gently pat the soil down, but avoid heavy packing that could stunt the roots.
Sprinkle mini carrot seeds thinly on the soil surface, making sure not to overcrowd—aim for about one seed every inch, as carrots need space to grow straight and plump. Cover the seeds lightly with a quarter-inch layer of soil.
Mist gently with water so the soil is moist but never soggy; too much water can cause rot. Set the jars on a sunny windowsill or balcony where they receive at least six hours of sunlight daily.
Resist the temptation to add too many seeds or overwater, as these are the most common pitfalls. To stay organized, label each jar with the carrot variety and planting date—this simple step will help you track progress and harvest times easily.
Caring for Your Mini Carrot Crop
Proper care is key to growing healthy mini carrots at home, especially if you’re using jars or containers. Water your mini carrot crop when the top inch of soil feels dry to the touch, but be careful not to overwater—excess moisture can cause the delicate roots to rot.
Thin out the seedlings once they reach about two inches high, leaving the strongest plants about one inch apart to give each carrot room to grow. Feed your mini carrots every two weeks with a half-strength liquid fertilizer to encourage steady growth without overwhelming the roots.
If you’ve placed your jars outside, choose a spot with at least six hours of sunlight, or place them on a sunny windowsill indoors. For even growth, rotate your jars every few days so each side gets equal light.
Regularly check for pests like aphids and keep an eye out for spots or yellowing leaves to catch diseases early.
Harvesting and Enjoying Mini Carrots from Jars
Knowing when your mini carrots are ready to harvest is key to enjoying sweet, crisp roots. Look for their tops—called “shoulders”—peeking above the soil and check if they’ve reached at least half an inch in diameter, typically after 60-75 days since sowing.
To harvest, gently loosen the soil’s surface with a fork or your fingers to avoid snapping the delicate roots. Lift each carrot by grasping the green tops close to the soil rather than pulling hard from above, which can cause breakage.
Rinse them right away for a quick, healthy snack, or toss them into salads for added crunch.
Harvesting mini carrots is a fun activity for kids, too; invite them to help pluck the little vegetables and watch their excitement as colorful carrots emerge from the soil.
Troubleshooting & Pro Tips for Success
Common issues like poor germination, stunted growth, aphids, and root problems can frustrate any grower.
To boost germination, make sure seeds are fresh and the soil stays evenly moist, not soaked.
If growth stalls, check for proper sunlight and avoid overcrowding; give each plant enough breathing room.
Aphids can often be washed off with a gentle spray of water or treated with neem oil.
For root problems, water only when the top inch of soil is dry to prevent rot.
Don’t get discouraged—every setback is a chance to learn! Experiment with different methods, track your results, and your future crops will thrive.