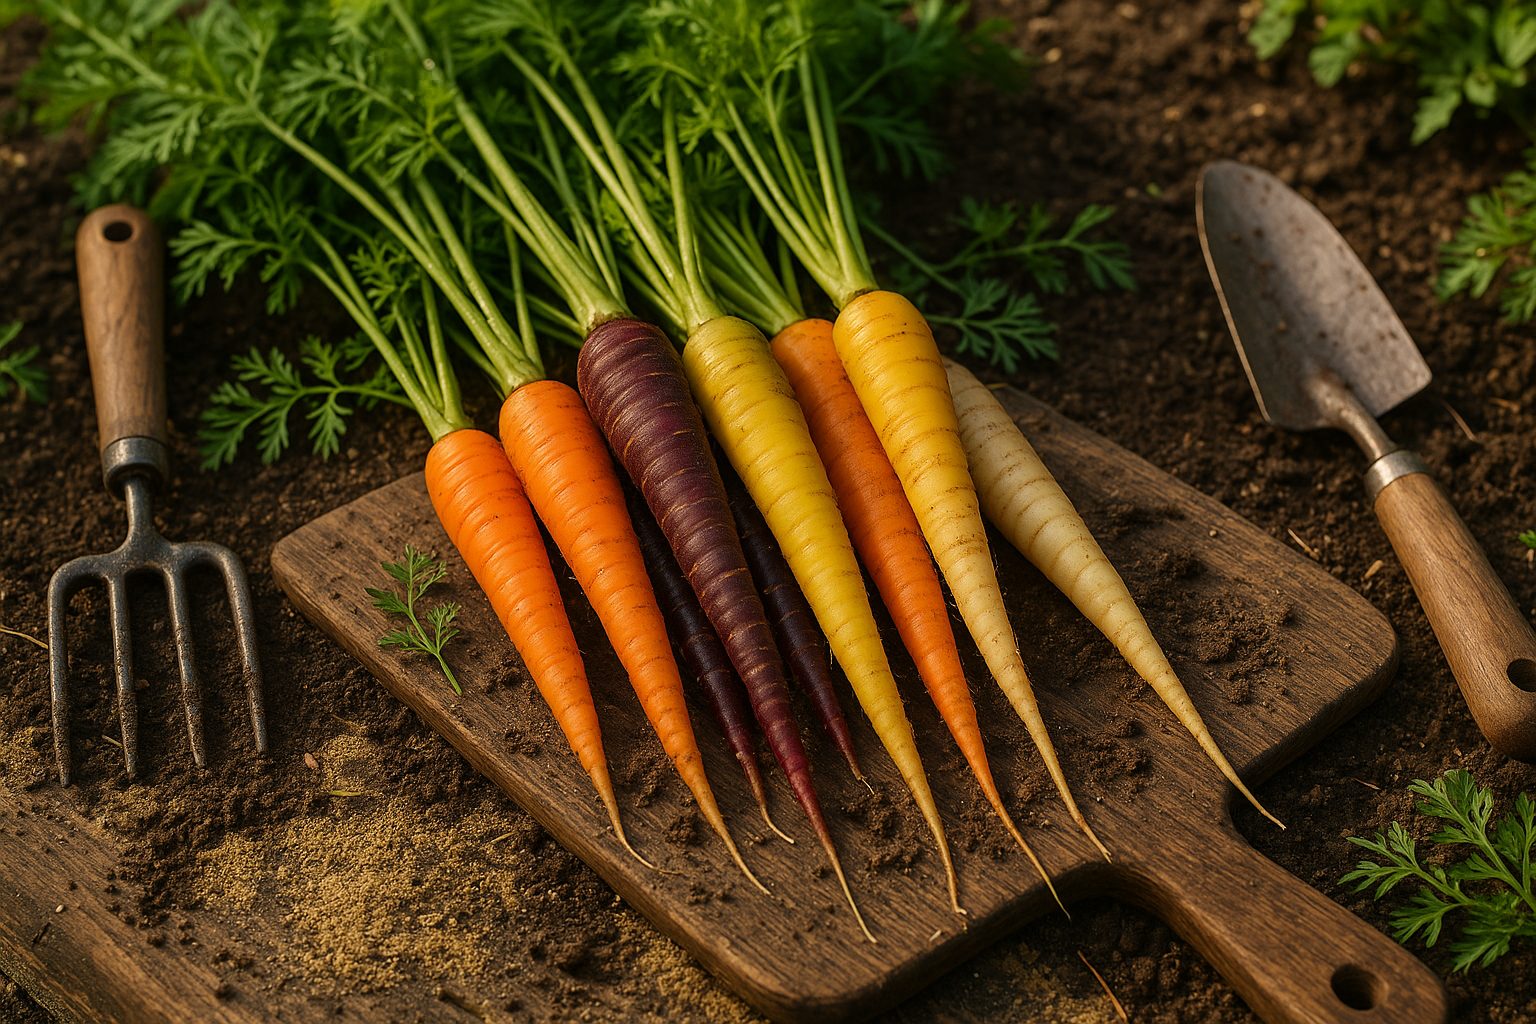
Choosing the Right Carrot Variety
Growing carrots year-round might sound like a gardener’s dream, but with the right planning and variety selection, it’s very possible—even for beginners. The secret begins with understanding the main carrot types.
Nantes carrots are prized for their rich sweetness, smooth texture, and crisp bite, making them a favorite for fresh eating. Danvers types are classic, cone-shaped, and handle heavier soils better than most. Imperator carrots, often seen in grocery stores, grow long and slender but need deep, loose soil to thrive. Chantenay carrots, with their stout shape and tolerance to tough soil, excel in raised beds and compact gardens. If you love snacking, baby carrots (grown from special short varieties, not just immature larger ones) are perfect for quick harvests. There are also wonderfully colored carrots—purple, red, yellow, and white—each offering unique flavors and added nutrients.
When growing carrots year-round, your climate and soil will shape your choices. In mild-winter climates, sowing Nantes or Danvers in fall gives you sweet carrots over winter, as cold weather enhances their flavor. For hot summers, look for heat-tolerant varieties or plant carrots labeled as “summer” types that resist bolting and tough roots. Some shorter or Chantenay types are great for heavy or rocky soils, while Imperator shines in sandy loam. Think about when you want to harvest: early varieties come quickly for spring salads, while storage types like Chantenay keep well in the root cellar.
By mixing types and timing, you’ll enjoy homegrown carrots’ sweetness, crunch, and vibrant colors in every season, making the most of your garden year-round.
When and Where to Plant Carrots
Timing is crucial when planting carrots—these root veggies thrive when sown directly into the ground in early spring, about two to three weeks before your last expected frost. If you live in a region with milder winters, you can also plant carrots in late summer for a fall harvest.
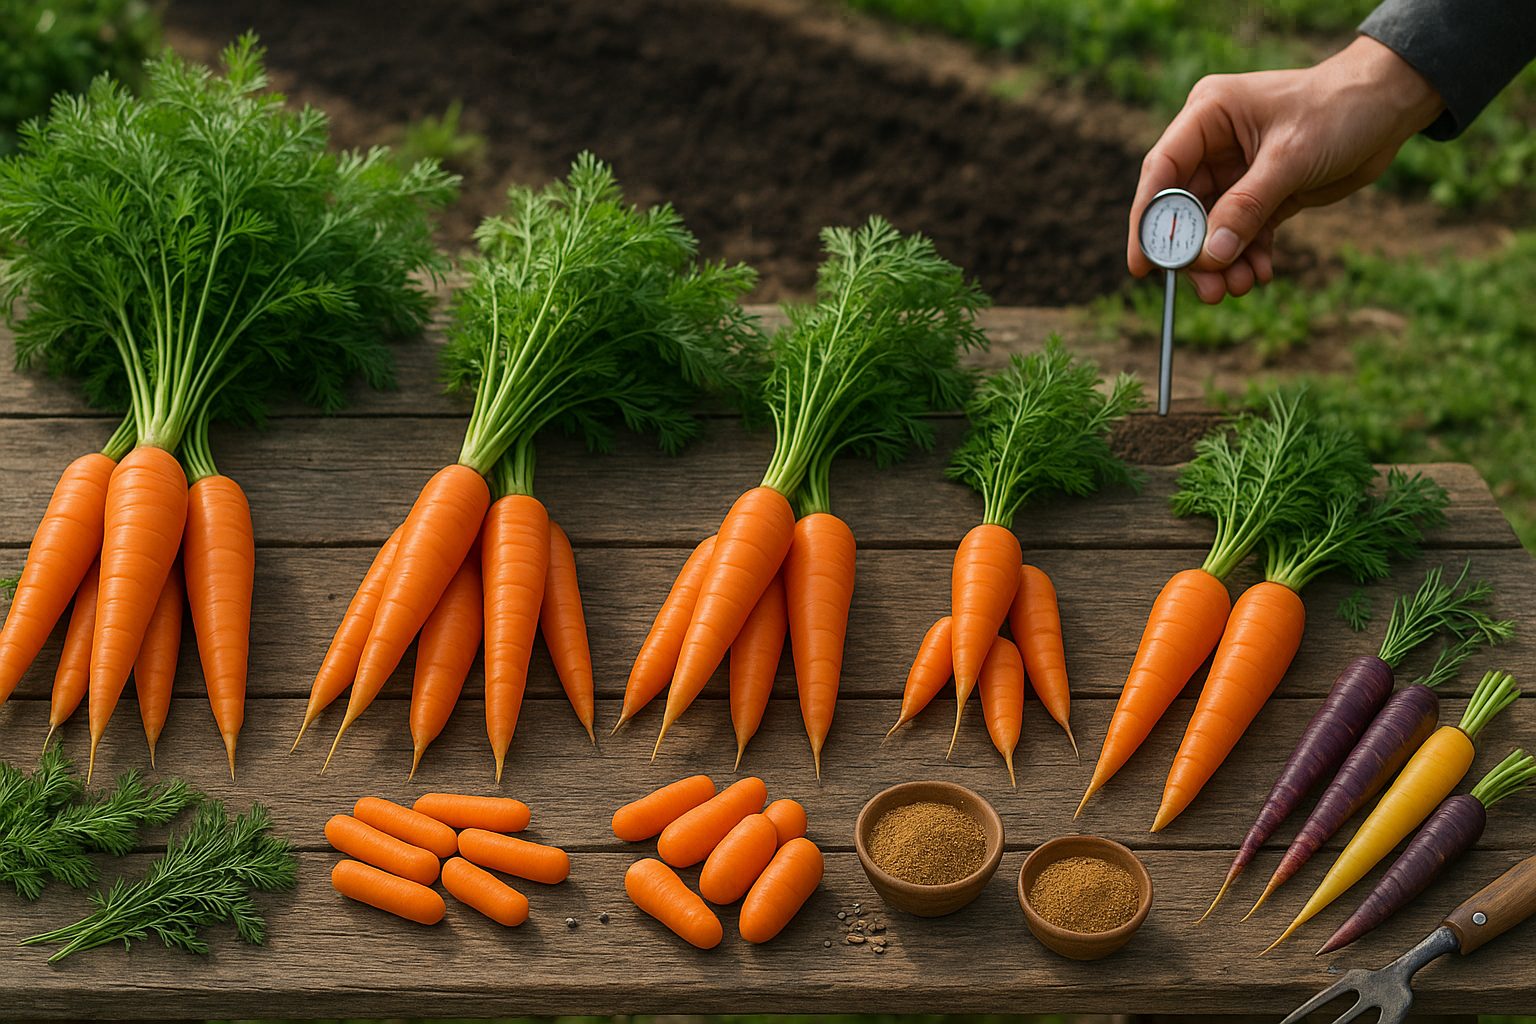
Soil temperature plays a big role in successful germination; the sweet spot is between 50°F and 85°F. Seeds tend to germinate slowly if the soil is too cold, and high heat can stress seedlings, so use a soil thermometer if you’re unsure.
For garden location, aim for a patch that gets full sun—at least six hours a day. Carrots crave loose, well-drained soil that’s free of rocks or compacted clumps since even small obstacles can cause roots to fork or become stunted. Sift through your plot and amend heavy soils with compost or sand to create that silky texture carrots love.
If you’re dealing with poor or limited garden space, try growing carrots in containers or raised beds. Opt for deep pots (at least a foot) to allow roots room to grow, and make sure your soil mix is light and drains well.
Raised beds provide a similar benefit, letting you control soil quality and structure more easily while improving drainage. Both these methods can help you avoid many of the typical soil problems, and they often result in super straight, picture-perfect carrots.
With a bit of attention to timing, soil, and sunlight, you’ll enjoy crisp, sweet carrots whether you’re gardening in a backyard plot, balcony, or community space.
Preparing Your Garden Bed
Getting your garden bed ready is the first key step to growing beautiful, straight carrots. Start by thoroughly clearing the planting area of rocks, sticks, and other debris—carrots need an unobstructed path for their roots to grow; even a small stone can cause a gnarly, forked root.
Next, use a garden fork or shovel to break up the soil to 10-12 inches deep, making sure to crumble large clumps as you go. This creates a loose, fluffy texture that allows carrot roots to develop long and straight. It’s also important to improve drainage—carrot roots rot easily in soggy soil. Mix in some coarse sand if your soil feels heavy or tends to form puddles when watered.
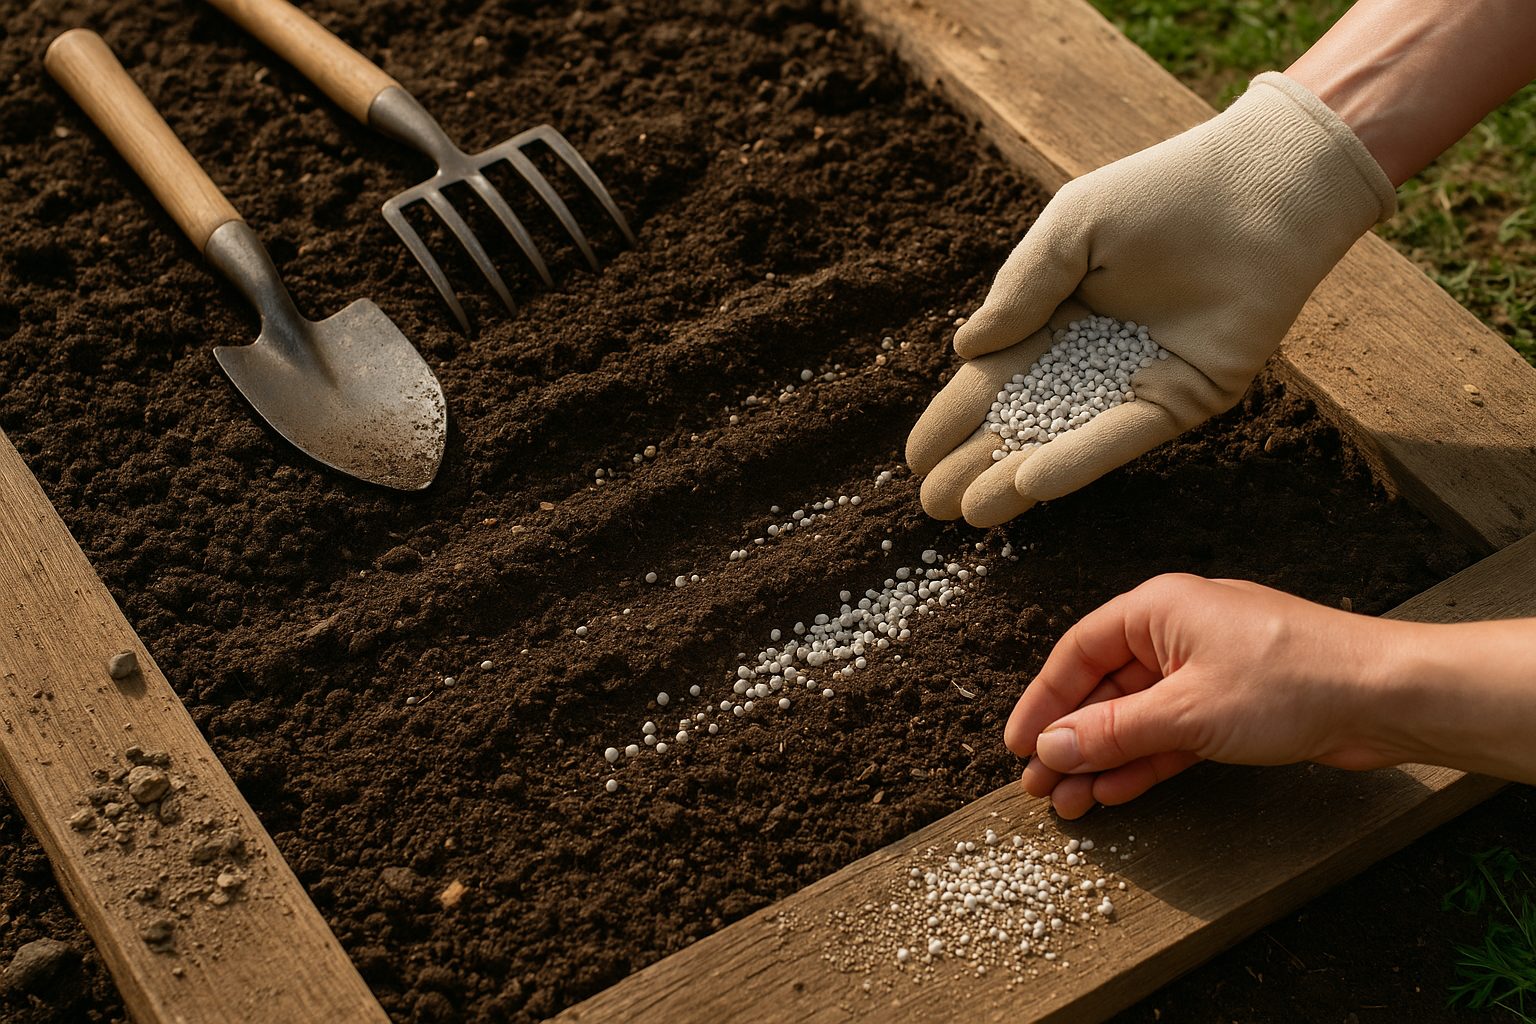
Then, enrich the soil by adding a layer of well-aged compost rather than fresh manure. Manure can contain too much nitrogen, encouraging lush leafy tops while the roots stay small and misshapen. Instead, use a balanced, general-purpose fertilizer—look for a 5-10-10 mix or similar (numbers refer to nitrogen, phosphorus, and potassium), and sprinkle lightly according to package directions before raking it in.
Remember, the goal is to create a soft, nutrient-rich environment where your carrots can reach down deep and grow straight, sturdy roots. Avoid walking on the bed after prepping, as this can compact the soil again—leave a wooden plank to walk on if you need access. With a bit of extra effort now, you set the stage for crisp, uniform carrots at harvest time.
How to Plant and Care for Carrot Seeds
Planting carrot seeds is simple, but following a few key steps can make all the difference in your harvest. Start by preparing loose, well-draining soil and removing rocks or clumps, as carrots need soft soil to grow straight.
Sow the tiny seeds directly into your garden by making a shallow furrow about 1/4 inch deep. Space seeds roughly 1 inch apart if you want rows (leave about 12 inches between rows), or sprinkle them lightly across the soil for scatter sowing. After sowing, gently cover the seeds with a thin layer of soil and pat down lightly to ensure good seed-to-soil contact.
Carrot seeds need consistently moist soil to germinate, which can take up to three weeks, so water lightly every day or as needed to prevent the surface from drying out. Dry soil or watering too aggressively can cause seeds to fail, so consider using a misting nozzle or placing a sheet of burlap or a lightweight board over the seeded area to help retain moisture; just remember to remove it as soon as seedlings appear.
A common mistake is planting seeds too deep—this slows or inhibits germination, so stick to that shallow 1/4 inch depth. Once seedlings grow to about two inches tall, it’s crucial to thin them out, leaving 2–3 inches between each plant. This step prevents overcrowding, which leads to small or misshapen carrots, and promotes robust root growth.
While it can feel wasteful, thinning ensures enough space and nutrients for the carrots to mature properly. With these tips and a bit of patience, you’ll set yourself up for a sweet and satisfying carrot harvest.
Carrot Pests, Diseases, and Protection
When growing carrots, keeping an eye out for pests and diseases is key to enjoying a healthy harvest. Two common foes are the carrot fly and aphids.
Carrot flies lay eggs near the base of plants, and their larvae tunnel into roots, causing stunted, misshapen carrots. Signs include yellowed, wilted leaves or small holes in the carrot itself. Aphids, on the other hand, cluster on leaves and stems, sucking sap and leaving a sticky residue. If you notice ants crawling on your plants, check for aphid activity, as ants are often attracted to the honeydew aphids produce.
Carrots are also susceptible to diseases like Alternaria leaf blight and powdery mildew, which cause dark spots, yellowing, and a dusty white coating on leaves.
Protecting Your Carrots
To protect your crop, try organic methods like floating row covers to block pests from reaching your carrots as soon as you sow seeds. Practice crop rotation each year to avoid building up soil-borne diseases, and clear away dead plant material to limit disease spread. Companion planting—growing carrots near onions or leeks—can help deter carrot flies with their strong scents.
By combining these approaches, you can grow robust, flavorful carrots with minimal chemical intervention.
Harvesting, Storing, and Using Carrots
Knowing when to harvest carrots is key to getting the crunchiest, sweetest roots. Generally, carrots are ready when their shoulders are about an inch wide and just peeking above the soil, which is usually 60 to 80 days after planting. Gently loosen the soil around the carrot with a fork before pulling—this helps prevent breaking.
Once harvested, cut off the leafy tops right away since they draw moisture from the root, making carrots limp faster.
Storage Tips
For storage, short-term options include refrigerating unwashed carrots in a perforated plastic bag or storing them submerged in water (change the water every few days).
For long-term storage, a root cellar is ideal: nestle unwashed carrots between layers of damp sand or sawdust in a cool (32–40°F), dark, humid spot. No root cellar? Try stacking carrots in a lidded container with damp sand and keeping them in the coldest part of your basement or garage.
Using Carrots in the Kitchen
The options are endless—enjoy carrots raw in salads or slaws, roast them with a drizzle of olive oil, or incorporate them into soups and stews for added sweetness. They also freeze well: blanch sliced carrots for a few minutes, then cool and pack into bags for later use.
Don’t toss those carrot tops! Wash them thoroughly and use in pesto, soups, or as a fresh garnish—carrot greens add a hint of earthy flavor and are packed with nutrients.
By following these harvest, storage, and usage tips, you can enjoy your homegrown carrots for months to come.
Frequently Asked Questions About Growing Carrots
Many gardeners wonder about the difference between “baby carrots” and immature carrots. Surprisingly, most baby carrots sold in stores are actually full-grown carrots that have been machine-cut and peeled into bite-sized pieces. True immature carrots, on the other hand, are simply carrots harvested before reaching full size, often offering a sweeter, milder flavor.
You may also notice that carrots come in a spectrum of colors, such as purple, yellow, and white. These aren’t just for show—purple carrots tend to have an earthier taste, while orange carrots are typically the sweetest.
Curious about carrot tops? They’re totally edible and can add a fresh, slightly bitter note to salads or pesto, though you’ll want to avoid any yellowing or wilting leaves.
If your garden carrots come out forked or undersized, the main causes are often rocky or compacted soil and overcrowded seeds. Loosening your soil and thinning seedlings gives carrots room to grow straight and robust.
A common myth is that carrots must be stored in water, but in reality, keeping them in a sealed container in the fridge—with tops removed—helps them stay crisp longer.
Quick Troubleshooting Tips
- Deformed carrots usually signal poor soil preparation.
- Cracking means irregular watering.
- Pale, weak carrots may need a dose of balanced fertilizer.
Remember, growing great carrots involves loose, stone-free soil, consistent moisture, and a bit of patience—sometimes the sweetest carrots are the ones that take a little extra time!