Introduction to Growing Carrots
Carrots not growing is a common frustration for many home gardeners, even though carrots are one of the most popular and rewarding vegetables to cultivate in your backyard. Their crunchy sweetness and impressive nutritional benefits make them a staple in salads, snacks, and family meals, so it’s no surprise that many of us want to try our hand at growing them.
Yet despite their popularity, carrots can be surprisingly finicky to raise, with issues ranging from poor germination to stunted roots leaving even experienced growers scratching their heads. Maybe you’ve carefully sown seeds and waited patiently, only to find spindly tops and puny, misshapen carrots—or maybe nothing at all. Don’t worry, you’re not alone!
In this article, we’ll dig into the top reasons your carrots might not be thriving, from soil problems to watering mistakes, and share practical, simple fixes you can put to use right away. Whether you’re sowing your first row or troubleshooting a lackluster harvest, these tips will help you identify, avoid, and solve the most common problems, bringing you one step closer to crisp, colorful carrots right out of your own garden.
Ensuring Successful Carrot Germination
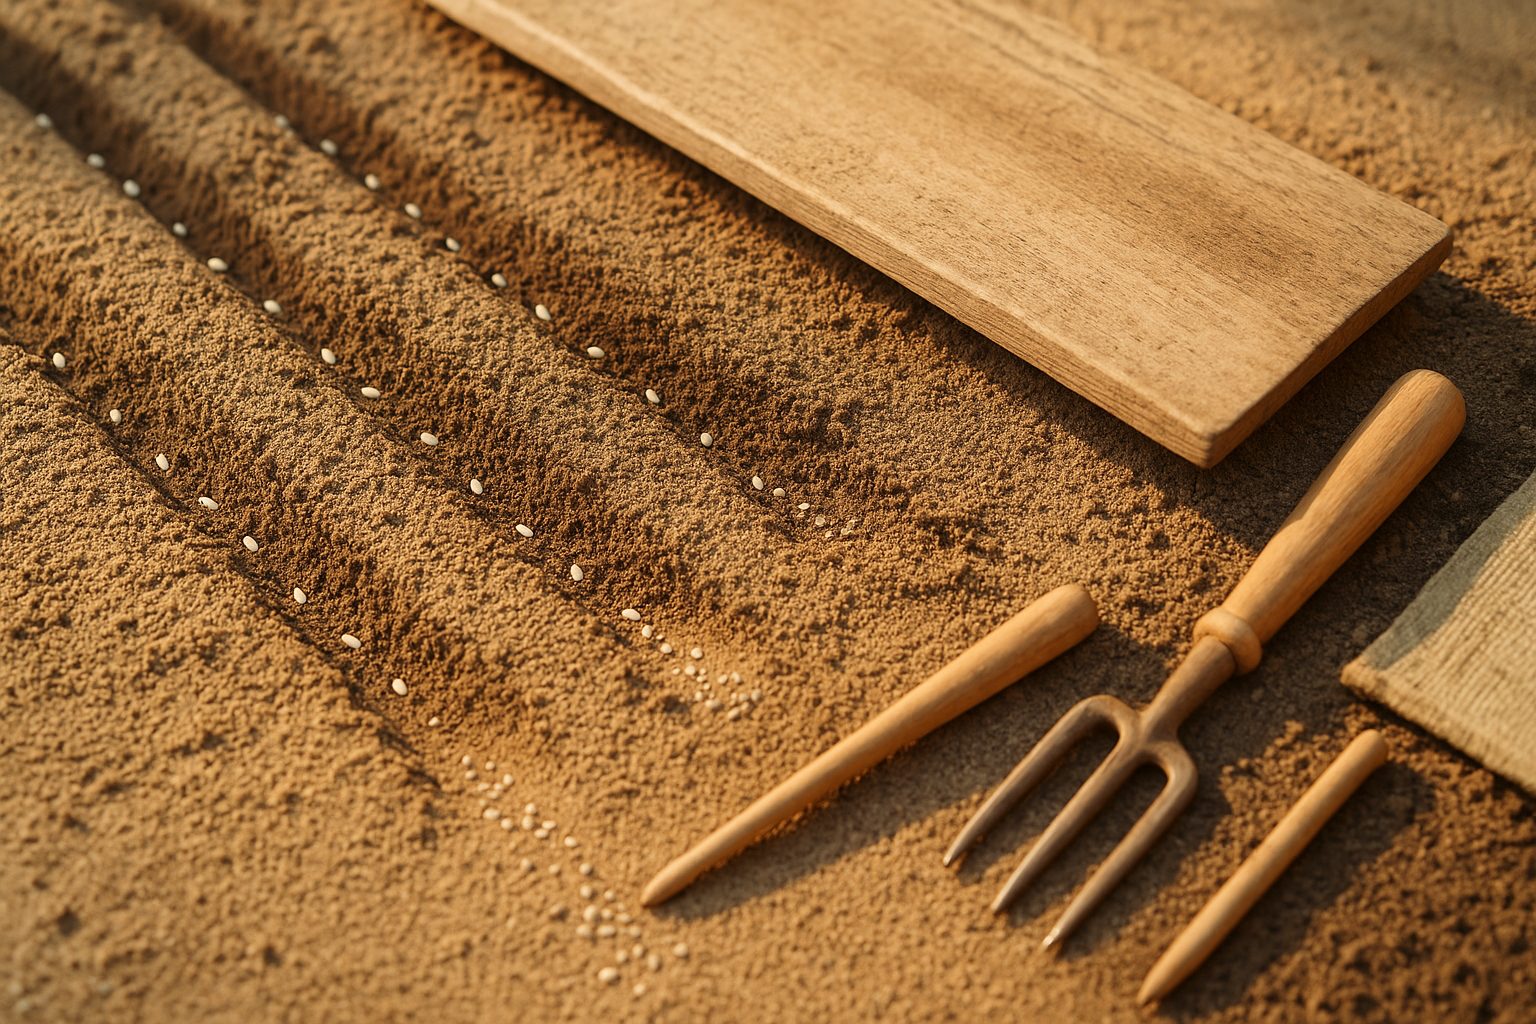
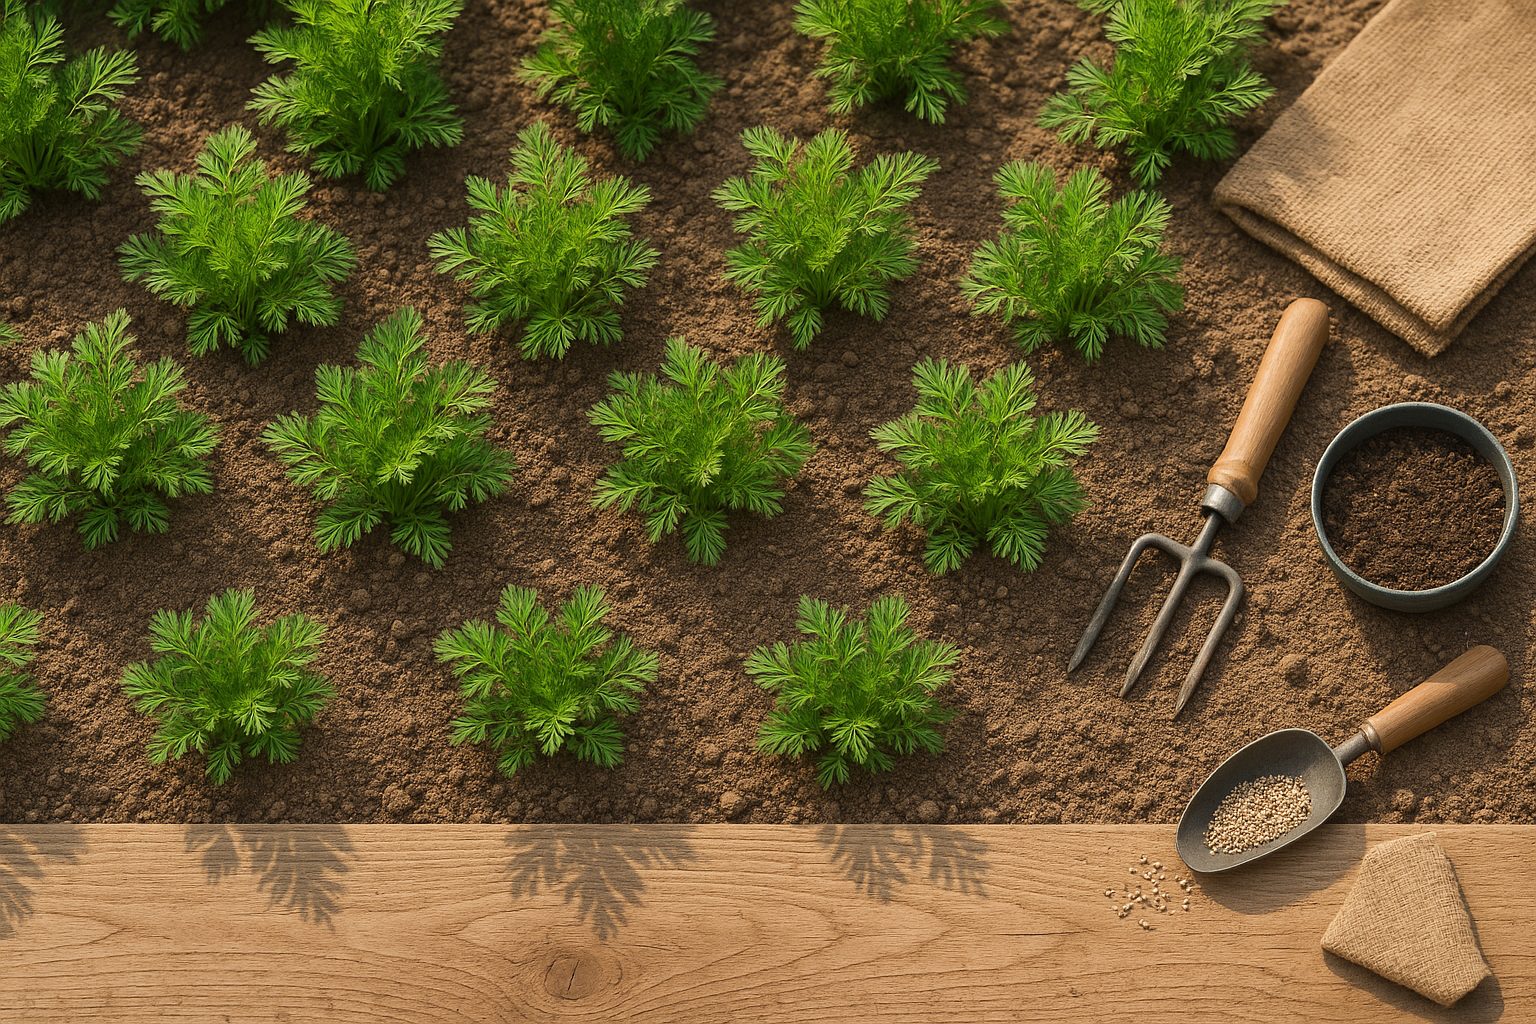
carrot seed germination can sometimes be tricky, with common failures often traced back to poor soil preparation, drying out, or improper planting. Since carrot seeds are tiny and slow to sprout, they’re easily buried too deep or left on hard, crusted soil, making it tough for delicate sprouts to emerge.
Carrots need loose, sandy soil that’s free of clumps and stones—compacted earth or heavy clay can cause poor germination or result in misshapen roots. Aim for a seed depth of about ¼ inch, and keep the top layer of soil consistently moist (but never soggy) throughout the entire two- to three-week germination period.
Carrots also thrive in soil temperatures between 60°F and 70°F (15°C–21°C); too cold, and seeds will be sluggish, while very hot weather can dry them out before they even sprout.
To set yourself up for success:
- Gently tamp down the soil after sowing.
- Cover rows with a thin board or burlap to keep moisture in until you see the first green shoots.
- Water gently but regularly, taking care not to wash away tiny seeds.
Some gardeners mix a pinch of radish seeds with carrot seeds—the radishes germinate fast, breaking up the soil surface and marking the rows while you wait for your carrots. If in doubt, overseed slightly, then thin seedlings once they emerge. With these steps, you’ll enjoy a much better germination rate and robust carrot crops.
Understanding Carrot Growth Problems
Carrots that turn out small, thin, or stunted can be frustrating, but most growth problems trace back to a few main causes.
Poor soil quality is a big culprit—carrots need light, loose, well-draining soil that lets their roots push down easily. Heavy clay or rocky soils can twist or restrict root growth, so adding compost or sand before planting helps.
Overcrowding is another common issue: when carrot seeds are sown too thickly, roots compete for space and nutrients. Thinning seedlings to about two inches apart gives each plant room to expand.
Uneven watering can also stunt growth; carrots like consistent moisture, so mulching helps keep soil damp and prevents sudden drying out.
Lastly, insufficient sunlight can lead to leggy or stunted carrots—aim for at least six hours of sun each day.
For quick improvement, try:
- Raking soil to remove stones
- Thinning out dense patches
- Watering regularly but not to the point of sogginess
Raised beds or containers with fluffy potting mix are great for beginners. With these simple fixes, you’ll be on your way to crisp, full-grown carrots in no time.
Identifying and Preventing Deformed Carrots
Deformed carrots are a common frustration for gardeners, often appearing as forked, split, twisted, hairy, or cracked roots. Each of these issues usually stems from a few easily fixable causes.
Forked or twisted carrots typically result from rocky or compacted soil—the roots hit an obstacle and split to find an easier path. Similarly, if young carrot seedlings aren’t thinned properly, crowded roots compete for space and grow into odd shapes. Hairy roots, covered in fine lateral roots, usually indicate an excess of nitrogen fertilizer. Meanwhile, irregular watering—either too much or too little—can cause carrots to crack or split as they suddenly swell or dry out.
The good news is that a few simple adjustments can lead to beautiful, straight carrots.
How to Prevent Deformed Carrots
- Prepare a loose, deep garden bed or use a raised bed filled with stone-free, sandy soil. Pull out rocks, break up hard clumps, and rake the soil to a fine texture before planting.
- After germination, thin seedlings so they stand two inches apart—don’t skip this step, tempting as it may be!
- Water carrots consistently, keeping the soil moist but not soggy, to prevent cracks.
- Avoid too much nitrogen when fertilizing by choosing a balanced or phosphorus-rich fertilizer.
- Consider growing shorter or stump-rooted carrot varieties if your soil is shallow or heavy.
By focusing on soil preparation, proper spacing, consistent watering, and balanced nutrients, you’ll be rewarded with straight, healthy carrots—perfect for harvesting or selling at the market.
Addressing Taste & Texture Issues
Carrots that end up tasting bitter, woody, or bland often result from a few key growing factors. High temperatures, especially during maturity, can cause bitterness or tough, woody roots. Similarly, poor soil nutrition—particularly low potassium or phosphorus—can hamper flavor and texture, leaving carrots lackluster.
Harvest timing is crucial too: if carrots stay in the ground too long, especially in hot weather, they can become fibrous and lose their natural sweetness. To grow sweet, crunchy carrots, keep your soil rich in organic matter and ensure it’s loose and well-draining to prevent forked or stunted roots.
Mulch the rows to retain soil moisture and keep temperatures steady, as big swings can stress the plants. It’s also best to sow seed regularly in cooler seasons, as carrots thrive with consistent moisture and mild temperatures.
When it’s harvest time, gently tug them up once they’re about finger-thick and a vibrant orange; waiting too long risks tough textures. A quick taste test before harvesting the whole row can help pinpoint ideal sweetness. With the right care, your carrots will reward you with crisp, satisfying bites every time.
Managing Carrot Pests and Diseases
Carrots can fall prey to several pests and diseases, but with a bit of planning, you can keep your crop healthy and productive. One common threat is the carrot rust fly; its tiny larvae tunnel into roots, causing brown scars and a bitter taste. Watch for yellowing leaves or browning at the leaf tips, as these are early signs of trouble.
Root rot is another concern, often caused by overly wet soil—which leads to soft, decaying carrots—so ensure proper drainage and avoid overwatering. Be on the lookout for leaf spots and holes, as leaf damage might signal aphid infestations or fungal issues.
To prevent these problems, use lightweight row covers as soon as seedlings sprout; row covers act as a simple barrier against flying pests like the rust fly. Practice crop rotation by planting carrots in a different bed each year, which breaks pest and disease cycles—don’t put carrots where other root crops have just grown. Removing plant debris and thinning carrot tops improves air circulation, making it harder for diseases to spread.
For organic control, sprinkle neem oil or insecticidal soap on affected leaves to tackle soft-bodied pests, and try beneficial nematodes for soil-borne larvae. Home gardeners can also handpick visible pests or trap rust flies with yellow sticky cards.
By combining these strategies, you’ll keep carrot pests and diseases at bay and enjoy a cleaner, more abundant harvest.
Harvesting and Storing Carrots Properly

The best time to harvest carrots is when they’ve reached their mature size, usually about 60 to 80 days depending on the variety. Check by gently brushing away some soil and inspecting the top of the root, which should be about 1/2 to 1 inch in diameter.
Water your carrots well a day or two before harvesting; moist soil makes pulling them out much easier and reduces the chance of breaking the roots. To harvest, loosen the soil around each carrot with a garden fork—being careful not to stab the roots—then gently pull straight up by the greens.
If the tops snap off or the soil is compacted, try sliding your fingers under the root to nudge it free or use a trowel to lift from below. After harvesting, trim the greens to about an inch to prevent them from drawing moisture away from the root.
For storage, don’t wash the carrots—just gently brush away excess soil. Store them in a perforated plastic bag or a box of damp sand in the refrigerator or a cool, dark cellar. This helps maintain humidity and prolongs crispness and sweetness for several weeks or even months.
Remember, the less the carrots are exposed to air, the longer they’ll stay fresh. Check periodically for signs of decay and remove any soft or spoiled carrots right away.
Final Tips for Carrot Growing Success
To avoid common carrot-growing problems, start with loose, rock-free soil to prevent misshapen roots. Keep the soil consistently moist but not soggy to avoid splitting. Thin seedlings early so each carrot has enough room to grow, and watch for pests like carrot flies—use row covers if necessary.
Don’t let a few forked or stubby carrots discourage you; most will still taste great and work perfectly in soups or stews. Each season brings new challenges, so treat every year as a chance to experiment and improve. With patience and practice, your carrot harvest will only get better.