Why Grow Carrots Indoors?

carrot grow lights make it possible to enjoy fresh, homegrown carrots no matter the season or the space you have. Growing carrots indoors offers a reliable way to harvest crisp, flavorful roots right from your kitchen or living room—even if your yard is limited or non-existent.
With the right setup, you can bypass common outdoor challenges like pests, poor soil, and unpredictable weather, ensuring your carrots thrive in ideal conditions. This method is especially appealing for beginners looking for a manageable project, as well as anyone seeking a clean, pesticide-free harvest.
Plus, it transforms unused corners or shelves into productive mini-gardens with just a bit of planning and the right lighting. Whether you’re craving year-round, homegrown produce or making the most out of a small apartment, indoor carrot grow lights put fresh, nutritious vegetables within easy reach.
Choosing the Right Carrot Variety
When growing carrots indoors or in containers, selecting the right variety is essential for success. Smaller, round-rooted carrots like “Thumbelina” and “Parisian” are perfect choices because they thrive in shallower soils and compact spaces, unlike traditional long carrots that require deep containers to develop straight, healthy roots.
Baby carrots or “Little Finger” types are also excellent for pots, as they mature quickly—typically within 55–65 days—and offer sweet, tender roots. Choosing a variety matched to your container depth ensures your carrots won’t become stunted or forked.
Shorter carrots can be sown more closely together and make harvesting and maintenance much easier indoors. Plus, different varieties provide a range of flavors, from the earthy sweetness of “Parisian” to the crisp bite of baby carrots, letting you tailor your harvest to your taste preferences or meal plans.
Always check seed packets for recommended root lengths and growing times to set yourself up for healthy, flavorful crops.
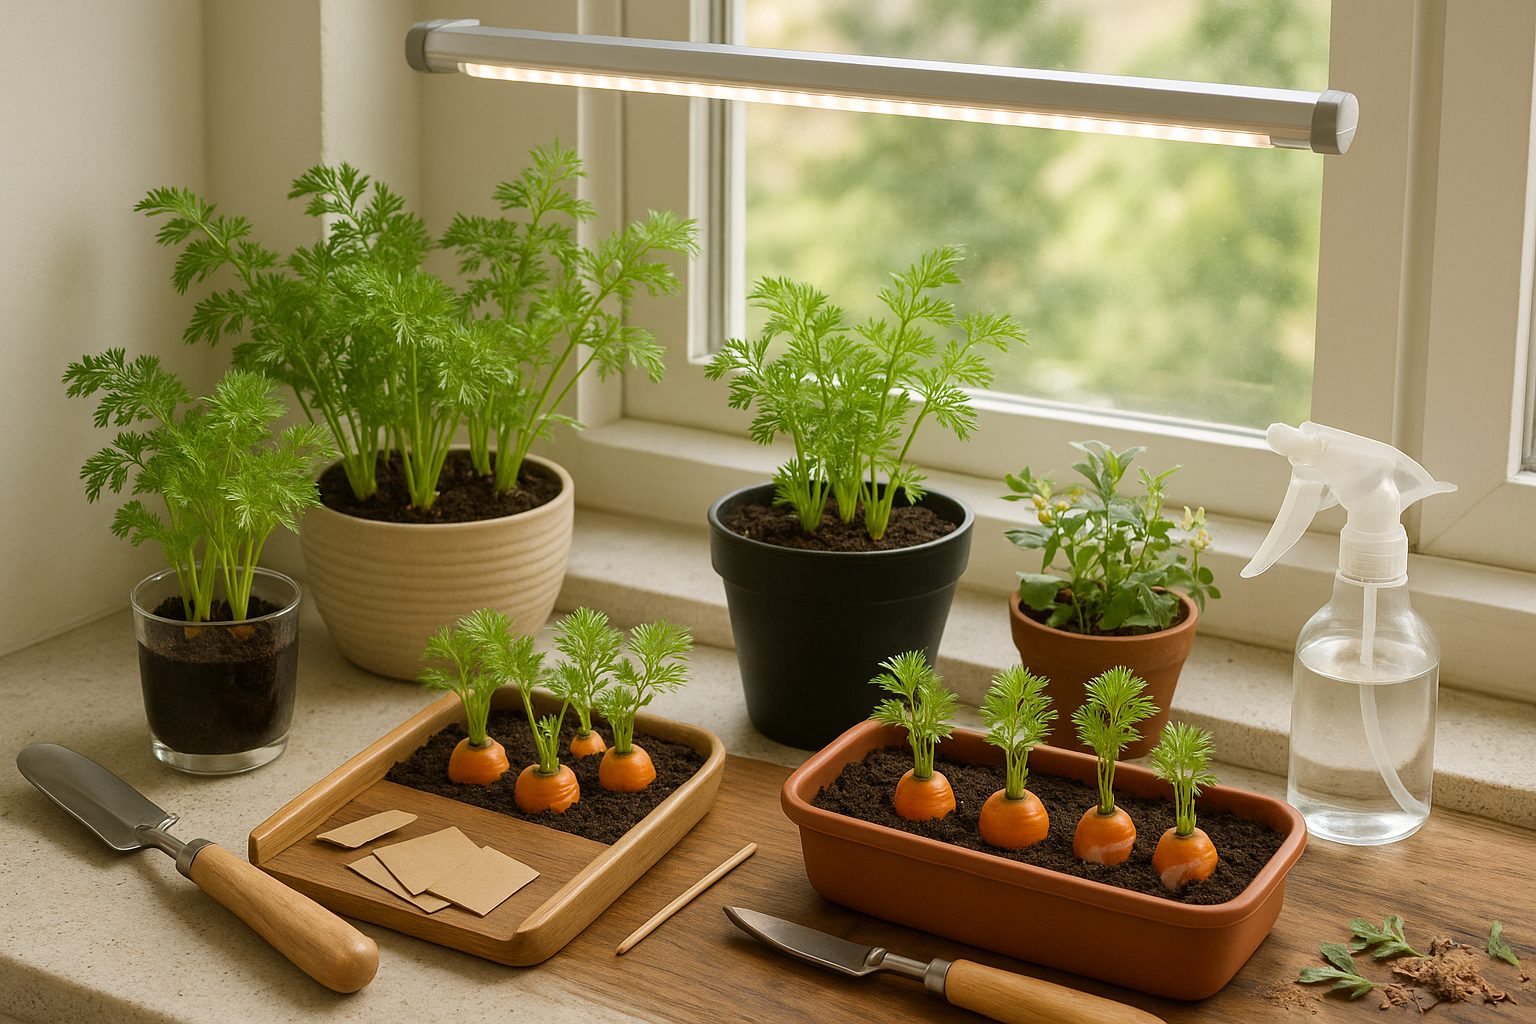
Getting Started: Supplies and Setup
To get started with indoor gardening, you’ll need a few key supplies: deep containers that allow roots to grow, a well-draining potting mix to prevent waterlogging, and high-quality seeds suitable for your climate. If your space doesn’t get much sunshine, invest in good grow lights and set a timer to mimic natural daylight cycles.
When picking pots, choose ones with drainage holes at the bottom and opt for sturdy materials like ceramic or thick plastic that can handle moisture. Before planting, fill your containers with fresh potting mix and moisten it slightly to help seeds settle.
Place your pots in the brightest spot you can find, such as a windowsill that receives at least six hours of sunlight, but avoid drafty windows or spots near heat sources, as these can stress plants. Good airflow is important—leave space between pots and avoid crowding your setup, which helps prevent mold and pests.
For those with more experience, hydroponic systems offer a soil-free, water-based alternative that can yield impressive growth indoors, though they require upfront setup and consistent monitoring.
With the right supplies and careful setup, your plants will have everything they need to thrive.
Sowing, Growing, and Care
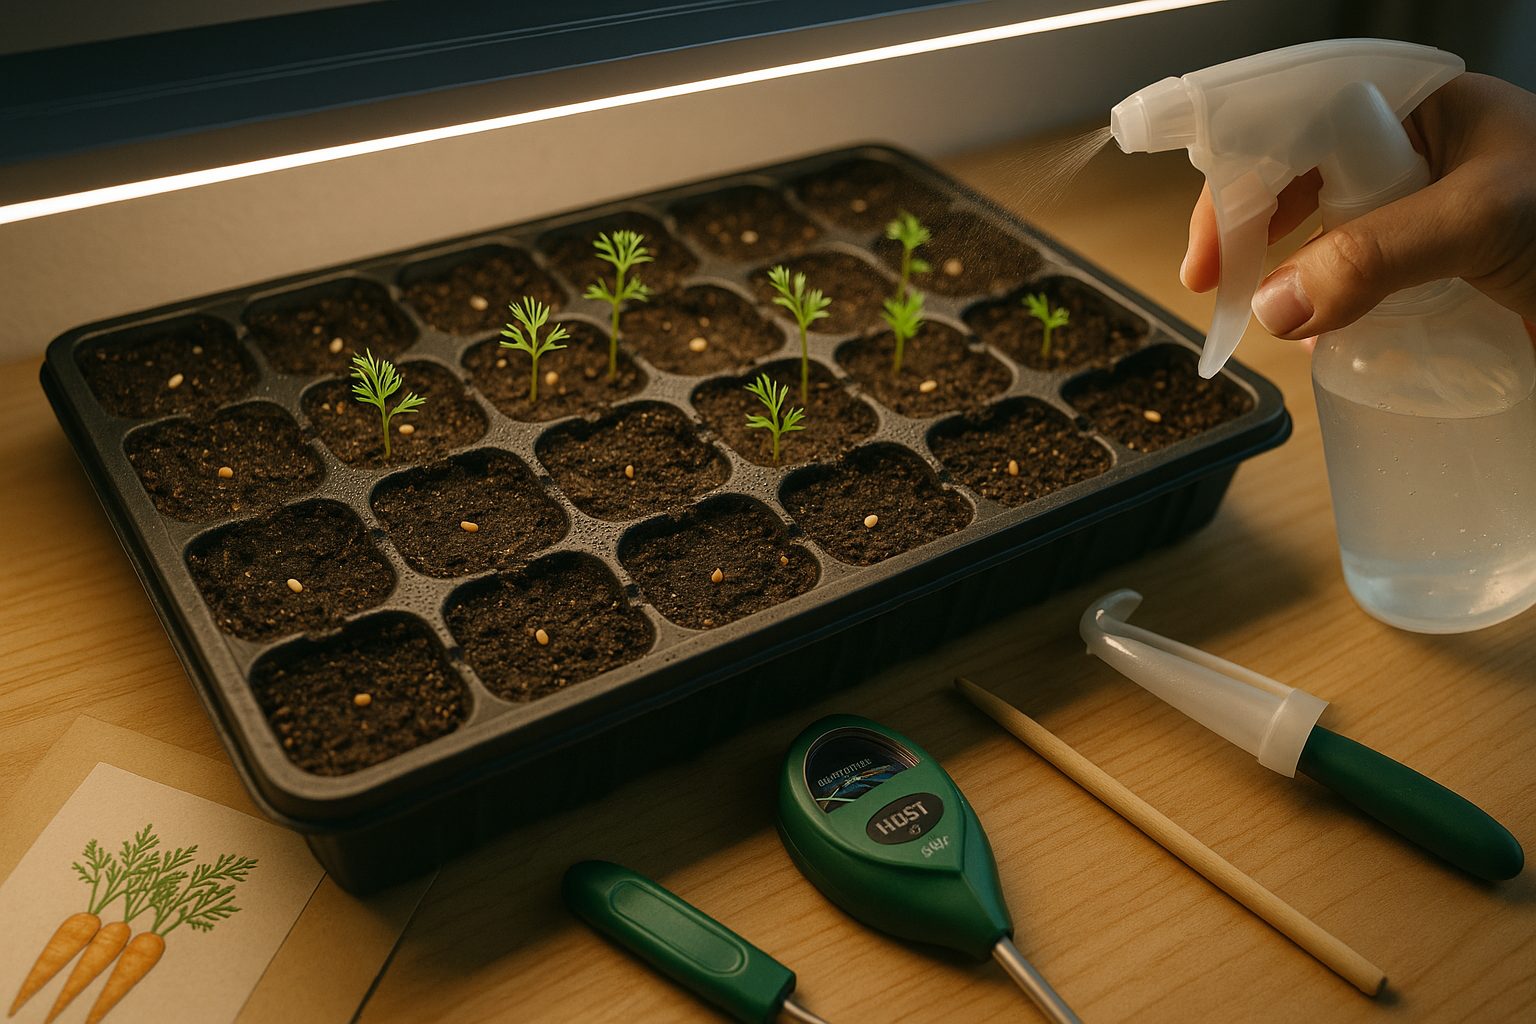
To start sowing seeds, fill seed trays or small pots with moist, well-draining potting mix. Sow seeds according to the packet’s recommended depth—most common vegetables and flowers prefer a depth about twice the seed’s diameter. Space seeds about 1-2 inches apart to prevent overcrowding; for larger seeds like beans, space them 3-4 inches apart.
After sowing, gently press the soil to ensure good seed-to-soil contact and water lightly with a spray bottle to avoid washing the seeds away. Place the containers in a bright spot—most seeds need 12-16 hours of light daily. If you’re starting indoors, supplement with LED or fluorescent grow lights; keep the lights 2-4 inches above the seedlings and adjust as they grow.
Water the soil when the top inch feels dry, avoiding both overwatering and letting it dry out completely. Once seedlings develop two true leaves, thin them to prevent crowding—clip the weaker ones at the soil line, leaving the strongest with enough room to grow.
Use a diluted liquid fertilizer every two weeks after seedlings are established, but avoid high-nitrogen mixes to prevent weak, leggy growth. Healthy seedlings stand upright with rich green leaves. Watch for yellowing, wilting, or spots—these can indicate overwatering, poor lighting, or disease. Address issues promptly for the best results.
Common Problems and Troubleshooting
Many gardeners face issues like root deformities, leggy seedlings, and pest or disease attacks when starting plants from seed.
Root deformities, such as “J-rooting,” often happen if seedlings are not transplanted carefully. To prevent this, handle young plants gently and use deep containers to avoid crowding their roots.
Leggy seedlings, which appear tall and weak, are usually caused by insufficient light. Placing trays in a bright spot or using a grow light just a few inches above the seedlings can help them develop sturdy stems.
Pests like aphids and fungal diseases can also strike early. Keep your seedlings well-spaced for air circulation and inspect leaves regularly. If you notice sticky residue or spots, wipe leaves with a mild soapy water solution or remove affected plants before problems spread.
For more in-depth troubleshooting, reputable sources such as university extension websites and The Old Farmer’s Almanac offer step-by-step guides.
Harvesting and Storage
Carrots are ready to harvest when their shoulders—the tops of the root—start to poke out of the soil and show a vibrant orange color, usually about 60–80 days after sowing. Gently wiggle the roots to check their size, aiming for a diameter of at least half an inch before pulling.
For the best results, loosen the soil with a fork first to avoid snapping the carrots. Once harvested, cut off the carrot greens to prevent moisture loss, but don’t toss them! The greens are edible and great for pesto or salads.
To prolong freshness, let the carrots air dry for a day. This “curing” period toughens their skin. Then, store them unwashed in a perforated plastic bag or layered in damp sand inside a cool, dark place like a fridge or cellar. Properly cured and stored carrots can last for weeks or even months without losing flavor or crunch.
Bonus Tips for Indoor Success
For even better indoor carrot harvests, try rotating your containers every few days to ensure even sunlight and prevent misshapen roots. Succession planting—sowing new seeds every two to three weeks—keeps your supply steady and fresh.
When watering, aim for deep, thorough soaks rather than frequent light sprinkles; carrots develop sweeter, straighter roots with consistent moisture. You might also experiment with companion planting by growing carrots alongside easy indoor herbs like chives or basil, which can help deter pests and improve growth.
For the adventurous, small-scale hydroponic systems can produce crisp, intensely flavorful carrots without soil and are surprisingly manageable for beginners.
After harvesting, whip up roasted carrot fries, carrot hummus, or toss fresh slices into salads for healthy, snackable meals. Websites like Minimalist Baker and BBC Good Food offer simple carrot recipes, so you can make the most of your hard-earned crop in the kitchen.