Introduction
If you’ve ever been intrigued by the idea of growing brussels sprouts indoors, you’re not alone. These little green powerhouses are a beloved staple in many home gardens, thanks to their unique flavor and impressive nutritional value. Traditionally, Brussels sprouts thrive in cool weather, which can be tricky for those without outdoor space or who live in regions with unpredictable seasons.
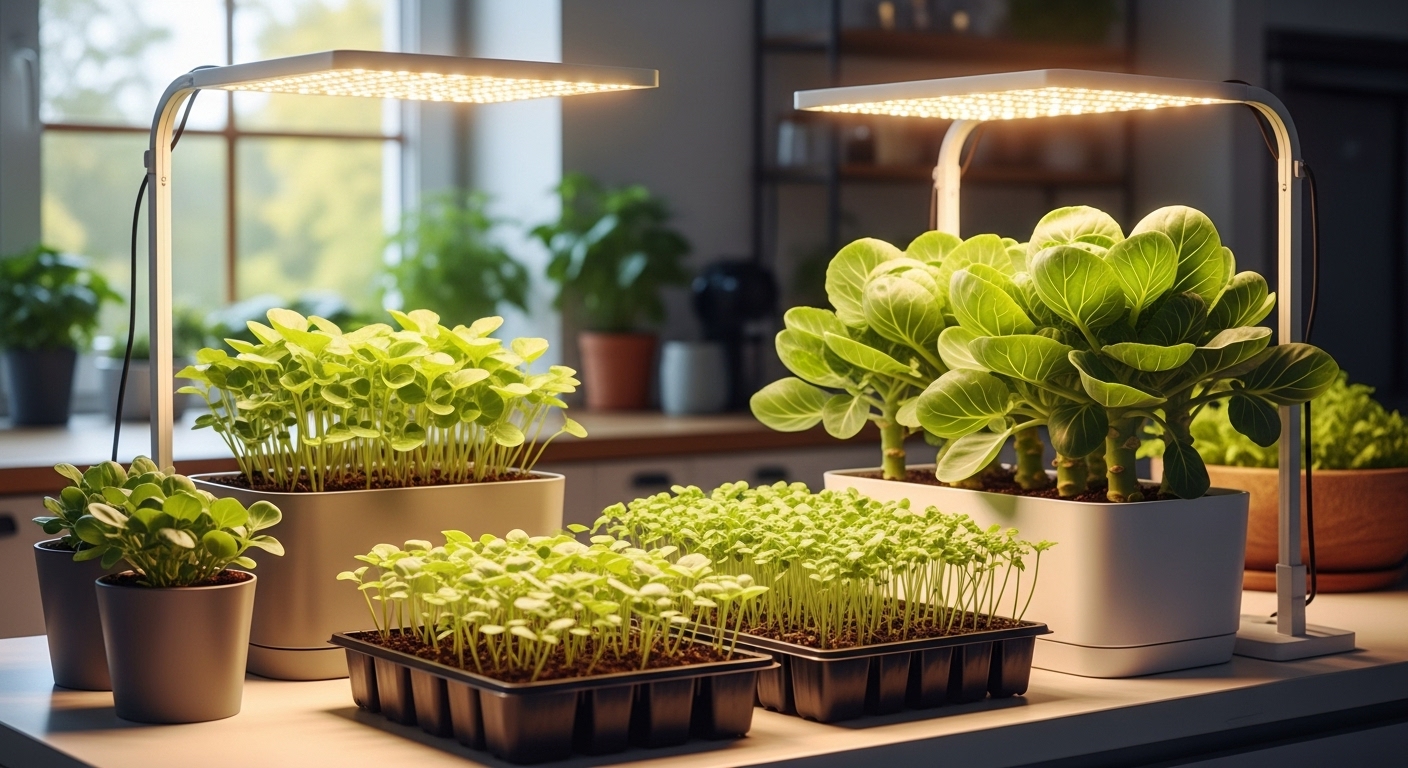
However, indoor gardening—especially with the help of grow lights—opens up a whole new world of possibilities. Imagine harvesting crisp, flavorful sprouts right from the comfort of your kitchen, regardless of the weather outside!
In this guide, you’ll discover how to select the best Brussels sprout varieties for indoor success, how to set up grow lights to mimic their natural growing conditions, and step-by-step tips for nurturing your plants from seed to harvest. Whether you’re a seasoned gardener or a beginner looking for a challenging and rewarding project, this post will equip you with the know-how and confidence to cultivate a thriving indoor Brussels sprout garden year-round.
Get ready to bring fresh, homegrown flavor to your table—no matter the season.
Choosing and Sowing Brussels Sprouts Seeds
Selecting the right Brussels sprouts variety is key to a bountiful, tasty harvest. Consider your climate and taste preferences: ‘Jade Cross’ is prized for its compact growth and sweetness, while ‘Long Island Improved’ offers traditional flavor and cold-hardiness. For gardeners battling clubroot or downy mildew, look for disease-resistant varieties like ‘Diablo’ or others labeled specifically for resistance.
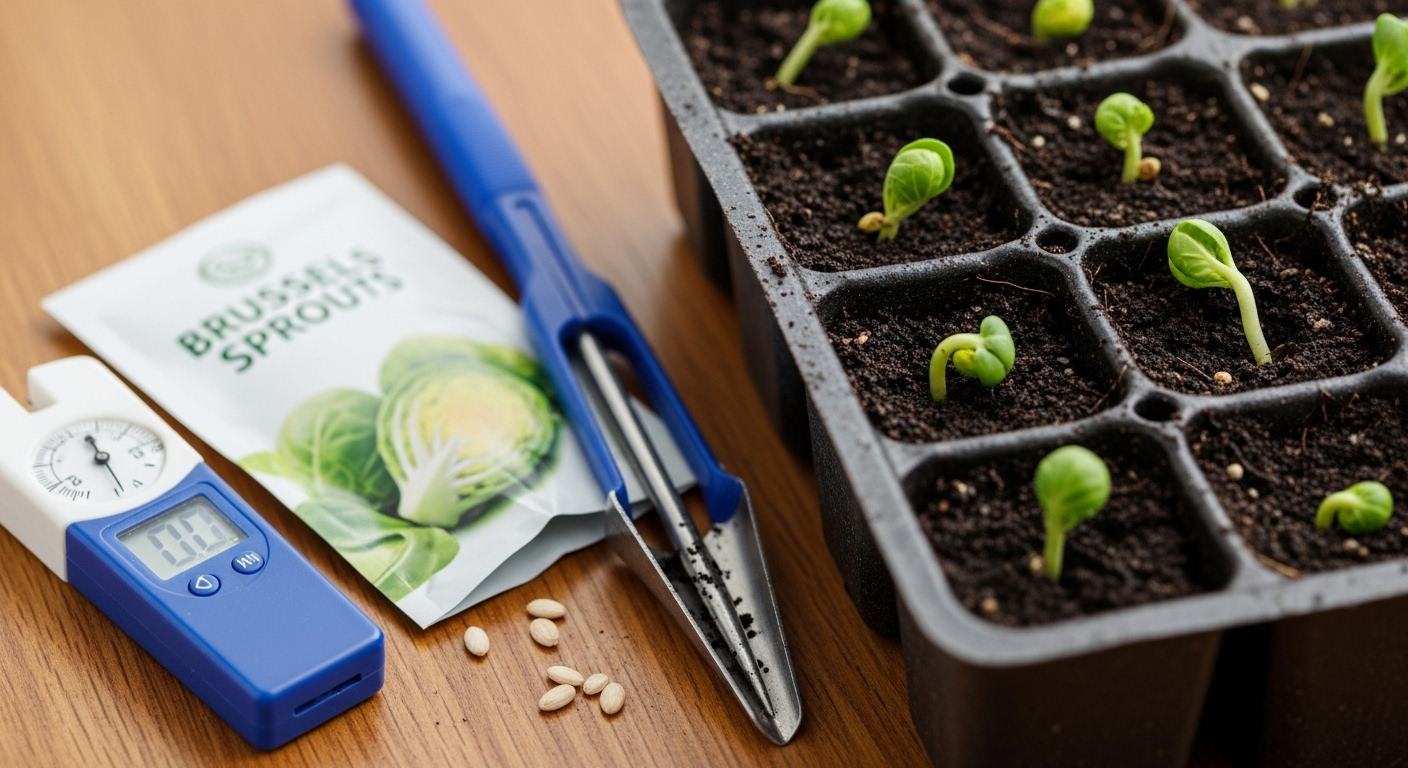
Always buy seeds from reputable suppliers with good reviews to ensure top germination rates—fresh seed is more reliable than leftover packets from past years. Timing your sowing is crucial: start seeds indoors about 4–6 weeks before your area’s last frost date, as Brussels sprouts need a long, cool growing season.
For indoor sowing, use trays or small pots, planting seeds a quarter-inch deep in moist, sterile seed-starting mix and spacing them an inch apart. Keep the temperature around 60–70°F (16–21°C) and provide plenty of light, turning trays if seedlings start to lean.
If direct sowing outdoors, wait until soil temperatures are at least 45°F (7°C) and sow seeds half an inch deep, about 3 inches apart in well-worked, fertile soil. Once seedlings emerge, thin them to 18–24 inches apart to give each plant ample room.
In the early seedling stage, keep soil consistently damp but not soggy, and use a fan or gentle hand brushing to prevent legginess. Before transplanting outdoors, harden off seedlings gradually by placing them outside for a few hours each day, increasing exposure to sun and wind over a week—this toughens them up and reduces transplant shock.
With careful variety selection, good seed, and thoughtful sowing, you’ll set your Brussels sprouts up for a healthy, productive season.
Planting and Transplanting Brussels Sprouts
For a successful Brussels sprouts crop, start by choosing a location that receives at least 6 hours of direct sunlight daily—these hardy veggies need good light to thrive. The soil should be well-drained but able to retain some moisture, with a pH between 6.0 and 7.5 for optimal nutrient uptake. Enrich your soil with compost or well-rotted manure before planting, as Brussels sprouts are heavy feeders and respond well to fertile conditions.
When transplanting seedlings, first “harden them off” by placing them outdoors in a shaded, protected spot for a few hours each day, gradually increasing sun exposure and time spent outside over a week. Once seedlings reach about 4–6 inches tall and the risk of hard frost has passed (usually when soil temperatures are at least 50°F/10°C), they’re ready to be planted.
Plant each seedling deeply enough to cover the lowest set of leaves, which encourages a sturdier stem, and space them 18–24 inches apart in rows set 30 inches apart—crowded plants won’t develop full-sized sprouts. Timing varies by climate:
- In cooler northern areas, start seeds indoors 6–8 weeks before the last spring frost and transplant in late spring for a fall harvest.
- In milder southern climates, you can direct-sow or transplant in late summer for a winter harvest.
Regularly check soil moisture and provide mulch to help conserve water and suppress weeds once your Brussels sprouts are settled in their new home. With a little planning and careful transplanting, you’ll be rewarded with stalks loaded with crisp, sweet sprouts by harvest time.
Caring for Your Brussels Sprouts Plants
Caring for your Brussels sprouts plants is all about consistency and paying attention to their specific needs. Start by watering deeply once or twice a week rather than with frequent shallow waterings—this encourages deep root growth and helps prevent splitting. Keep the soil consistently moist, especially during dry summer periods, but avoid soggy conditions that can cause root problems.
Adding a layer of organic mulch, like straw or shredded leaves, helps retain moisture, regulate soil temperature, and suppress weeds. Fertilize your plants about a month after transplanting and again in midsummer with a balanced vegetable fertilizer, but don’t overdo it—too much nitrogen can cause excessive leafy growth at the expense of sprouts.
As the tall, leafy stalks grow, Brussels sprouts often need staking, especially in windy areas. Use garden stakes or bamboo canes, tying the plants loosely to prevent them from toppling over under their own weight.
Temperature management is crucial too. Brussels sprouts prefer cooler weather, so shield them from intense heat with a row cover or by providing shade during scorching afternoons. Prune away yellowing lower leaves to improve air circulation and reduce disease risk.
For better yields and larger sprouts, try pinching out the growing tip or top of the plant about 3-4 weeks before your first expected frost—this encourages the plant to focus its energy on developing firm sprouts.
During summer, keep an eye out for signs of heat or drought stress such as wilting, fading leaves, or stalled growth. Timely watering, shading, and consistent mulching are your best defense. Regular check-ins for pests like cabbage worms will also keep your plants healthy and productive.
With a little attentive care, these hardy veggies will reward you with a delicious crop right when many gardens are winding down for the year.
Common Pests and Diseases
Gardeners often face a variety of pests and diseases that can quickly damage plants if left unnoticed. Common pests like aphids, spider mites, and caterpillars often show up through curled leaves, sticky residue (honeydew), or visible holes in foliage. Watch for small yellow spots or stippling as signs of spider mite infestations, especially during hot, dry spells.
Among diseases, powdery mildew appears as a white, dusty coating on leaves, while blight causes blackened or brown spots, particularly on tomatoes and potatoes. Root rot’s telltale signs include wilting and mushy roots, usually resulting from overwatering or poorly drained soil.
Preventing these problems starts with healthy cultural practices:
- Choose disease-resistant varieties.
- Water at the soil level to keep leaves dry.
- Keep your garden free of debris.
For organic pest control, you can:
- Handpick insects.
- Use insecticidal soap sprays.
- Try natural predators like ladybugs for aphids.
Neem oil is effective against both pests and some pathogens, but always test it on a small area first. Rotating crops and spacing plants properly improves airflow and discourages disease buildup.
Integrated Pest Management (IPM) combines these approaches:
- Regularly inspect plants.
- Encourage beneficial insects.
- Use chemical controls only as a last resort.
For example, interplanting marigolds can deter nematodes and certain beetles, while introducing predatory insects like lacewings helps curb aphid populations naturally. Early detection and a mix of cultural, mechanical, and biological controls keep garden issues manageable without relying solely on chemicals.
Harvesting and Storing Brussels Sprouts
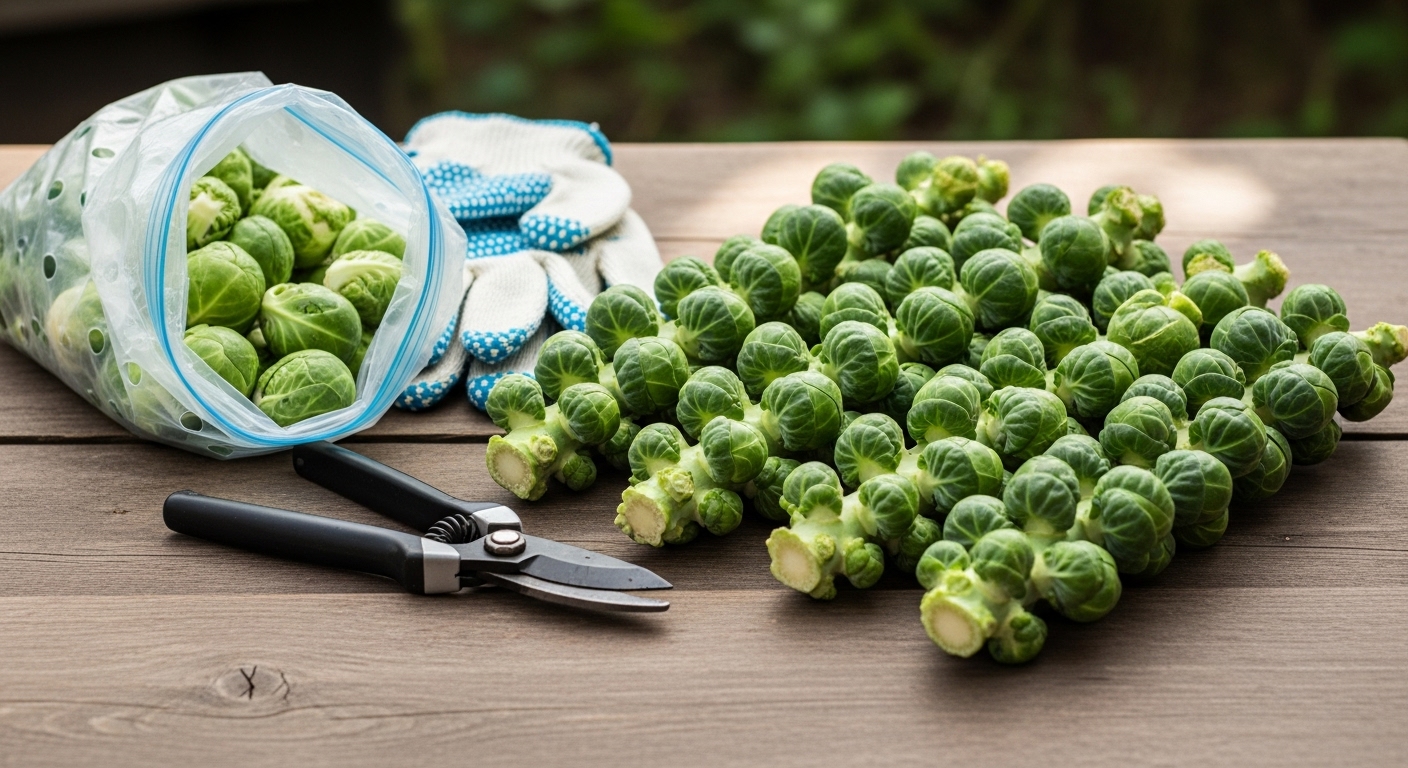
Knowing when to harvest Brussels sprouts is key to getting that perfect taste and texture. Sprouts are usually ready when they’re about one to two inches in diameter—firm, bright green, and tightly packed. They often taste sweetest after a light frost, so don’t be afraid to let your plants linger until temperatures dip just below freezing.
To harvest, start at the bottom of the stalk where the lower sprouts mature first. Snap or twist off each sprout, working upward as you go; using gardening gloves can help shield your hands from the tough stalks. If you expect a hard frost, you can cut the entire stalk at the base and bring it indoors, letting the sprouts stay fresh on the stalk for about a week.
For longer storage, remove any loose or yellowed leaves and refrigerate unwashed sprouts in a perforated plastic bag, where they’ll keep for up to two weeks. If you want to preserve your harvest even longer, blanch cleaned sprouts in boiling water for three to five minutes, then shock them in ice water and freeze inside airtight containers—a great way to enjoy homegrown flavor year-round.
Before cooking, rinse the sprouts thoroughly to remove any dirt or pests, trim the stem ends, and peel off any damaged outer leaves. Prepped and ready, your Brussels sprouts are now perfect for roasting, sautéing, or adding to your favorite recipes.
Tips for Enjoying and Cooking Brussels Sprouts
Brussels sprouts have a bad reputation, but with the right techniques, they can become a staple in your meal rotation. Start by trimming off the tough ends and halving the sprouts, which helps them cook evenly.
For maximum sweetness, toss them with olive oil, salt, and pepper, then roast at 425°F for about 20-25 minutes until their edges are crispy and caramelized—the high heat brings out their natural sugars. If you want an even sweeter flavor, look for frost-kissed sprouts at the market; a touch of frost breaks down starches into sugars, making them milder and more delicious.
Quick sautéing is another easy method: slice sprouts thin and cook them in a hot skillet with garlic and a splash of lemon juice or balsamic vinegar for brightness. Get creative with simple toppings like a sprinkle of parmesan cheese, chopped nuts, or dried cranberries.
For a speedy side dish, toss roasted Brussels sprouts with cooked bacon pieces and a drizzle of honey. If you’re feeling adventurous, shred raw sprouts into salads or slaws for crunch and flavor—just add apples, walnuts, and a tangy vinaigrette.
With these quick tips, Brussels sprouts can go from dreaded veggie to dinner table favorite in no time.
Conclusion
Growing Brussels sprouts at home offers plenty of rewards—they’re packed with nutrition, taste fresher than store-bought, and are surprisingly beginner-friendly. With just a bit of care, you can enjoy crisp, flavorful sprouts straight from your garden or even from a large container on a patio.
The satisfaction of harvesting your own veggies is hard to beat! If you’ve been on the fence, give growing Brussels sprouts a try this season. Already have experience or curious about getting started? Share your questions, tips, or stories in the comments—we’d love to hear how your garden grows!