What is Straw Bale Gardening?
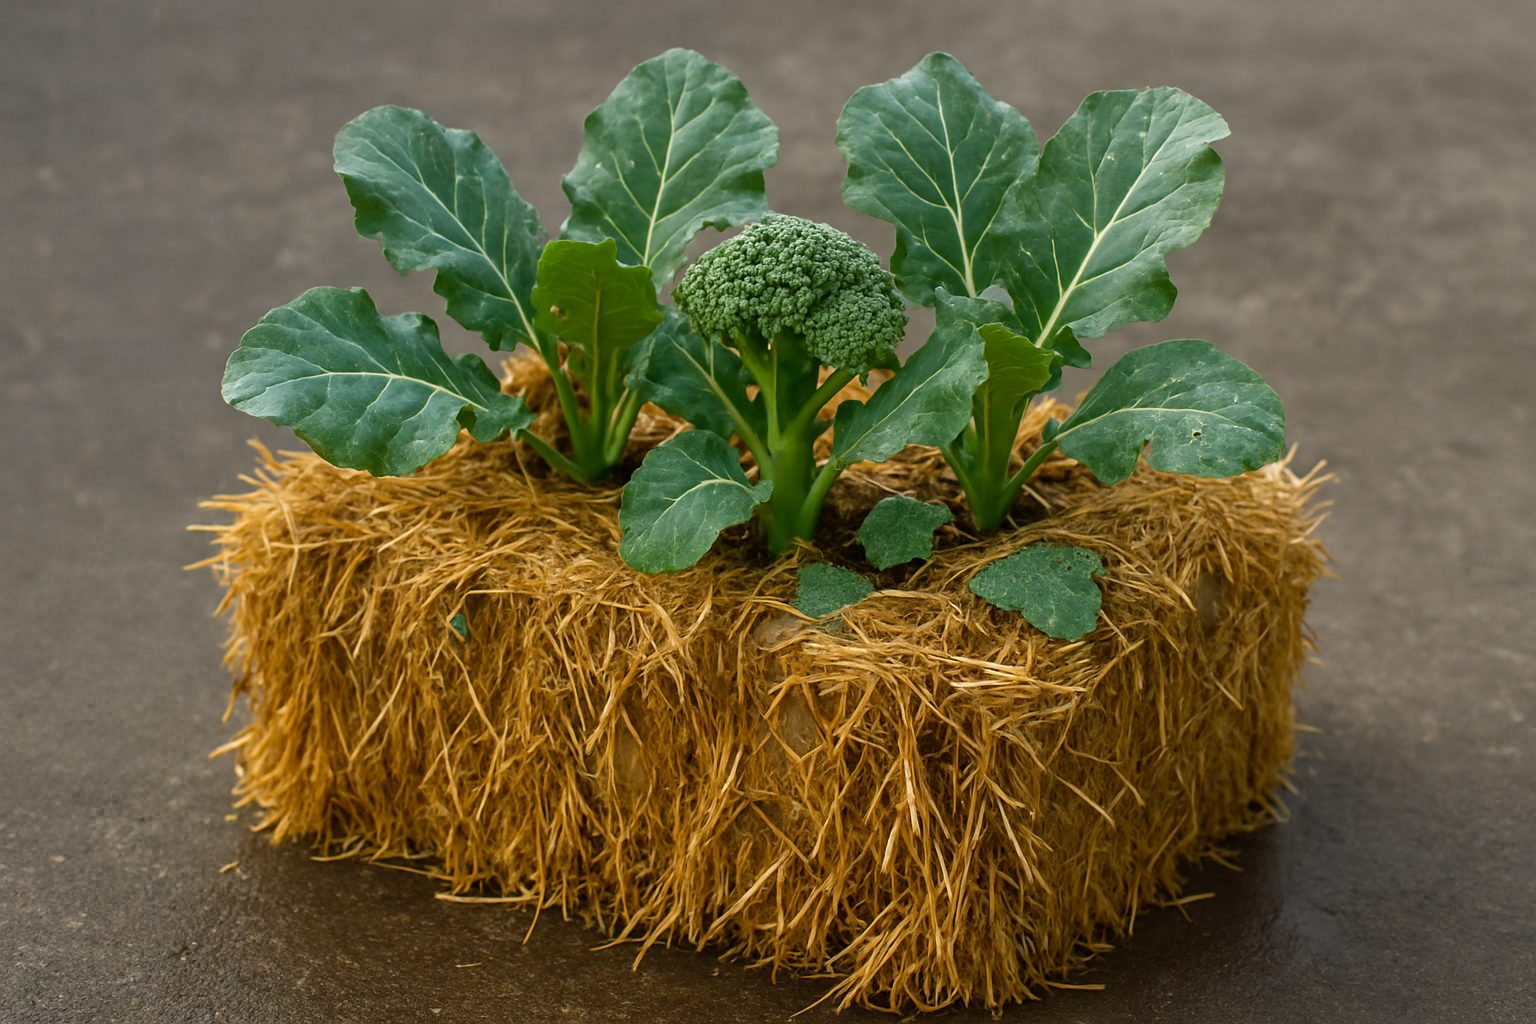
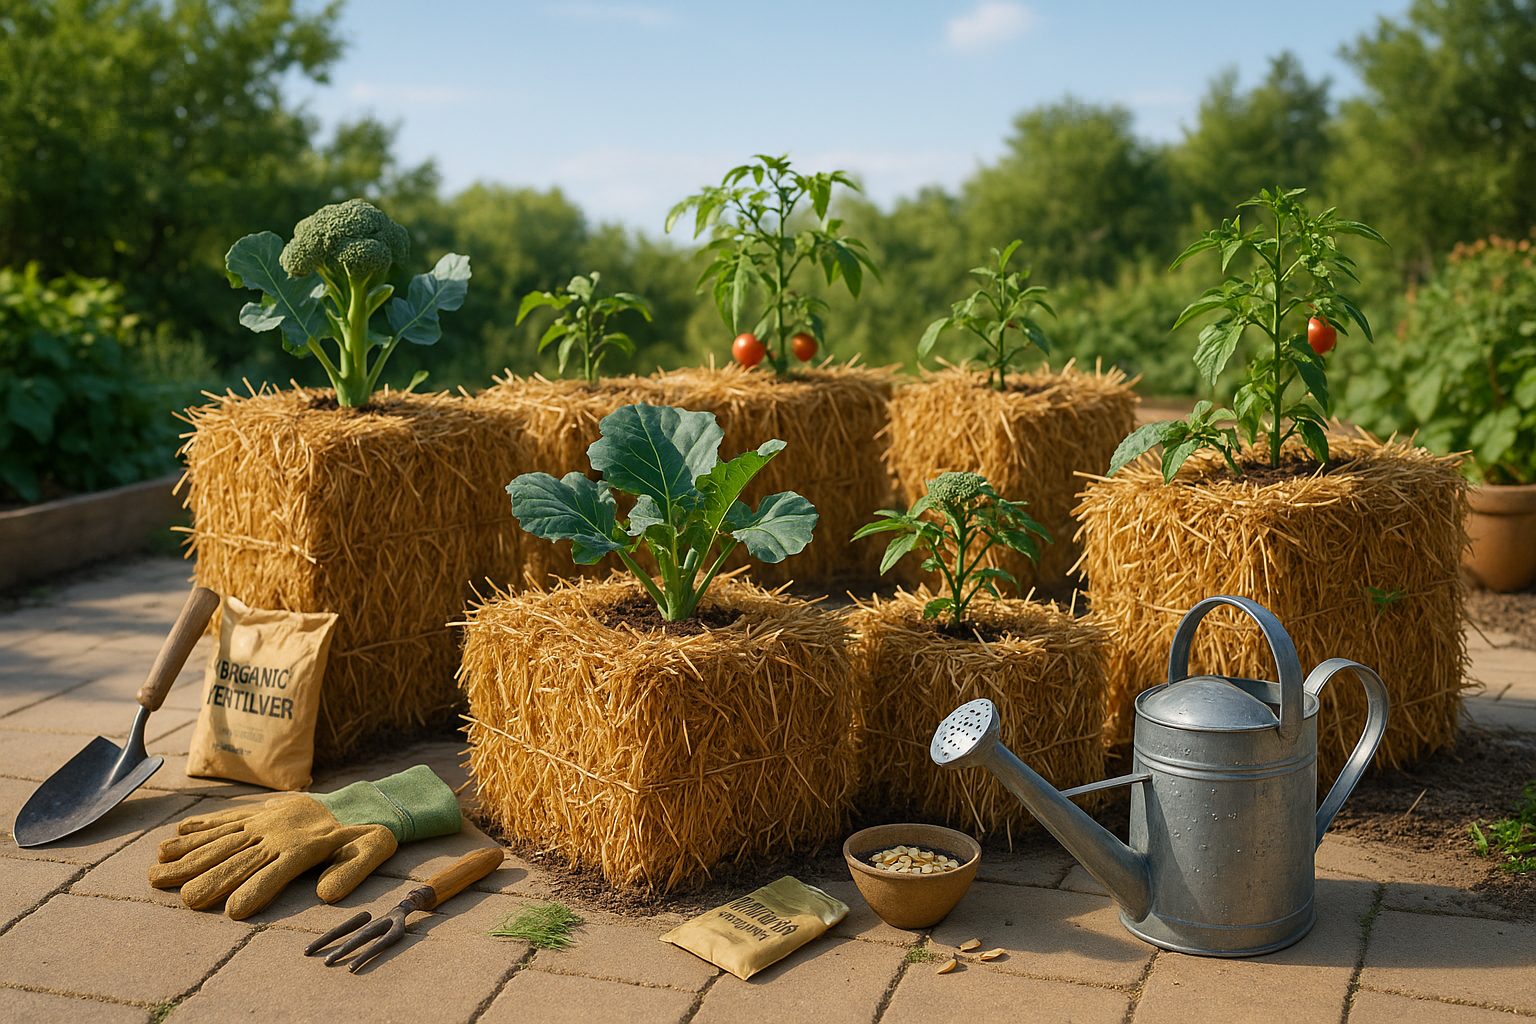
If you’ve ever wondered about unconventional ways to grow your own veggies, you might be curious about broccoli in straw. Straw bale gardening is an innovative method where vegetables like broccoli are grown directly in bales of straw or hay instead of traditional soil beds. Unlike classic backyard gardens that require tilling, fertilizing, and perfect soil, straw bale gardening creates a “container” by conditioning straw bales for planting, turning them into mini raised beds with built-in compost. This is especially useful for those dealing with tough, rocky, or contaminated soil—or anyone limited by small yards or patios.
The benefits go beyond overcoming poor soil. Straw bale gardening saves space by creating compact, movable growing plots perfect for decks, driveways, or rooftops. It’s ideal for beginners because it’s low-maintenance: there’s less weeding, watering is more efficient, and you avoid common soil-borne pests or diseases. Plus, the elevated setup means less bending and stooping, making gardening easier for people with mobility issues.
Sustainability is another big draw. Old straw bales break down into rich compost by the end of the season, reducing waste and feeding future gardens. For urban dwellers or anyone short on fertile ground, straw bale gardening opens new doors—turning even a patch of concrete into a productive veggie patch. With broccoli in straw, you not only maximize your growing space but also enjoy fresher, homegrown food no matter where you live. For anyone eager to cut costs, eat better, and garden smarter, straw bale gardening is a practical and eco-friendly solution worth considering.
Choosing and Placing Your Straw Bales
Selecting the right straw bales is key to a successful straw bale garden. Always choose clean, weed-free straw over hay—look for wheat or oat straw because it decomposes evenly and contains fewer seeds that could sprout into unwanted plants. Inspect bales for mold, a sweet smell, and tight packing; avoid any that feel soggy or fall apart, as these won’t hold up all season.
For placement, pick a spot that gets at least six hours of sun daily and isn’t prone to standing water, since soggy roots spell trouble for most vegetables. Test the spot after a rain to make sure water drains away quickly.
Arrange your bales in rows or blocks, depending on your garden’s shape and available space. Leave enough room between rows for you to move, weed, and harvest comfortably—a two-foot pathway works well for most people. Orient the bales so the straws run up and down (called the “string side up” method) for better water penetration and stability.
If you’re planning a larger garden, group bales close together to help conserve moisture and provide mutual support as they break down. Putting a weed barrier or a layer of cardboard underneath can help keep grass and weeds from growing up into your bales, making maintenance much easier throughout the growing season.
Conditioning and Preparing the Bales

Conditioning your straw bales is a crucial first step before planting, as it transforms the dry straw into a nutrient-rich, moist environment where roots can thrive. Start by selecting a sunny, level spot for your bales, then water them thoroughly to kick off the process.
Over the next 12 days, follow this conditioning schedule:
- Days 1–6: Soak the bales each day and sprinkle about half a cup of high-nitrogen fertilizer (like ammonium sulfate or blood meal) over the top. This jumpstarts internal decomposition, which generates warmth and releases nutrients. Keep watering daily to maintain moisture, but avoid sogginess.
- Days 7–9: Reduce the fertilizer to a quarter cup and continue watering daily, allowing microbial activity to build up.
- Days 10–12: Stop fertilizing but keep watering daily to help leach out excess salts.
Your bales are ready for planting when they feel warm—not hot—to the touch and begin giving off a mushroom-like smell, signaling active decomposition.
Conditioning is essential because it effectively breaks down the straw, creating a soft, fertile medium that retains moisture and supports germination. If you notice dry patches, water more evenly. If the bales become mushy or slimy, reduce watering and ensure good drainage.
Yellow or pale mushrooms may appear on the surface; these are harmless and indicate the bales are progressing well. However, if you detect a persistent ammonia smell after day twelve, give the bales a few more days to mature before planting.
Conditioning might seem tedious, but it’s a key foundation for giving your seedlings the best start in a straw bale garden.
Planning What and How to Grow
Straw bale gardening offers a flexible and productive way to grow a wide range of crops, even if you don’t have traditional garden beds. Popular vegetables that thrive in straw bales include tomatoes, peppers, cucumbers, squash, lettuce, and root crops like carrots and potatoes. Herbs such as basil, parsley, and chives do well too, along with flowers like marigolds or nasturtiums, which can attract pollinators and help deter pests.
When planning your plant layout, pay close attention to spacing; most plants need at least 6–12 inches between them to ensure good air circulation, reduce disease, and allow enough sunlight to reach each crop. Use companion planting principles—pair tomatoes with basil to boost flavor and growth, or tuck marigolds beside beans to ward off insects.
Crop rotation is also possible in straw bale gardening: simply switch plant families in each bale the following season to prevent nutrient depletion and reduce pest buildup. To maximize yield in tight or unconventional areas, consider vertical supports like trellises for climbing veggies, and take advantage of every surface by planting shallow-rooted herbs or greens along the edges and sides of the bales.
Get creative if your space is limited—set containers directly on top of bales, insert small pots in holes carved into the sides, or even stack smaller bales for a tiered “straw bale tower” that lets you grow more in less square footage. By mixing and matching crops, spacing them thoughtfully, and making the most of vertical and horizontal surfaces, you’ll harvest a surprising amount of fresh produce from even the smallest patch—even a sunny patio or driveway.
Planting Techniques and Supporting Your Plants
When starting your straw bale garden, you have two main planting options: transplanting seedlings or direct sowing seeds. For large, established seedlings like tomatoes or peppers, use a trowel or gloved hands to create a hole several inches deep in the softened bale. Gently nestle the root ball inside and press the straw snugly around the plant for support. Water well to help the roots settle.
For crops like beans, carrots, or lettuce, you can direct sow seeds by poking shallow holes or grooves in the moist straw. Space them according to the seed packet instructions, then cover lightly with straw or compost to keep the seeds moist as they germinate.
As your plants grow, especially heavy or vining types like tomatoes, cucumbers, or squash, provide sturdy support early. Drive stakes or tomato cages deep into the bales at planting time, or install trellises along the side for climbers. This keeps fruit off the wet straw and allows more air circulation around your plants, which helps reduce disease risk.
Don’t forget to mulch exposed bale surfaces and around plant bases with a thin layer of straw, shredded leaves, or organic mulch to help retain moisture and suppress weeds.
To manage pests, inspect your plants regularly—look under leaves for bug eggs or signs of munching, and remove pests by hand whenever possible. If pests persist, try spraying a diluted soap solution or introducing beneficial insects like ladybugs.
Consistent watering is key: straw bales dry out faster than traditional soil, so check daily and water thoroughly, ensuring the center of each bale stays moist. Early in the season, you might need to water twice a day, especially during hot spells, but reduce frequency as plants mature and roots grow deeper.
With these planting and care techniques, your straw bale garden will be set up for robust, healthy growth all season long.
Seasonal Care and Troubleshooting
Keeping your straw bale garden thriving throughout the season comes down to a few regular care routines and keen observation. Watering is crucial—bales dry out faster than soil, so check them daily during hot weather and keep them consistently moist but not waterlogged. In the early weeks, a slow, deep soak every morning usually works best, while established plants may need watering both morning and evening.
Fertilizing is key since straw bales don’t provide many nutrients naturally. Start by adding a balanced fertilizer or a liquid organic feed once or twice a week after planting, and adjust based on the plant’s growth and color. Pale leaves often signal a nitrogen deficiency.
Weed control is usually minimal with straw, but pull any weeds that pop up early before they can spread. Stay vigilant for common problems—if you notice white, fuzzy mold on the surface, improve airflow by spacing plants and avoid overhead watering. Mold is generally harmless but can be a sign of too much moisture.
Keep an eye out for pests like slugs and aphids: handpick slugs at dusk and use insecticidal soap for aphids if needed. If the bale starts to sag, smell sour, or decompose too fast, it’s likely too wet—cut back on watering and ensure good drainage underneath.
Seasonal weather can also pose challenges:
- During heavy rain, shield bales with a tarp.
- During heatwaves, use mulch or a light shade cloth to prevent drying and scorching.
Throughout the growing season, feed your plants every couple of weeks with compost tea or a water-soluble vegetable fertilizer to keep them healthy and productive. With a little daily attention and early intervention on problems, your straw bale garden will reward you with an easy, abundant harvest.
Harvesting and Beyond: What Happens After the Growing Season
As the growing season wraps up, harvesting your crops is a rewarding way to enjoy the fruits (and vegetables) of your labor. Be sure to pick ripe produce regularly to prevent spoilage, and remove any remaining plant material—disease-prone stems and old roots should be cleared promptly to keep your garden beds healthy for next year.
Don’t let used straw bales go to waste. Their nutrient-rich, decomposed material makes fantastic compost or can be forked directly into garden beds as a soil amendment to boost fertility. Old bales also work well as mulch around perennials or in walkways to suppress weeds.
Once the garden is tidy, take some time to evaluate what worked and what didn’t this season. Were there plants that struggled or thrived? Jot down notes for crop rotation plans or new varieties to try.
Finally, clean and store your tools, organize leftover seeds, and cover any bare soil with mulch or cover crops to protect it from erosion and weed growth over winter. Taking these extra steps ensures a smoother start when spring rolls around again.
Remember, every season in the garden is a learning opportunity—experiment with different reuse strategies and adapt your end-of-season routine to what works best for your space and climate.