Introduction
Organic bell pepper growing is a rewarding journey for any home gardener—whether you’re a seasoned pro or just starting out. There’s something uniquely satisfying about snipping a colorful, crisp bell pepper right from your own backyard or balcony.
When you grow bell peppers organically, you unlock a burst of flavor that store-bought varieties often lack, all while knowing exactly what went into the soil and onto your plants. Not only do you save money by skipping the grocery store’s produce aisle, but you’re also in full control of the growing environment. This means you can avoid synthetic chemicals and keep your harvest as healthy as possible. Plus, you can adapt your garden to best support your local climate and your family’s tastes.
In this article, we’ll walk you step-by-step through the process of cultivating organic bell peppers—from choosing the right seeds and preparing your soil to planting, pest management, and finally harvesting those perfect, vibrant peppers. Whether you have a sprawling garden or a few pots on a sunny windowsill, you’ll find practical tips and real-world advice to transform your organic bell pepper growing experience. Get ready to enjoy fresher flavors and develop a greener thumb!
Choosing the Right Location and Time to Plant
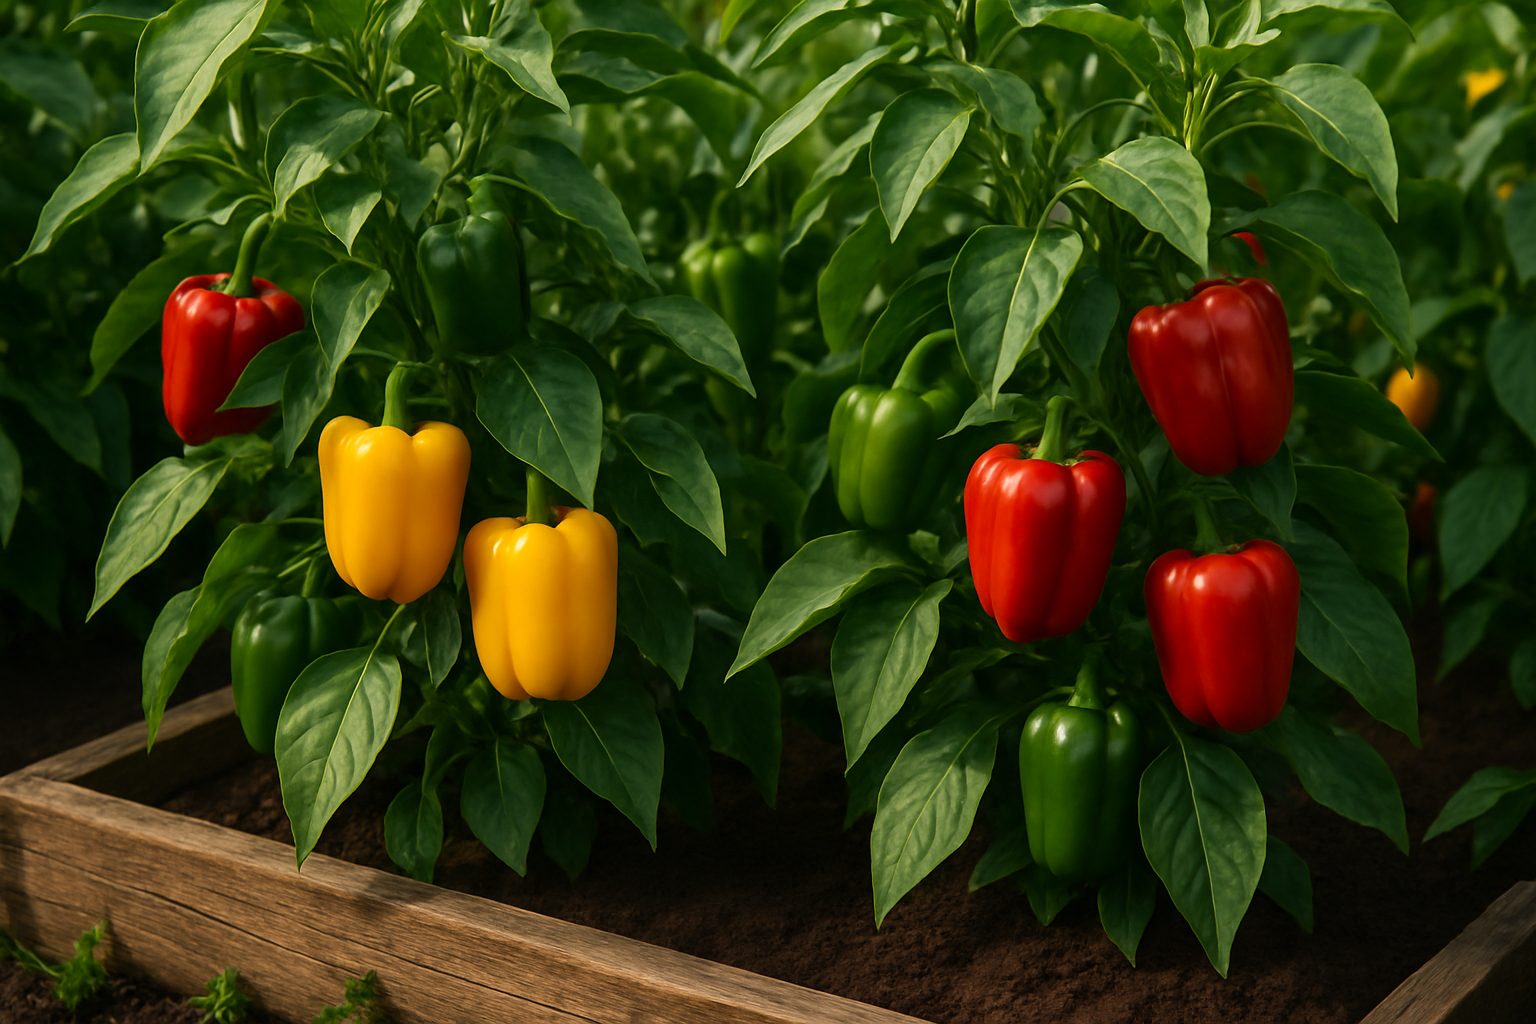
Bell peppers thrive in warm, sunny environments, so climate and timing are crucial for their success. Ideally, they prefer daytime temperatures between 70°F and 85°F and nighttime temperatures no lower than 50°F. Too much cold can stunt growth or cause the plants to fail completely.
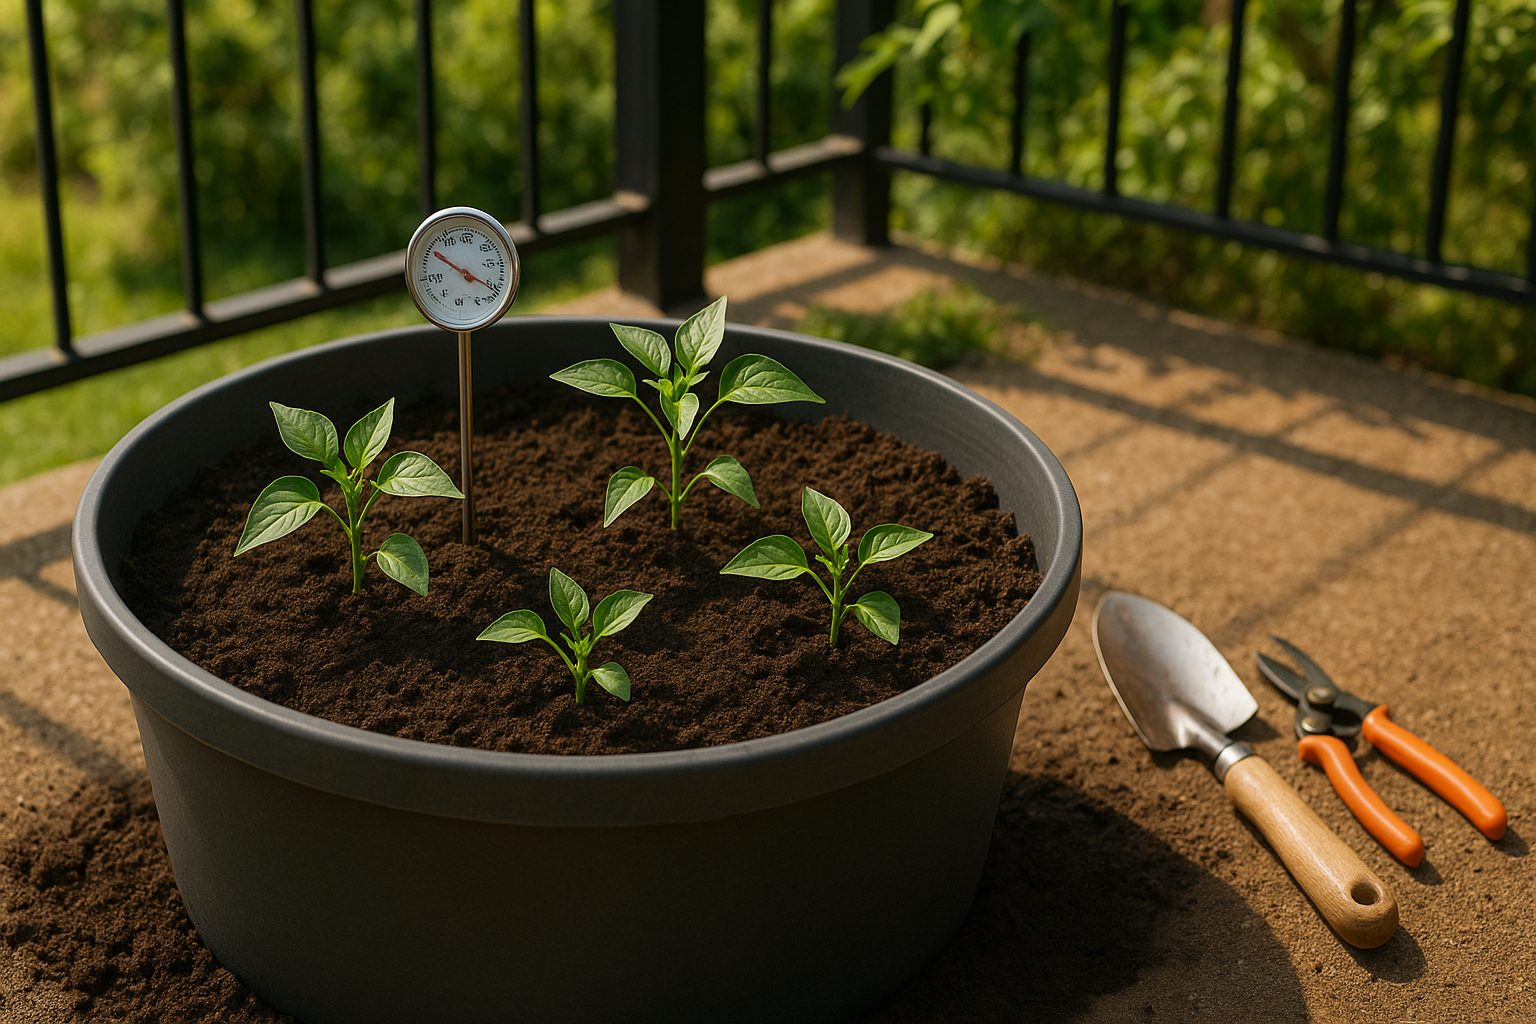
Choose a spot that receives at least six to eight hours of direct sunlight daily—the more sun, the better for growing large, sweet peppers. Outdoors, bell peppers do best in well-drained garden beds or raised beds filled with rich, loose soil. They also grow well in containers, as long as the container is at least 12 inches deep and wide to give the roots room to spread.
Growing bell peppers indoors in containers is a practical option if you live in a cooler climate or want to extend your growing season. Just place your pots near a sunny window or use grow lights to mimic full sun.
Starting From Seeds vs. Nursery Seedlings
When it comes to planting, you have two main options: starting from seeds or using nursery seedlings. Starting from seeds gives you more variety and is less expensive, but seeds need to be started indoors eight to ten weeks before your region’s last expected frost date, as pepper seeds are slow to germinate.
Seedlings offer a head start—plant them outdoors two to three weeks after the last frost, once the soil has thoroughly warmed.
Whichever method you choose, wait until nighttime temperatures consistently stay above 55°F before moving young plants outside. A simple soil thermometer from a garden center is a great investment for checking conditions before planting day.
Preparing Soil & Planting Bell Peppers
For the best bell peppers, start with rich, well-drained soil that’s high in organic matter—think compost or well-rotted manure mixed in before planting. Bell peppers prefer a slightly acidic to neutral pH, typically between 6.0 and 6.8, so use a soil test kit (available at most garden centers) to check and adjust if needed.
Keep the soil consistently moist but never soggy; aim for about one to two inches of water per week, and use mulch to help retain moisture and prevent weeds.
When it’s time to plant, wait until nighttime temperatures consistently stay above 55°F (13°C), as peppers are sensitive to cold. Start by hardening off your seedlings, which means gradually acclimating them to outdoor conditions over 7-10 days—set them outside for increasing amounts of sunlight and bring them in at night. This prevents transplant shock, a common cause of slowed growth or wilting.
For planting, dig a hole deep enough to cover the roots and up to the lowest set of leaves—usually about 1-2 inches deeper than the seedling pot. Space each plant 18-24 inches apart in rows that are at least 2 feet apart to give them plenty of airflow and room to grow.
Water thoroughly after planting, and consider using a diluted fish emulsion or starter fertilizer to encourage root development. By taking these steps, you’ll help your bell peppers thrive from the very start.
Watering and Fertilizing for Strong Growth
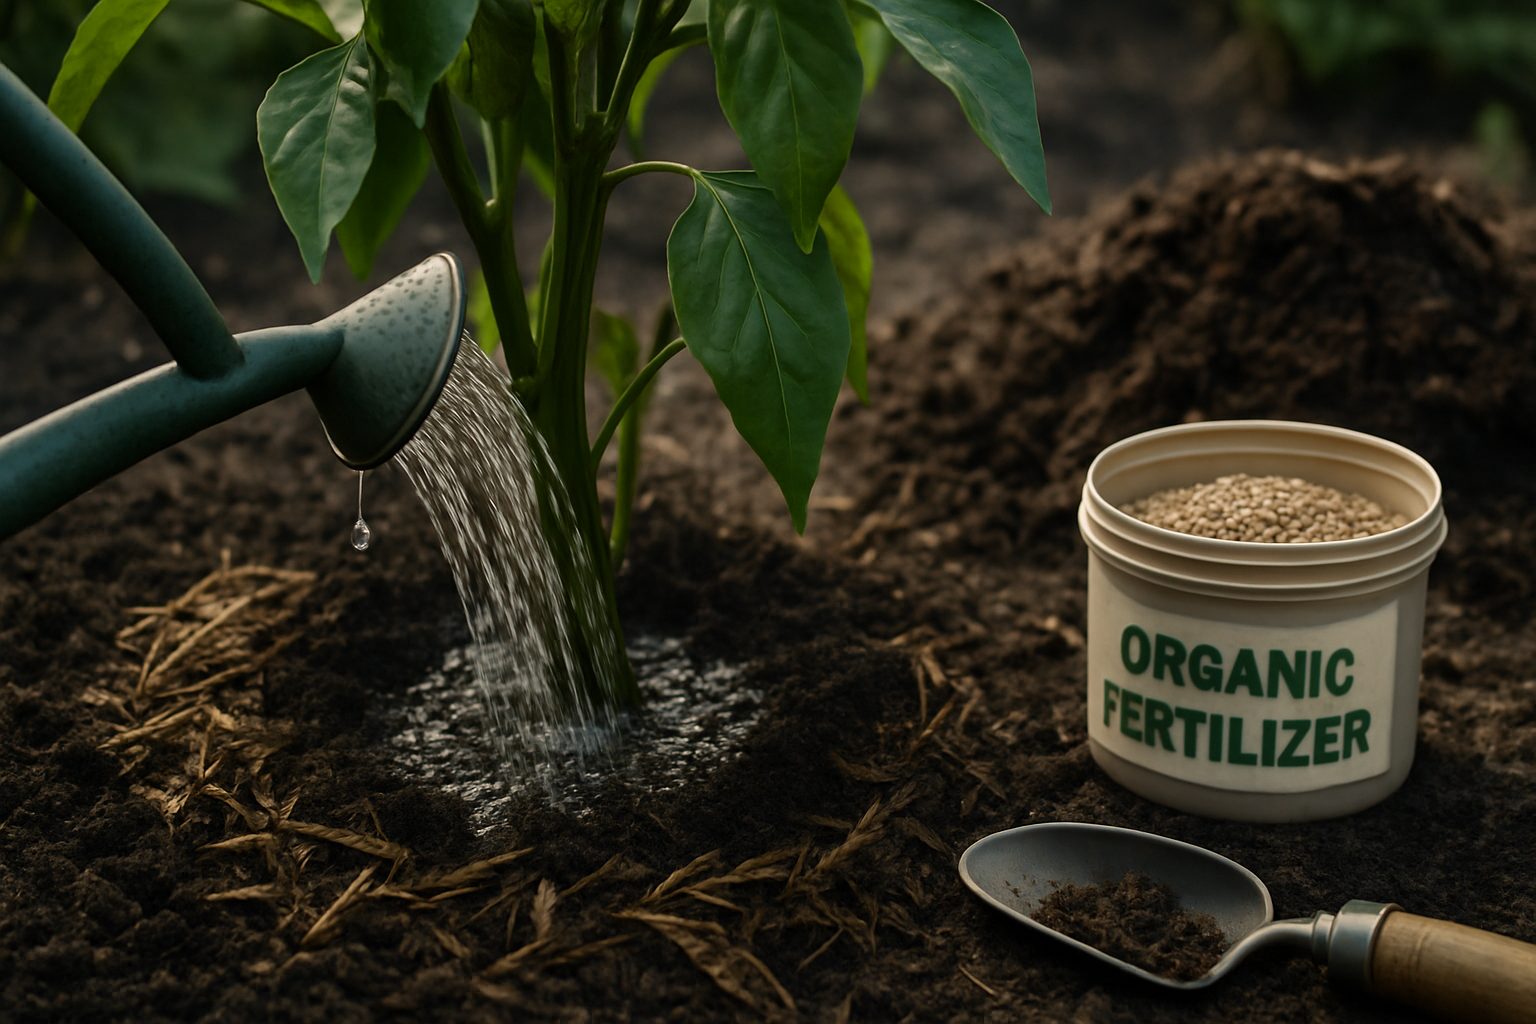
Getting watering and fertilizing right is crucial for healthy, productive bell pepper plants. In the early seedling stage, keep the soil moist but not soggy—typically, a gentle watering every two to three days is ideal. As the plants grow and daytime temperatures rise, especially in warm weather, increase the frequency to about 1-2 inches of water per week, delivered deeply at the soil level to encourage strong root growth. Be mindful after heavy rains to check soil moisture; too much water can cause root rot.
When it comes to feeding your bell peppers, start with a balanced fertilizer high in phosphorus and potassium once the seedlings have two or more true leaves—something like a 5-10-10 blend works well. As the plants begin to set flowers, switch to a fertilizer slightly higher in potassium and magnesium to promote fruit development. Aim to fertilize every 3-4 weeks, but always follow label instructions to avoid burning the plants. Many gardeners like to supplement with compost or well-rotted manure for slow-release nutrients.
Bell peppers thrive on nitrogen, phosphorus, potassium, magnesium, and calcium; deficiencies can lead to problems like blossom end rot or stunted growth. Avoid common mistakes such as overwatering—roots need oxygen too—and don’t let plants dry out completely, especially during fruiting. Fertilizing too heavily, particularly with nitrogen, can result in bushy plants with few peppers. Mulching with straw or compost can help retain soil moisture and reduce weeding.
By staying attentive to your plants’ needs and adjusting to the weather, you’ll give your bell peppers the strong start they need to produce a bountiful harvest.
Supporting, Pruning, and General Plant Care
Proper support is essential for healthy, productive plants, especially those with tall stems or heavy fruit. Staking or caging tomatoes, peppers, or climbing beans prevents them from toppling over in the wind or snapping under the weight of their own produce. Use sturdy stakes, cages, or trellises, and tie stems loosely with soft materials like old T-shirt strips to avoid cutting into the plant. As your plants grow, check and adjust supports regularly.
Pruning is another key to strong growth and bigger yields. For tomatoes, pinch off the small shoots (called suckers) that appear where side branches meet the main stem—this channels energy into fruit production, not excess foliage. Also, trim away yellowed, diseased, or dead leaves to improve airflow, reduce disease risk, and direct nutrients to healthy parts. For other vegetables, such as peppers, cut off any damaged or crowded stems so the plant can focus on developing fruit.
General plant care makes a big difference in results. Spread a 2–3 inch layer of organic mulch like straw or bark chips to keep soil moist, prevent weeds, and regulate temperature. Pull weeds often, as they compete for water and nutrients, making your crops less productive. In unpredictable weather, have row covers, old sheets, or shade cloth handy to shield plants from surprise frosts, heavy downpours, or scorching sun.
By combining these simple support, pruning, and care tactics, your garden will be healthier, produce better yields, and require less urgent troubleshooting throughout the season.
Troubleshooting Pests, Diseases, and Growing Issues
Dealing with pests, diseases, and growing issues is part of every gardener’s journey, but there are practical ways to keep your plants healthy.
Common pests like aphids—tiny green or black insects—cluster on new growth and suck sap, leading to curled or yellowing leaves. You can blast them off with a strong spray of water or introduce natural predators like ladybugs.
Cutworms often hide in the soil and chew through young stems at night; protect seedlings by placing a collar made from cardboard or an empty plastic cup around the base of each plant.
Diseases such as blossom-end rot, seen as sunken black spots on the fruit base, indicate calcium deficiency and inconsistent watering. To fix this, maintain even soil moisture and add crushed eggshells or agricultural lime to the soil.
Fungal infections, like powdery mildew, show up as white patches on leaves and thrive in humid conditions—space your plants well for air circulation and treat them with a homemade spray of diluted milk or baking soda.
Watch for signs of nutrient deficiencies: yellowing leaves often mean a lack of nitrogen, while purplish undersides signal phosphorus shortage. Quick fixes include feeding plants with a balanced organic fertilizer or a specific nutrient solution—such as blood meal for nitrogen or bone meal for phosphorus.
Regular monitoring, prompt action, and using natural solutions go a long way toward keeping your garden productive and resilient.
Harvesting, Storing, and Enjoying Your Bell Peppers
Knowing exactly when to pick your bell peppers can make all the difference in taste and texture. Look for peppers that have reached their full size—most varieties are about the size of your fist—and check that they have glossy, vivid skin. Different colors indicate different ripeness: green peppers are mature but not fully ripe, while reds, yellows, and oranges have a sweeter flavor that develops as the peppers age.
Give the pepper a gentle squeeze; it should feel firm without soft spots or wrinkles. When you’re ready to harvest, use garden shears or a sharp knife to snip the stem about an inch above the fruit—pulling by hand can damage the plant or break branches.
After harvesting, store your bell peppers in the refrigerator’s crisper drawer inside a paper bag or breathable produce bag; they’ll last up to two weeks. If you have a bumper crop, consider preservation options:
- Freezing: Simply wash, core, and chop the peppers, then spread them on a baking tray to freeze before transferring them to a freezer bag—no blanching needed for bell peppers.
- Drying: Slice peppers into thin strips and lay them out on a dehydrator tray or use your oven on the lowest setting until they’re brittle; store dried pieces in an airtight container.
These simple strategies mean you can enjoy the flavors of your homegrown bell peppers long after harvest season is over, whether tossed into stir-fries, used in soups, or blended into sauces.
Conclusion
Growing bell peppers at home is a rewarding experience, even for beginners. With just a sunny spot, quality soil, and a little regular care, you can enjoy crisp, colorful peppers harvested right from your own garden or balcony.
The learning curve is gentle—watching seeds sprout and fruit develop offers simple successes that boost gardening confidence. Mistakes are part of the process, but each season brings new chances to improve and experiment.
Once harvested, homegrown bell peppers open up a world of tasty opportunities in your kitchen. Try chopping them fresh into salads, roasting them for smoky salsa, or stuffing them with your favorite ingredients for a wholesome meal.
They’re equally delicious grilled on skewers at a summer barbecue or diced into omelets for breakfast. Starting your own bell pepper patch provides more than just produce: it’s a chance to nurture something from seed to plate, spark creativity in your cooking, and enjoy the satisfaction of homegrown flavor.
Don’t worry about getting everything perfect—what matters most is giving it a try and savoring the journey from planting to tasting. So grab a pot or clear a small garden bed, plant those seeds, and discover the simple joys of growing your own food.