Introduction
Learning how to grow broccoli can feel intimidating at first, but with the right guidance, it’s a rewarding and surprisingly simple adventure. Broccoli is a powerhouse vegetable, celebrated for its rich nutrition and versatility in the kitchen—perfect for roasting, stir-frying, or tossing into salads and soups.
If you’re ready to enjoy fresh, homegrown broccoli from your own garden, this complete guide is designed for beginners like you. Whether you have a cozy backyard patch or just a few containers on a balcony, we’ll walk you step-by-step through the entire process.
You’ll discover how to choose the best broccoli varieties for your region, prepare healthy soil, and plant your seeds or seedlings for a strong start. We’ll cover essential care tips, like proper watering, feeding, and how to spot and fix common problems such as pests or yellowing leaves.
Finally, you’ll learn exactly when and how to harvest those beautiful, nutrient-packed heads for your favorite recipes. By the end of this guide, you’ll have all the knowledge and confidence needed to grow delicious broccoli right at home—saving money, eating healthier, and enjoying the satisfaction of your own harvest.
Choosing the Right Broccoli Variety & When to Plant
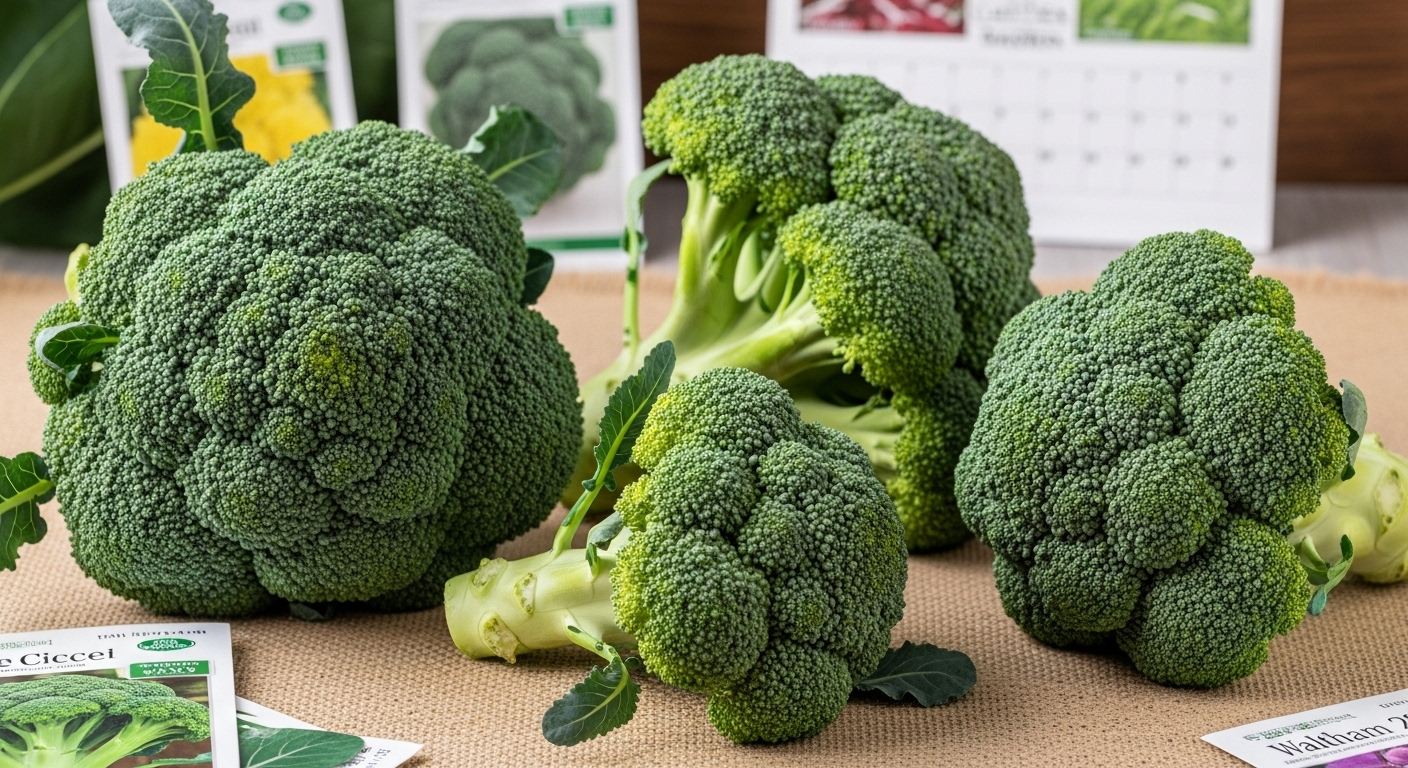
Picking the right broccoli variety can make a big difference in both your harvest and your dinner plate. Popular choices like Calabrese offer large, classic heads with a mild, sweet flavor and are ready to harvest in about 65-75 days, making them a favorite for spring or fall gardens. De Cicco is another go-to, known for its smaller heads and abundant side shoots—perfect for gardeners who want a steady supply for stir-fries. It matures faster, in around 48-65 days. For those in hot climates, Green Magic withstands heat better and produces tight, flavorful heads, making it well-suited for late summer or fall planting. If you crave early harvests, try Waltham 29—it’s tough against cold, thrives in fall, and offers firm, tasty heads in 74 days.
When choosing your variety, match it to your local climate and growing season. Cool regions can grow broccoli in both spring and fall, preferably selecting varieties that tolerate chilly nights. Gardeners in warmer zones might stick to fall planting to avoid premature bolting in the summer heat.
For timing, northern gardeners should start seeds indoors 6-8 weeks before the last spring frost, harden off seedlings, and transplant them when the soil warms up. In milder southern climates, sowing directly outdoors works well in late summer for a fall crop, once the worst of the heat has passed. Always check your seed packet for specific dates and adjust based on your region. Local garden centers are a goldmine of regional advice and variety suggestions.
Ultimately, growing broccoli successfully starts with matching the right variety to your climate and getting your timing just right.
Preparing Your Soil & Garden Bed
When growing broccoli, starting with the right soil makes all the difference. Broccoli thrives in well-draining, fertile soil that’s rich in organic matter and has a pH between 6.0 and 7.0—a slightly acidic to neutral range that helps plants absorb nutrients efficiently.
For raised beds, fill them with high-quality garden soil mixed with compost or well-rotted manure. This boosts fertility and keeps the soil loose for root growth. For in-ground plots, loosen the soil to at least 12 inches deep and mix in two to three inches of compost to improve structure and moisture retention.
If you’re using containers, choose a large pot (at least 12 inches across) with good drainage holes, and fill it with a mix of potting soil and organic compost.
Regardless of your garden setup, it’s a smart move to test your soil before planting. Many local extension offices offer affordable kits. Soil testing reveals pH and nutrient levels so you can add amendments like lime if the pH is too low, or a balanced vegetable fertilizer if nutrients are lacking.
Taking the time to prep your soil now ensures your broccoli has the best foundation for healthy growth and flavorful heads come harvest time.
Sowing, Transplanting, and Spacing

Starting broccoli from seeds can be done indoors or outdoors, depending on your climate and the length of your growing season. For a head start and better control, most gardeners sow broccoli seeds indoors about 6-8 weeks before the last expected spring frost.
Fill seed trays or pots with a quality seed-starting mix and plant seeds about ¼ to ½ inch deep. Keep the soil consistently moist and place trays in a sunny spot or under grow lights.
If you prefer direct sowing, wait until the soil temperature reaches at least 45°F (7°C), typically about 2-3 weeks before your last expected frost date, and plant seeds in the garden at the same depth.
Once your indoor seedlings have grown 2-3 true leaves and are about 4-6 weeks old, it’s time to harden them off. Start by moving seedlings outside for a few hours each day, gradually increasing their exposure over a week.
When transplanting, choose a cloudy day or late afternoon to reduce transplant shock. Plant seedlings so the lowest leaves sit just above soil level.
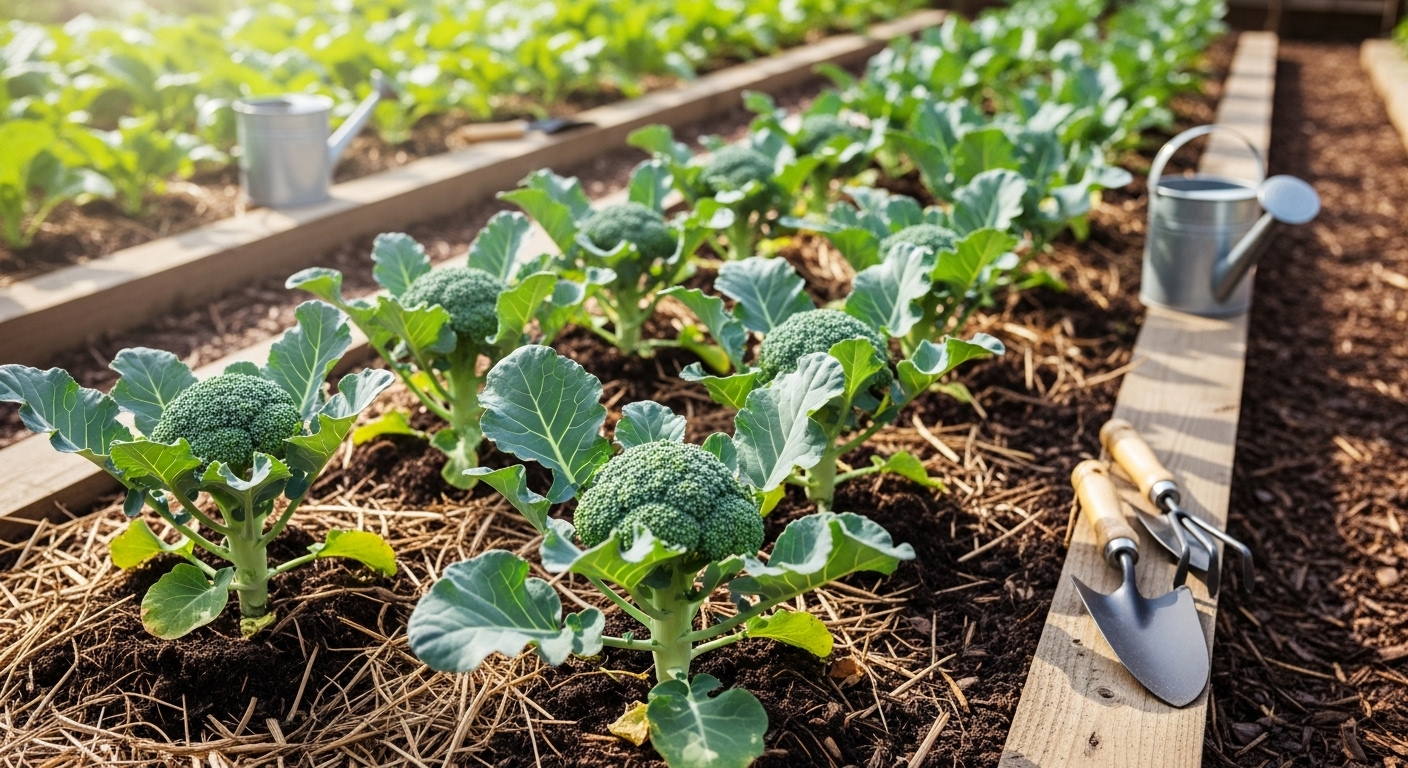
Proper spacing is essential for healthy broccoli. Space plants 18-24 inches apart within rows, with rows at least 24-36 inches apart. This wide spacing ensures good airflow, which reduces the risk of fungal diseases and allows each plant enough room to develop large, healthy heads.
Crowded seedlings can lead to smaller heads and make plants more susceptible to pests and diseases.
As a real-world tip, use a measuring stick or lay out a tape measure in the garden during planting to avoid guesswork. By giving broccoli the right start, careful transplanting, and proper spacing, you’ll set your crop up for the best possible harvest.
Broccoli Plant Care – Watering, Feeding, and Maintenance
Consistent watering is crucial for healthy broccoli, as these plants need steady moisture to form tight, tasty heads. Aim to keep the soil evenly moist but not soggy—typically, about 1 to 1.5 inches of water per week is ideal, whether from rainfall or supplemental watering. An easy way to check is by sticking your finger an inch into the soil; if it feels dry, it’s time to water.
To help retain moisture, apply a 2-3 inch layer of organic mulch—like straw, wood chips, or shredded leaves—around your broccoli plants. Mulch not only keeps the soil cool and moist but also discourages weeds from sprouting.
For feeding, start by mixing a balanced, slow-release fertilizer or compost into the soil at planting. As the plants start to form central heads (usually about four weeks after transplanting), give them a boost with a side-dressing of nitrogen-rich fertilizer—sprinkle it around the base, keeping it a few inches from the stem, then gently work it into the soil and water well.
Routine maintenance helps keep your broccoli thriving. Regularly check for weeds, as they compete for nutrients and water; hand-pulling is usually easiest and best. If plants get leggy or seem top-heavy, provide support with stakes or cages to prevent bending.
Broccoli can be sensitive to temperature swings; during hot summers, provide shade using row covers or shade cloth, and mulch even thicker to insulate roots. In cooler weather, row covers can also help protect young plants from frost.
Finally, inspect your plants often for pests like aphids or cabbage worms, and remove them promptly by hand or treat with organic controls like neem oil or insecticidal soap. With these attentive care practices, your broccoli crop will have the best chance for lush growth and a bountiful harvest.
Dealing With Pests, Diseases, and Common Problems
Gardeners growing vegetables like cabbage, kale, or broccoli often face a range of pests and problems. Aphids, for example, are tiny green bugs that cluster on the undersides of leaves and can be washed off with a strong spray of water. They can also be controlled naturally with ladybugs or a neem oil spray. If they’re stubborn, an approved insecticidal soap works too.
Cabbage worms—those green caterpillars that munch holes in leaves—can be handpicked or kept at bay with floating row covers. For heavier infestations, try Bacillus thuringiensis (Bt), a safe and targeted pesticide. Flea beetles leave tiny holes and can be discouraged with sticky traps or diatomaceous earth sprinkled at the base of plants.
Diseases like downy mildew, which appears as yellow blotches with fuzzy white undersides, can be minimized by watering at soil level and spacing plants for good airflow. Remove affected leaves and consider organic fungicides if needed. Clubroot, marked by wilting and swollen roots, is tough to treat—focus on prevention by rotating crops each year, liming your soil to reduce acidity, and promptly removing infected plants.
Other issues like bolting (when plants flower too early) often result from sudden heat. Choose bolt-resistant varieties and keep soil consistently moist. Poor head formation in crops like cabbage or broccoli can result from nutrient deficiencies or crowding, so feed with compost and avoid overplanting.
Yellowing leaves might indicate overwatering or a nitrogen shortage; check soil moisture and supplement with an organic fertilizer if necessary. Regularly walking your garden helps you spot issues early so you can act fast—prevention and timely intervention are key to a healthy vegetable patch.
Harvesting and Storing Broccoli
Harvesting broccoli at the right time is key to enjoying its best flavor and texture. Keep an eye on your plants and cut the main head when the buds are tightly packed and before any yellow flowers appear—this is usually when the head is fully formed but still compact.
Use a sharp knife to slice the stem about five to six inches below the head, making sure to leave plenty of healthy leaves intact.
After the main harvest, don’t pull up the plant! Broccoli often produces smaller side shoots that continue to sprout from the stem and branches. By regularly cutting these side shoots as soon as they reach a usable size, you can extend your harvest for several weeks.
For fresh storage, loosely wrap the heads in a damp paper towel and store them in the crisper drawer of your fridge; they’ll stay crisp for about five days. To preserve broccoli longer, try blanching the florets in boiling water for a couple of minutes, then quickly cool them in ice water before freezing. Frozen broccoli keeps its quality for up to a year and is perfect for soups and casseroles.
For pickling fans, broccoli stems and florets can also be turned into tasty refrigerator pickles, providing a crunchy snack that lasts even beyond the growing season.
With the right timing and a little planning, your broccoli harvest can keep your table supplied with homegrown goodness for months.
Conclusion & Quick Tips
Growing healthy broccoli at home is easier than you might think. Start by choosing a sunny spot with well-drained, rich soil. Plant your seeds or young seedlings in early spring or late summer for the best results. Keep the soil consistently moist but not soggy, and use mulch to retain moisture and reduce weeds.
Monitor your plants for pests like cabbage worms, picking them off by hand or using natural deterrents if needed. When the broccoli heads are firm and tight, harvest them promptly for the best flavor and nutrition. Don’t forget, even the side shoots that grow after the main head is cut are delicious and worth picking!
Growing your own broccoli means you can enjoy the freshest, tastiest produce right from your garden—plus, it’s a great way to get your family interested in eating more vegetables. Once you’ve harvested your bounty, try tossing the florets into quick stir-fries, roasting them with olive oil and garlic, or blending them into creamy soups. Even simply steaming and topping with a little lemon juice makes for a healthy, tasty side.
With just a little care, you can bring delicious, nutritious broccoli to your table and savor the satisfaction of your own homegrown harvest.