Introduction
Marjoram is a beloved herb in kitchens and gardens worldwide, cherished for its fragrant leaves and versatility in both cooking and medicinal uses. To grow the healthiest, most flavorful plants, choosing the best soil for marjoram is absolutely essential. The right soil doesn’t just help marjoram thrive—it makes the difference between bland leaves and that signature sweet, aromatic punch. Many gardeners, both new and experienced, often overlook how much factors like drainage, pH, and fertility impact marjoram’s growth and essential oil production. Imagine snipping lush, vigorous sprigs whenever you need them, all because you set your plants up for success from the ground up.
In this post, we’ll break down exactly what makes the best soil for marjoram. You’ll learn how to select the right soil type, test your garden or potting mix to ensure it’s up to par, and amend it with simple ingredients if needed. We’ll also share practical tips for maintaining soil health long-term and common mistakes to avoid—so your marjoram plants stay resilient, aromatic, and bursting with flavor season after season.
Understanding the Best Soil for Marjoram
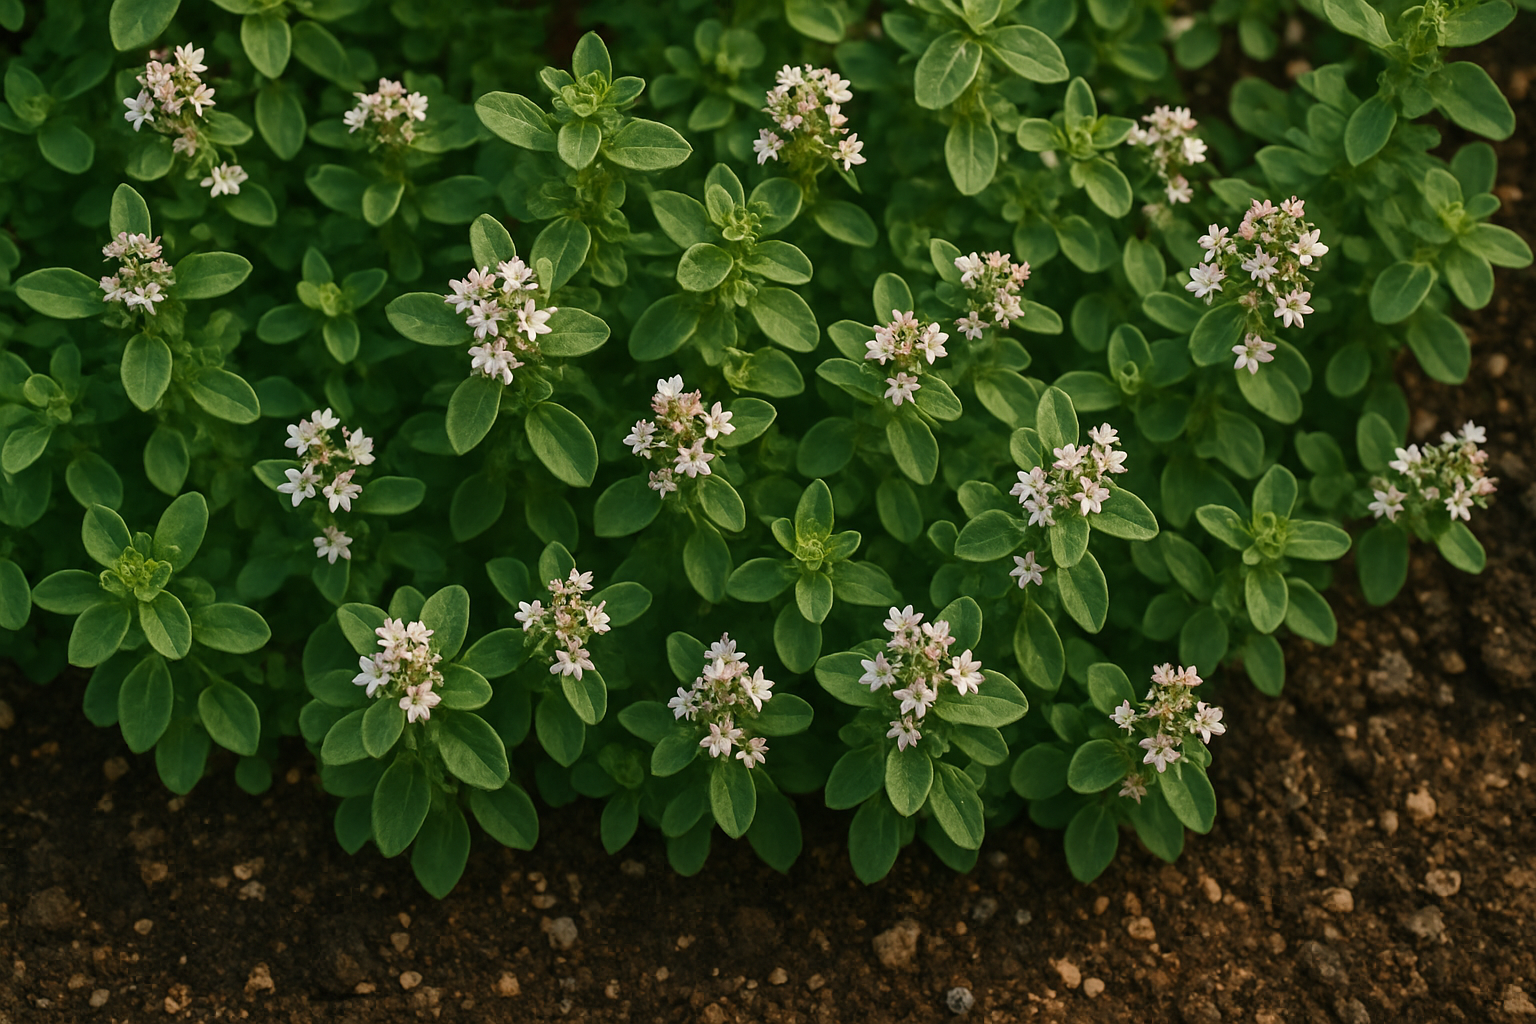
Marjoram naturally thrives in the Mediterranean region, where the climate is warm, dry, and sunny. In its native habitat, it grows on hillsides and rocky outcrops, often in soil that drains very well and rarely stays waterlogged. These soils tend to be sandy or stony, low in organic matter, and mildly alkaline, with a pH between 6.5 and 7.5. The rocky terrain helps prevent excess moisture from lingering around the roots, reducing the risk of fungal diseases—one reason marjoram has adapted to prefer such quick-draining conditions.
When growing marjoram elsewhere, it’s important to mimic these natural conditions as closely as possible. This means using the best soil for marjoram, prioritizing excellent drainage by mixing potting soil with coarse sand and perlite or grit. Urban gardeners can also create raised beds or use containers with ample drainage holes to recreate its Mediterranean environment. A common mistake is planting marjoram in heavy, clay-rich soils or areas prone to prolonged wetness, which often causes root rot and weak growth.
Outside its native climate, marjoram may also struggle with humidity or heavy rainfall, which promote disease and reduce flavor. To tackle these challenges, gardeners should amend their soil, select sunny planting spots, and avoid over-fertilizing, which can upset the delicate balance marjoram prefers. By understanding and respecting marjoram’s natural habitat, you pave the way for healthy, flavorful plants—even far from the Mediterranean coast.
Drainage: Why It Matters & How to Improve It
Well-draining soil allows water to pass through quickly, preventing it from pooling around plant roots. This is especially important for marjoram, an herb native to the Mediterranean where the soil is naturally light and airy. Marjoram’s roots are sensitive to excess moisture; standing water can cause root rot and decline in plant health.
Signs of poor drainage include water lingering on the surface after rain or watering, a strong musty or sour smell from the soil, and yellowing or wilting of the lower leaves without an obvious cause. In pots, you might notice water slowly leaking from drainage holes or a heavy, compacted feel when lifting the container.
To create the best soil for marjoram, amend heavy clay or compacted soils with compost, coarse sand, or perlite—these materials increase air pockets and help water flow through faster. For garden beds with drainage problems, consider raising the soil level by building raised beds or mounded rows filled with a mix of garden soil, compost, and sand or fine gravel.
When growing marjoram in containers, always use a high-quality potting mix designed for herbs. You can mix in extra perlite or horticultural sand as needed—try a ratio of two parts potting mix to one part perlite. Make sure your pots have adequate drainage holes, and avoid letting containers sit in water-filled saucers.
These simple steps prevent soggy soil and provide the dry, airy root environment marjoram needs to thrive.
pH Preferences: Testing and Adjusting Soil Acidity for the Best Soil for Marjoram
When it comes to growing lush, healthy marjoram, getting the soil pH just right is essential. Marjoram thrives best in soil with a pH between 6.5 and 7.5—right around neutral. Outside this range, plants may struggle to absorb nutrients, even if the soil is otherwise rich and well-draining.
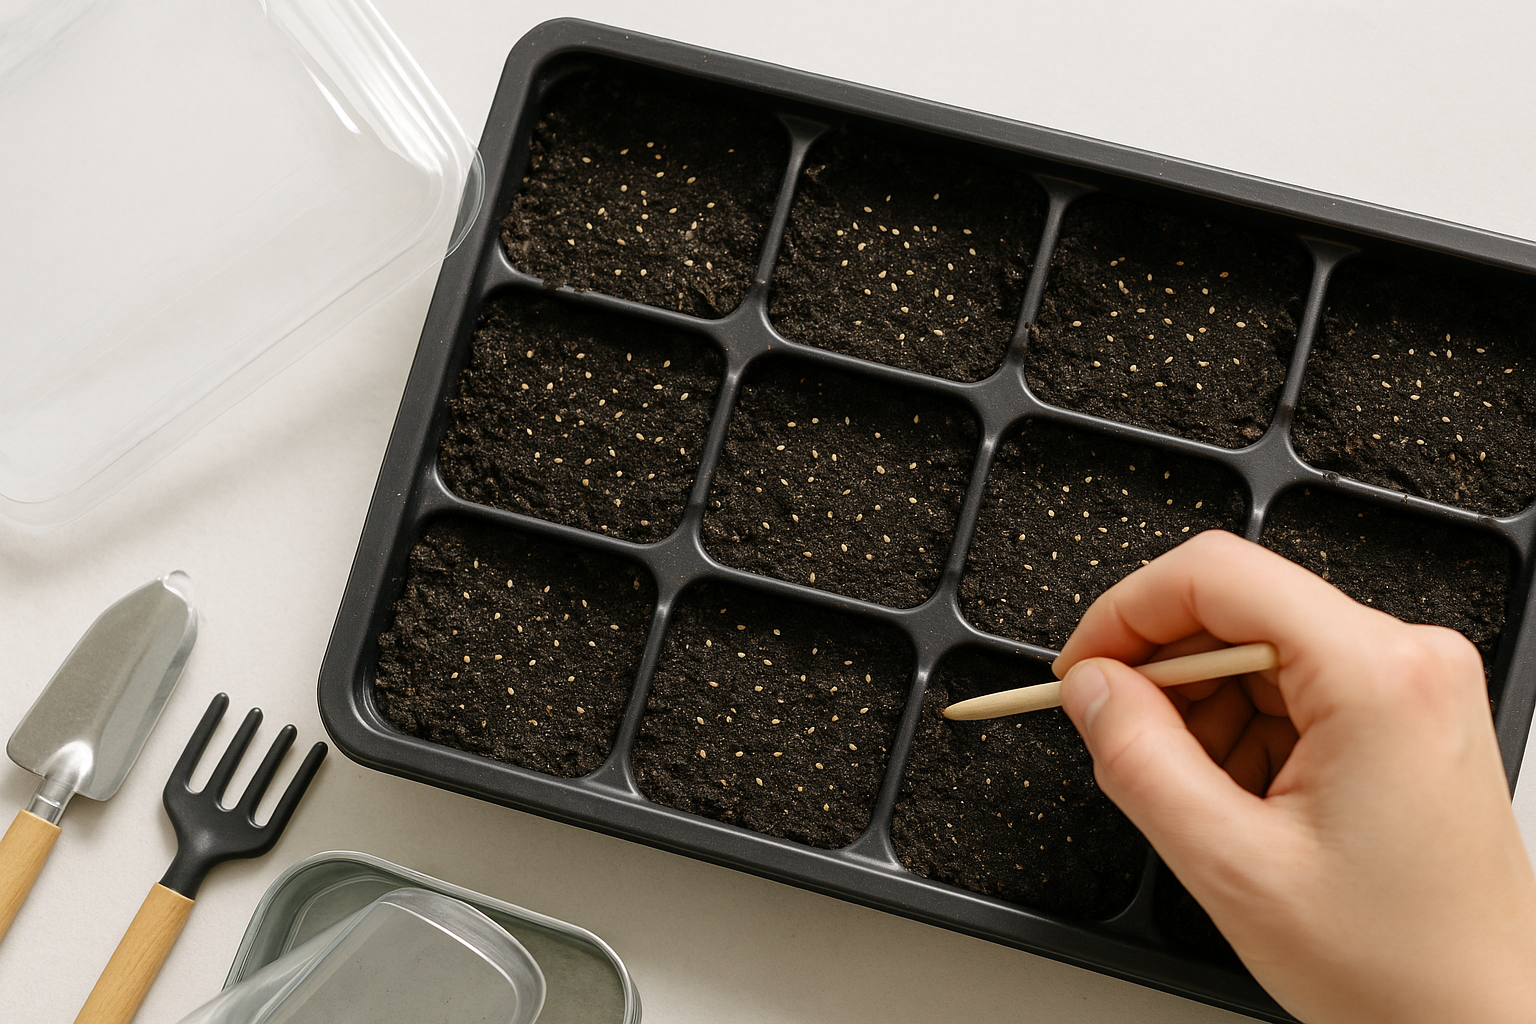
To find out where your soil stands, you don’t need any fancy lab equipment. Inexpensive pH test kits are widely available at garden centers or online and provide reliable results; simply follow the package instructions using a soil sample from your garden bed or pot. For a quick check, you can also try the vinegar and baking soda trick: place a scoop of your soil into two separate containers, pour vinegar on one (fizzing means alkaline) and a water-and-baking-soda solution on the other (fizzing means acidic). While not as precise, this can give you a general idea.
If your soil is too acidic (below 6.5), sprinkle in finely ground agricultural lime—a natural, widely used amendment—and retest after a couple of weeks. For soil that’s too alkaline (above 7.5), incorporate elemental sulfur or organic materials such as peat moss or pine needles, which gently lower pH over time. Remember to adjust gradually and avoid big swings, as sudden changes can stress your plants.
Testing every season, especially before planting, will help keep your marjoram thriving in the best soil conditions year after year.
Soil Fertility: Nutrients and Organic Matter
Marjoram thrives best in moderately fertile soil, so it’s important not to overdo the nutrients when preparing your garden bed. While it’s tempting to lavish herbs with rich compost or high-nitrogen fertilizers, too much fertility can actually reduce the potency of marjoram’s signature flavor and aroma by diluting the essential oils in the leaves. Over-fertilized marjoram may produce lush, leafy growth, but the subtle, sweet-savory taste you’re after will be less pronounced.
Instead, aim for balance: enrich your planting area with a light application of well-rotted compost or aged manure before planting, but avoid layering it too thickly. These organic materials provide slow-release nutrients and promote soil health without overwhelming the plant. Throughout the growing season, a small top-dressing—no more than half an inch—of compost can help maintain gentle fertility.
If you’re growing marjoram in pots or containers, choose a high-quality potting mix and mix in a bit of compost to boost nutrition, but skip synthetic fertilizers that could encourage rapid, flavorless growth. For those who prefer store-bought solutions, an organic, slow-release granular fertilizer formulated for herbs or vegetables, used sparingly, can help marjoram maintain steady growth.
Always remember that when it comes to the best soil for marjoram, a “less is more” approach will result in more aromatic leaves and a consistently robust harvest, keeping the distinctive character of your marjoram front and center in your kitchen.
Potting Mixes for Marjoram: Indoor & Container Growing
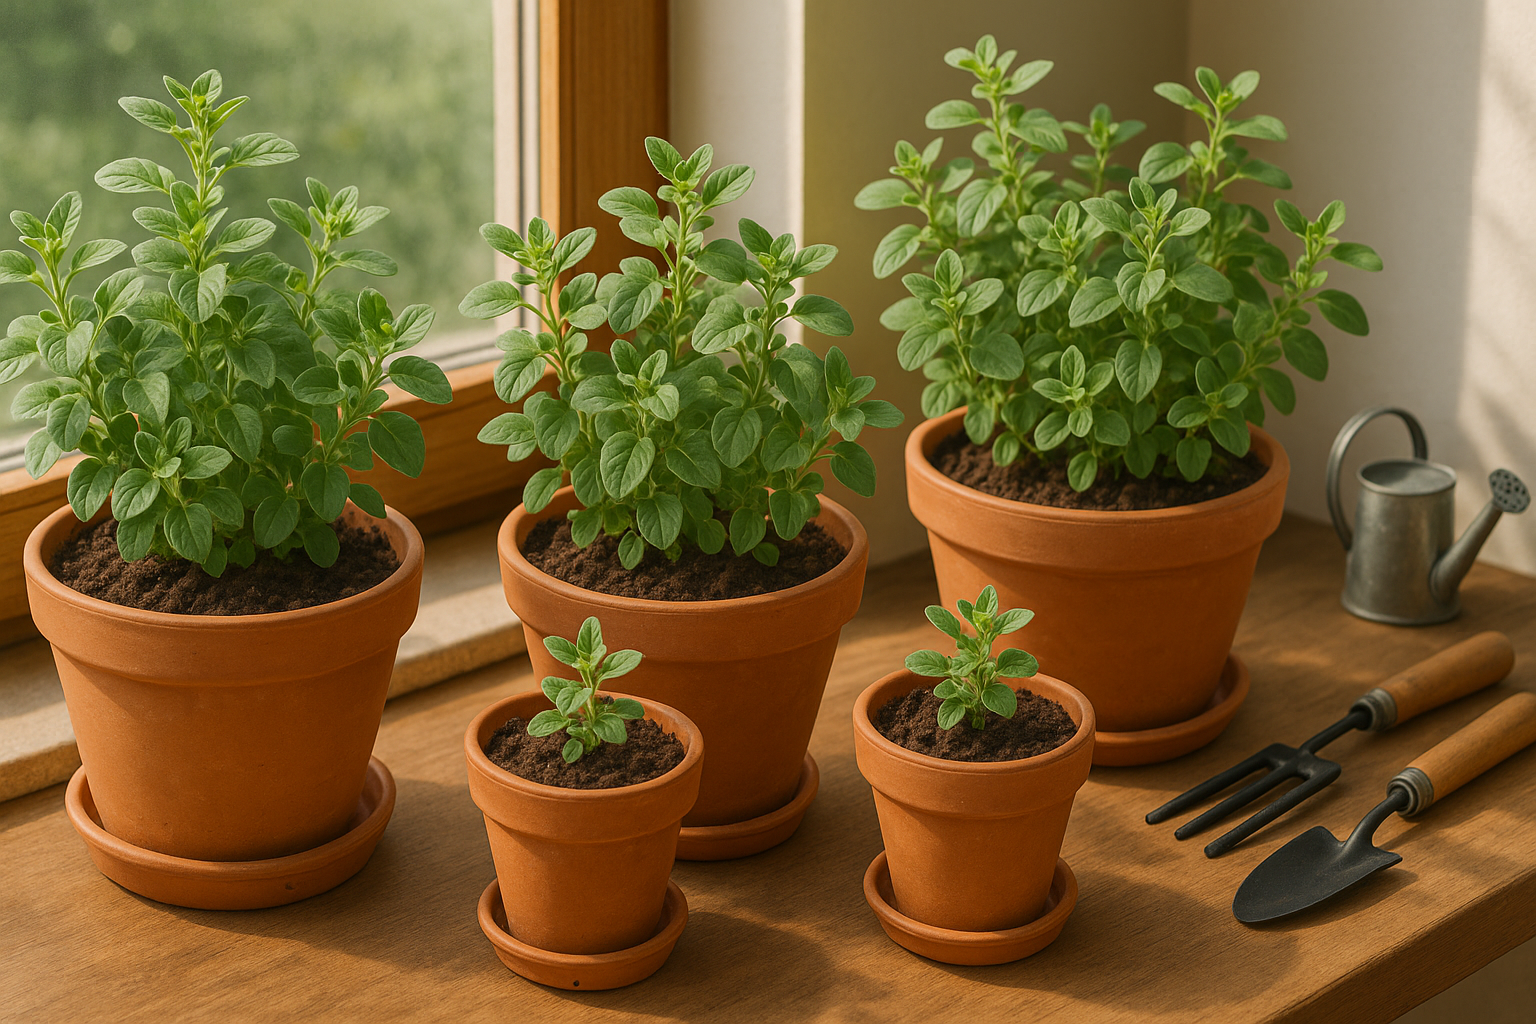
When growing marjoram in containers, choosing the best soil for marjoram is essential for healthy, aromatic plants. Marjoram thrives in a loose, well-draining mix because it dislikes sitting in soggy soil, which can lead to root rot. Standard garden soil is often too dense, retaining excess moisture and potentially harboring pests or diseases.
For container marjoram, opt for commercial potting mixes designed for herbs or vegetables, as they tend to be lighter and drain better. You can also create your own blend by mixing two parts high-quality potting soil with one part perlite or coarse sand to improve aeration and drainage. Adding coconut coir helps retain moisture without waterlogging, creating a perfect balance.
If your potting mix becomes compacted or waterlogged over time, refresh it each season by removing old soil, breaking up the root ball, and adding fresh mix. Reusing potting soil is fine when you screen out roots and debris, then amend it with compost or all-purpose fertilizer to restore lost nutrients. Always rinse containers and let them dry thoroughly before refilling to reduce the risk of soil-borne diseases.
By maintaining a light, airy, and nutrient-rich potting mix, your marjoram will thrive indoors or on the patio, rewarding you with lush growth and flavorful leaves throughout the season.
Common Soil Problems and How to Fix Them
Even when you use what’s considered the best soil for marjoram, common issues can still arise and hinder healthy plant growth. One frequent problem is compacted soil—if you notice your marjoram’s leaves yellowing or growth stunting, dense or crusty soil might be the cause. Soil compaction restricts root expansion and water movement. Simple solutions include gently loosening the surface soil with a small fork or garden tool and regularly mixing in compost, perlite, or sand to improve soil texture and airflow.
Waterlogging is another concern, often identified by limp, wilting leaves or a persistent musty smell near the roots. Poor drainage is usually to blame. Check that your pots or garden beds drain freely; if not, add extra drainage holes, amend the soil with grit or coarse sand, or consider moving marjoram to a raised bed or container.
Nutrient imbalances—whether a deficiency or an excess—can show up as pale or blotchy leaves or weak stems. Testing soil with a basic home kit can help identify these issues. For deficiencies, top-dress with well-rotted compost or a balanced, slow-release organic fertilizer. If you suspect salt buildup from overfeeding, flush the soil thoroughly with water to help reset nutrient levels.
Regularly rotating or repotting your marjoram every year or two with fresh, high-quality soil keeps conditions optimal. Observing your plant closely and adjusting soil care accordingly is the best way to ensure lush, flavorful marjoram harvests.
Conclusion
Finding the best soil for marjoram means choosing well-draining, loose soil with a neutral to slightly alkaline pH while avoiding heavy, compacted ground and excess moisture. A fertile, airy mix will help your marjoram thrive and produce the most fragrant, flavorful leaves. Before planting, take time to test your garden soil and amend it with compost or sand if drainage or nutrients are lacking. This simple step can make a big difference in your harvest. For more gardening tips, consider exploring the unique needs of other popular culinary herbs to create a flourishing, productive herb garden.