Introduction
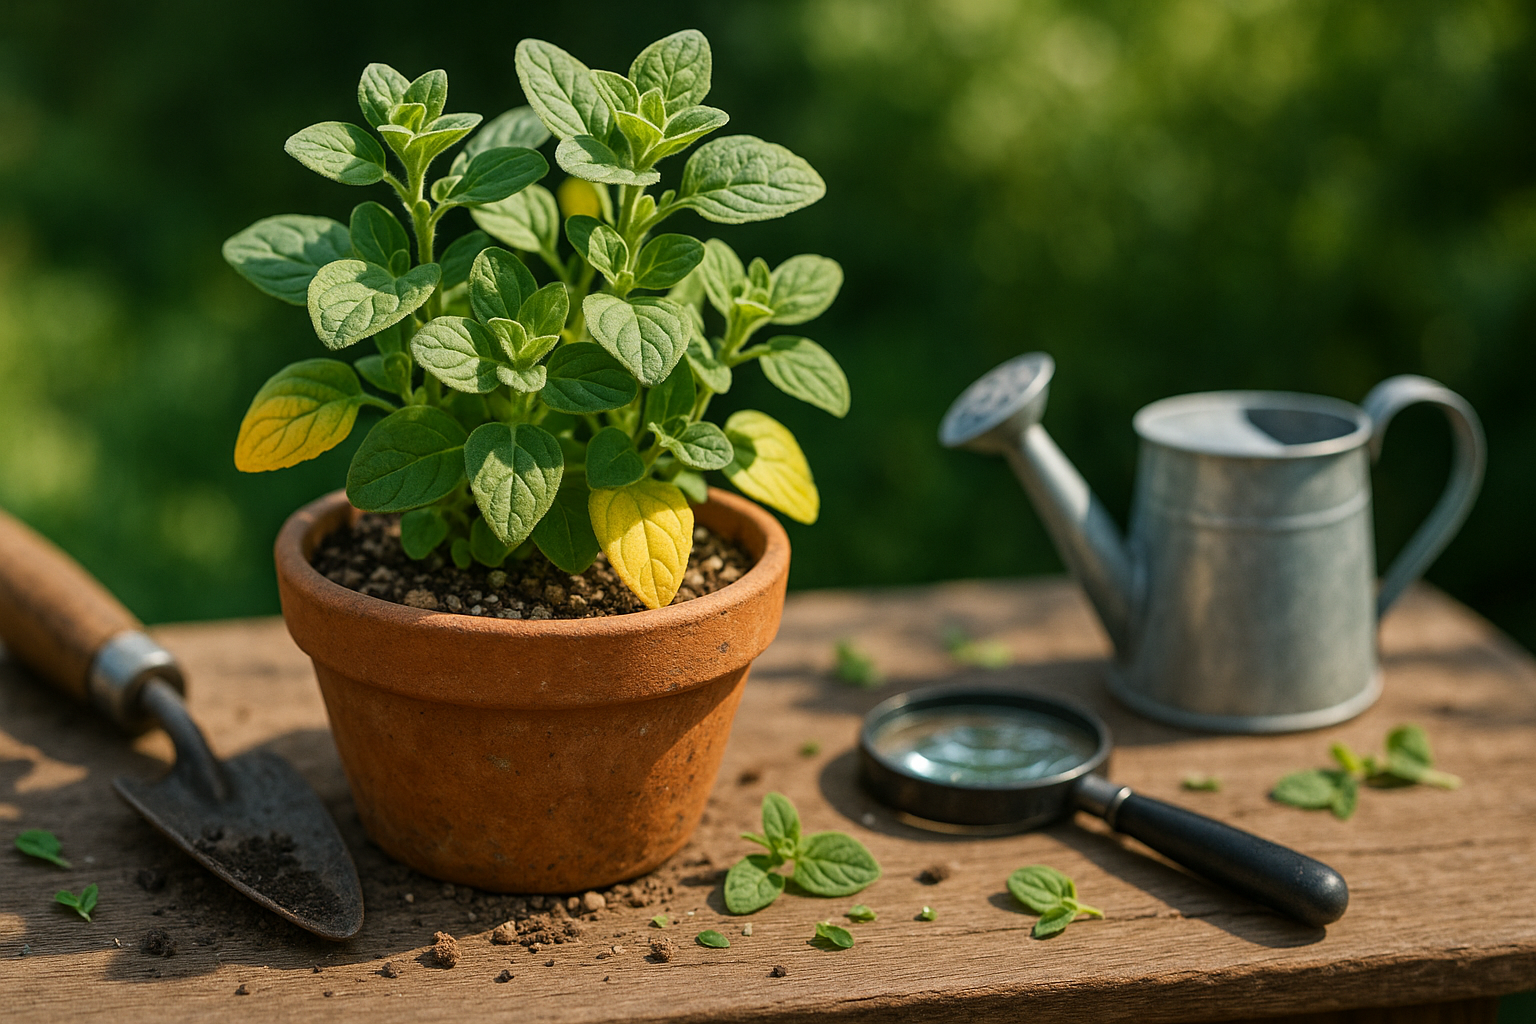
Yellow marjoram leaves can be a worrisome sight for anyone growing this popular culinary herb. Marjoram is loved worldwide for its delicate, aromatic flavor, but when its lush green leaves start turning yellow, it signals that something is amiss. Yellowing leaves don’t just affect the plant’s appearance—they’re a clue that your marjoram’s health and flavor quality could be at risk.
Whether you’re an experienced gardener or a fresh herb enthusiast, understanding why this happens is the first step to reviving your marjoram. In this post, we’ll uncover the most common causes of yellow marjoram leaves—from improper watering to nutrient deficiencies and pests. We’ll show you how to accurately diagnose the problem, offer practical solutions to turn things around, and share effective tips to prevent yellowing in the future—so your marjoram can thrive and enhance your cooking all season long.
Common Causes of Yellowing Leaves
Yellowing leaves (chlorosis) are a common concern for plant owners, and the causes can range from everyday care mistakes to hidden problems. One of the leading culprits is overwatering, which often goes hand in hand with poor drainage. When roots sit in soggy soil, they can’t access the oxygen they need, leading to stress and leaf yellowing. Make sure your plant pots have drainage holes and let the top inch or two of soil dry out before watering again.
Nutrient deficiencies are another frequent cause, especially in indoor or potted plants where soil nutrients become depleted over time. A lack of nitrogen typically causes older leaves to turn uniformly yellow, while a magnesium deficiency results in yellowing between the veins of older leaves. Regularly feeding your plants with a balanced fertilizer, or a supplement targeted to their specific needs, can help avoid these issues.
Environmental factors also play a big role; for instance, placing a plant in low light or near cold drafts can stress it, causing leaves to yellow and drop. Watch for signs like leaves facing away from windows or wilting after cold nights.
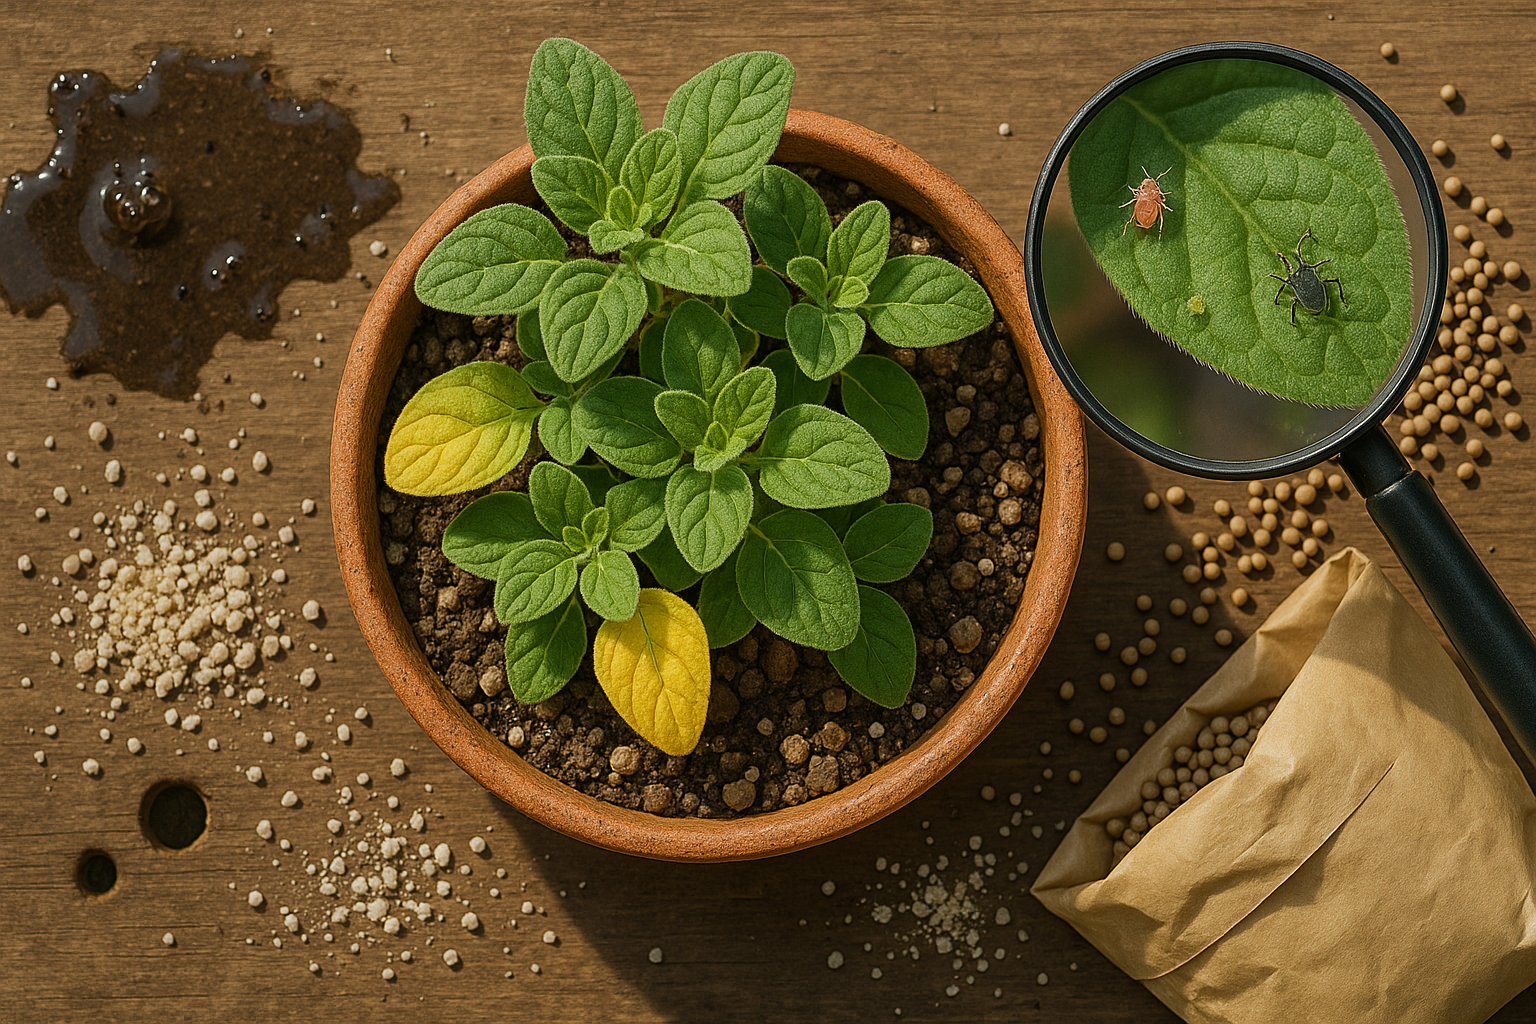
Other potential causes include pests—such as spider mites or aphids—which sap nutrients and damage leaf tissue, often leading to spots or widespread yellowing. Certain diseases, like root rot and fungal infections, can also make leaves yellow, usually accompanied by mushy stems or black spots. Carefully inspect your plants regularly for small bugs, webbing, or mold, and isolate any affected ones to prevent spreading problems.
Addressing yellowing leaves is all about observing your plant’s environment, adjusting care routines as needed, and catching problems early before they become severe.
How to Diagnose Yellow Marjoram Leaves
Diagnosing yellow marjoram leaves starts with closely observing the yellowing pattern. If older, bottom leaves turn yellow first while new growth stays green, your plant might be experiencing a natural aging process or a nitrogen deficiency.
In contrast, if the yellowing starts with the newer leaves or appears randomly with leaf spots or wilting, it could indicate overwatering, a fungal disease, or even pest activity. Pay attention to the distribution—uniform yellowing usually signals issues with water or nutrients, while patchy discoloration often means pests or disease.
To test if watering is the issue, press your finger about an inch into the soil; if it feels soggy, overwatering is likely the culprit, while dryness points to underwatering. You can also check the leaf texture: soft, limp leaves typically indicate too much water, while crispy, brittle leaves suggest drought or possibly a potassium deficiency.
Flip the leaves over and use a magnifying glass to spot tiny insects like spider mites or aphids, which can cause yellow spots or stippling. Look for sticky residue, webbing, or irregular holes as further clues.
Lastly, check the progression of yellowing: if it spreads quickly, act fast—trim affected leaves, adjust watering, or treat pests as needed. This practical, step-by-step approach will help you pinpoint the likely cause so you can nurture your marjoram back to vibrant health.
Correcting Water and Soil Problems
One of the most common issues marjoram growers face is overwatering, which can lead to root rot and unhealthy plants. To avoid this, focus on improving your soil drainage. Mix in sand, perlite, or small gravel to create a light, well-draining environment—marjoram loves soil that dries out between waterings.
Loamy or sandy soils work best; avoid heavy clay or compacted soil since these tend to trap water at the roots.
When watering, use the “soak and dry” method: give your marjoram a deep watering, allowing moisture to soak down to the roots, then wait until the top inch of soil feels dry before watering again. In most climates, this means watering no more than once or twice a week, and possibly less during rainy spells or the cooler months.
For potted marjoram, make sure containers have drainage holes and never let them sit in standing water. If you’re unsure about when to water, stick your finger into the soil—if it’s still damp, hold off for another day or two.
By matching your watering routine and soil conditions to marjoram’s natural Mediterranean habitat, you’ll encourage robust, flavorful growth and keep your plants healthy.
Addressing Nutrient Deficiencies
Yellowing marjoram leaves or slow, stunted growth are signs of nutrient deficiencies, often caused by a lack of nitrogen, magnesium, or iron. When marjoram leaves turn pale or develop brown, crispy edges, this can indicate a potassium shortage, while purpling on the underside points to phosphorus deficiency.
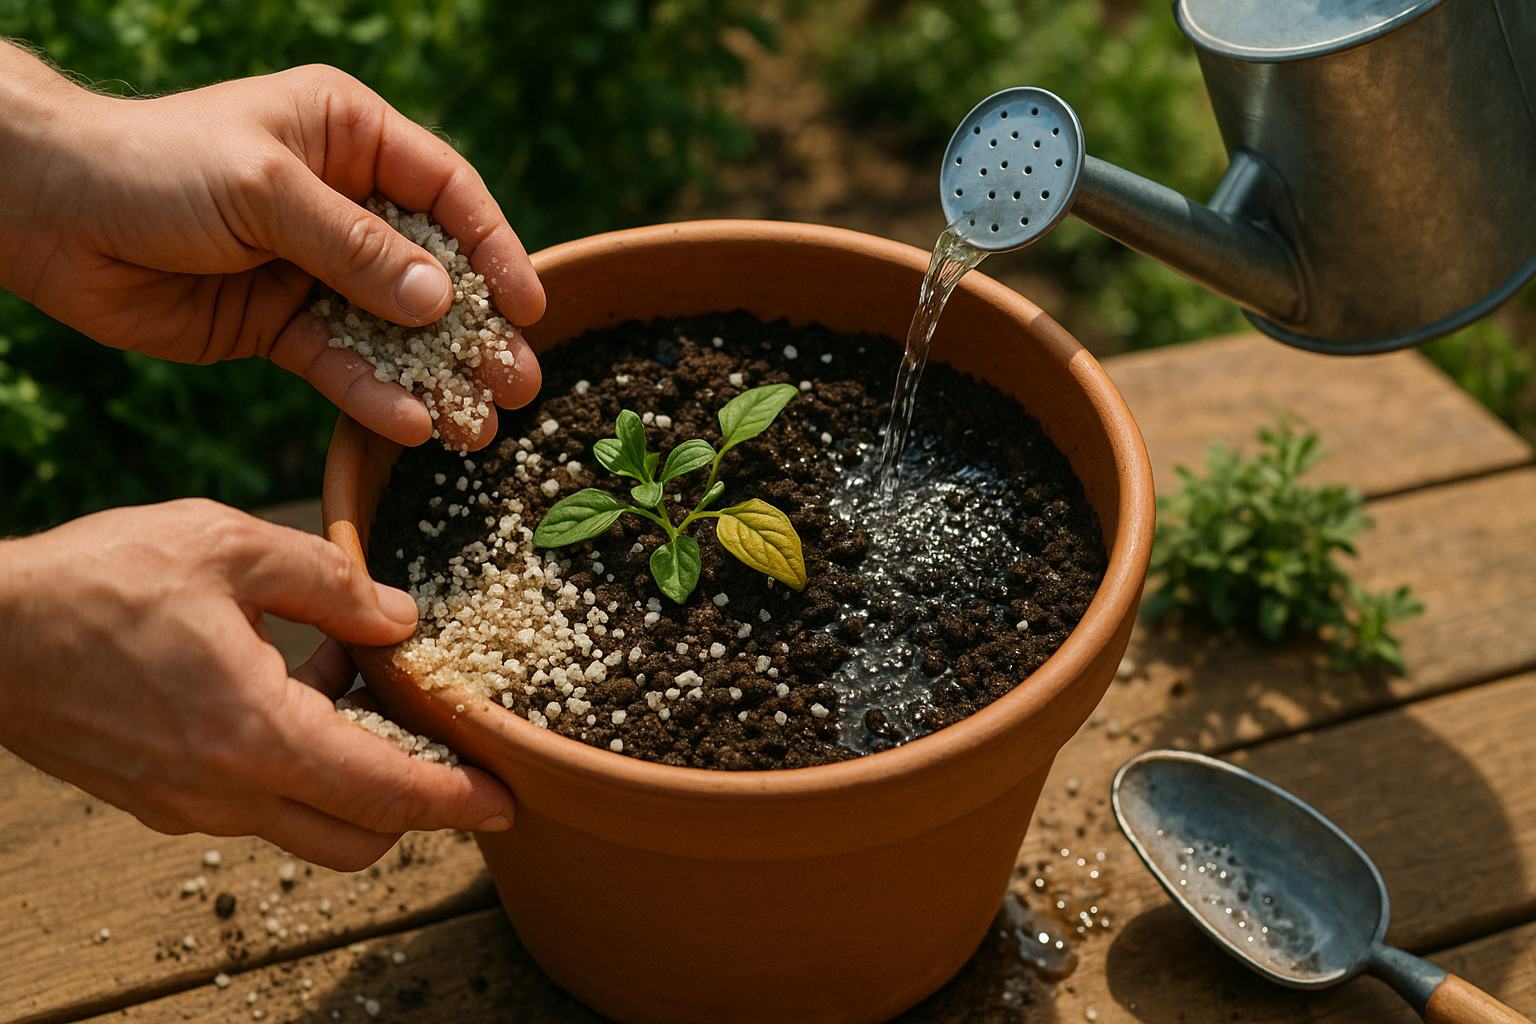
To address these issues, start by mixing compost or well-rotted manure into the soil, which enriches it gradually and supports healthy root development. Organic liquid fertilizers like seaweed extract or fish emulsion offer quick boosts of nitrogen and trace minerals.
If you prefer commercial products, look for balanced organic blends labeled for herbs, and always follow the recommended dosage—marjoram doesn’t need excessive feeding. Over-fertilizing, especially with synthetic fertilizers high in nitrogen, can harm marjoram by encouraging weak, leggy growth and making the plant more susceptible to pests or disease.
Too much fertilizer can also lead to salt build-up in the soil, which burns roots and further stresses your plants. It’s better to feed lightly and observe your marjoram over time, adjusting only if clear symptoms of deficiency persist.
Regularly mulching with organic material also helps conserve soil nutrients and moisture, creating healthier plants overall.
Dealing with Pests and Diseases
Marjoram, while generally easy to grow, can fall victim to several pests and diseases that may stunt its growth or reduce its flavor. Common pests include aphids—tiny green or black insects that cluster on leaves and stems—and spider mites, which create fine webbing on plants. Fungal infections such as powdery mildew and root rot are also prevalent, especially in humid or poorly drained environments.
To tackle aphids and spider mites, consider spraying plants with a mild solution of soapy water or introducing beneficial insects like ladybugs for organic control. Neem oil is an effective natural remedy against both pests and some fungal issues. For chemical options, insecticidal soaps and carefully applied fungicides can help, but be sure to follow label instructions and use these products sparingly, especially if you plan to harvest the leaves for culinary use.
Prevention is just as important as treatment: inspect your marjoram regularly for early signs of trouble, remove any diseased or dead plant material promptly, and ensure good air circulation by spacing plants appropriately. Water at the base of the plant rather than overhead to keep leaves dry, and always clean tools between uses. These habits go a long way in keeping your marjoram healthy and productive season after season.
Prevention and Long-Term Care Tips
Preventing yellowing in marjoram starts with giving your plant the right environment and consistent care. Choose a sunny spot with well-draining soil, as marjoram dislikes soggy roots and thrives in at least six hours of direct sunlight each day.
When you plant marjoram, leave enough space between plants—about 12 to 18 inches—so air circulates freely and dampness doesn’t linger. This helps prevent fungal diseases that can cause yellow leaves.
Water deeply but only when the top inch of soil feels dry, avoiding overwatering that leads to root rot. Routine pruning is essential; regularly pinch or snip off the tips and faded leaves to encourage bushy growth and remove any weak or yellowing stems before they spread issues to healthy parts.
Set aside a few minutes each week to check your plant for pests, wilting, or nutrient deficiencies—this makes it easier to spot small problems before they become big ones. Adding a balanced, slow-release fertilizer in the spring can give marjoram the nutrients it needs for lush growth, but avoid overfeeding, as excess fertilizer can stress the plant.
With this proactive, balanced approach, marjoram stays vibrant and productive, season after season.
Conclusion
To tackle yellow leaves on your marjoram, start by checking for common issues like overwatering, pests, or nutrient deficiencies—most problems show clear signs if you look closely. Address each root cause one at a time, such as adjusting watering habits, improving drainage, or using natural pest solutions.
With a bit of observation and patience, marjoram plants can bounce back quickly. Don’t hesitate to consult gardening forums or local garden centers for more tailored advice. For deeper learning, consider reputable herb gardening books or online courses to build your confidence and keep your herbs thriving.