Introduction to Growing Marjoram
Growing marjoram in pots is an easy and rewarding way to bring fresh flavor and natural remedies right to your kitchen windowsill or patio. Marjoram is a versatile herb, cherished for its delicate, slightly sweet flavor that lifts countless Mediterranean dishes. It’s also well-regarded for soothing remedies like calming teas. Unlike its close cousin oregano, which has a stronger, more pungent bite, sweet marjoram offers a subtle complexity that enhances salads, soups, and marinades without overpowering other ingredients. This distinction makes marjoram a favorite not only in the kitchen but also in herbal medicine cabinets for its gentle, calming properties.
For home gardeners, growing marjoram in pots is a perfect choice, especially if space is limited or you want to keep your herbs accessible year-round. Marjoram thrives in containers, needing only moderate sunlight and well-draining soil — it’s forgiving for beginners but still satisfying for seasoned gardeners. You don’t even need a large garden; a windowsill, balcony, or small patio will do. Plus, pots offer a practical way to move your plants indoors when the weather cools, extending your harvest and ensuring a year-round supply of fresh leaves.
To succeed, look for sweet marjoram seeds or seedlings, use a light potting mix, and water sparingly, letting the surface dry between waterings. Whether you’re aiming for gourmet meals, aromatic teas, or a touch of greenery, marjoram in pots brings a burst of delightful flavor and natural wellness close to home, making it a must-try for anyone exploring container gardening.
Choosing the Right Spot and Soil
Marjoram thrives best in a spot that receives full sunlight for at least six hours a day, making it perfect for south-facing balconies, sunny patios, or bright garden beds. This herb loves warmth, so aim for daytime temperatures between 65°F and 75°F (18°C–24°C); it will tolerate slightly cooler nights but struggles in frost. Marjoram prefers a Mediterranean-style climate—warm, dry, and not overly humid.
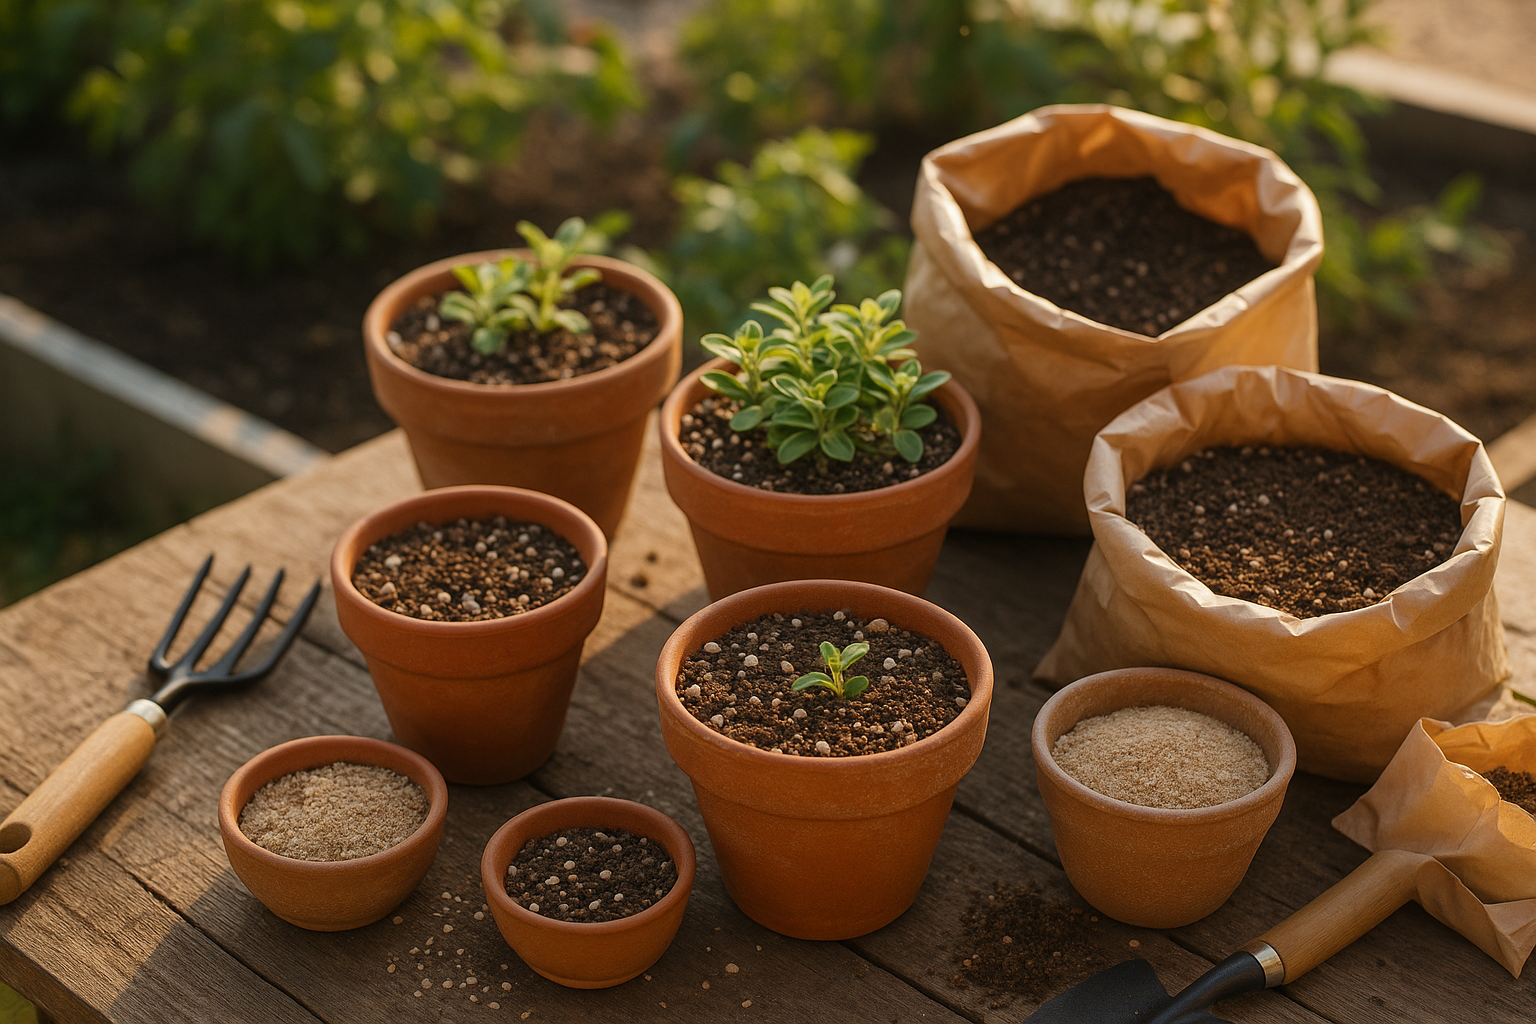
The right soil is just as crucial: choose a well-draining mix, as marjoram’s roots dislike soggy conditions. A sandy or loamy soil is ideal, with a pH range of 6.5 to 7.5 for optimal nutrient uptake. If your garden soil is heavy or clay-rich, amend it with coarse sand or perlite to improve drainage. When it comes to fertility, marjoram isn’t too demanding—mix a little compost into the planting site or container at the start of the season, but avoid high-nitrogen fertilizers, which can lead to leggy growth.
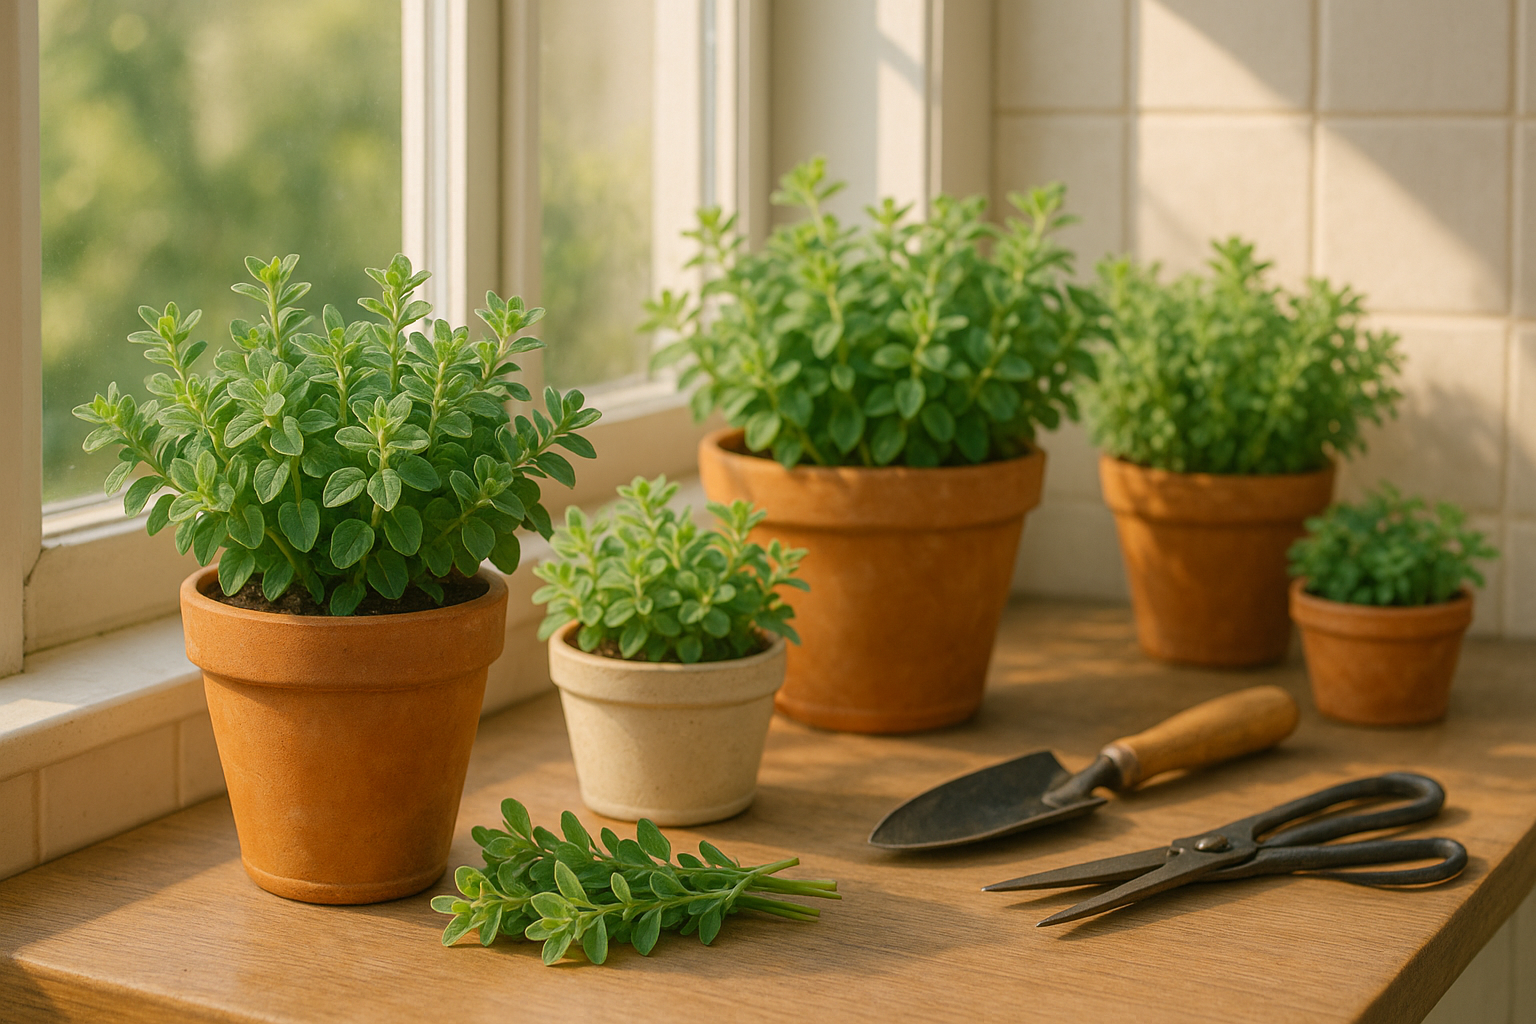
If space is limited or your soil is less than perfect, marjoram grows beautifully in containers. Small clay or terra cotta pots work well because they wick excess moisture and keep roots healthy; just ensure the pot is at least 6–8 inches wide with drainage holes. For the potting mix, use a blend designed for Mediterranean herbs or make your own with equal parts potting soil, coarse sand, and perlite or small gravel for structure.
Container-grown marjoram is easy to move indoors during cooler months, letting you extend your harvest. In contrast, planting in a garden bed is often best for larger yields and less frequent watering, especially where summers are warm and dry. Whichever you choose, prioritize sunlight, drainage, and moderate fertility to ensure lush, fragrant marjoram all season long.
Planting and Early Care
When it comes to planting, you have two common options: sowing seeds or using cuttings. For seeds, start indoors about 6 to 8 weeks before the last expected frost for most climates—this jump-starts growth and gives you a healthy head start. Plant seeds at about twice their diameter deep (a general rule of thumb) and space them according to the plant’s eventual size; for example, tomatoes need at least 18 to 24 inches between seedlings.
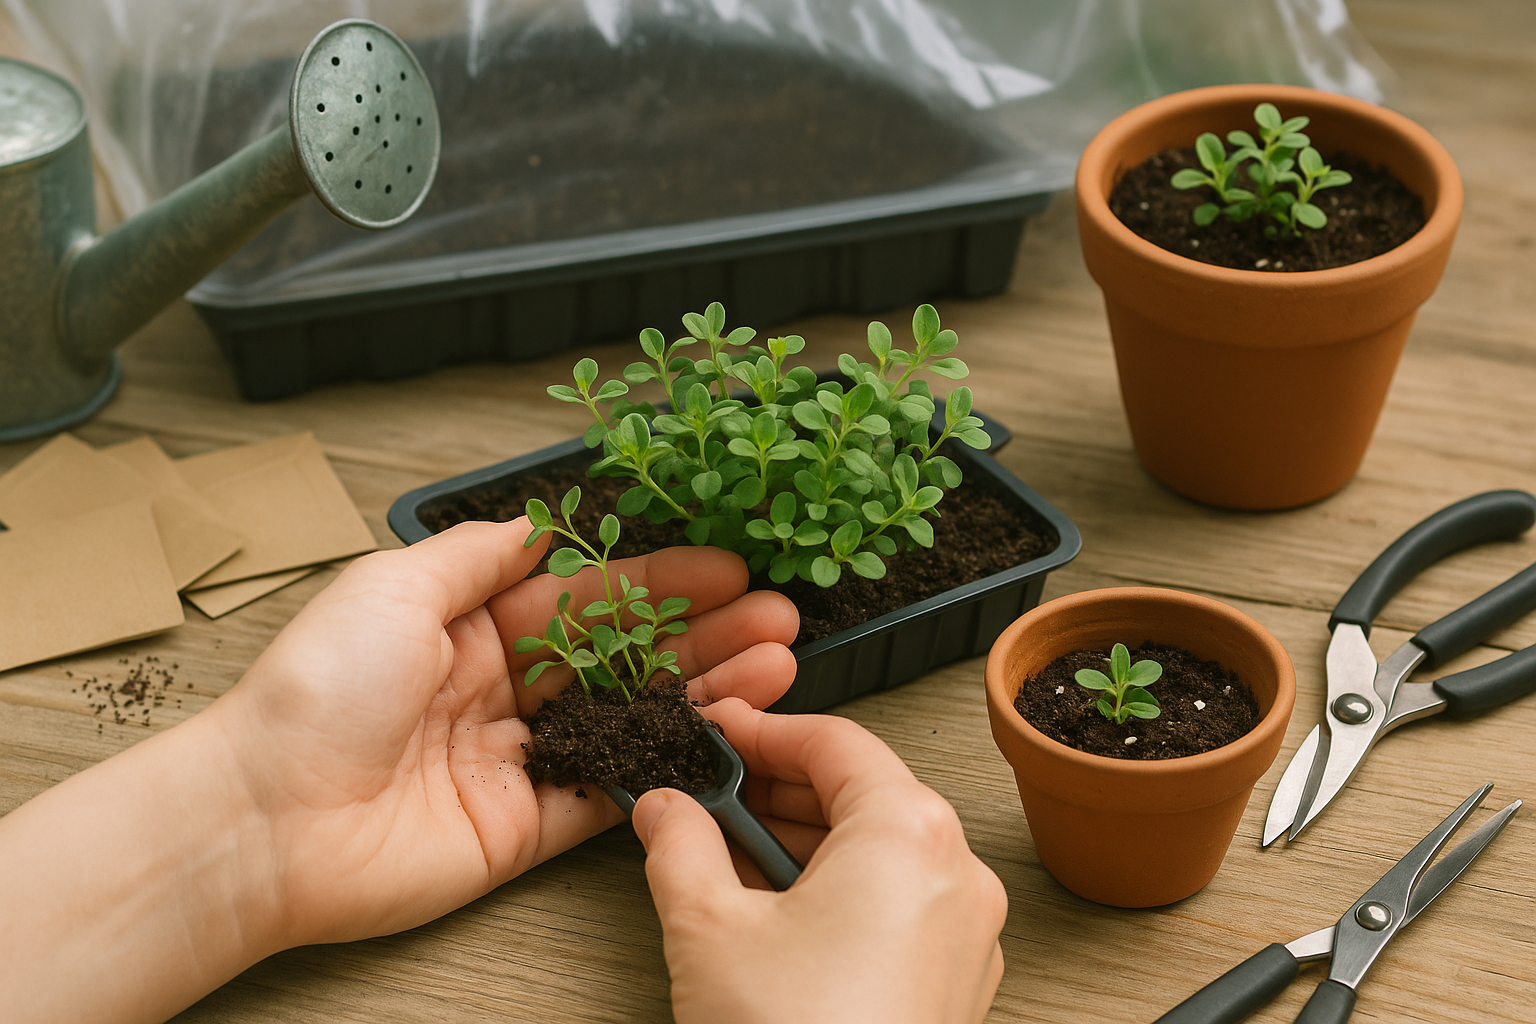
If using cuttings, snip healthy stems just below a leaf node and remove lower leaves before inserting them in moist, sterile potting mix. Cuttings often root best under indirect sunlight and covered loosely with plastic to retain humidity.
Water young plants consistently—keep soil moist but not soggy, as overwatering leads to rot and underwatering stresses new roots. A light, balanced fertilizer (such as 10-10-10) applied every 2-4 weeks helps support early growth, but avoid over-fertilizing, as this can burn tender plants.
To minimize transplant shock when moving seedlings outdoors, gradually introduce them to outdoor conditions over a week (called “hardening off”) and transplant on a cloudy day to reduce sun stress. Water thoroughly after transplanting to help roots settle. Gently loosen root balls to encourage outward growth and avoid crowding them in tight spaces, which can stunt development.
For initial pruning, remove only damaged or crossing stems, as excessive early trimming delays growth. If you started seeds in small trays, repot them into larger containers as soon as roots fill the pot but before they become rootbound; check drainage to avoid soggy roots.
Early mistakes to watch for include planting seeds too deep, overwatering, skipping hardening-off, and transplanting too roughly—all can hinder young plants before they even get started.
Ongoing Care, Pruning, and Troubleshooting
Keeping your herbs healthy and productive relies on a mix of consistent care, smart pruning, and quick troubleshooting. For most herbs, aim to water when the top inch of soil feels dry—typically once or twice a week, depending on the weather. Overwatering is a common mistake, especially for container plants; make sure pots have drainage holes and never let them sit in standing water. Feed your herbs every 4-6 weeks with a balanced, diluted liquid fertilizer, especially during their active growing season. Adjust sunlight exposure based on your herb type—basil and rosemary love full sun, while mint and parsley appreciate partial shade during the harshest afternoon hours. Adding a layer of organic mulch, like shredded bark or straw, conserves moisture, keeps roots cool in summer, and helps suppress weeds.
Pruning is key to bushier, better-tasting herbs. For leafy herbs like basil and oregano, regularly pinch off the top two sets of leaves once the plant has at least six sets—this encourages lateral growth and prevents legginess. Woody herbs, such as rosemary or thyme, benefit from a light trim in early spring to shape the plant and remove any dead stems. Always use clean, sharp scissors or pruners to avoid spreading disease. Harvesting often not only keeps herbs producing but can also intensify their flavors.
Be proactive about pests and diseases. Aphids and spider mites are frequent visitors; rinsing with a strong spray of water or introducing ladybugs can help keep them in check. Yellowing leaves might signal overwatering, while brown edges often point to underwatering or sunburn. Fungal diseases like powdery mildew can appear in humid or crowded conditions—improve air circulation and remove affected leaves promptly.
For container-grown herbs, choose pots just large enough for the plant’s root ball to avoid overcrowding. Repot every year or when roots outgrow their space. Use a well-draining potting mix and, if indoors, rotate containers weekly to ensure even sunlight. Being attentive to small changes helps you correct issues early and keeps your herbs thriving all season long.
Harvesting, Storage, and Uses
Harvest marjoram just as the plant begins to flower, when its essential oils—and thus its flavor—are at their peak. Choose a dry morning after the dew has evaporated, and use sharp scissors or garden shears to snip stems about one-third of their length, leaving plenty of growth so the plant stays healthy and can regrow for future harvests.
To dry marjoram, tie small bunches together and hang them upside down in a warm, well-ventilated area out of direct sunlight. The leaves will be fully dry in about a week, after which you can crumble and store them in airtight jars away from heat and light.
For freezing, strip fresh leaves from the stems, spread them on a baking sheet to freeze individually, and then transfer them to freezer bags. Alternatively, chop the leaves and store them with a little water or oil in ice cube trays for easy portioning.
Fresh marjoram leaves can be kept in the refrigerator, wrapped loosely in a damp paper towel and sealed in a plastic bag, for up to a week.
In the kitchen, marjoram shines in Mediterranean and Italian dishes—sprinkle it on roasted vegetables, mix it into salad dressings, or stir it into soups and stews just before serving to preserve its delicate flavor. It also pairs beautifully with meats, fish, and stuffing.
Beyond cooking, marjoram’s gentle fragrance makes it a lovely addition to homemade herbal teas or potpourri. A small sachet of dried marjoram can also freshen drawers or closets naturally.
Marjoram FAQs
Marjoram is often confused with oregano, but they have distinct flavors—marjoram is milder and sweeter, while oregano is more robust and peppery. This makes marjoram ideal for delicately flavored dishes.
Growing Marjoram Indoors
If you want to grow marjoram indoors, place the pot in a sunny spot like a south-facing window. Use well-draining soil and water when the top inch feels dry. Avoid overwatering to prevent root rot.
Winter Care
During winter, bring potted marjoram indoors or mulch outdoor plants to protect them from frost.
Pet Safety
Marjoram is generally safe for pets like cats and dogs, but it’s best to keep large amounts out of their reach.
Common Issues and Solutions
- Legginess: This often occurs due to insufficient light. Ensure plenty of light and pinch back the stems to encourage bushier growth.
- Yellow Leaves: Check for overwatering or poor drainage and adjust your care routine accordingly.