Introduction to Growing Bay Leaf in Small Spaces
Growing bay leaf on balcony spaces is quickly becoming a favorite project for urban gardeners looking to bring fresh, homegrown flavors to their kitchens. The bay leaf, or Laurus nobilis, is a versatile and aromatic evergreen herb prized in countless cuisines around the world—imagine plucking a glossy, fragrant leaf from your own plant to add depth to soups, stews, and sauces.
What makes bay leaf especially well-suited for balcony gardening? First, it thrives in containers, which means even those with just a small outdoor ledge or tiny patio can cultivate this handsome shrub without a traditional garden bed. Its compact shape and lush green foliage offer lasting visual appeal year-round, while the subtle aroma brings an inviting freshness to your outdoor space.
Besides culinary value and beauty, bay leaf plants are low-maintenance and can adapt well to microclimates found on balconies, making them an accessible choice for beginners and seasoned gardeners alike. If your gardening goal is to make the most of limited space without sacrificing usefulness or style, growing bay leaf on your balcony is a simple yet rewarding way to enjoy both flavor and greenery just steps from your kitchen.
Selecting the Right Pot and Location
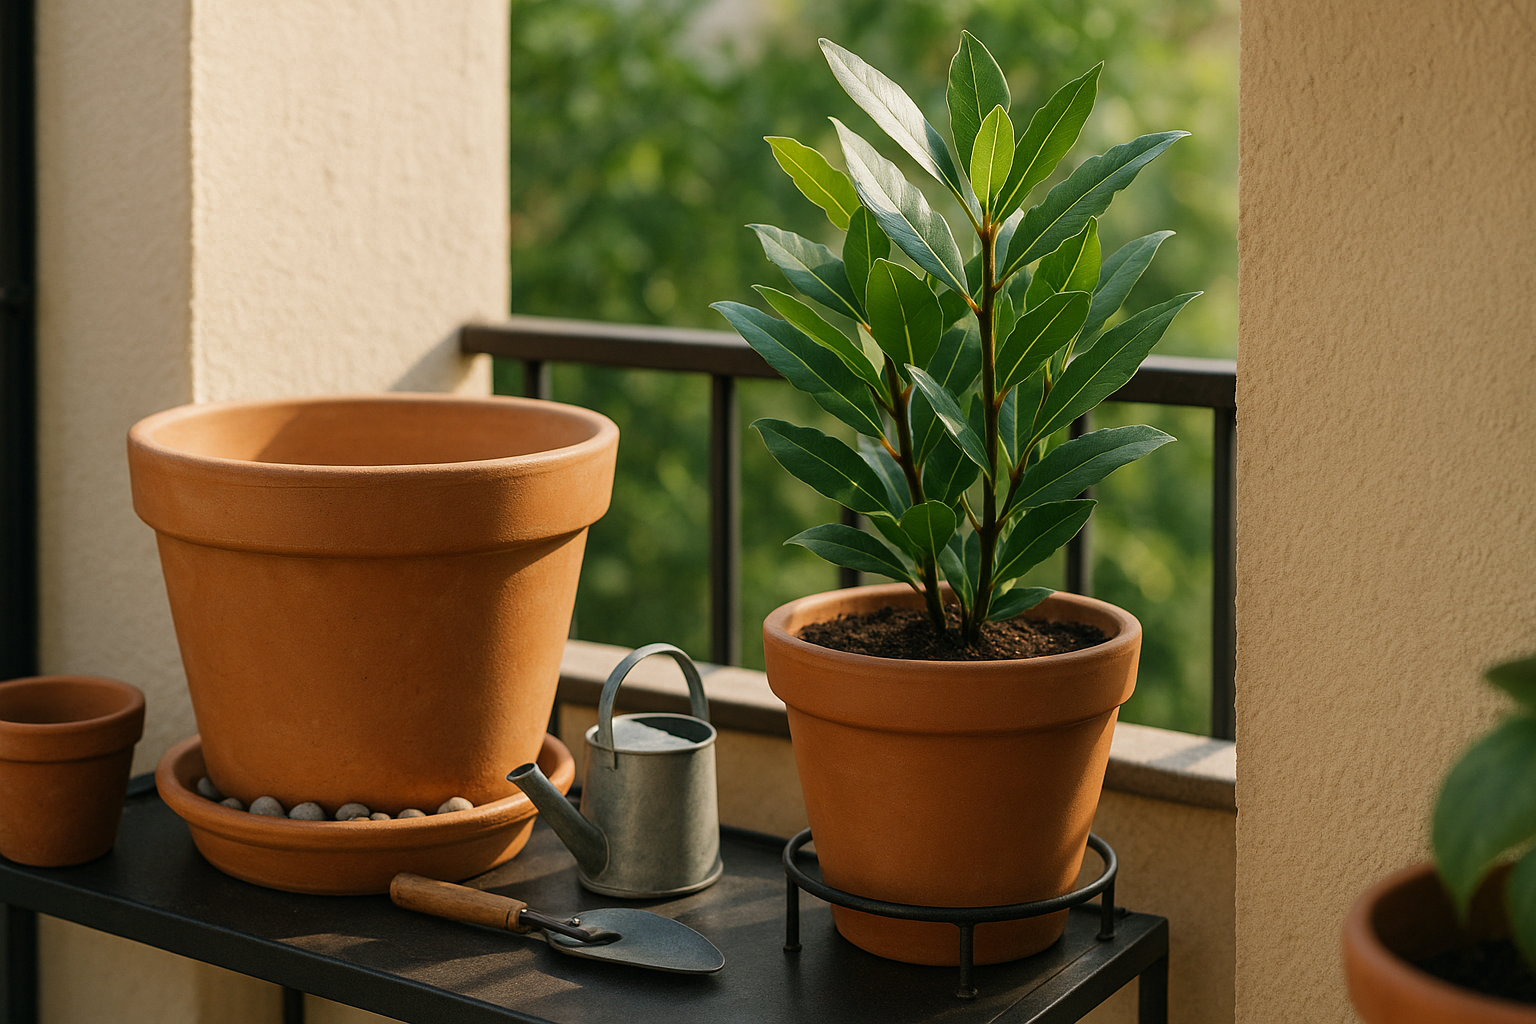
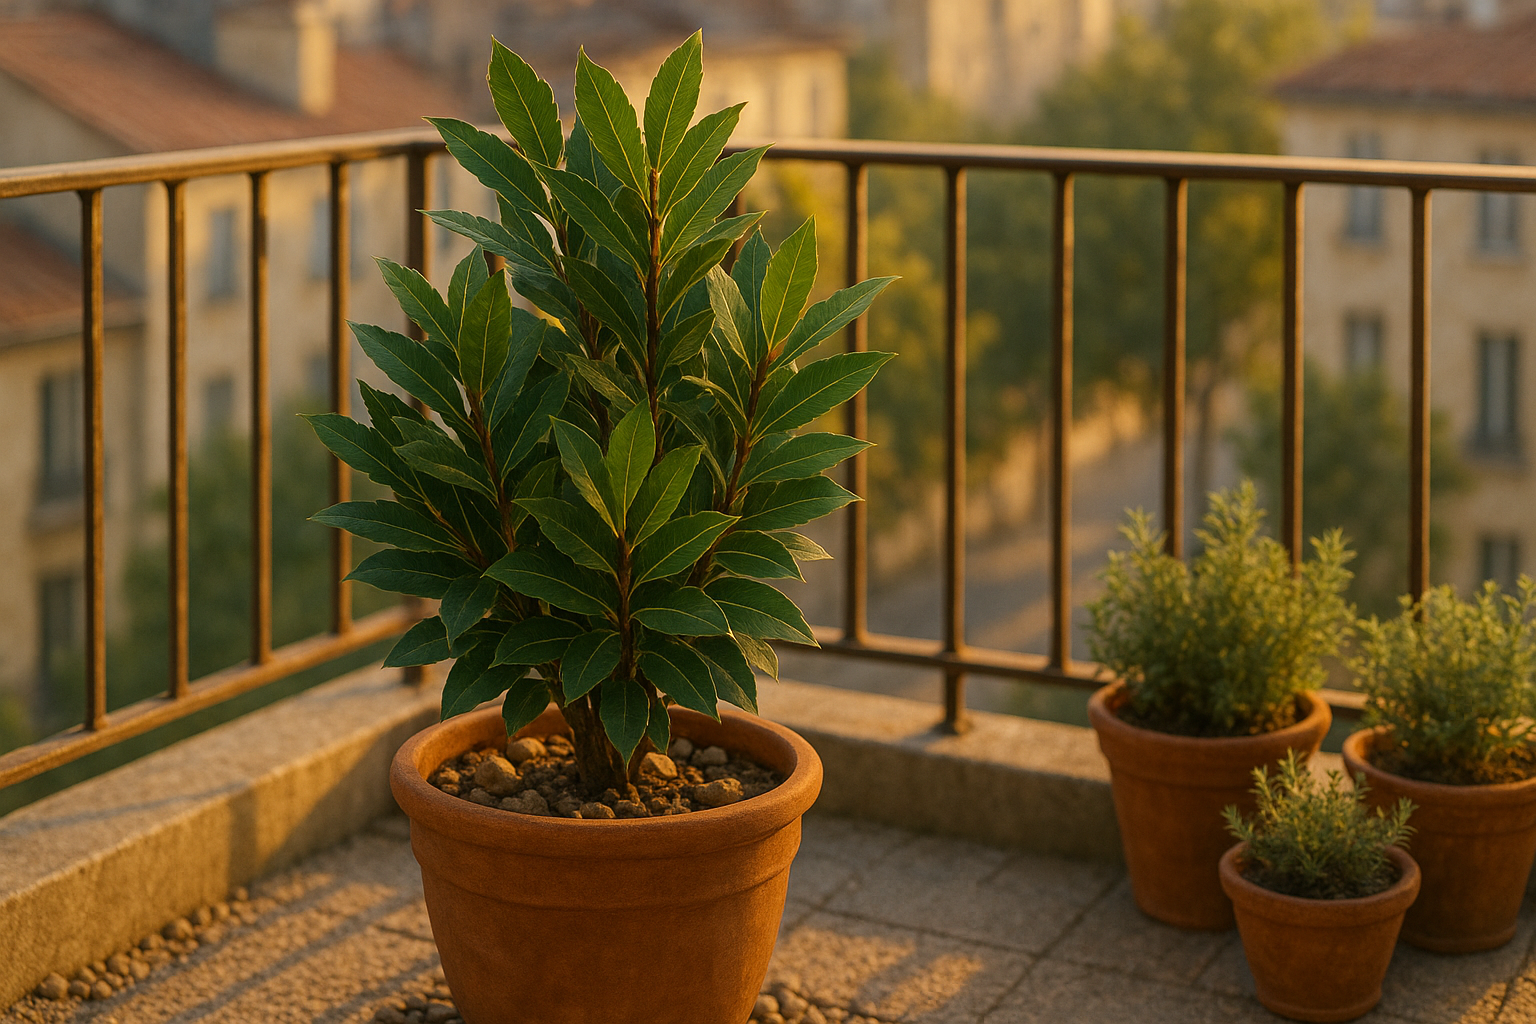
Choosing the perfect pot and spot for your bay leaf plant is key to long-term growth and flavor. Start with a pot at least 12–16 inches in diameter; bay trees have deep roots and need room to grow. Terra cotta or ceramic pots are ideal—they’re sturdy and allow the soil to “breathe,” preventing waterlogged roots.
Make sure your pot has generous drainage holes; stagnant water is a bay tree’s worst enemy and can cause root rot. To promote good drainage, consider placing small stones or broken pottery at the bottom.
When it comes to sunlight, bay trees thrive with a minimum of six hours of direct light daily. If you’re placing your plant on a balcony, a south-facing spot is best, as it gets the most sunlight throughout the day. However, bays dislike harsh, drying winds, so choose a location with some protection—near a wall or safety railing is ideal.
For balconies with limited space, look for tall, narrow pots that maximize soil depth without taking up too much floor area, or use plant stands to lift pots above railings. Add weight to the base with gravel or use square pots that are less likely to tip in the wind, ensuring your bay stays upright during storms. Grouping pots together can also create a microclimate, offering additional shelter and making watering more efficient.
With thoughtful placement and the right pot, your bay leaf plant will thrive year-round and provide a steady harvest of aromatic leaves.
Planting and Propagating Bay Leaf
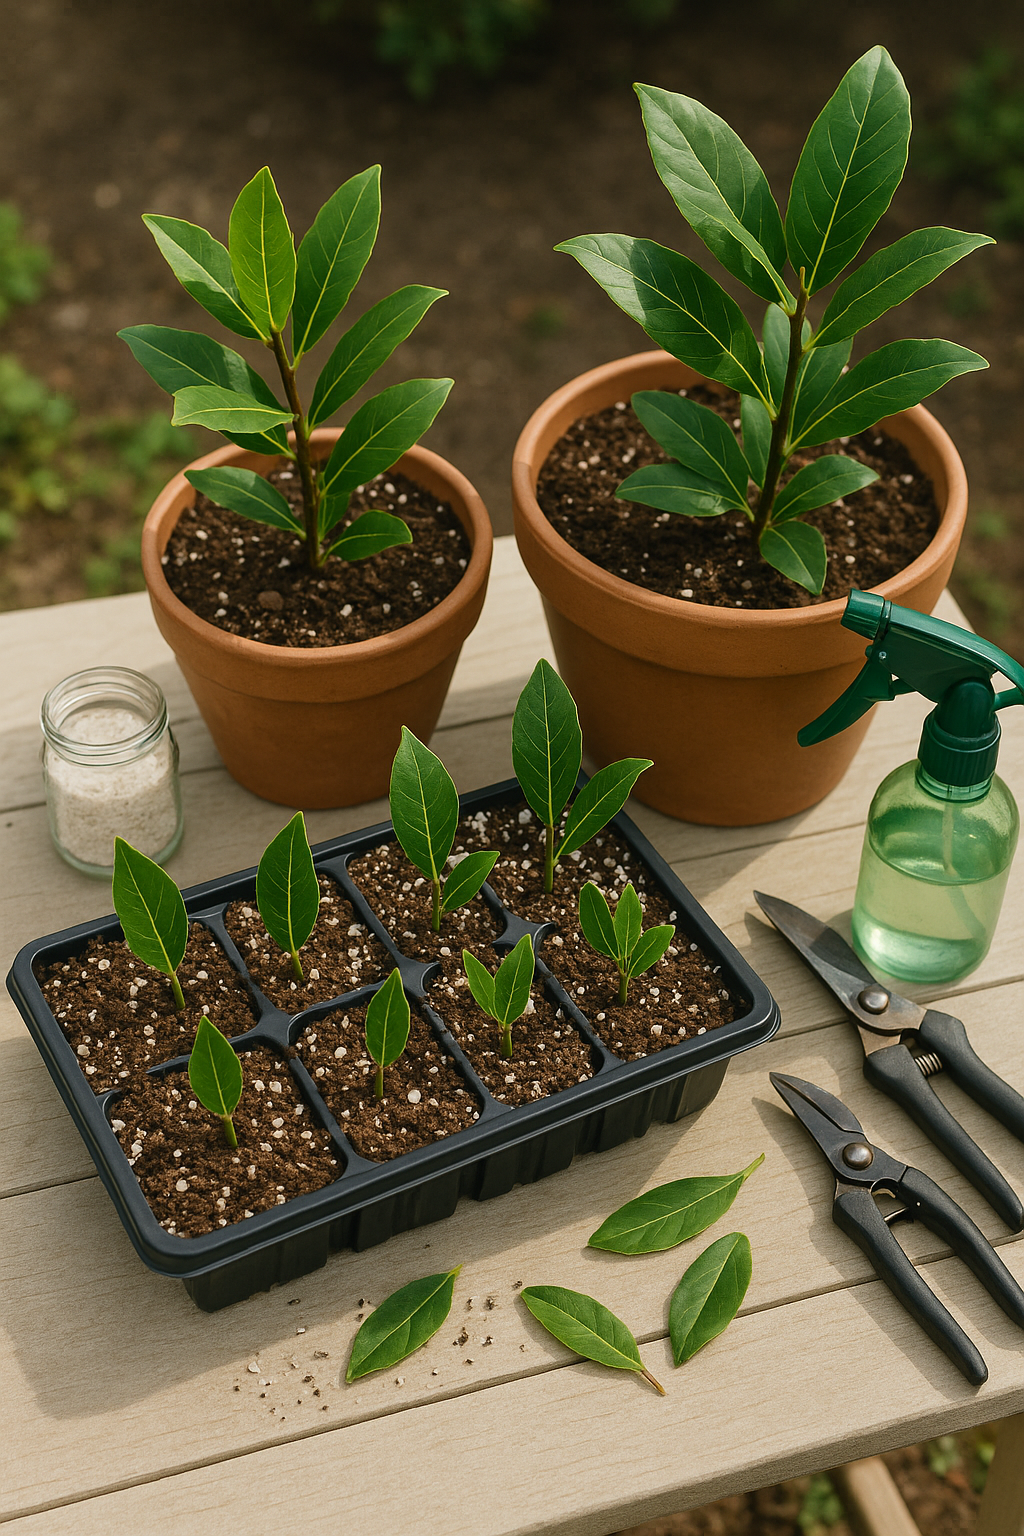
When it comes to growing bay leaf (Laurus nobilis), you have a few options for getting started: purchasing nursery saplings, starting from seeds, or propagating from cuttings. For beginners or anyone short on time, nursery saplings are the easiest—they’re already established and adapt well to container gardening.
Starting from seed is slower and can be unpredictable, as bay seeds require patience and sometimes weeks of stratification (cooling) before they sprout. Propagating from cuttings offers a middle ground: simply take a semi-hardwood stem in late spring or early summer, remove the lower leaves, and root it in a rooting hormone and light, well-draining potting mix.
Container Planting Tips
When planting in containers, use a mix of two parts high-quality potting soil, one part perlite, and a handful of compost to keep the roots healthy and prevent soggy soil. Place saplings or cuttings about 30 cm apart if you’re using large pots or grow bags; for single containers, use at least a 10–12 inch pot per plant.
After planting, water thoroughly until the soil feels evenly moist. Bay trees dislike being waterlogged, so make sure containers have good drainage.
Urban Growing Considerations
Urban growers should remember that balconies and city air can affect growth. Sheltered balconies create microclimates that retain warmth but also reduce airflow, so avoid placing bay plants in enclosed corners. Keep an eye out for pests like scale insects.
Regularly wipe bay leaves to minimize dust buildup from pollution, and rotate pots to ensure even sun exposure for lush, aromatic growth.
Everyday Care and Maintenance
Caring for a potted bay leaf plant on your balcony is simple with a consistent routine. Water your bay every time the top inch of soil feels dry—usually about once a week in spring and summer, but less often in winter to avoid root rot. Use a balanced liquid fertilizer every four weeks during the growing season (April through August), then skip feeding during the colder months.
Prune lightly in early spring or late summer to shape your plant and encourage bushier growth. Just trim any leggy stems or damaged leaves with clean scissors. Each spring, check if your bay needs repotting—roots circling the pot signal it’s time to size up, refresh the soil, and trim back old roots.
Since bay is sensitive to harsh winter winds, move your pot against a sheltered wall and wrap it in horticultural fleece if temperatures dip below freezing. Mulch the soil surface with straw or bark for extra root protection.
Watch for common pests like scale insects, spider mites, or aphids. Wipe the leaves with a damp cloth or spray with a mix of mild soapy water to deter infestations—neem oil also works great for organic pest control. For diseases, good airflow helps prevent powdery mildew; remove any infected leaves promptly and avoid getting foliage wet.
With a bit of routine attention, your bay leaf plant will thrive, adding fresh flavor and greenery to your balcony year after year.
Repotting and Long-Term Growth
Repotting your plant is essential for long-term growth and overall health, but knowing when to make the move is key. Watch for telltale signs like roots poking out of the drainage hole, slowed growth, leaf yellowing, or water sitting on the surface instead of soaking in—these all suggest your plant needs more space.
To repot successfully, gently loosen the root ball, shake off excess old soil, and move the plant into a pot just one or two inches wider, filling in with fresh, well-draining soil. Water thoroughly afterward to settle the roots.
Maintaining plant health over the years means sticking to a consistent watering routine, rotating your plant for even light exposure, and fertilizing during the growing season with a balanced, slow-release food. Regularly inspect for pests and prune away dead or damaged leaves to reduce stress.
To encourage a bushier, more compact form—especially with herbs or houseplants—pinch or trim back leggy growth just above a set of leaves. This stimulates new shoots to grow outward instead of upward, helping your plant stay lusher and more attractive over time.
Don’t be afraid to shape your plant with gentle pruning every few months; it’s a simple trick that really pays off in the long run.
Harvesting and Using Your Bay Leaves
The best time to harvest bay leaves is in mid to late summer, once your plant is mature and the leaves feel thick, deep green, and leathery—these will have the strongest aroma and flavor. Use clean, sharp scissors to snip mature leaves one at a time, leaving younger growth intact so the plant stays healthy and continues to thrive.
After harvesting, rinse the leaves to remove any dust, then pat them dry gently. For drying, spread leaves in a single layer on a sheet of paper towel in a warm, airy spot away from direct sunlight. Once they’re crisp, store them in a sealed glass jar in a cool cupboard to help retain their essential oils and full flavor.
Whole dried bay leaves are a staple for soups, stews, and sauces—just remember to remove them before serving. But don’t limit yourself to the kitchen; bay leaves’ subtle scent makes them perfect for homemade sachets to freshen linen drawers or deter pantry pests.
Try stringing several together to make a rustic garland, or tuck a sprig into a wreath for a natural decorative touch. By harvesting mindfully and using your bay leaves in inventive ways, you’ll enjoy their benefits all year long.
Troubleshooting Common Problems
Even though bay leaf is a hardy, low-maintenance herb perfect for balcony gardens, you might occasionally run into some common problems.
If your bay leaf’s leaves turn yellow, it’s often due to overwatering or poor drainage—try letting the soil dry out between waterings and ensure your pot has proper drainage holes.
Stunted growth can be caused by a lack of sunlight; bay laurels love bright light, so aim for a sunny spot and turn your pot regularly for even growth.
Pests like scale insects and aphids may show up, leaving sticky residue or small bumps on the leaves. You can usually wipe these away with a damp cloth or spray with insecticidal soap.
For all issues, avoid using harsh chemical pesticides, especially on edible herbs.
If problems like black sooty mold, widespread wilting, or deep cracks in stems appear and simple fixes don’t help, consult a local nursery or gardening expert.
Don’t get discouraged—most bay leaf issues are easily resolved, and with a little attention, your plant will continue to thrive, delivering fragrant leaves to enhance your cooking year-round.