Introduction to Lavender Essential Oil Production
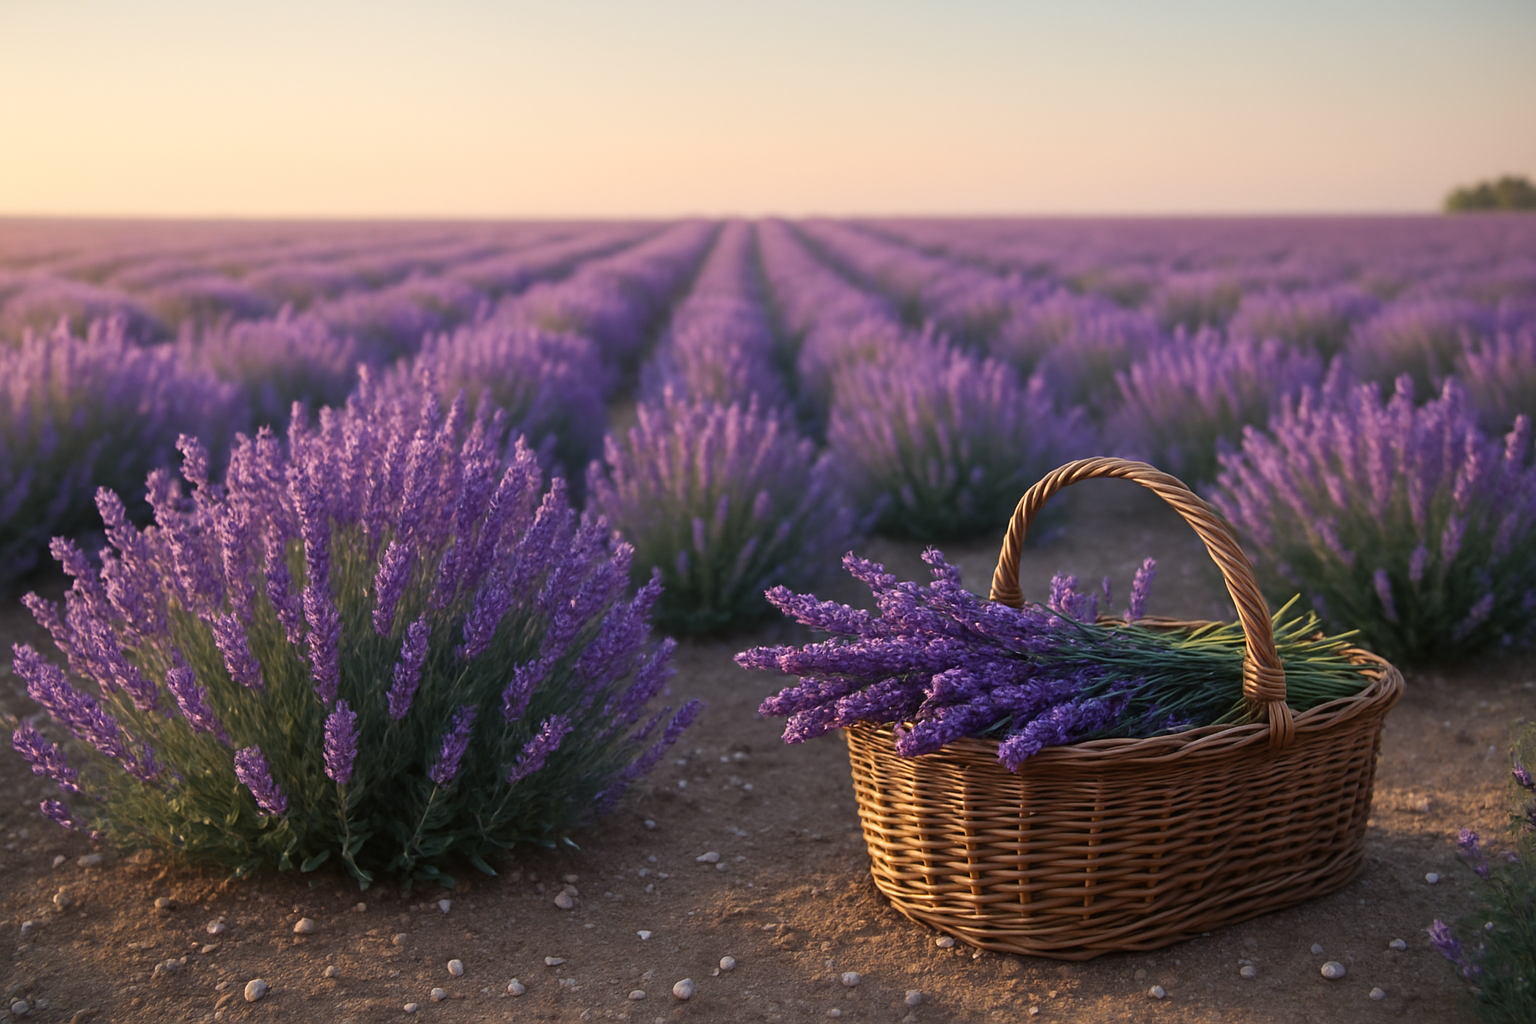
Lavender essential oil has become a buzzworthy trend in natural wellness, and it’s easy to see why. Essential oils are concentrated, aromatic liquids extracted from plants, celebrated for their therapeutic benefits and versatile uses—from soothing anxiety to refreshing your home. Among the many botanicals, lavender stands out as a top choice thanks to its gentle fragrance, calming properties, and versatility in everything from skincare to aroma diffusers.
The demand for natural products and essential oils has skyrocketed in recent years as more people seek clean, plant-based alternatives to synthetic scents and wellness solutions. Lavender’s timeless appeal, paired with its recognized healing attributes, makes it the darling of home gardeners and commercial growers alike.
If you’re intrigued by the idea of cultivating lavender for its essential oil, you’re not alone. More home growers and small-scale farmers are exploring this fragrant crop, eager to tap into the booming essential oil market or enjoy a new DIY project. But growing lavender for essential oil isn’t as simple as planting a few stems—successful production hinges on choosing the right variety, optimizing soil conditions, mastering proper harvesting techniques, and using effective distillation methods.
Selecting disease-resistant varieties, ensuring good drainage, and harvesting blooms at their aromatic peak are all essential steps to ensure a high-quality oil yield. In this blog post, we’ll break down what you need to know to start your own lavender oil journey, from preparation and planting to harvesting and oil extraction, so you can enjoy nature’s most beloved fragrance—grown and bottled by you.
Choosing the Right Lavender Varieties for Oil Production
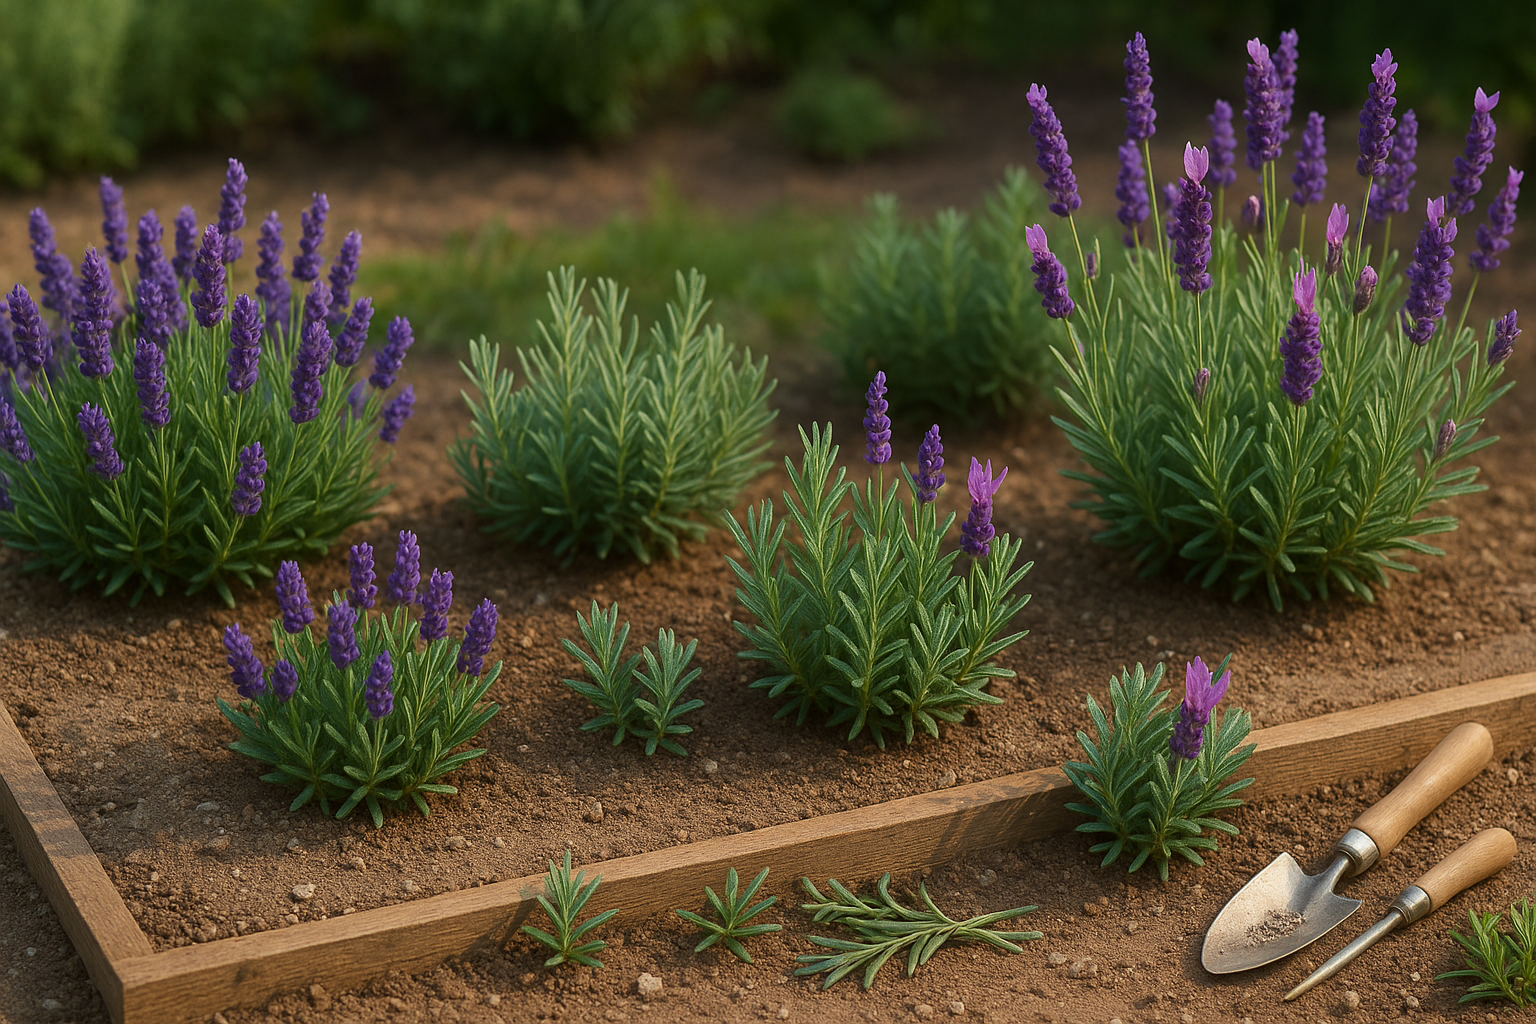
Selecting the right lavender variety is a key step for anyone interested in essential oil production, as not all lavenders are created equal. The most widely cultivated species are English lavender (Lavandula angustifolia), French lavender (Lavandula dentata), and lavandin (Lavandula x intermedia), each offering unique benefits.
English lavender, like the classic varieties ‘Munstead’ and ‘Hidcote,’ is prized for its sweet, floral scent with lower camphor content, making its oil highly sought after for perfumes and aromatherapy. ‘Munstead’ is known for its compact growth and early bloom, ideal for smaller spaces or container gardening, while ‘Hidcote’ features striking deep purple flowers and a rich, strong aroma.
On the other hand, lavandin varieties such as ‘Grosso’ are hybrids bred primarily for commercial oil production. ‘Grosso’ stands out for its vigorous growth and tall spikes that yield much more oil per plant than English or French types—sometimes up to twice as much. However, lavandin oil contains more camphor, leading to a sharper, more medicinal scent that works well in cleaning products and mass-market applications but is less prized for fine fragrance.
Growers often choose based on their end use:
- For high-quality aromatherapy oils, English lavender varieties are the gold standard despite their lower yield.
- Those focused on bulk production and industrial use favor lavandin like ‘Grosso.’
Local climate and soil type should also guide your selection, as some varieties tolerate heat or humidity better than others. For home growers just starting out, trying a few varieties in small batches is a great way to discover which one thrives and produces the aroma you love most.
Site Selection and Planting Basics
Choosing the right site and preparing your soil are the foundations of a healthy, productive garden or farm. Start by testing your soil’s drainage with a simple observation after rainfall—pools of water indicate trouble for most crops and may require raised beds or amendments like compost, sand, or perlite to improve texture and aeration.
Monitor your soil’s pH as well; most vegetables thrive in a slightly acidic to neutral range (6.0–7.0), while blueberries, for example, prefer more acidic conditions. Amend soil accordingly with garden lime to raise pH or elemental sulfur to lower it, and always mix in plenty of organic material such as compost or well-rotted manure to improve fertility and microbial activity.
When it comes to site conditions, observe sunlight throughout the day—most fruiting plants and vegetables need at least 6–8 hours of direct sunlight. Planting in areas shaded by buildings or trees will limit yields and vigor. Factor in your local climate, and make sure your crop selection matches your growing zone; look up your first and last frost dates and choose plant varieties accordingly.
For layout, give each plant enough space for optimum air circulation and healthy growth: tomatoes, for instance, should be planted 18–24 inches apart, while lettuce can be set as close as 12 inches. In rows, leave walking space in between for weeding and harvesting—typically, 24–36 inches suffices on larger plots.
For commercial production, uniform bed widths (such as 30-inch-wide beds with 18-inch paths) streamline maintenance and harvesting; at home, try grouping plants with similar needs together for efficient watering and care.
Thoughtful site selection and mindful planting set the stage for a fruitful growing season, whether you’re cultivating backyard herbs or managing acres of produce.
Cultivation and Maintenance Practices
Successful garden cultivation starts with consistent watering—aim to keep the soil evenly moist but not waterlogged. Early morning is ideal, allowing foliage to dry out during the day and minimizing fungal risks. Drip irrigation or soaker hoses are water-wise options, delivering moisture directly to the roots.
When it comes to feeding, use a balanced organic fertilizer suited to your plants and soil; compost, aged manure, or slow-release blends work well. Apply fertilizer in early spring and again mid-season for vegetables, always following label instructions to avoid overfeeding, which can harm plants and the environment.
Mulching is your secret weapon for healthier beds. Spread a 2–3 inch layer of organic mulch (like shredded bark, straw, or compost) around your plants, keeping it a couple of inches away from stems. Mulch suppresses weeds, conserves soil moisture, keeps roots cool, and slowly adds nutrients as it decomposes. Check the mulch level as the season progresses—add more if it thins out.
Pests and diseases often pop up, but there are gentle, natural ways to keep them in check. Start with prevention: healthy, well-spaced plants are less vulnerable. Hand-pick pests like caterpillars or beetles, or use insecticidal soap for soft-bodied insects. Encourage beneficial insects such as ladybugs and lacewings by planting flowers like dill or yarrow nearby.
For fungal diseases, avoid wetting leaves and remove any infected ones promptly. Crop rotation and cleaning up plant debris at the end of the season can also reduce problems year after year.
Throughout the growing season, regular care tasks make a big difference. Prune dead or diseased branches, pinch off wilted blossoms, and trim perennials as needed to stimulate new growth. Pull weeds after rain, when soil is soft, to prevent competition for nutrients and water.
Most importantly, walk through your garden weekly—look for signs of stress, pests, or disease early. This hands-on approach ensures robust, healthy plants and a thriving garden season after season.
Harvesting Lavender for Maximum Oil Yield
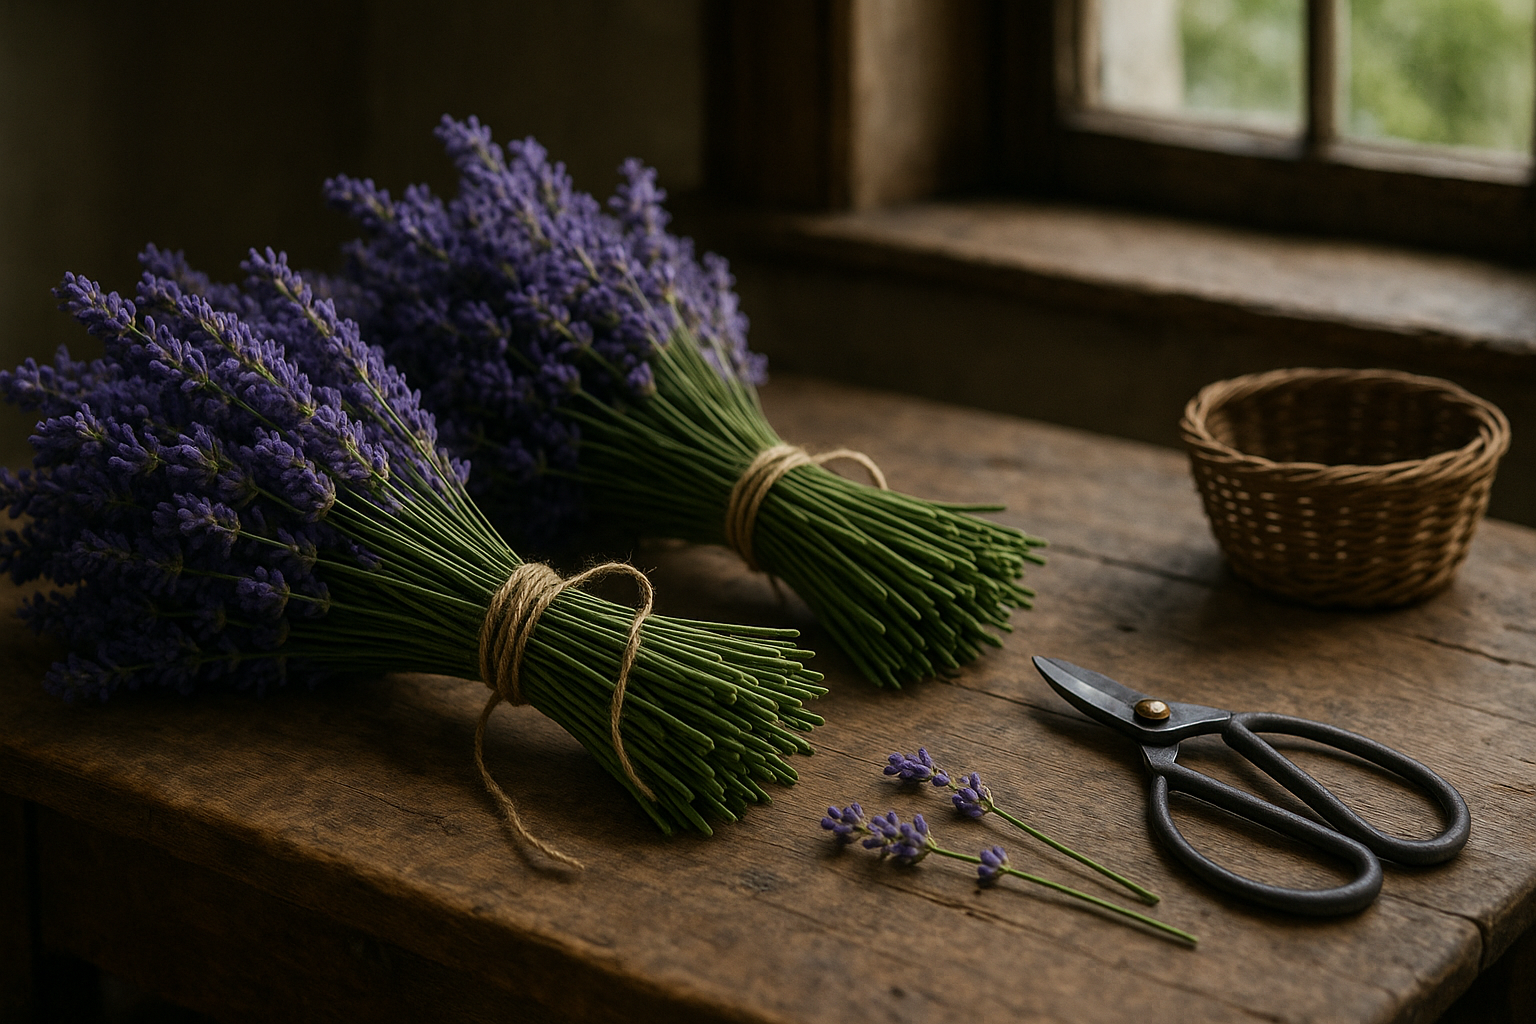
Timing is crucial when it comes to harvesting lavender for the highest essential oil yield. For most varieties, the optimal window is just as the first few buds on each spike open—usually mid to late morning, after the dew has dried but before the sun becomes too harsh. This is when oil concentration in the flowers peaks.
Using sharp, clean shears, cut stems about one-third down from the flower tip, taking care not to remove too much foliage, as the plant needs its leaves to stay healthy. Always harvest on a dry day to prevent mold during drying. Bundle harvested stems in small bunches tied with string and hang them upside down in a well-ventilated, cool, and dark area; this method preserves both the scent and color of the blossoms.
Avoid overly tight bundles, which can impede airflow and lead to mildew or dull fragrance. Also, avoid handling the flowers excessively, as this can bruise the blooms and reduce oil content. Never use plastic bags or containers, as they trap moisture and accelerate spoilage.
Some growers make the mistake of waiting too long, harvesting when most buds are fully open—by this stage, much of the oil has evaporated, leading to lower yields. For small-scale growers, consistent timing and gentle handling make all the difference in preserving the rich, aromatic oils of lavender.
By following these simple yet effective practices, you’ll ensure that your harvest captures the very best of what your lavender plants have to offer.
Extraction
Turning fresh lavender blossoms into pure essential oil is a rewarding process, and for small-scale producers, steam distillation is the most popular extraction method. This technique uses steam to gently coax the aromatic compounds out of lavender flowers, producing a high-quality oil packed with the plant’s therapeutic properties.
To get started, you’ll need a still—most home growers opt for stainless steel models in sizes ranging from a few liters to a small barrel, depending on yield goals. Other essentials include a heat source (like a portable burner), distilled water, condenser tubing, and glass collection bottles. Having a quality thermometer can help you monitor temperatures closely, since overheating can degrade the delicate oil.
After distillation, carefully separate the oil from the hydrosol (the floral-scented water byproduct). Store your lavender oil in dark glass bottles, filling them as much as possible to minimize air exposure. Keep the bottles in a cool, dark place; light and oxygen can degrade both fragrance and potency.
For the freshest aroma, try to handle the oil as little as possible and avoid plastic or metal containers, which can affect purity. Proper labeling—including harvest date and plant variety—will help you track quality over time. With these steps, even beginners can produce vibrantly fragrant lavender oil at home, ready for use in everything from skincare to aromatherapy.
Uses and Benefits of Lavender Essential Oil
Lavender essential oil is a versatile favorite known for its soothing scent and practical uses. Many people add a few drops to diffusers or baths for stress relief, as studies show its aroma can promote relaxation and improve sleep quality.
It’s also popular in skincare routines—diluted with a carrier oil, it helps calm irritated skin, reduce redness, and may assist in wound healing thanks to its antimicrobial properties. Lavender oil serves as a natural remedy for minor cuts, bug bites, and even headaches when gently massaged into the temples.
In household cleaning, it acts as a fragrant antibacterial boost when mixed into homemade sprays or added to laundry routines.
Safety Tips
- Always dilute lavender oil before applying it to the skin.
- Avoid direct contact with eyes.
- Pregnant women, young children, and those with allergies should consult a healthcare provider before use, as reactions can occur.
- Perform a patch test to ensure skin compatibility.
Conclusion & Getting Started Tips
Making your own lavender essential oil lets you enjoy its soothing aroma and wellness benefits while saving money and customizing the process. For beginners, start with a hardy lavender variety suited to your climate, such as English or French lavender, and plant it in well-draining soil with plenty of sun. Water sparingly and prune regularly to keep your plants healthy.
Don’t stress about perfection—keep notes on what works each season and adapt your care routines accordingly. Experiment with different harvest times and distillation methods to find the fragrance you love most. Each year brings fresh opportunities to learn and improve.