Introduction to Drying Dill
If you’ve ever found yourself with a bountiful bunch of fresh dill and wondered how to keep its vibrant flavor around longer, drying dill at home is the answer you’ve been looking for. Drying herbs is one of the simplest and most effective ways to preserve their unique taste and extend their shelf life, ensuring you always have that bright, tangy dill flavor ready for soups, dressings, or your favorite fish dishes.
Dried dill excels in everything from homemade pickles and potato salads to creamy dips and savory breads—its versatility makes it a must-have for any pantry. Plus, the process is surprisingly straightforward, and you don’t have to invest in fancy equipment; even air-drying on your kitchen counter can yield impressive results.
In this post, you’ll discover several approachable drying methods, from traditional hanging to speedy oven and microwave techniques, along with insider tips for keeping that prized flavor intact. With a batch of dried dill in your spice collection, you’re only a pinch away from adding a fresh, herbal pop to meals year-round. Get ready to learn how to dry dill successfully, store it with care, and make the most of every feathery sprig!
Harvesting and Preparing Dill for Drying
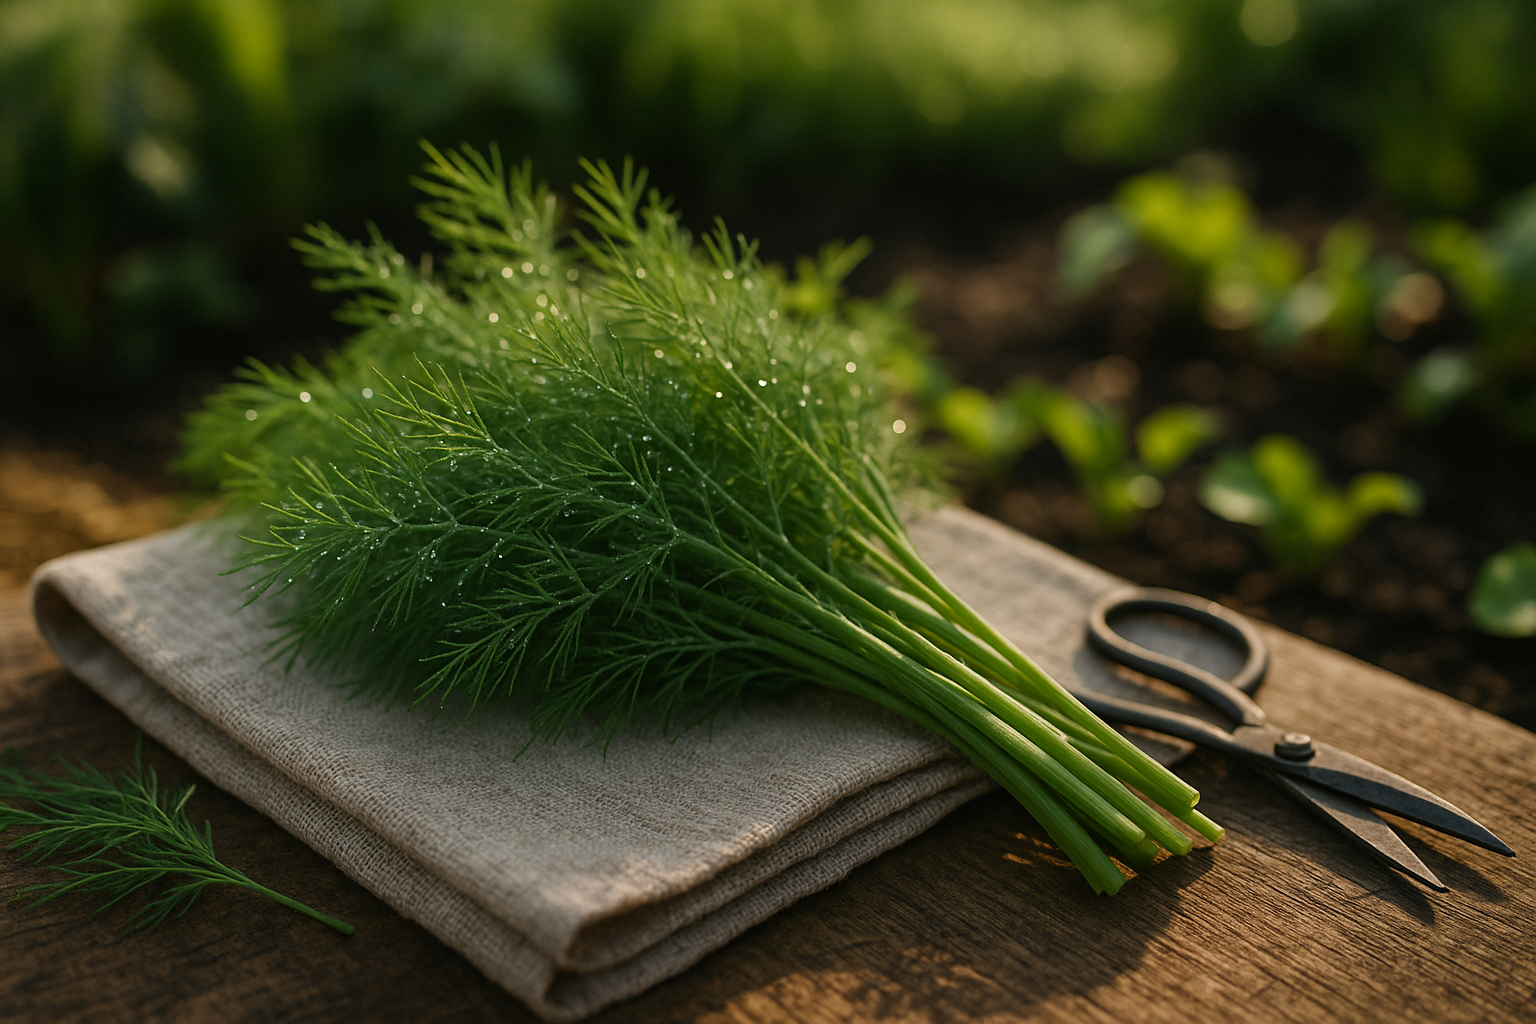
Harvesting dill at the right time makes all the difference in preserving maximum flavor and aroma. The best time to harvest dill is in the morning after the dew has dried but before the sun gets too hot. This helps lock in the essential oils that give dill its distinctive taste.
Aim to cut the leafy stems, known as dill weed, just as flower buds are forming but before they fully open—this is when the flavor peaks. Use clean, sharp garden scissors or pruning shears to snip stems close to the main plant. Gather only healthy, green leaves, avoiding any yellowing or damaged parts.
Once harvested, gently shake off loose dirt and rinse the stems under cool running water. It’s important to handle dill carefully, as the feathery leaves bruise easily. Lay the stems in a single layer on a clean towel or paper towel and pat them dry, removing as much excess moisture as possible to prevent mold during drying.
Next, sort the stems to remove any weeds, dead leaves, or insects. Proper cleaning and sorting not only enhances the final quality but also ensures only the freshest, most flavorful parts are preserved.
By taking time with these preparation steps, you’ll end up with dried dill that’s vibrant in color, potent in flavor, and free from unwanted debris. Investing a few extra minutes upfront pays off when you’re reaching for home-dried dill to season soups, salads, or fish dishes months later.
Popular Methods for Drying Dill
Drying dill at home is simple, and you have several options to choose from: air drying, oven drying, using a dehydrator, or microwaving.
Air Drying
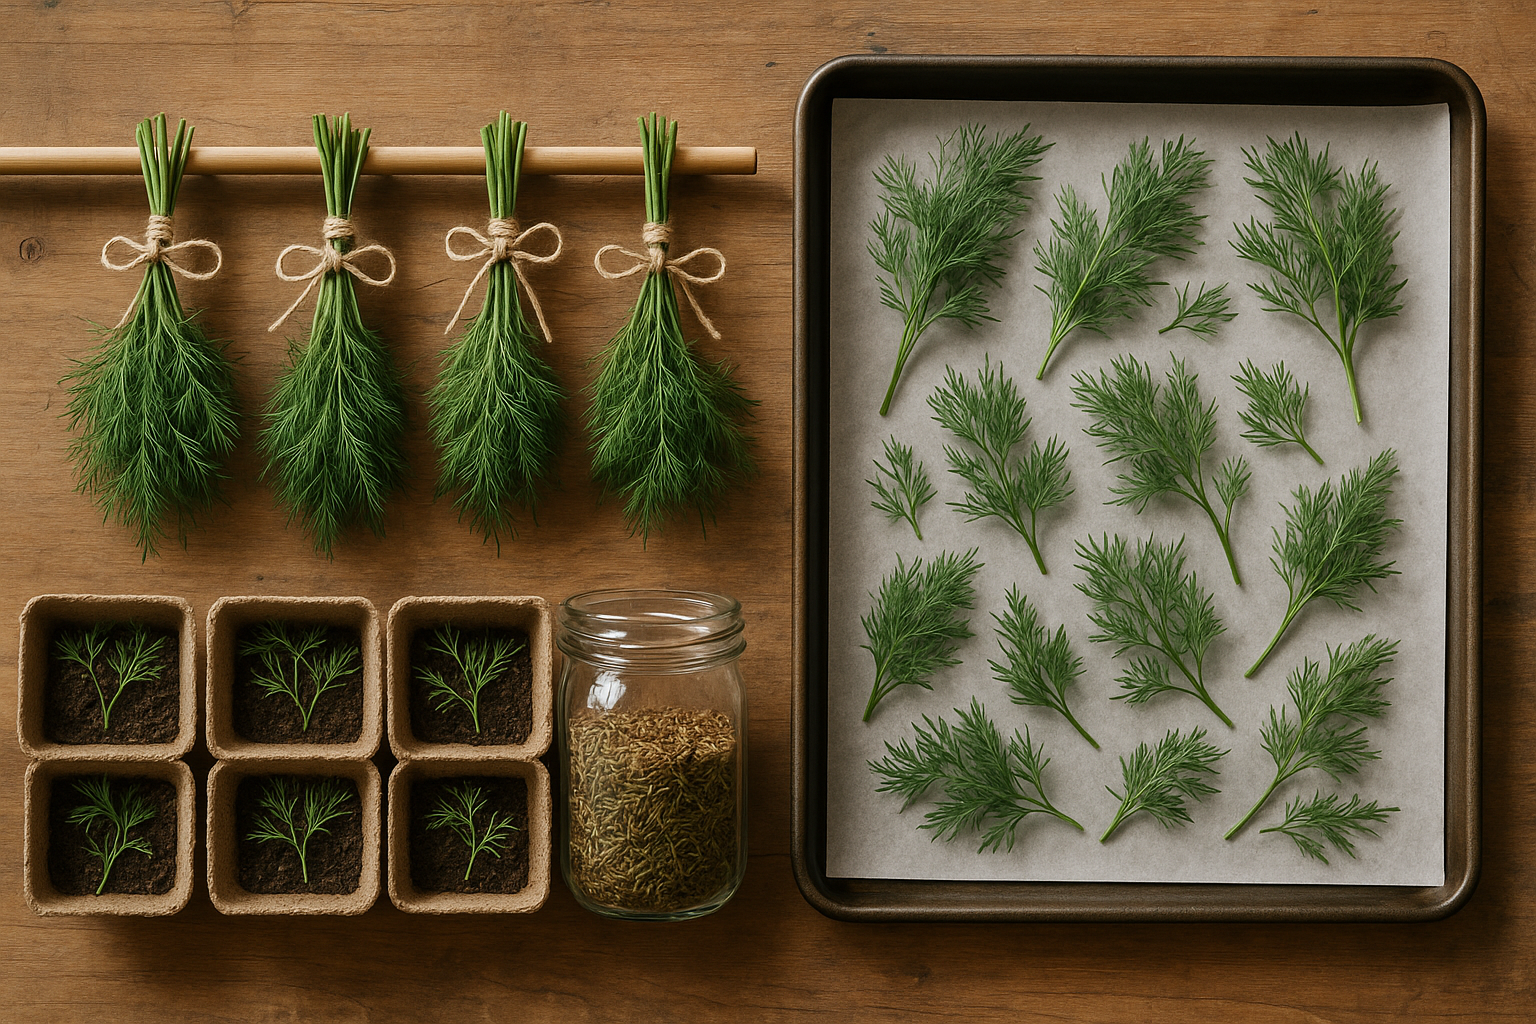
Air drying is the most traditional method, requiring minimal equipment. Just tie small bundles of fresh dill, hang them upside down in a warm, dry, and well-ventilated place out of direct sunlight, and wait one to two weeks. This technique preserves flavor well, but it takes the longest and can invite mold if humidity is high or if bundles are too thick.
Oven Drying
Oven drying speeds things up. Simply lay dill sprigs on a baking sheet lined with parchment paper, set your oven to its lowest temperature (usually 170°F or 75°C), and dry for 30 minutes to an hour. It’s quick, but the heat can reduce flavor, and you’ll need to watch closely to avoid burning the delicate leaves.
Using a Food Dehydrator
A food dehydrator offers an easy, hands-off approach with great results. Spread dill evenly on dehydrator trays, set to 95-115°F (35-46°C), and dry for 1-3 hours. Dehydrators maintain more flavor and color but require purchasing a gadget.
Microwaving
For the fastest results, try the microwave method. Arrange the dill between two paper towels and microwave in 20-second bursts until dry, usually under two minutes. This saves time but can cause uneven drying and the flavor may suffer.
Tips for All Methods
- Always wash and fully dry the dill before starting.
- Strip the leaves from thick stems for even drying.
- Don’t crowd your herbs; give them space so air can circulate.
- Store dried dill in airtight containers away from heat or light to lock in its bright, grassy taste for months to come.
Step-by-Step Guide to Drying Dill at Home
Drying dill at home is a simple way to preserve its vibrant flavor for later use. You have a few options depending on your kitchen setup and climate.
Start by harvesting fresh dill stems—ideally in the morning after the dew has evaporated—and gently rinse away any dirt. Pat the sprigs dry thoroughly with paper towels, as excess moisture can lead to mold.
Air Drying
For air drying, gather 5-8 stems together, tie them with kitchen string, and hang them upside down in a cool, dry, well-ventilated spot out of direct sunlight. This method is best in dry climates with low humidity and usually takes 1-2 weeks.
Oven Drying
If you’re short on time or live in a humid area, try the oven method. Arrange dill sprigs on a baking sheet lined with parchment paper, set your oven to the lowest temperature (around 110°F/45°C), and prop the door open slightly to let moisture escape. Check the dill every 15 minutes; it should be ready within 1-2 hours.
Dehydrator Drying
If you have a dehydrator, lay the dill flat on the trays and dry at 95°F (35°C) for about 4-6 hours, checking periodically.
How to Know When Dill Is Fully Dried
- The leaves feel crisp and brittle.
- The leaves crumble easily between your fingers.
- The stems snap cleanly rather than bending.
Choosing the Best Method
Consider your kitchen environment:
- Air drying suits dry regions and a no-fuss setup.
- Oven or dehydrator methods are ideal for humid climates or when you want quicker results.
Whichever method you choose, store the dried dill in an airtight container away from light and heat to maximize shelf life and flavor potency.
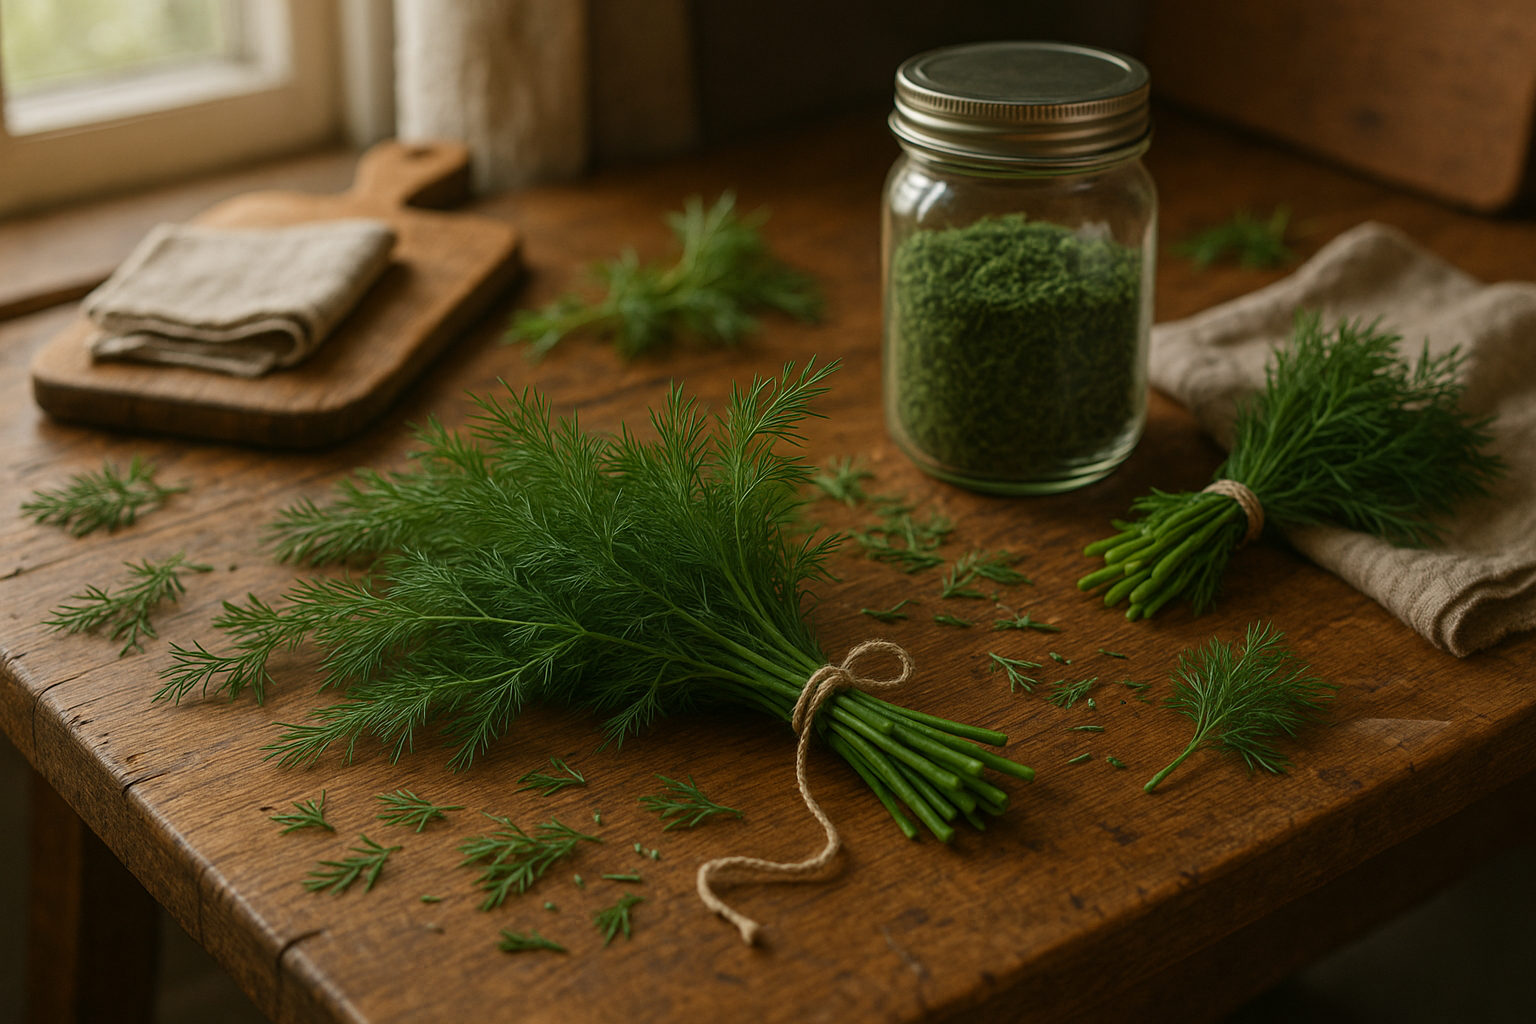
Storing Dried Dill Correctly
To keep your dried dill at its flavorful best, start by choosing the right storage container. Glass jars with tight-fitting lids are ideal, as they keep air and moisture out far better than plastic bags or containers. The container should be clean, dry, and preferably tinted to protect the dill from light, which can degrade its color and potency over time.
Store your dried dill in a cool, dry place away from direct sunlight—think kitchen cabinets or pantry shelves, never above the stove or refrigerator where heat and humidity fluctuate. Always label your jars with the contents and the date you packaged them; use a piece of masking tape or a simple sticker for quick, visible reference. This helps you track freshness and ensures you’re rotating older herbs to the front.
To further extend shelf life, avoid opening the jar frequently or leaving it uncapped for long periods. Each time you use your dried dill, check for signs of spoilage: a faded color, loss of aroma, or any musty or off smells are clues it’s past its prime. If caking or mold appears, it’s time to discard and restock.
For large batches, consider storing the main supply in a larger container while keeping a smaller jar for daily use. This limits exposure to air and light and helps preserve the rest for months—sometimes even up to a year. By being mindful of these storage habits, you’ll maximize your dried dill’s flavor, aroma, and shelf life with minimal effort.
Using Dried Dill in Your Cooking
Dried dill is a versatile herb that adds a gentle, earthy flavor to a variety of everyday dishes, making it a pantry staple for home cooks. It works wonders in creamy dressings like ranch or tzatziki, adds depth to potato salads, and elevates egg salads with its subtle tang.
Dried dill is also a classic addition to seafood—try it in homemade gravlax or sprinkled over baked salmon for an effortless flavor boost. When substituting dried dill for fresh, keep in mind that dried herbs are more concentrated; the general rule is to use one-third the amount. So, if a recipe calls for 1 tablespoon of fresh dill, use only 1 teaspoon of dried. This helps prevent overpowering your dish, as dried dill packs a punch despite having a more muted aroma compared to the grassy, vibrant notes of fresh dill.
Always add dried dill earlier in the cooking process so it can rehydrate and infuse the dish, unlocking its full flavor potential. With this simple switch, you can confidently explore new recipes or give classic favorites a refreshing twist—even when fresh herbs aren’t on hand.
Frequently Asked Questions About Drying Dill
Dill weed refers to the feathery leaves of the dill plant, while “dill” can mean either the leaves (dill weed) or the seeds (dill seed). When buying spices, double-check the label; both parts have distinct flavors and uses.
Dried dill weed usually lasts 1 to 3 years if stored in an airtight container away from light and heat. However, for the best flavor, plan to replace it yearly.
You can rehydrate dried dill by soaking it in warm water for a few minutes or by adding it directly into dishes with plenty of moisture, like soups or sauces.
If your dried dill looks faded or smells bland, it has likely lost its potency. Try crushing a small amount between your fingers to test the aroma—if it’s weak, it’s time to refresh your supply.
Discoloration often means exposure to sunlight or moisture, which can dull both color and flavor. Always store dried dill in a cool, dark cupboard rather than near the stove or window. Use clean, dry utensils when scooping it out to prevent clumping or spoilage.
If you notice mold or an off smell, it’s safest to discard the batch and start fresh.
Conclusion & Quick Tips Recap
Drying dill at home is a simple and rewarding way to enjoy its fresh flavor year-round. Remember to harvest dill just before it flowers, wash it gently, and dry it in a cool, well-ventilated spot—or use an oven set to low heat. Store dried dill in an airtight container, away from sunlight, for the best results.
Here’s a quick checklist:
- Harvest at the right time
- Dry thoroughly
- Store properly
Give it a try—you’ll love having dried dill on hand for soups, salads, and more! Have any tips or questions about drying herbs? Share your experiences in the comments below!