Why Good Soil Matters for Chives
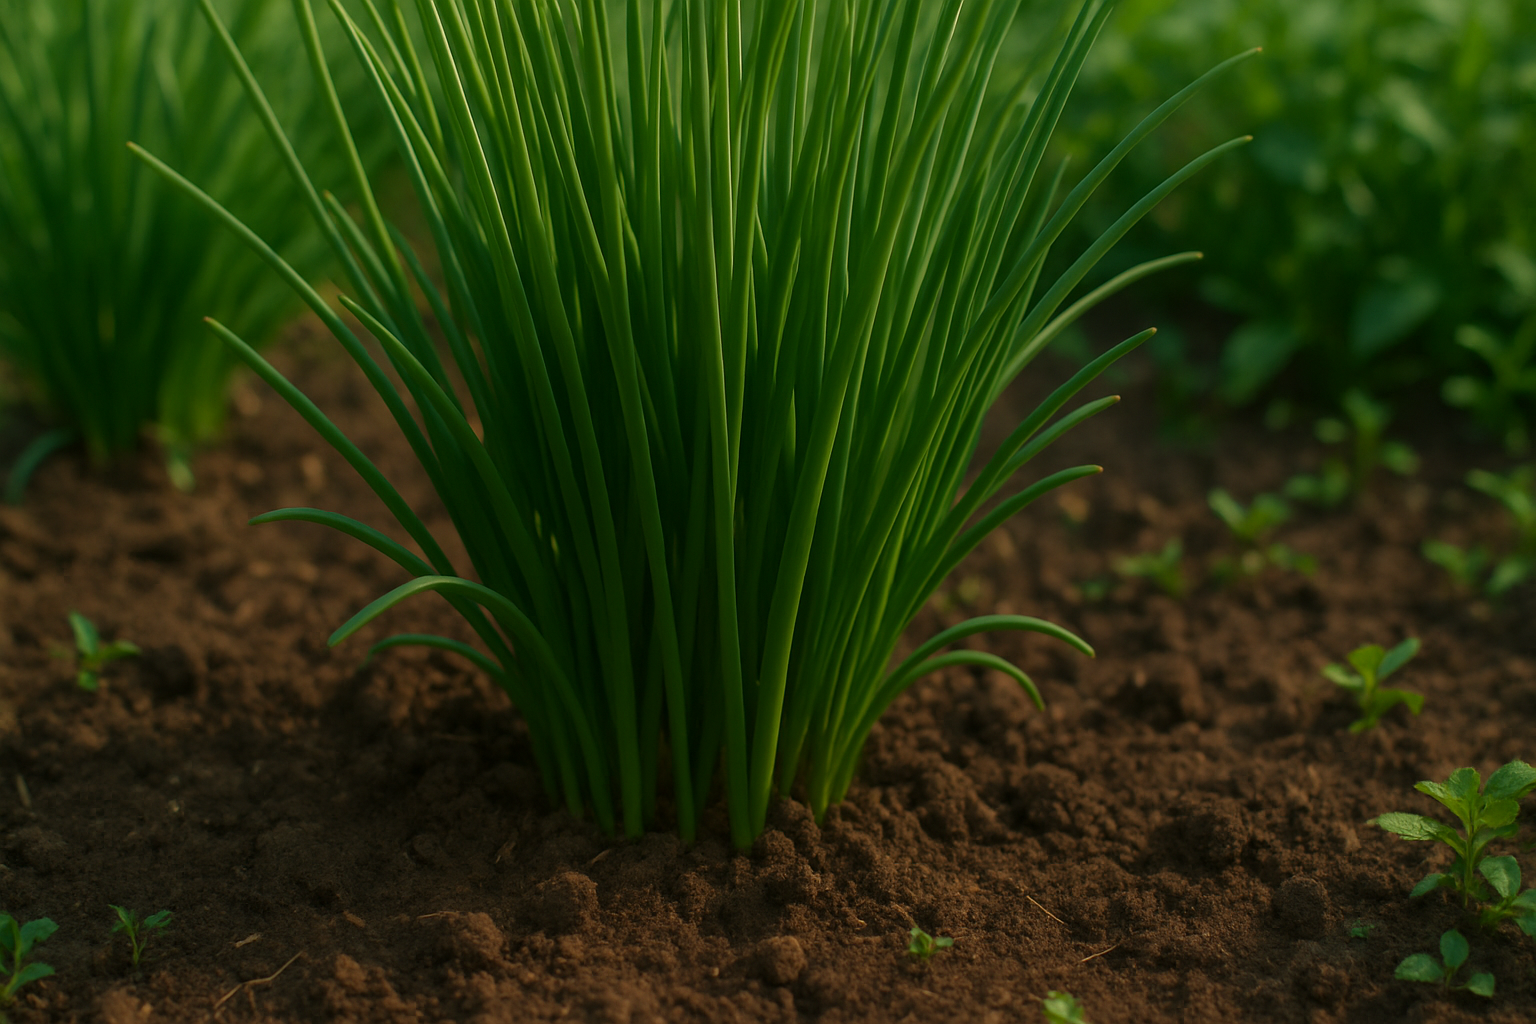
Chives are a favorite among both beginner and seasoned gardeners because they’re incredibly easy to grow and add a fresh, onion-like flavor to countless dishes. Even a tough, low-maintenance herb like chives thrives best in good-quality soil. The right soil isn’t just about helping chives sprout—it directly affects how robust, healthy, and flavorful your plants will be.
Soil that is rich in nutrients feeds the roots, resulting in greener leaves and more abundant harvests. Good soil structure is also crucial: chives do best in loose, crumbly soil that allows their shallow roots to spread easily. At the same time, moisture matters—a soil that retains water keeps chives hydrated, but excess water should drain away quickly to prevent root rot.
A practical tip is to work in some compost or well-rotted manure before planting, which boosts nutrients and improves both water retention and drainage. Raised beds or containers with drainage holes are also ideal for controlling soil quality and moisture levels.
By focusing on these key soil characteristics, you’ll set your chives up for sweeter, more vibrant harvests all season long.
Ideal Soil Characteristics for Chives
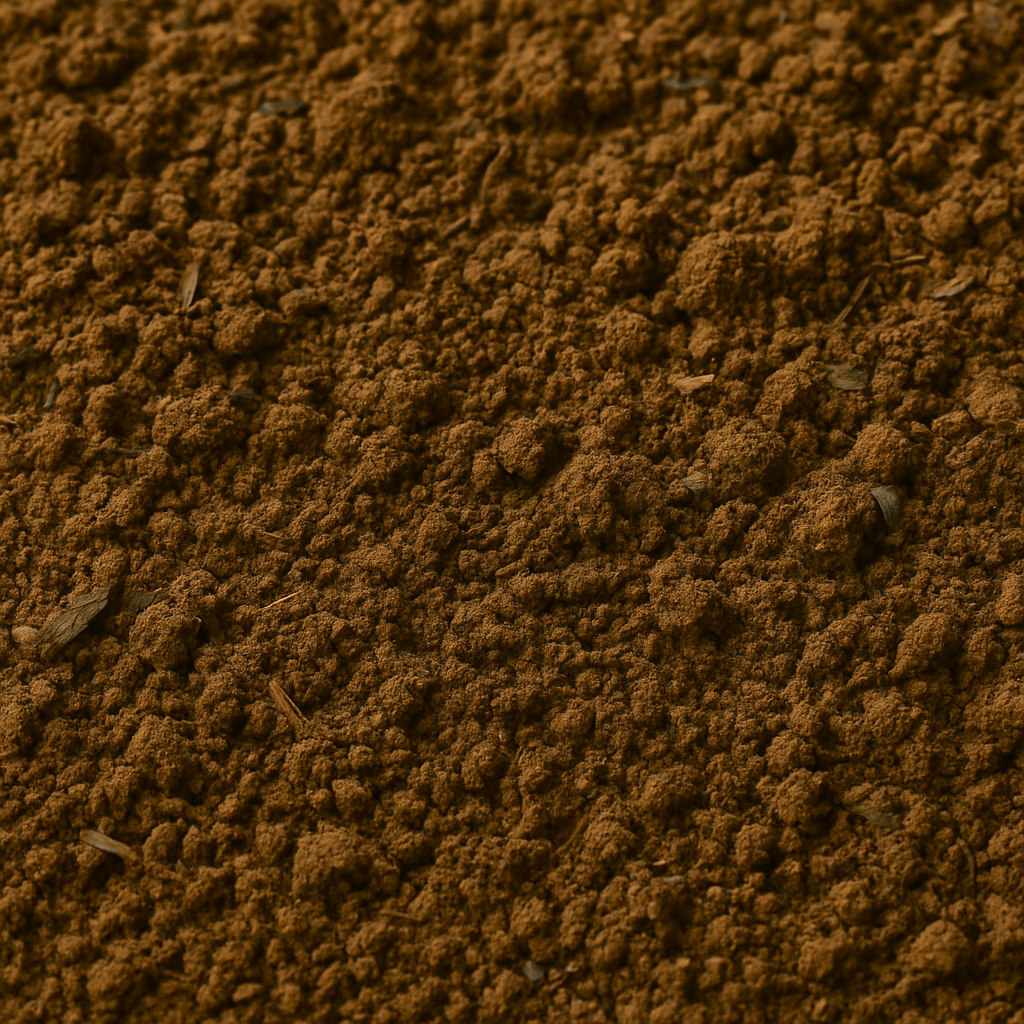
Chives thrive best in soil with a pH between 6.0 and 7.0, which is slightly acidic to neutral. This range allows chives to absorb nutrients efficiently, resulting in healthier, more flavorful leaves. Loamy soil, known for its perfect balance of sand, silt, and clay, is ideal because it drains well while retaining enough moisture for steady growth.
Heavy clay can suffocate chive roots, while sandy soil may dry out too quickly. Aim for a mix that feels soft and crumbly in your hands. Incorporating plenty of organic matter, such as well-rotted compost or aged manure, not only improves soil structure for better root development but also adds trace minerals that enhance chive flavor and vigor.
Before planting, use an inexpensive soil test kit—available at most garden centers—to check your pH and nutrient levels. If the soil is too acidic, add a little garden lime; if it’s too alkaline, mix in some elemental sulfur. To boost organic matter, spread a two-inch layer of compost over your garden bed and work it into the top few inches of soil.
By taking these simple steps, you’ll create a nurturing environment where chives can flourish, producing a lush harvest of tasty, aromatic greens all season long.
Preparing the Soil for Planting Chives
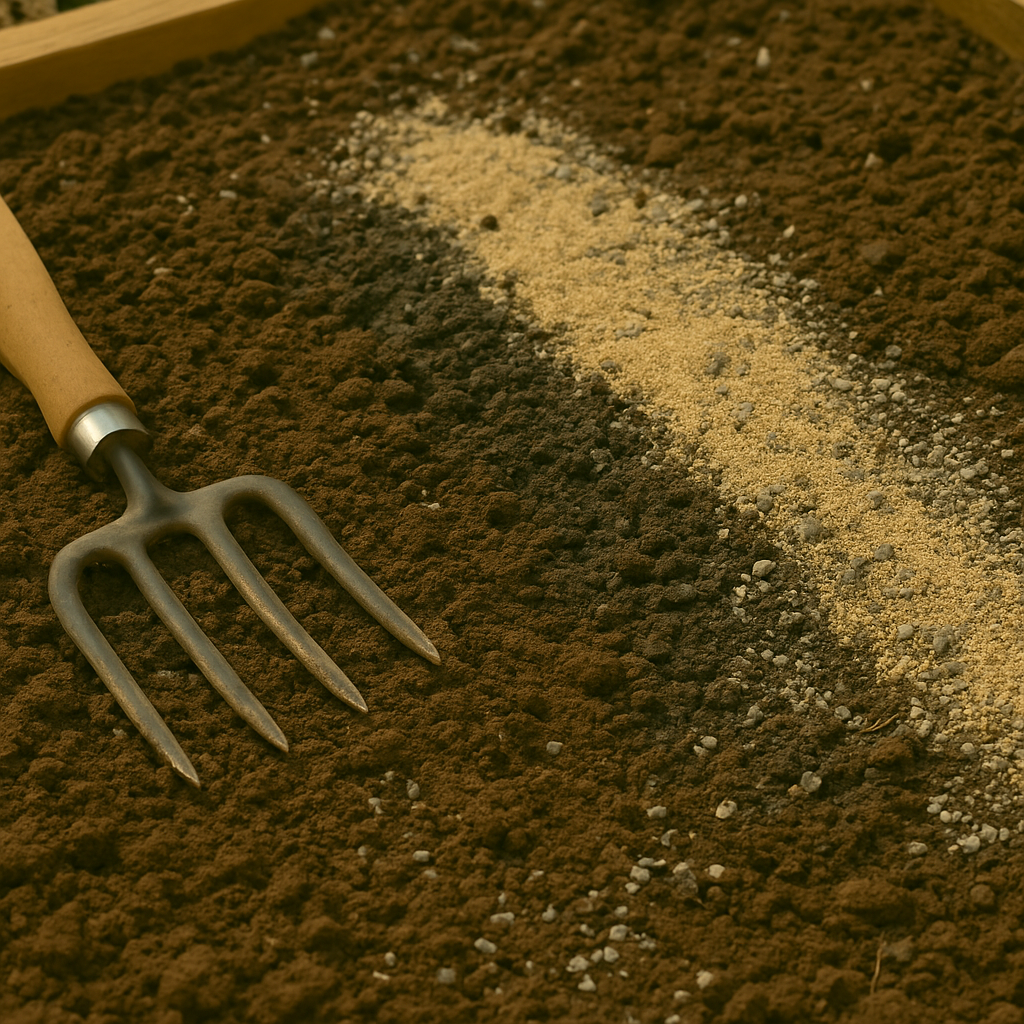
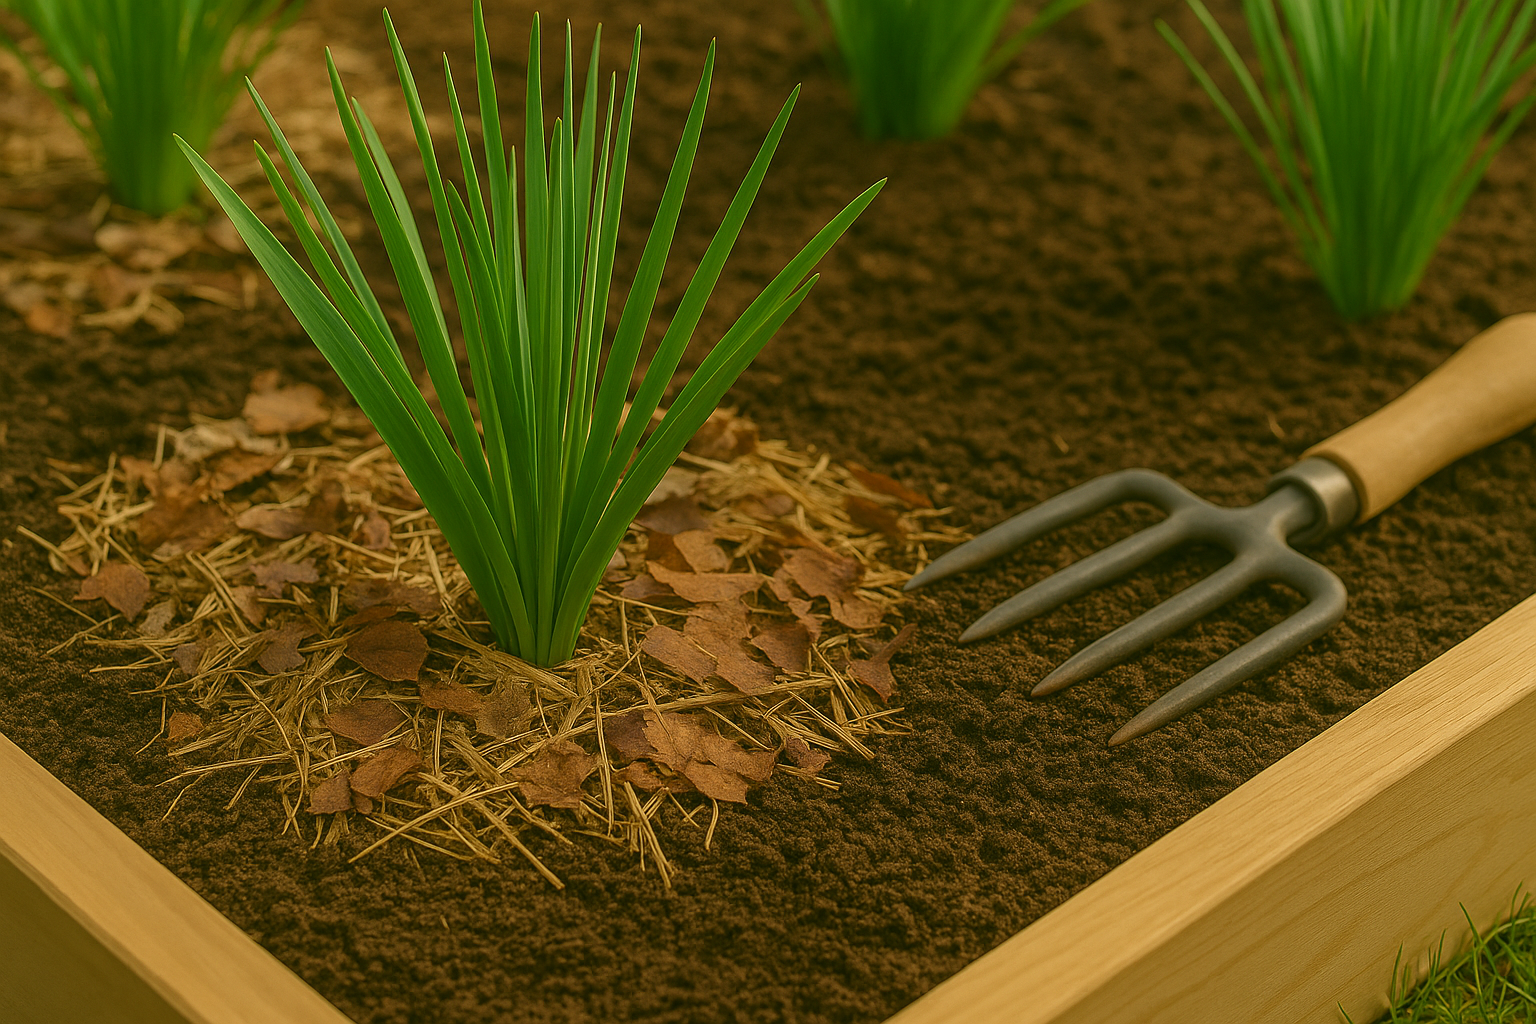
Preparing the soil for planting chives is a crucial step to ensure vigorous growth and flavorful harvests. Begin by loosening the garden bed soil to a depth of 6 to 8 inches using a garden fork or tiller—this allows chive roots to penetrate easily and access nutrients.
Mix in plenty of compost or well-rotted organic matter to boost fertility and promote healthy soil structure; a ratio of about one-third organic matter to two-thirds native soil works well. Good drainage is essential since chives dislike wet feet. If water tends to pool after rain, amend the soil with coarse sand or fine gravel.
For heavy clay soils, break up large clumps and add extra compost and sand to improve drainage and aeration. In sandy soils, mix in compost or coconut coir to help retain moisture and nutrients that would otherwise wash away.
Raised beds and containers offer excellent control over soil composition and drainage, making them a smart option for gardeners struggling with poor native soil. In containers, choose a well-draining potting mix and make sure the pot has a drainage hole to prevent soggy roots.
Careful soil preparation gives your chives the best possible start and can make the difference between spindly plants and lush, productive clumps.
Indoor vs Outdoor Soil Needs
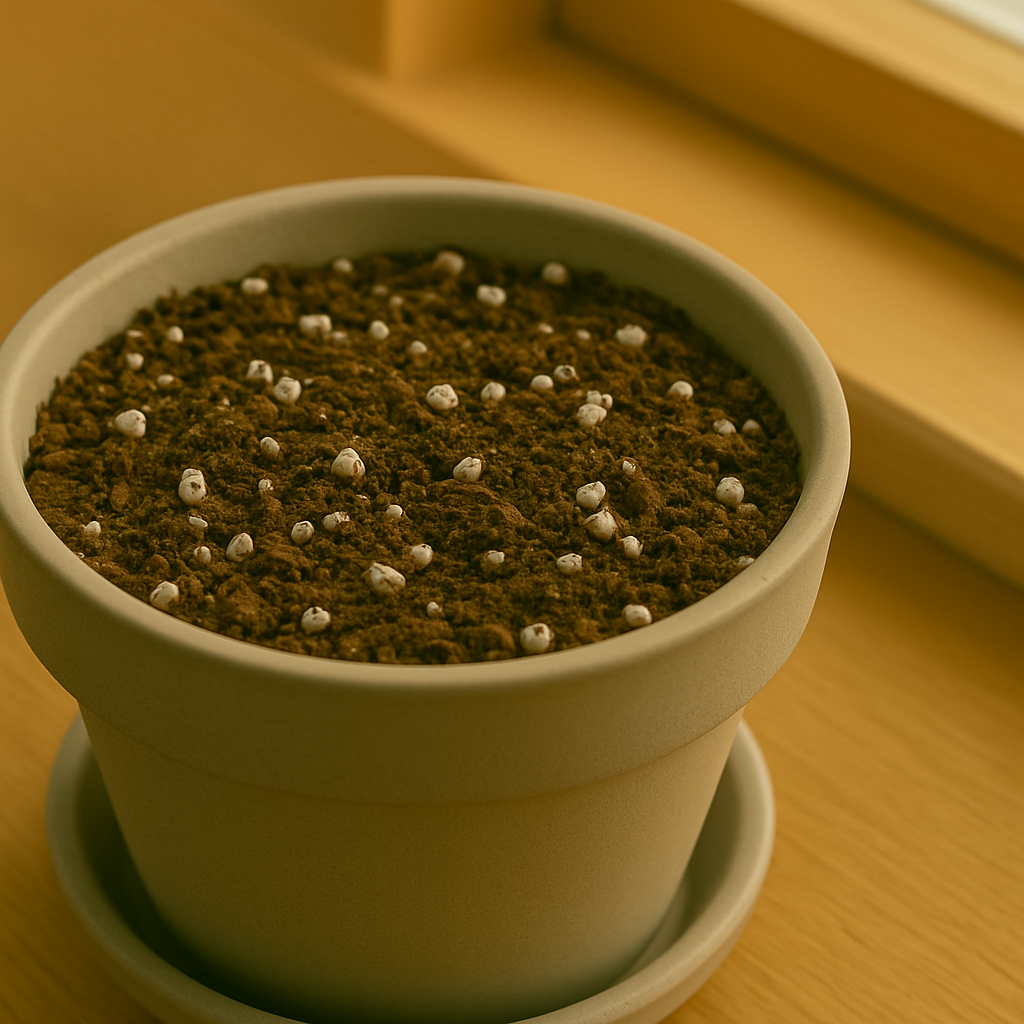
When it comes to growing chives, indoor pots and outdoor gardens have very different soil requirements. For container chives indoors, sterility is key—store-bought potting mixes labeled “for herbs” are perfect because they’re free from pests and diseases, have a light, fluffy texture that promotes root health, and offer balanced drainage and nutrients.
A good DIY blend consists of one part peat moss or coco coir, one part perlite or coarse sand, and one part compost. This mix holds moisture without becoming soggy—a must, since potted chives are more prone to root rot if the soil stays wet.
Outdoors, garden soil doesn’t need to be sterile, but texture and drainage matter even more. Chives thrive in loose, well-draining soil rich in organic matter, so amend clay-heavy areas with compost or leaf mold.
Container size is vital indoors; an 8-inch pot or window box provides enough room for root growth while keeping soil fresh. Refreshing soil each season keeps your chives healthy—dump and replace indoor soil annually, or mix in fresh compost and remove the top few inches of soil between new plantings outdoors. This reduces disease risk and replenishes nutrients, encouraging vibrant, flavorful growth year after year.
Common Soil Problems and Fixes
Many gardeners encounter common soil issues like poor drainage, compaction, low nutrients, or incorrect pH, all of which can hinder healthy plant growth. If you notice signs such as yellowing leaves, stunted growth, or standing water after rain, your soil might need some attention.
Improving Poor Drainage
Try mixing in organic matter like compost or coarse sand to help water move through the soil more effectively.
Loosening Compacted Soil
Loosen compacted soil by gently aerating with a garden fork or plugging tool, allowing roots to breathe and absorb nutrients better.
Boosting Low Nutrients
Low soil nutrients often cause weak or pale plants. Regularly adding compost or well-balanced fertilizers can give your plants the boost they need.
Adjusting Soil pH
If you suspect your soil’s pH is off—either too acidic or too alkaline—a simple soil test kit is worth the investment. Once you know your soil’s pH, you can add garden lime to raise it or elemental sulfur to lower it, depending on what your plants prefer.
The Benefits of Mulching
Mulching around your plants not only retains moisture but also improves soil structure over time as it breaks down.
With a few basic fixes, you can spot problems early and keep your garden thriving.
Ongoing Soil Care for Thriving Chive Plants
Ongoing soil care is key to growing chive plants that truly thrive. After planting, apply a layer of organic mulch—like shredded leaves or straw—around your chives to help retain moisture, suppress weeds, and gradually enrich the soil as it breaks down.
Every few weeks during the growing season, lightly fertilize with a balanced, gentle fertilizer or opt for an organic solution like diluted fish emulsion. This provides an easy boost without overwhelming these delicate herbs.
Keep an eye out for soil compaction; gently loosen the top inch or two near the plants with a hand fork to keep roots breathing freely. If you grow chives in the same spot year after year, consider rotating them every couple of seasons. This not only prevents nutrient depletion but also wards off soil-borne diseases that can accumulate.
Annual soil enrichment is simple: work in a couple of handfuls of well-rotted compost or aged manure at the start of each season to naturally replenish nutrients. Healthy, nutrient-rich soil is the foundation for disease resistance in chives and encourages robust regrowth, so your clumps stay lush and productive year after year.
This hands-on approach means fewer pest problems and more delicious, fragrant chive leaves for your kitchen.
Quick FAQ
Chives are surprisingly tough, but they thrive best in well-prepared soil that’s rich, loose, and drains easily. If you’re dealing with poor or rocky soil, mix in compost or well-rotted manure to boost nutrients and improve texture—chives will reward your effort with fuller growth and better flavor.
For containers, always choose potting mix over garden soil; potting mix drains better, helps roots breathe, and prevents soil-borne diseases that can build up in garden soil. Refresh your potting mix every year or blend in fresh compost in the garden each spring to keep soil fertile and chives thriving.
While chives can survive in less-than-ideal conditions, taking the time to support their soil pays off with lush, robust yields and the best-tasting leaves for your kitchen. Healthy soil really does make the biggest difference in both growth and flavor!