Introduction to Garlic Chives
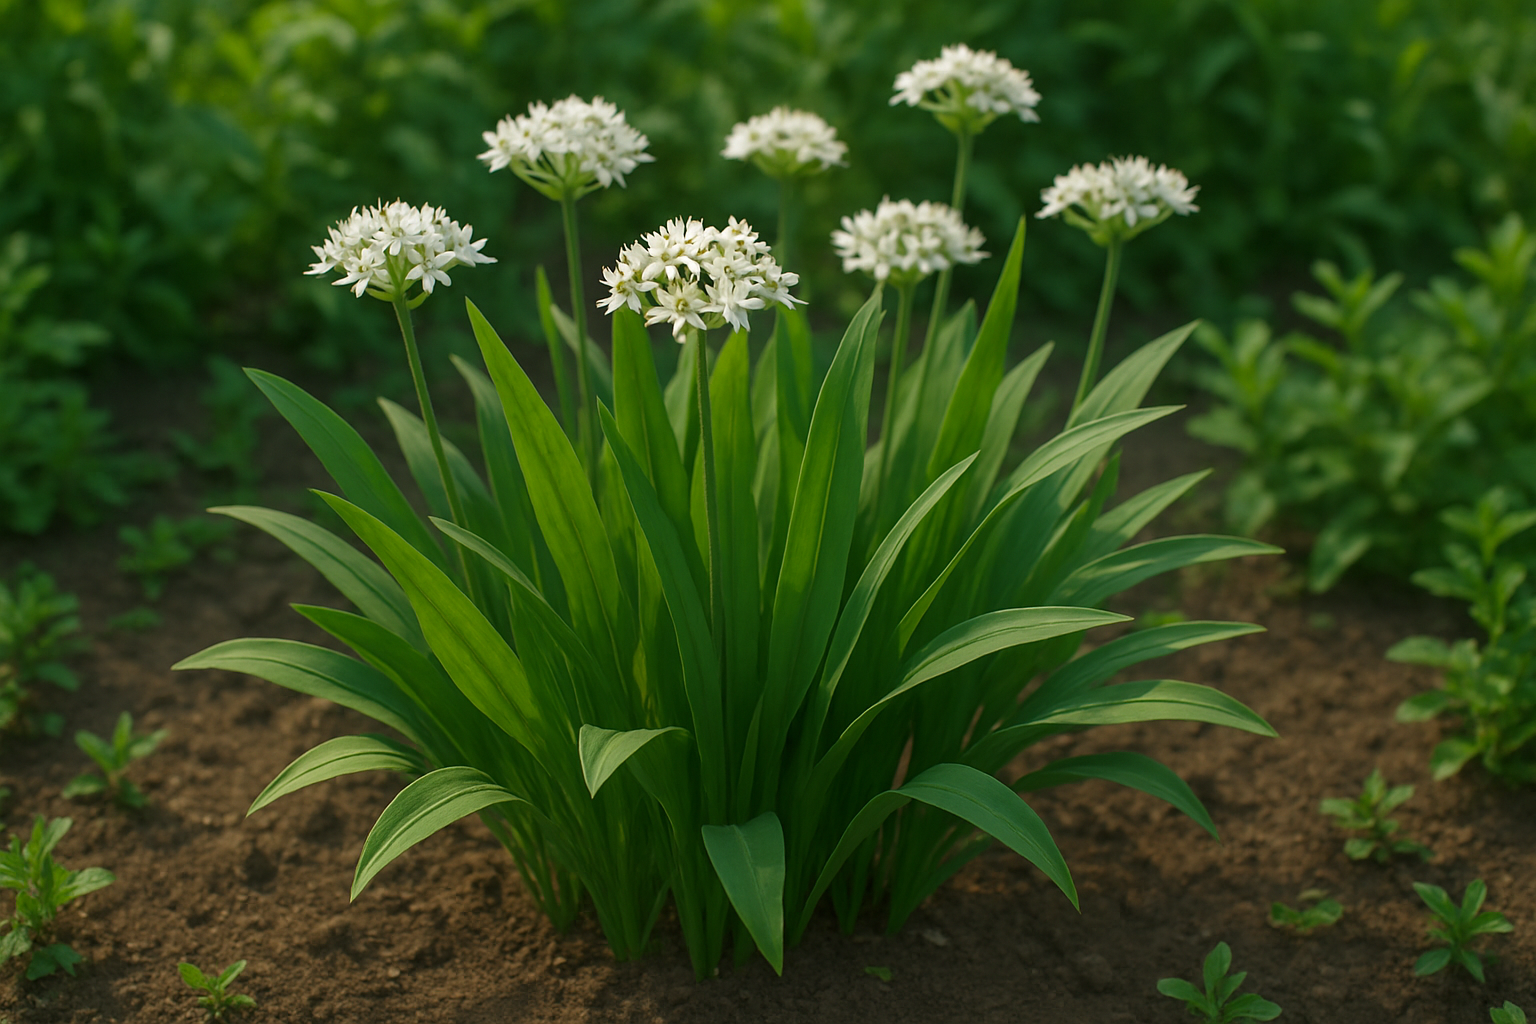
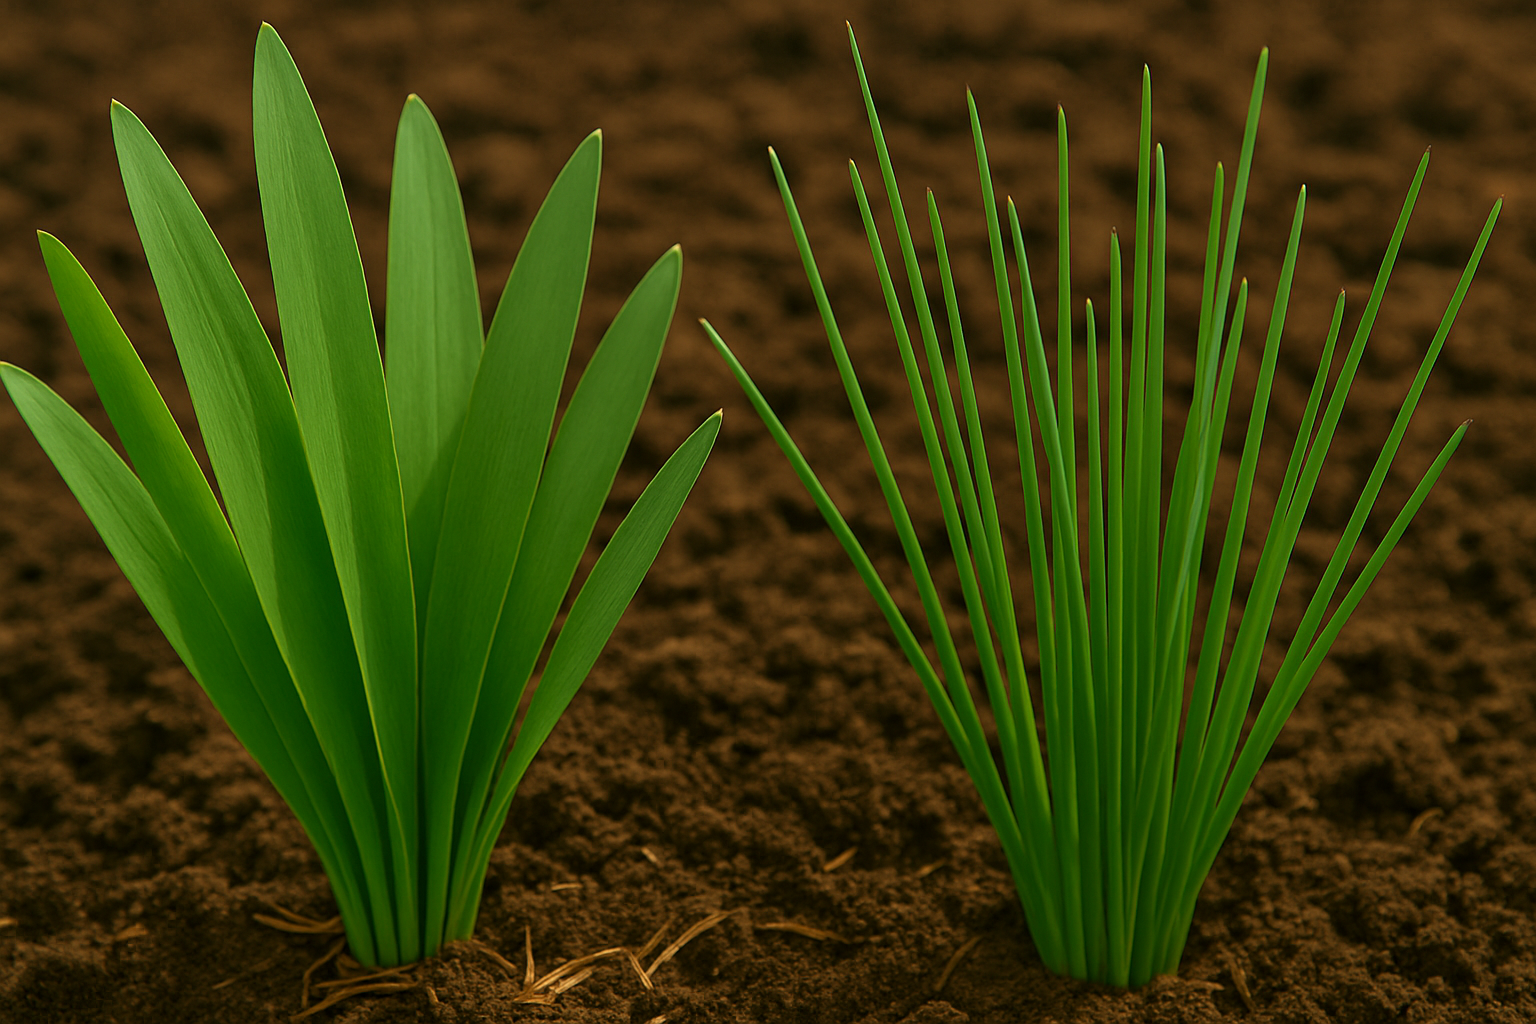
If you’ve ever wondered how to grow garlic chives, you’re in for a real treat. Garlic chives, often called Chinese chives, are an herbal gem that stands out from traditional chives in several ways. Unlike regular chives, which have slender, hollow stems and a mild onion flavor, garlic chives feature flat, broad leaves with a pleasant, subtle garlic taste. Their white, star-shaped flowers not only look lovely in the garden but are completely edible, adding a mild garlicky note to salads or garnishes. These differences make them a must-have for any aspiring home gardener.
Garlic chives are incredibly rewarding for both novice and seasoned gardeners. They’re well-suited to home gardens because they thrive in pots or in-ground beds, require little fuss, and are naturally resistant to many common pests. From a culinary perspective, their leaves, stalks, and flowers are all delicious—use them in stir-fries, soups, or as a zesty topping for eggs and noodles. Plus, they’ll come back year after year, providing fresh herbs season after season with minimal effort. Whether your goal is to reduce grocery bills or simply enjoy the satisfaction of home-grown produce, learning how to grow garlic chives is a simple, practical way to get started.
Choosing The Right Garlic Chive Variety
When selecting garlic chives for your garden, start by understanding the key varieties: Asian and European types, as well as broad-leaved versus narrow-leaved cultivars.
Asian garlic chives, also called Chinese chives (Allium tuberosum), are the most common and feature flat, wide leaves with a mild, garlicky flavor perfect for stir-fries and dumplings. European garlic chives often have thinner, grass-like leaves and a subtler taste, making them better suited for fresh salads or garnishes.
For most home gardeners, broad-leaved Asian types are favored since they’re hardy, productive, and useful in a wide variety of dishes. If you’re a beginner, opt for disease-resistant or organically certified seeds. Look for reputable brands with good germination rates, and match your choice to your local climate—most garlic chives prefer full sun and can tolerate both cool and warm conditions. Check the seed packet for information about cold hardiness or adaptability to help ensure success.
When sourcing seeds or seedlings, reliable options include:
- Local garden centers, where staff can offer region-specific advice
- Trusted online seed vendors like Johnny’s Selected Seeds, Baker Creek Heirloom Seeds, or Seed Savers Exchange
- Neighborhood nurseries, which often stock varieties proven to thrive in your area
If you’re unsure, ask other local gardeners or look for community gardening groups online to find recommendations tailored to your climate. Starting with healthy plants or high-quality seeds from a trusted source gives you the best chance at a lush, flavorful chive harvest.
How to Start Growing Garlic Chives (Seeds & Division)
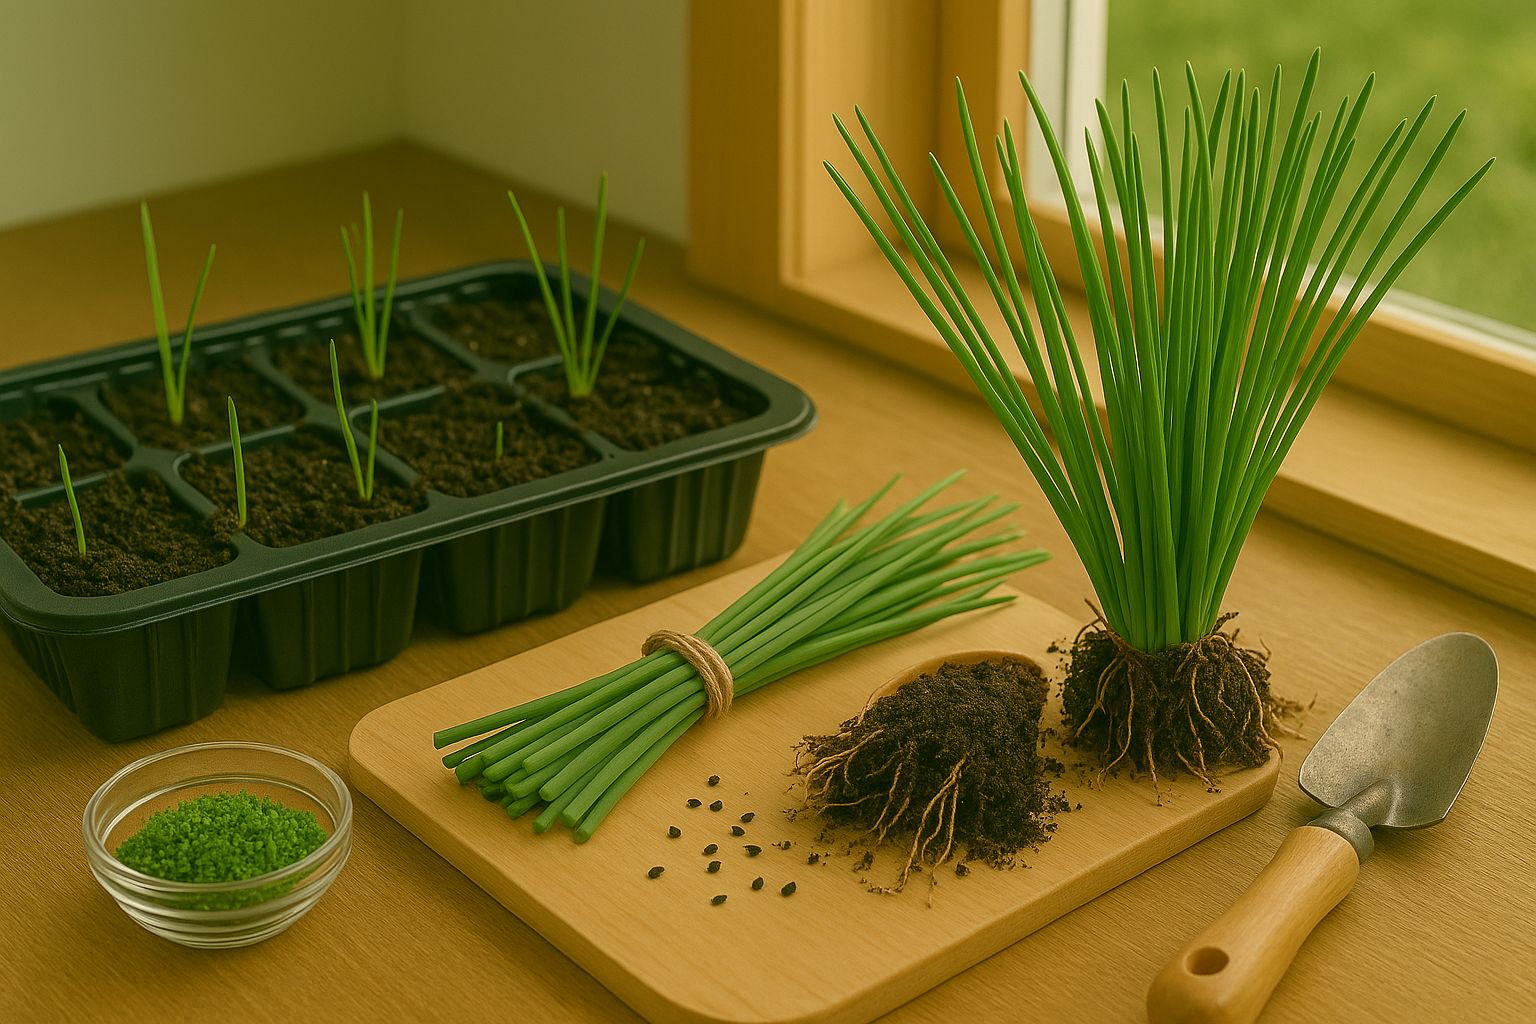
Starting garlic chives from seed is easy, but patience is key because germination takes a few weeks. For the best results, start seeds indoors about 6–8 weeks before your last expected frost, sowing them in seed trays or small pots with a light layer of soil. Keep the soil moist and warm (around 68–70°F), and you’ll see sprouts in 14–21 days.
Once seedlings are a couple of inches tall, harden them off for a week before transplanting outside. Alternatively, you can direct sow seeds in the garden after all danger of frost has passed—just scatter them on well-prepared soil and barely cover, then keep the area consistently damp until they emerge.
If you already have an established clump of garlic chives, dividing them is a faster method. The ideal time for division is early spring or early fall when the weather is cool. Simply dig up the clump, gently separate it into sections making sure each has roots attached, then replant at the same depth with a little space between divisions.
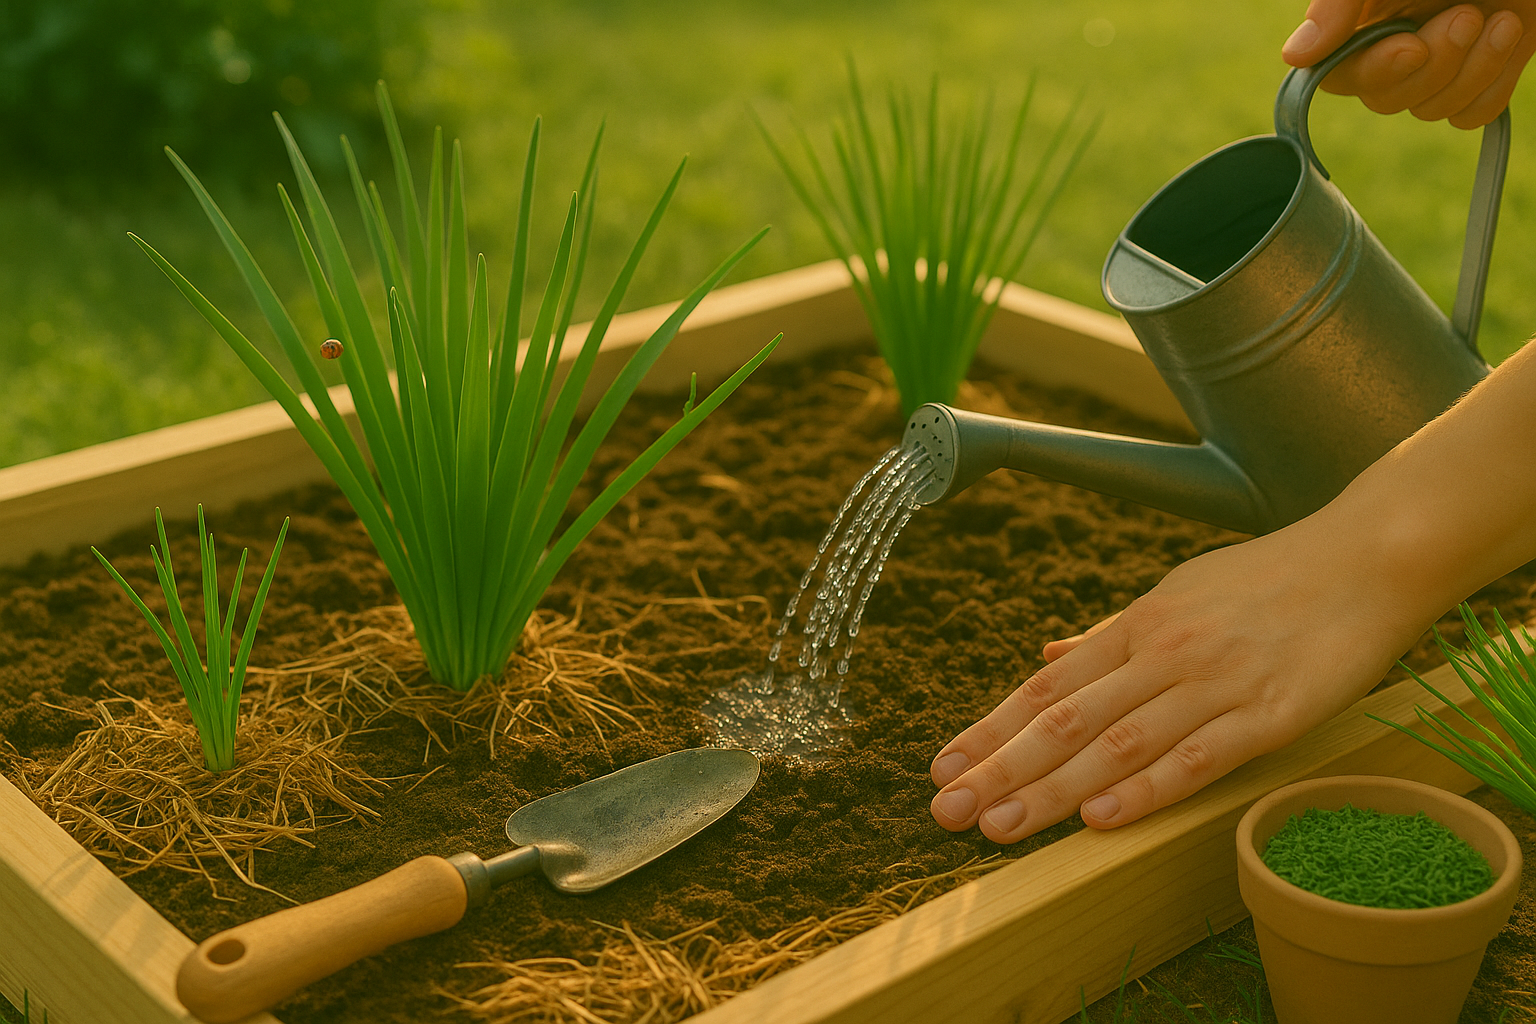
Garlic chives love full sun but tolerate partial shade. Prepare your bed by loosening the soil and mixing in compost or well-rotted manure to improve fertility and drainage; avoid heavy, waterlogged soils for the healthiest growth.
For containers, choose a pot at least 8–10 inches deep with drainage holes, fill it with high-quality potting mix, and place it in a sunny spot—balconies and patios work great. Water regularly, especially during dry spells, but avoid soggy conditions to prevent root rot.
With these straightforward steps, you’ll have a steady supply of mild, garlicky greens for your kitchen, right from your own garden or windowsill.
Ideal Growing Conditions and Ongoing Care
Garlic chives thrive best in a spot that receives full sun for at least six hours a day but can tolerate some light afternoon shade, especially in hotter regions where intense heat can stress the plants. The ideal temperature range for growing garlic chives is between 60–75°F (16–24°C); they are hardy perennials that can handle light frosts once established.
When it comes to watering, garlic chives prefer evenly moist but not soggy soil. Water deeply once or twice a week, allowing the top inch of soil to dry out between sessions. Overwatering can lead to root rot, while drought will cause leaf tips to yellow.
For feeding, incorporate plenty of compost or well-rotted manure into the soil before planting. Then side-dress with additional compost or a balanced organic fertilizer, like fish emulsion or seaweed extract, once in early spring and again midseason to encourage lush, flavorful leaves.
Mulching around the base with straw, leaf mold, or shredded bark helps conserve moisture and suppress weeds—just keep the mulch an inch or so away from the stems to prevent rot. To keep weeds down without chemicals, hand-pull when they’re small or carefully use a hoe to avoid disturbing the shallow roots.
Watch for problems like yellowing, mushy leaves (a sign of overwatering), sluggish growth (which could mean underfeeding or root crowding), or brown tips from sun scorch or inconsistent watering. If aphids or leaf miners appear, rinse them off with water or introduce beneficial insects like ladybugs.
Regularly trim and harvest to encourage healthy growth and prevent overcrowding, and remove any diseased or damaged leaves promptly to maintain vigorous plants. With a little attention to these details, garlic chives will reward you with bountiful, aromatic harvests all season long.
Garlic Chive Pests, Diseases, and Problem Solving
Garlic chives are generally hardy, but they can still struggle with a few persistent pests and diseases. Common insect pests include aphids, onion maggots, and slugs.
Aphids gather on stems and leaves, sucking plant sap and weakening the chives. You can knock them off with a strong water spray or introduce ladybugs, which love to snack on them.
Onion maggots, which tunnel into roots, are trickier. Protect your garlic chives with floating row covers and always rotate crops yearly to prevent buildup in the soil.
If slugs are munching holes through tender leaves, try laying down crushed eggshells or placing a shallow dish of beer nearby, which attracts and traps them.
Fungal diseases like powdery mildew and downy mildew can also be problematic, especially in humid weather. Prevent these by spacing your chive plants for good airflow, watering at the base rather than overhead, and removing any yellowed or spotted leaves promptly.
If mildew does appear, a mild solution of baking soda and water can help control its spread.
Practicing organic gardening—such as companion planting with carrots or lettuce to repel pests, rotating your garlic chive patch, and keeping beds free of fallen debris—will keep your garden healthier overall.
Remember, minor yellowing or occasional holes are mostly cosmetic and rarely affect the harvest. Only spring into action if plant growth lags or infestations soar.
Regular monitoring and proactive care go a long way in keeping your garlic chives thriving and delicious.
Harvesting and Storing Garlic Chives
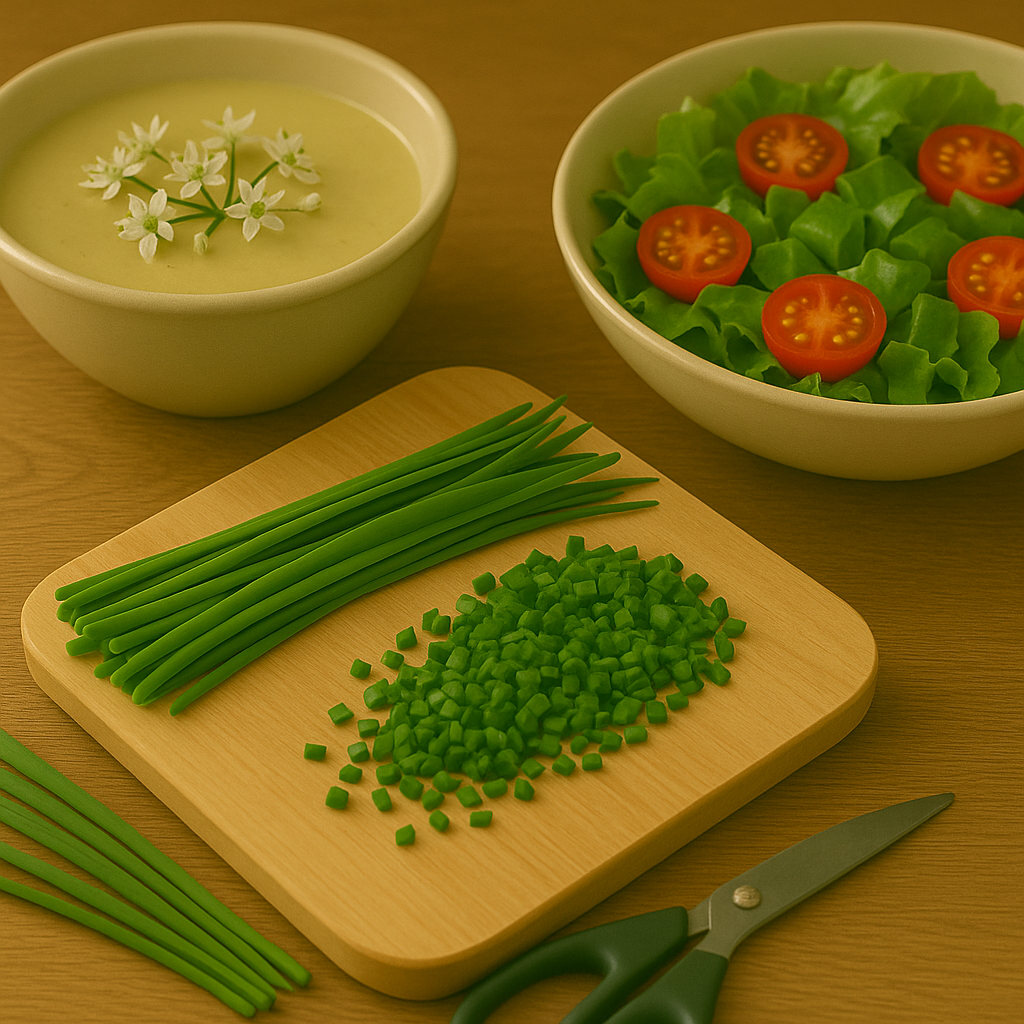
For the best flavor, harvest garlic chives when their leaves are about 6 to 10 inches long, ideally in the morning after the dew dries but before the sun gets too hot. Use sharp scissors or garden shears to cut the leaves about 1 to 2 inches above the base, always leaving some growth behind. This stimulates the plant to regrow quickly and lets you harvest every few weeks throughout the growing season.
Avoid pulling or overharvesting (taking more than half the plant at once), as this can weaken the roots and reduce regrowth. For longer-term use, you can freeze chopped garlic chives by spreading them on a tray, then storing them in airtight bags. They also dry well: simply bundle and hang them upside down in a warm, dry area until completely dry, then crumble and keep in glass jars.
If you want to keep them fresh, wrap unwashed chives in a damp paper towel, place them in a perforated plastic bag, and store them in the vegetable drawer—this will help them last up to a week. To maintain a steady supply, harvest only portions of the plant at a time and lightly fertilize after harvesting to encourage strong regrowth.
Regular trimming not only prevents the plant from flowering (which can lessen leaf quality) but also ensures tender, usable leaves throughout the season. This way, you can enjoy the subtle garlicky flavor in your dishes anytime.
Using Garlic Chives in the Kitchen
Garlic chives are a wonderful, versatile herb that can add a mild garlicky punch to a range of dishes, making them a must-have for home cooks. Their slender, flat green stalks are great finely chopped and tossed raw into salads for a bright bite or sprinkled over omelets and scrambled eggs for an easy flavor boost.
The edible white blossoms are not just pretty—they make striking garnishes for soups, noodles, or even sushi, adding both charm and a subtle garlic note.
Garlic chives are widely used in Asian-style stir-fries and dumpling fillings. Try adding a handful to pork, shrimp, or tofu dumpling mixtures for extra depth, or stir them into fried rice at the end so they stay vibrant.
If you run out of regular chives, garlic chives can be a clever substitute, though expect a stronger, spicier hint—think of them as a halfway point between classic chives and mild garlic.
For beginners, start simple:
- Scatter chopped chives over roasted veggies
- Mix into softened butter for instant herb butter
- Infuse them with olive oil for drizzling over grilled meats and bread
Should you find yourself with an abundance, freeze them in ice cube trays with oil for quick stir-fry starters, or blend into creamy dips, dressings, and savory muffins.
Garlic chives truly shine as a fresh topping—use them generously as a final flourish to enliven almost any meal.
Summary & Next Steps for Beginner Gardeners
Growing garlic chives is a simple and rewarding way to enjoy fresh herbs at home—even if you’re just starting out. These hardy plants require little more than sunlight, occasional watering, and well-drained soil, making them an easy win for busy beginners.
Try planting a small patch in your backyard or use a container on your windowsill for instant flavor at your fingertips.
Ready to dig deeper? Consider these resources to keep your garlic chives healthy and productive:
- Check out the Old Farmer’s Almanac’s garlic chive guide
- Browse gardening forums like GardenWeb for troubleshooting tips
- Explore advanced pruning advice from the Royal Horticultural Society