Introduction & Benefits of Growing Parsley Indoors
Starting parsley indoors is one of the smartest ways to ensure a steady supply of this versatile herb for your kitchen. Parsley isn’t just a garnish—it’s a nutritional powerhouse, rich in vitamins A, C, and K. Its fresh, grassy flavor brightens everything from soups and salads to smoothies.
So, why start parsley seeds indoors? For one, indoor growing gives you a jump start on the gardening season, allowing your plants to establish before outdoor conditions are ideal. You also gain better control over temperature and moisture, protecting delicate seedlings from unpredictable spring frosts or harsh summer sun. Even in winter, a sunny windowsill or a simple grow light can help parsley thrive, offering you a year-round harvest of crisp, fragrant leaves.
If you’re new to indoor gardening, don’t worry—parsley is a great plant for beginners. It takes a little patience to sprout, but it’s low-maintenance and surprisingly forgiving once established. Whether you’re looking to save money, enjoy fresher flavors, or boost the health factor of your home cooking, growing your own parsley indoors is rewarding and easier than you think.
In this post, you’ll find a straightforward, step-by-step guide to starting parsley seeds indoors—so you’ll always have this kitchen staple at your fingertips.
Choosing the Right Parsley Seeds and Supplies
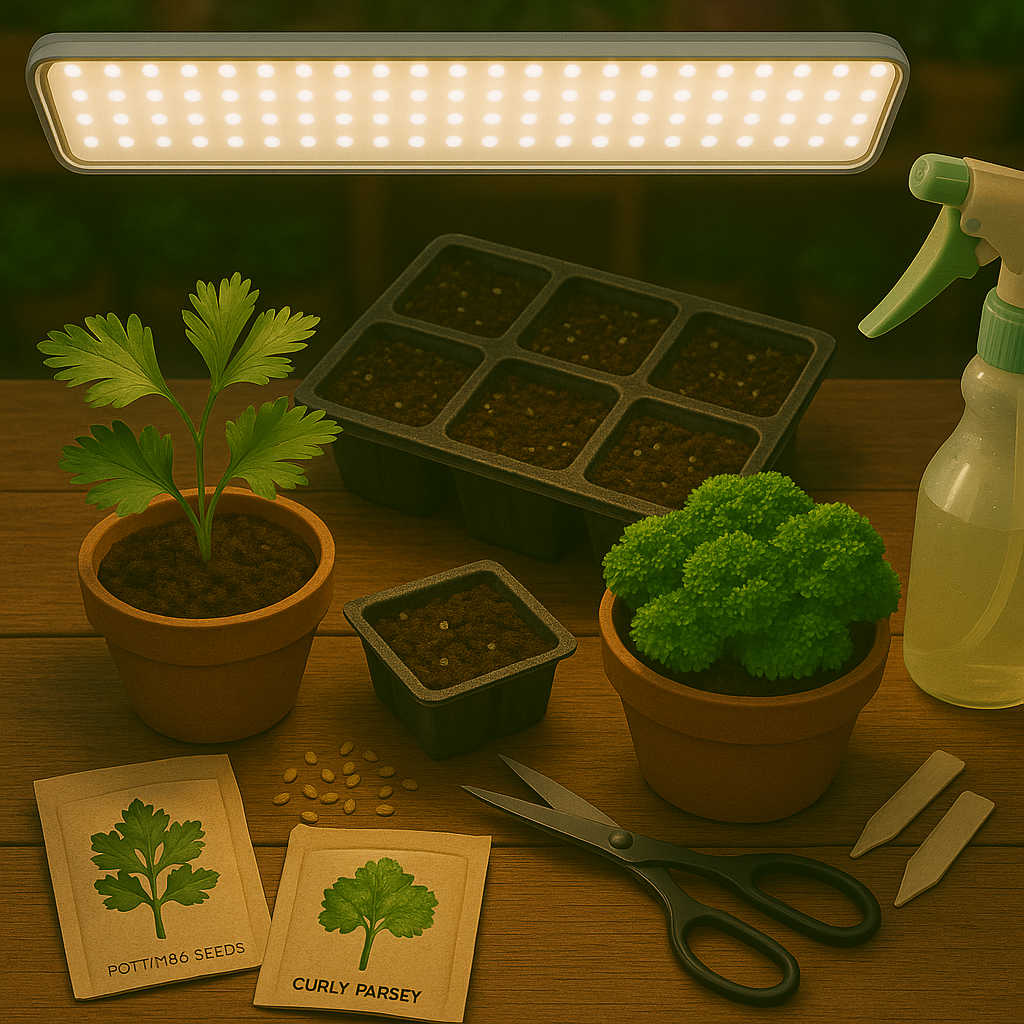
When starting a parsley garden, it’s important to understand the difference between curly and flat-leaf varieties so you can pick seeds and supplies that match your needs. Curly parsley has frilly leaves and is often used as a garnish; its milder flavor suits decorative or mild culinary uses. Flat-leaf parsley, also called Italian parsley, is favored by chefs for its bold, clean taste and tender texture, making it great for cooking and salads.
To decide, consider whether you want mostly flavor (go for flat-leaf) or a pretty garnish (curly), or simply try both to see what you like. Whichever you choose, start with high-quality seeds—look for fresh stock from reputable sources like Johnny’s Selected Seeds, Burpee, or your local garden center.
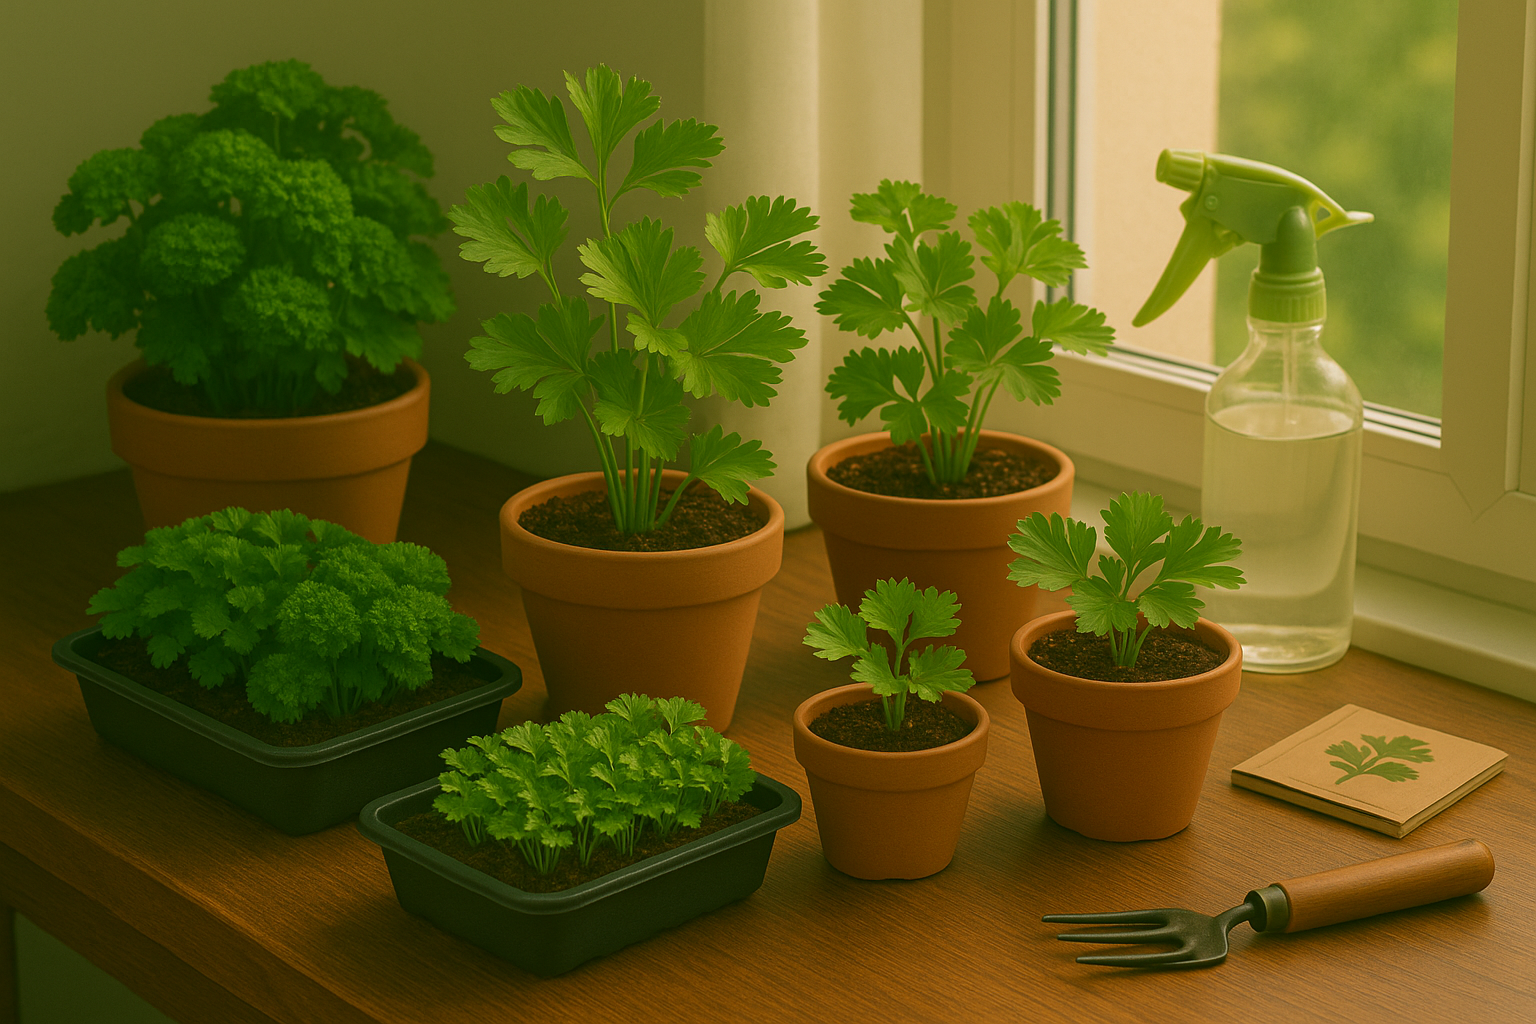
For indoor growing, varieties such as ‘Gigante d’Italia’ (flat-leaf) or ‘Moss Curled 2’ (curly) are reliable performers in containers. You’ll also need seed-starting trays or shallow pots, a well-draining potting mix (look for one labeled for herbs or vegetable starts), and a consistent light source like a sunny windowsill or LED grow light. Keep a spray bottle handy for gentle watering and use plant labels to track your planting dates or varieties.
Choose containers with drainage holes and consider bottom trays to catch extra water—parsley likes moist but not soggy soil. Picking up supplies at a garden center lets you see options in person, but reliable online seed retailers offer a wide variety and fast shipping if convenience is your priority.
Sowing Parsley Seeds Indoors
Starting parsley seeds indoors takes a little extra patience, but the payoff is lush, flavorful herbs ready before outdoor beds thaw. Begin sowing parsley seeds 8 to 10 weeks before your last expected spring frost. Unlike faster-germinating herbs, parsley can take up to three weeks (sometimes longer) just to sprout.
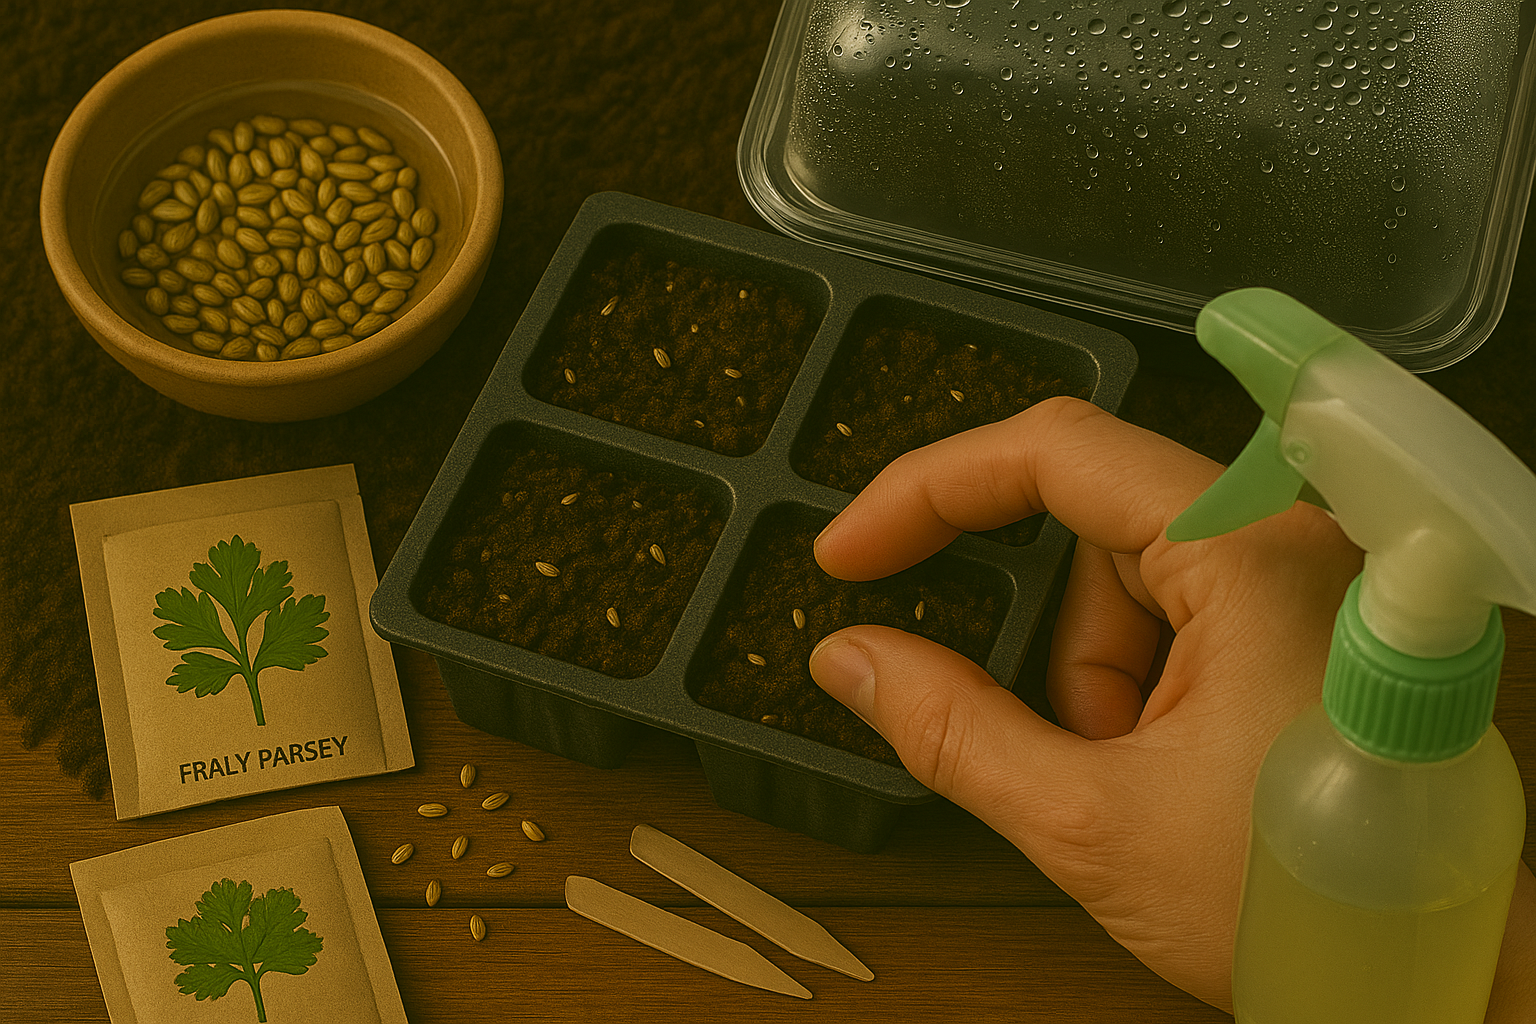
The seed coat is stiff, so speed things up by soaking the seeds overnight in warm water. This softens them and encourages more even germination. When ready to plant, fill clean seed trays or small pots with a quality, pre-moistened seed starting mix.
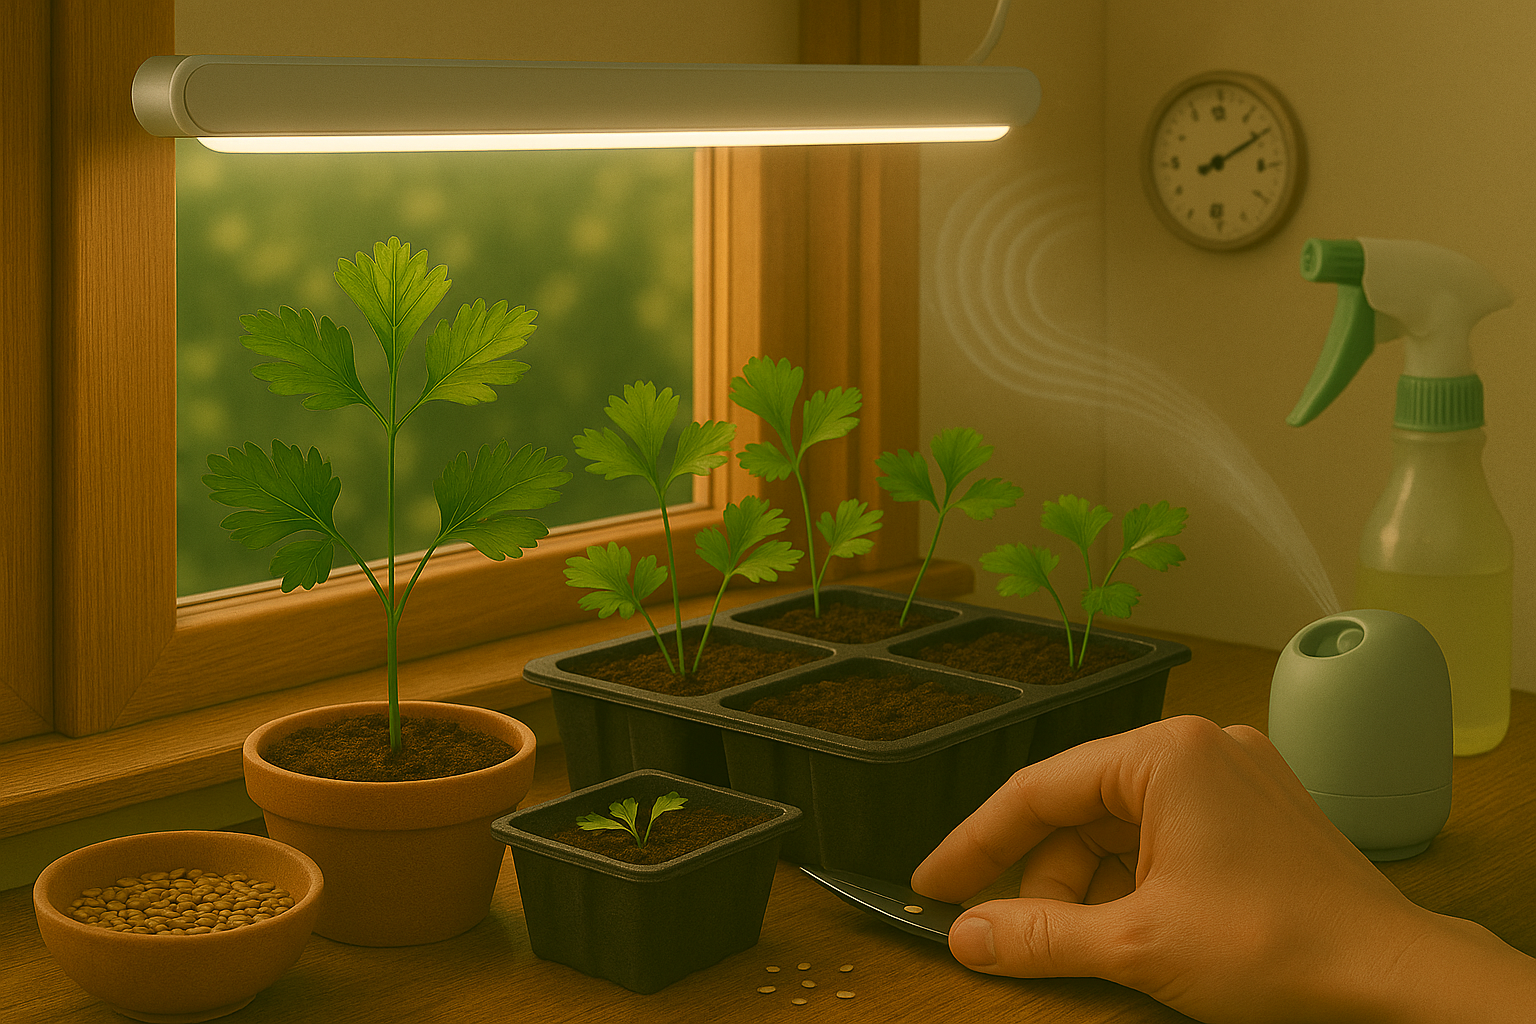
Gently press seeds about ¼ inch deep, placing one or two seeds per cell or about 1 inch apart. Parsley doesn’t like to be overcrowded, so avoid scattering too many seeds in one spot to prevent spindly growth later on.
After planting, mist the surface thoroughly with a spray bottle—watering from above helps settle seeds without disturbing their placement. To maintain the steady warmth and moisture parsley craves, cover trays with a clear plastic humidity dome or loosely drape plastic wrap over them.
Place trays in a spot that stays consistently between 65-75°F. An inexpensive heat mat works wonders if your home runs cool. Light isn’t crucial until after the seedlings emerge, but steady humidity is vital. Check daily and mist as needed to keep the soil from drying out.
Once your parsley seedlings are up and growing, remove the dome to reduce the risk of mold and gradually introduce gentle light. This careful start ensures robust seedlings ready to thrive once it’s time to move them outdoors.
Caring for Parsley Seedlings Indoors
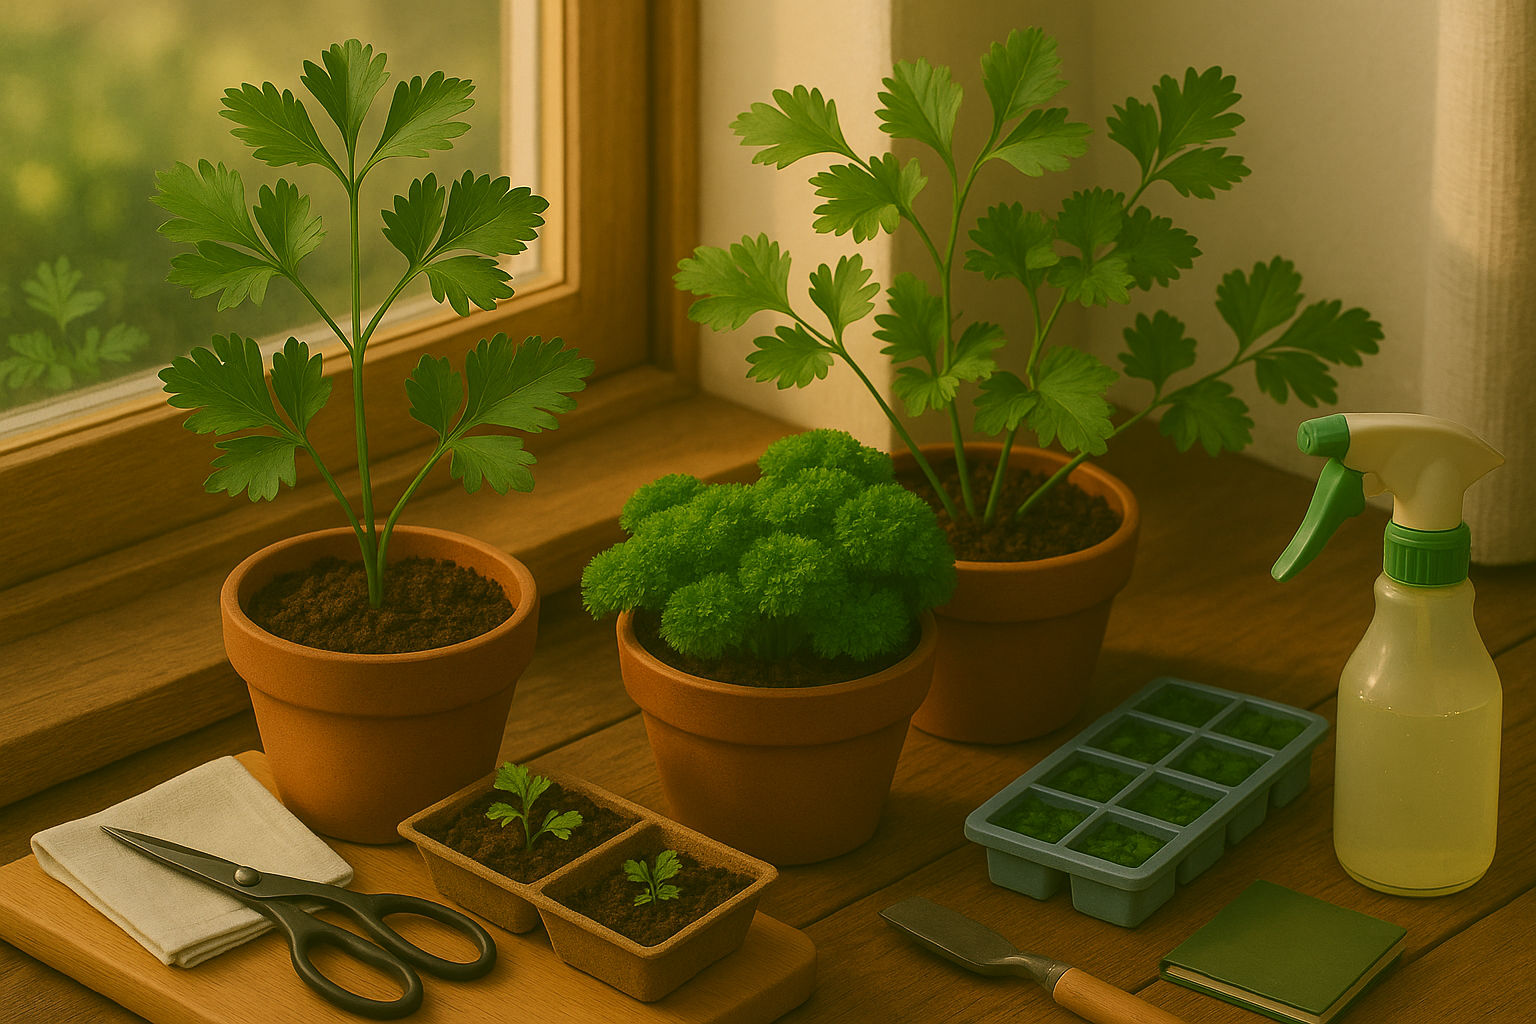
Getting your parsley seedlings off to a strong start indoors hinges on creating the right environment, especially when it comes to light. Place seedling trays on a sunny windowsill where they’ll receive at least 6 hours of bright, indirect sunlight each day. South-facing windows often work best, but if natural light is lacking—common in winter or apartments—consider supplementing with fluorescent or LED grow lights.
Hang the lights 2-4 inches above the seedlings and keep them on for 12-14 hours daily to mimic natural daylight. Watering parsley seedlings requires a gentle hand: check the soil daily and water lightly whenever the top half-inch feels dry. Aim for consistently moist soil, but avoid overwatering, which can quickly lead to root rot. A spray bottle or a watering can with a fine spout helps prevent washing away delicate stems.
Once the seedlings grow their first true leaves, thin them so each plant has a few inches of space. This prevents overcrowding and ensures good airflow. As roots develop and seedlings reach about 2 inches tall, transplant them gently into larger pots with fresh potting mix, being careful not to damage the fragile roots.
Ideal indoor spots for parsley should maintain temperatures between 60-70°F, avoid cold drafts from doors or windows, and allow for good air circulation. Placing seedlings near a vent or using a small fan on a low setting can help prevent fungal diseases.
With mindful lighting, watering, and placement, your parsley seedlings will be well on their way to thriving indoors.
Troubleshooting Common Problems
Germinating seeds indoors can be rewarding, but a few common problems can slow your progress.
Slow Sprouting
Slow sprouting usually means the temperature is too low or the seeds are too old. Try using a heat mat to keep the soil between 70–75°F and always check your seed packet’s viability date.
Damping Off
Damping off is a fungal disease that causes seedlings to suddenly wilt and collapse. It thrives in overly wet conditions, so ensure good air circulation, avoid overwatering, and consider watering with a diluted chamomile tea solution to help combat fungi naturally.
Mold Growth on Soil Surfaces
Mold growth is a sign of high humidity and stagnant air. Let the top layer of soil dry out between waterings and use a small fan to increase airflow.
Weak or Yellow Seedlings
If your seedlings are weak or turning yellow, they may be suffering from a lack of light or nutrients. Place them near a bright window or under grow lights for 14–16 hours a day, and use a diluted liquid fertilizer once they develop true leaves.
Pest Problems
Pests like fungus gnats can invade indoor trays. Prevent infestations by using sterile seed-starting mix, covering trays with a humidity dome only until germination, and placing yellow sticky traps nearby to catch adult insects without using chemicals.
Harvesting Parsley and Maximizing Yield Indoors
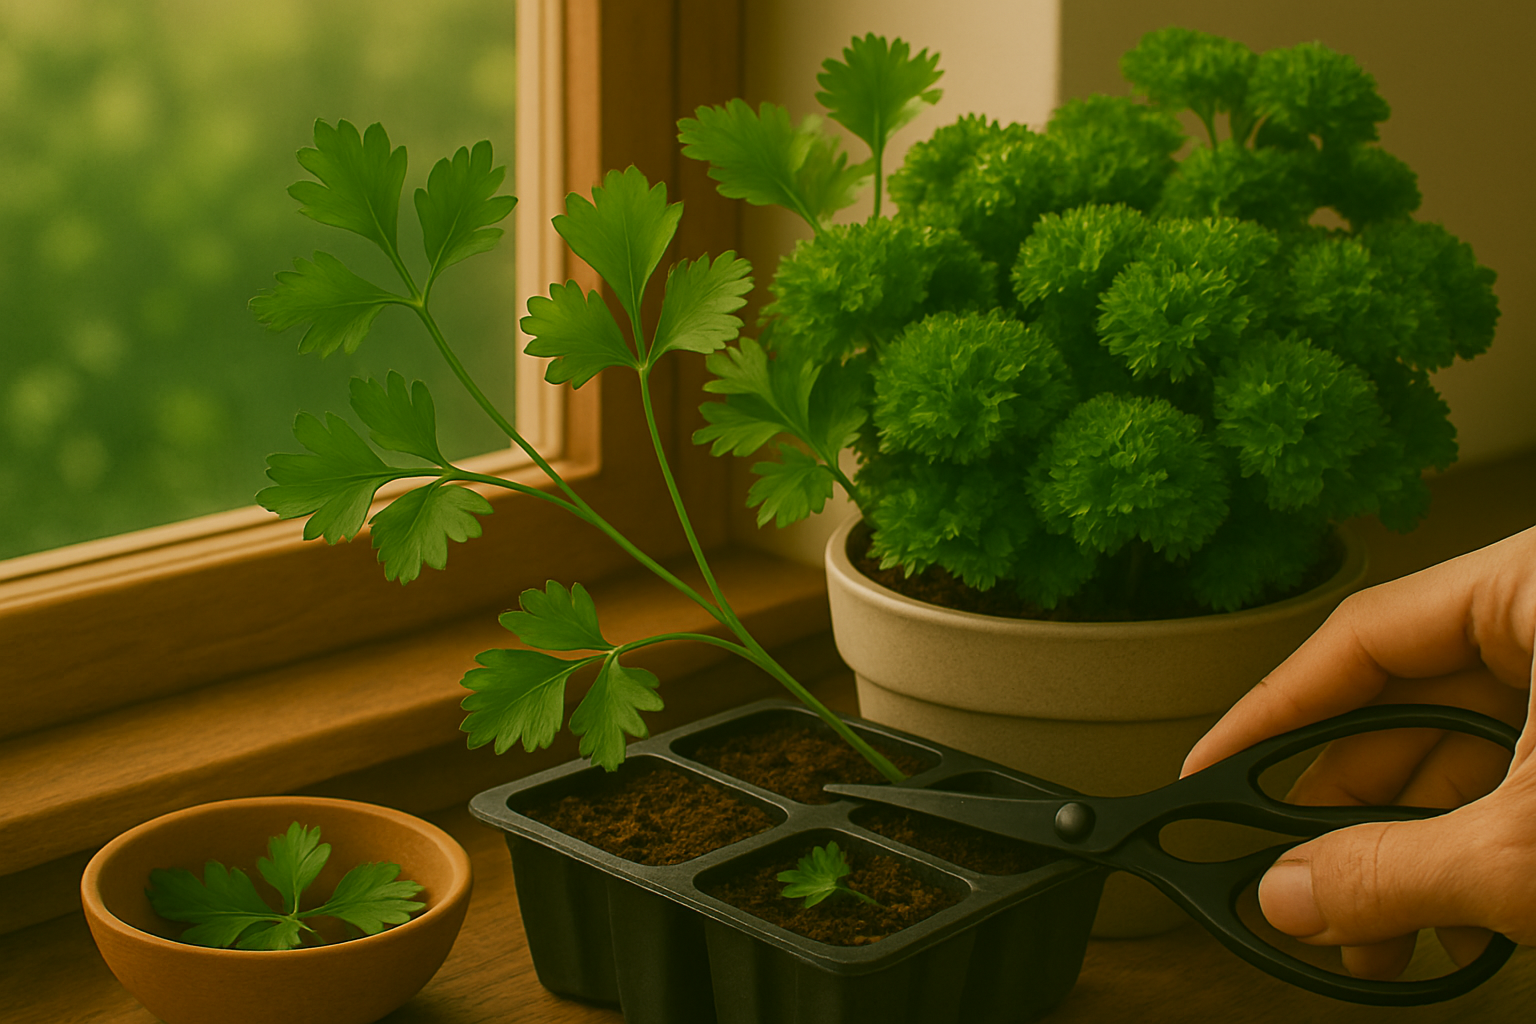
The first indoor parsley harvest is usually ready around 6–8 weeks after planting, once the plant has at least three groups of healthy leaves. To start, use clean scissors or pinch off outer stems about an inch above the soil, leaving the inner shoots to grow—this allows the plant to keep producing.
Regular trimming is key; harvesting weekly or biweekly prevents the parsley from bolting (going to seed) and encourages fresh, lush regrowth. Always cut from the outside, never the center, as this is where new leaves develop.
To promote a bushier, fuller plant, avoid taking more than one-third of the foliage during each harvest session. Try rotating where you snip each time so the plant stays balanced and healthy.
If your parsley appears tall and leggy, pinch off the tops of the longest stems to encourage side shoots—this technique is called “topping” and helps create a denser, more productive herb.
Keep your growing environment bright, and rotate pots occasionally so all sides get sunlight, ensuring even growth. With gentle, regular harvesting and a bit of strategic trimming, your indoor parsley can keep producing vibrant, flavorful leaves for months on end.
Storing and Using Fresh Parsley
To keep fresh parsley vibrant for days, treat it like a bouquet—snip the stems, place them in a jar with an inch of water, and loosely cover with a plastic bag before refrigerating. Change the water every few days to keep the leaves perky.
For longer storage, freezing is a snap: wash and pat dry the parsley, chop it if desired, and pack into ice cube trays with a little water or olive oil. Then, pop the cubes into a freezer bag for easy use in soups or sauces later on.
Drying parsley is another handy method; simply hang small bunches upside down in a warm, airy spot, then crumble the leaves and store them in an airtight jar.
In the kitchen, fresh parsley adds a burst of color and flavor to countless dishes—toss chopped leaves into grain salads, stir into creamy soups for a bright finish, or sprinkle over roasted vegetables as a quick garnish.
Don’t limit yourself to just a decorative touch; try blending parsley into homemade pesto or mixing it with lemon and garlic for a vibrant gremolata. Whether your parsley patch is overflowing or you’ve grabbed a grocery bunch, experimenting with new uses is the best way to make the most of this aromatic herb.