Introduction
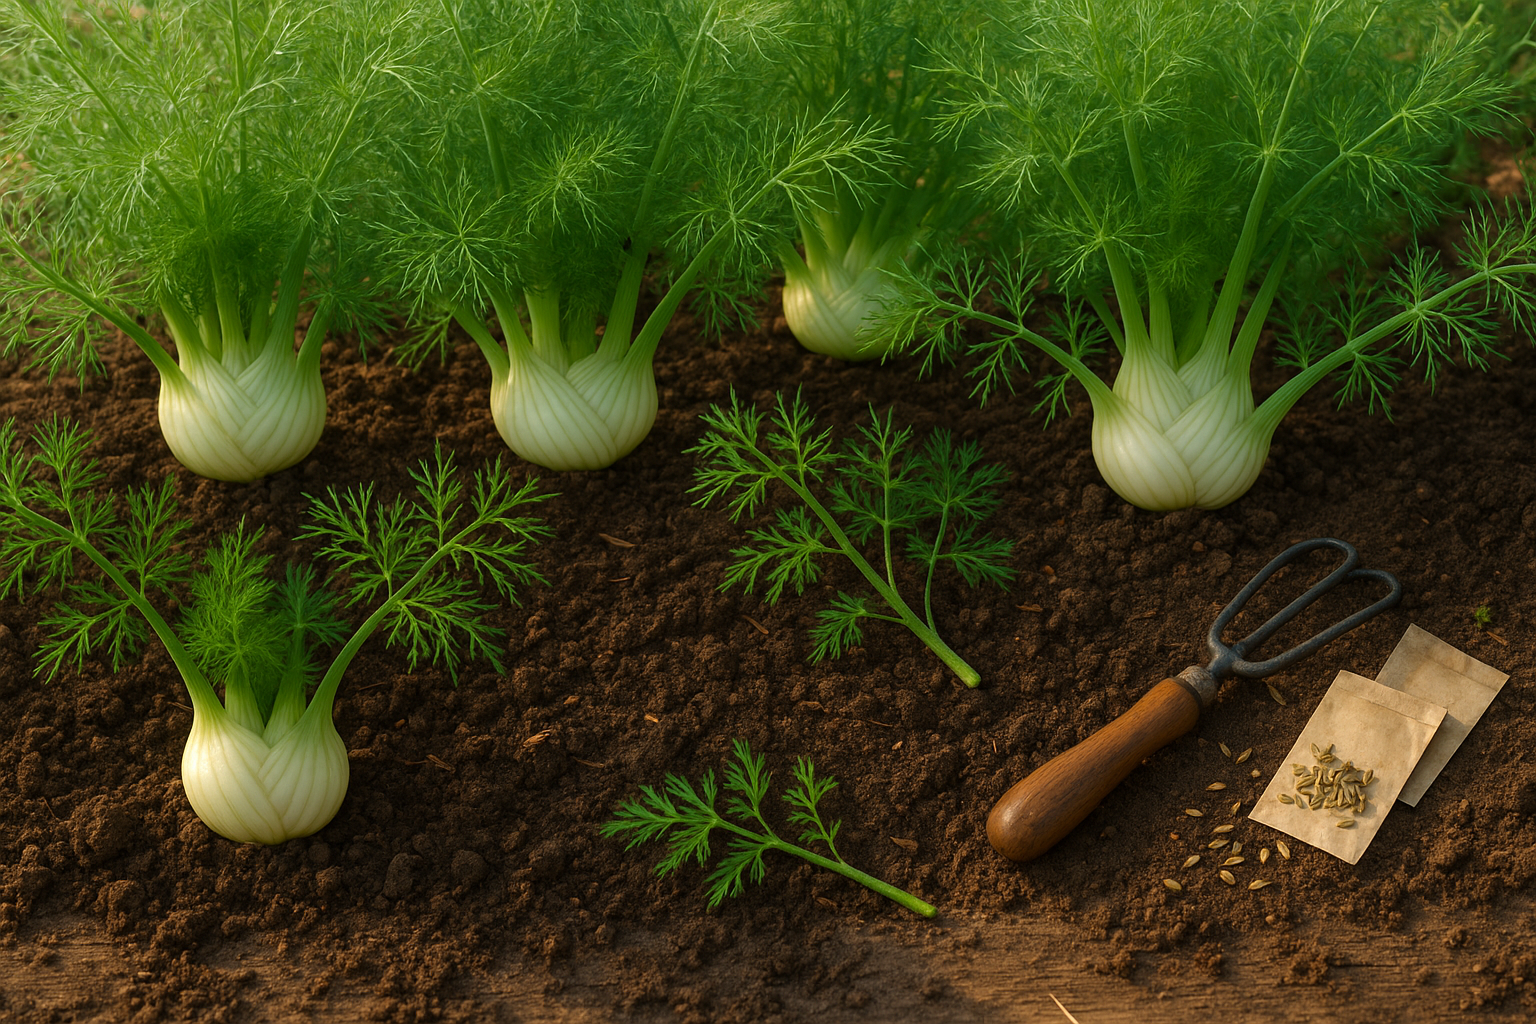
If you’re looking to grow Florence fennel in your garden, you’re about to discover a versatile, aromatic vegetable that brings both bold flavor and beauty to your home harvests. Florence fennel, sometimes called finocchio, is a unique variety prized for its crisp, bulbous base rather than just its feathery leaves or seeds. Home cooks love its sweet, slightly licorice flavor, which shines in Mediterranean recipes and is delicious both raw in salads or roasted to caramelized perfection. The bulb’s tender texture and refreshing anise notes make it a gourmet addition to everything from grilled fish to vibrant stews.
For home gardeners, Florence fennel offers another reward: it’s satisfying to grow and, once established, can provide a steady supply of both bulbs and edible fronds. However, achieving those signature fat, tender bulbs at home requires a bit of know-how—timing is crucial, care is specific, and a few tricks can make all the difference. In this post, you’ll get step-by-step guidance on choosing the right variety, preparing your soil, mastering planting times, and keeping plants healthy through harvest. Whether you’re a culinary explorer or simply want a fresh challenge for your veggie plot, read on to learn how to grow Florence fennel successfully and enjoy every harvest.
Choosing the Right Florence Fennel Variety
When it comes to growing Florence fennel for its crisp, flavorful bulbs, selecting the right variety makes a big difference. For beginners and those in cooler climates, Perfection and Zefa Fino are great choices—they mature quickly and produce consistently round, mild bulbs, even when summer heat is limited.
Orion is another favorite, known for its uniform, bolt-resistant bulbs that hold well in a range of conditions, making it ideal for both new and experienced gardeners aiming for dependable harvests.
If you garden in a warmer region and struggle with premature bolting, Victoria and Romanesco stand out; they tolerate heat better and help extend your growing season. For gardeners interested in larger bulbs or want to maximize yield, Selma Fino is a premium pick loved for its extra-plump, sweet bulbs.
No matter your experience level, pay close attention to each variety’s growing season and bolt resistance. Read seed packets carefully and seek out varieties labeled as “slow to bolt” if your summers are hot or if you’re planting early.
For those wanting intense, aniseed flavor or smaller harvests for containers, specialty varieties like Montebianco offer a gourmet touch. Above all, match your choice to your local climate: fast-maturing types work best in short summers, while heat-tolerant kinds are necessary for southern gardens.
Try experimenting with two or three types in a single season to discover which performs best in your conditions. Always buy seeds from reputable suppliers to ensure vigorous, disease-free plants.
Preparing the Ground for Planting
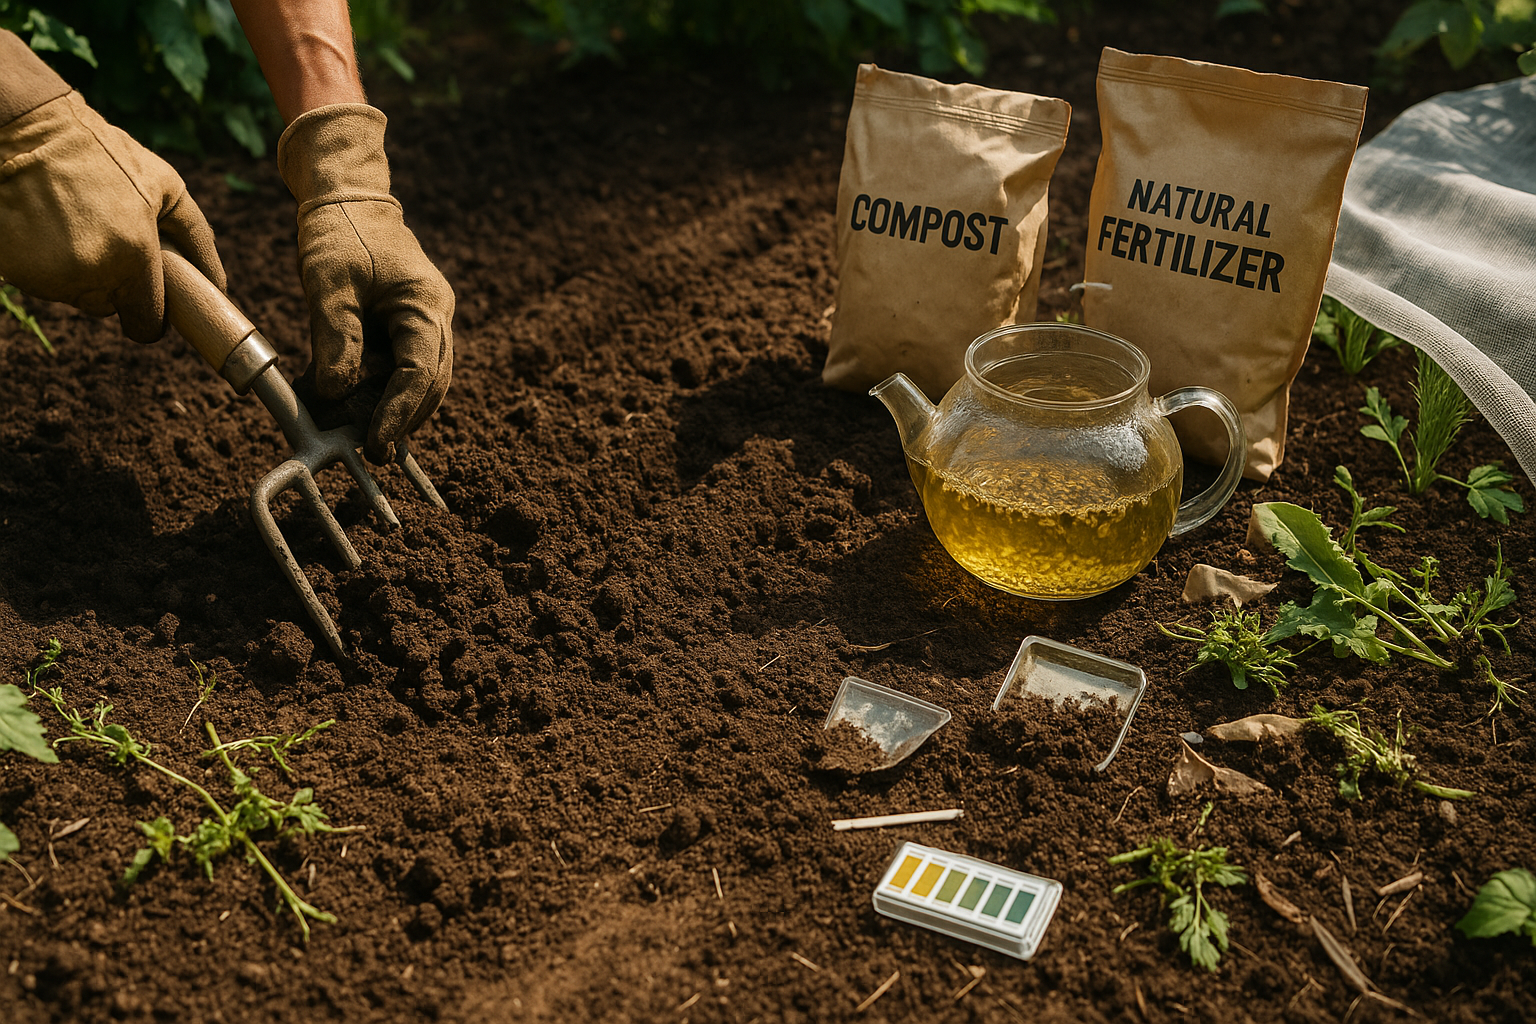
Preparing your garden bed for planting bulbs starts with assessing the soil—you want rich, loose, well-draining earth that encourages healthy root growth and prevents rot. Aim for loamy soil, which holds moisture but doesn’t become waterlogged. You can test drainage by filling a hole with water and checking how fast it empties—ideally within an hour.
Fertility is crucial, so mix in plenty of well-rotted compost or aged manure to give bulbs the nutrients they need right from the start. Most flowering bulbs prefer soil with a neutral to slightly acidic pH, generally between 6.0 and 7.0. A simple soil test kit from a garden center can help you determine your levels, and lime or sulfur can adjust pH as needed.
Before planting, clear all weeds and debris from your bed—persistent weeds can outcompete bulbs for nutrients and space. Loosen the top 8–10 inches of soil with a fork or tiller, ensuring air can reach the roots. If your soil is heavy clay or very sandy, amend it with compost and a bit of sand (for clay) or organic matter (for sand) to improve its structure.
Choose a spot that gets full sun for at least six hours a day; bulbs like tulips, daffodils, and alliums need all the light they can get for robust flower and bulb development. Finally, don’t overcrowd—space bulbs at least twice their width apart to allow for air circulation and future growth, following package guides for your specific variety.
Small steps like these set the stage for a thriving, colorful display come spring.
How to Sow and Plant Florence Fennel
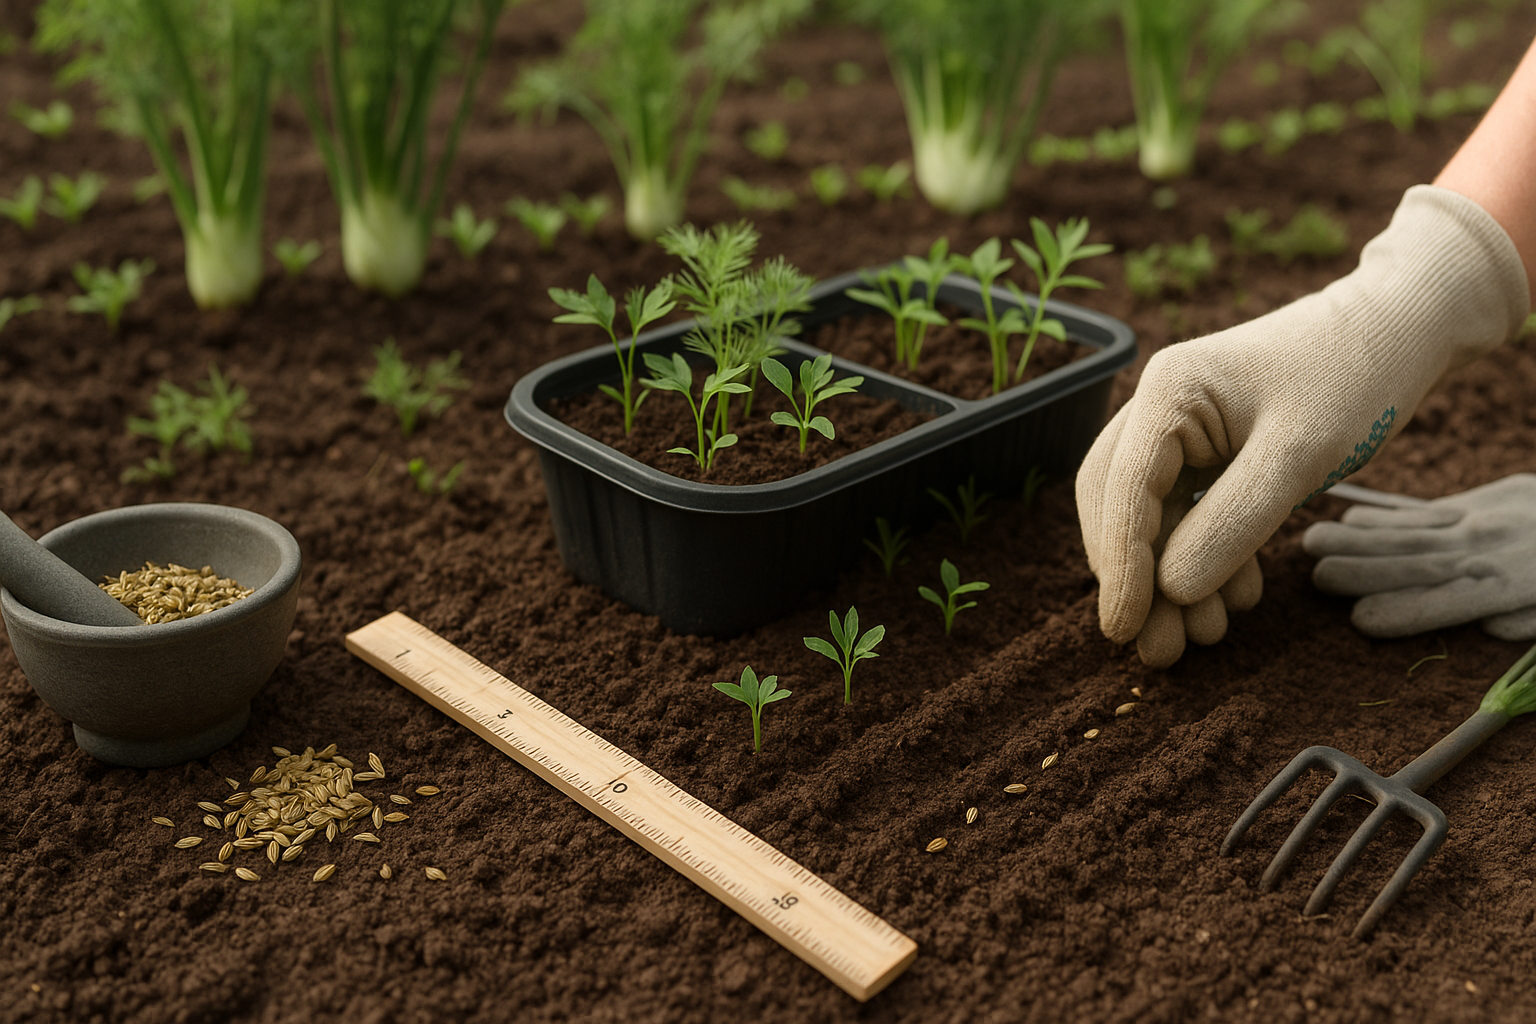
Florence fennel, also known as finocchio, thrives in cool weather, so timing is crucial for a successful harvest. For direct sowing, plant seeds outdoors once the risk of frost has passed and soil temperatures reach at least 50°F (10°C), usually in spring or late summer for a fall crop.
If you prefer transplanting, start seeds indoors 4-6 weeks before your last expected frost. Move sturdy seedlings outside after they have two true leaves and night temperatures stay above 50°F.
Planting Tips
- Sow seeds about 1/4 inch deep.
- Space seeds 12 inches apart in rows 18-24 inches apart—fennel hates being crowded, which can cause early bolting and smaller bulbs.
- If space is tight, thin young seedlings to maintain at least a 6-8 inch gap between plants. Snip extras at soil level rather than pulling them up to avoid disturbing the roots of remaining plants.
- When transplanting, handle roots gently, as Florence fennel dislikes root disturbance and may bolt if stressed.
Succession Planting and Companion Crops
For a continuous harvest, sow small batches of seeds every two to three weeks during your growing season. This ensures a steady supply of tender bulbs for salads and sautés. You can also interplant fennel with quick-growing crops like lettuce to maximize garden space while fennel matures.
Care Essentials
Consistent moisture and plenty of sunlight help prevent premature bolting. Mulching keeps roots cool and soil moist, which is especially helpful during sudden heat spells.
By following these simple steps, you’ll enjoy crisp, anise-flavored bulbs throughout the season, whether you’re sowing directly or transplanting seedlings.
Essential Care for Healthy Bulbs
Growing healthy bulbs starts with a reliable watering routine—bulbs need consistent moisture, but not soggy soil. Check the moisture by feeling a few inches below the surface; if it’s dry, it’s time to water deeply, especially during long dry spells.
When summer arrives and the heat threatens your plants, mulch becomes your best friend. A generous 2-3 inch layer of organic mulch, like shredded bark or compost, keeps the soil cool, conserves moisture, and suppresses weeds. This not only protects roots but also deters pests that thrive in dry conditions.
To keep your bulbs growing strong, feed them right after sprouting with an organic fertilizer high in phosphorus, such as bone meal. Follow up every few weeks during the active growing season for steady energy.
As temperatures climb, some bulbs may try to bolt, sending up premature flower stalks—this usually happens when they’re stressed by heat or inconsistent moisture. Keep soil cool and moist with regular watering and mulch, and harvest or deadhead flowers promptly to discourage bolting.
Organic care goes a long way for pest and disease control:
- Encourage beneficial insects
- Rotate crops each year
- Remove any affected foliage promptly
For mild infestations, try a diluted neem oil spray or insecticidal soap instead of harsh chemicals. With these mindful practices, your bulbs will be well-equipped to thrive through every stage of the season.
Harvesting Florence Fennel Bulbs
Knowing the right time to harvest Florence fennel bulbs is key for getting the best flavor and texture. Start by checking the size—wait until bulbs are about the size of a tennis ball (typically 2.5–4 inches across). Ideally, the bulb should feel dense and firm to the touch, not spongy, which signals it’s mature.
Most varieties are ready 70–90 days after sowing, but always check your seed packet for specifics. Take a look at the bulb’s base just at or above soil level—if it’s swollen, pale, and layered, it’s ready to pick.
Harvest in the early morning or late afternoon when temperatures are cooler to keep the bulbs crisp. Use a sharp knife or garden pruners to slice cleanly at the base, just above the roots. Avoid pulling, as this can bruise the bulb or disturb neighboring plants.
After cutting, gently brush off excess soil, but wait to wash until you’re ready to use them to prevent premature spoilage. For storage, wrap bulbs loosely in a damp paper towel and keep them in the refrigerator’s vegetable drawer; they’ll stay fresh for up to a week.
Don’t toss the fragrant leaves and feathery fronds—chop them as a fresh garnish for salads and seafood, infuse into stocks, blend into compound butters, or use to flavor roasted vegetables. Their mild licorice aroma pairs especially well with poultry and Mediterranean dishes, adding a unique herbal note.
Taking care during harvest and using the whole plant maximizes your fennel crop’s value and taste.
Troubleshooting Common Problems
Growing onions can be rewarding, but it comes with a few challenges that gardeners commonly face. One frequent issue is bolting—a process where onions send up a flower stalk too soon, usually triggered by temperature fluctuations or stress. To prevent bolting, choose bolt-resistant varieties, plant at the right time for your region, and avoid transplant shock by hardening off seedlings before moving them outdoors.
Pest infestations, such as aphids, can weaken onion plants and spread disease; keep a close eye on the undersides of leaves and use insecticidal soap or a strong stream of water to manage small outbreaks. Regularly remove plant debris to deter pests and reduce habitats for disease.
Fungal diseases like downy mildew often appear in overly damp conditions, so space plants well and water at the base in the morning to keep foliage dry. If you notice stunted bulb growth, it’s often a sign of inadequate sunlight or overcrowding—aim for full sun and thin seedlings so bulbs have enough room to expand.
Monitoring your onions weekly can help catch problems before they spread; look for discoloration, wilting, or abnormal growth and act quickly. Keep a garden journal to record planting dates, weather patterns, and any issues you encounter so you can adjust your care routine next season.
By staying attentive and applying these practical solutions, you’ll give your onions the best chance to thrive and improve your harvest year after year.